B2B SaaS access quickstart
This quickstart is for developers building a B2B SaaS application: a single SaaS product that authenticates users from many business customers. It walks through the SecureAuth Connect platform setup: workspace, customer organizations, federated identity providers, and a token claim that identifies which customer each request belongs to. Once your platform is configured, connecting your application is the natural next step.
This quickstart targets the shared-application model: one application that every business customer signs in to. For per-customer applications or fully separate tenants, see Building B2B SaaS platforms with Organizations.
What is B2B identity?
B2B identity manages sign-ins for applications your customers' employees use:
-
The customer is the organization. Sign-ins, policies, and audit logs scope to the customer's organization, not just the individual user. Authorization decisions almost always need both.
-
Every customer brings their own identity provider. Enterprise buyers expect SAML or OIDC federation to Okta, Microsoft Entra ID, Google Workspace, or their own SecureAuth tenant. You don't own their directory.
-
Customer admins manage their own users. Delegated administration gives each customer's IT team an admin portal for user management, sign-in configuration, and application registration – no support ticket required.
-
Per-customer branding and policies. Each customer expects their login page, MFA rules, and session policies to match their internal standards.
In SecureAuth Connect, each business customer is represented as one organization in your workspace. The organization holds that customer's branding, identity provider (IdP), admins, and policies. Your single application receives a token that carries an organization_id claim (a name/value pair inside the token) identifying which customer the user belongs to.
In this quickstart, most steps happen inside a customer's organization: the admin, identity provider, branding, and policies all live there. Two steps reach back to the workspace (registering your application and configuring the token claim) because they're shared across every customer you onboard.
Create a B2B workspace
You start with a workspace because organizations, identity providers, applications, and policies all live inside it. One workspace is enough to serve every B2B customer. Select the Partners B2B Integration template, which enables Organizations support automatically. See Add a new workspace for the full template list.
For background on how workspaces and organizations relate, see Understanding Workspaces and Organizations.
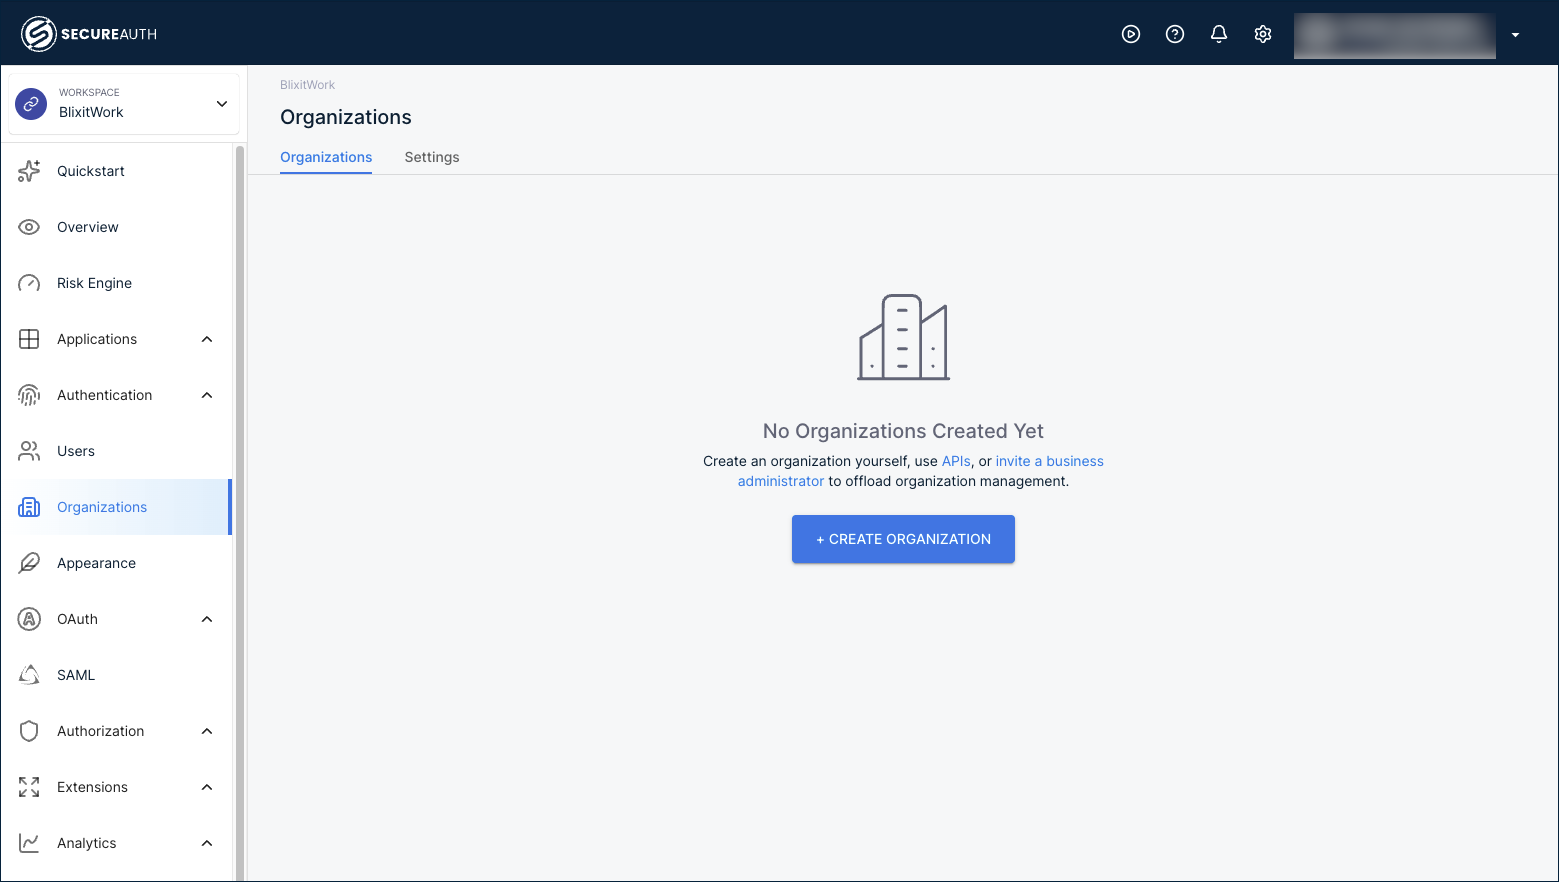
Add organizations for your business customers
Organizations are how you serve many customers from one workspace without running a separate SecureAuth instance per customer. Each customer gets its own users, identity provider, branding, and policies, isolated from every other customer's.
To add a customer, go to Organizations in the workspace and click + Create Organization.
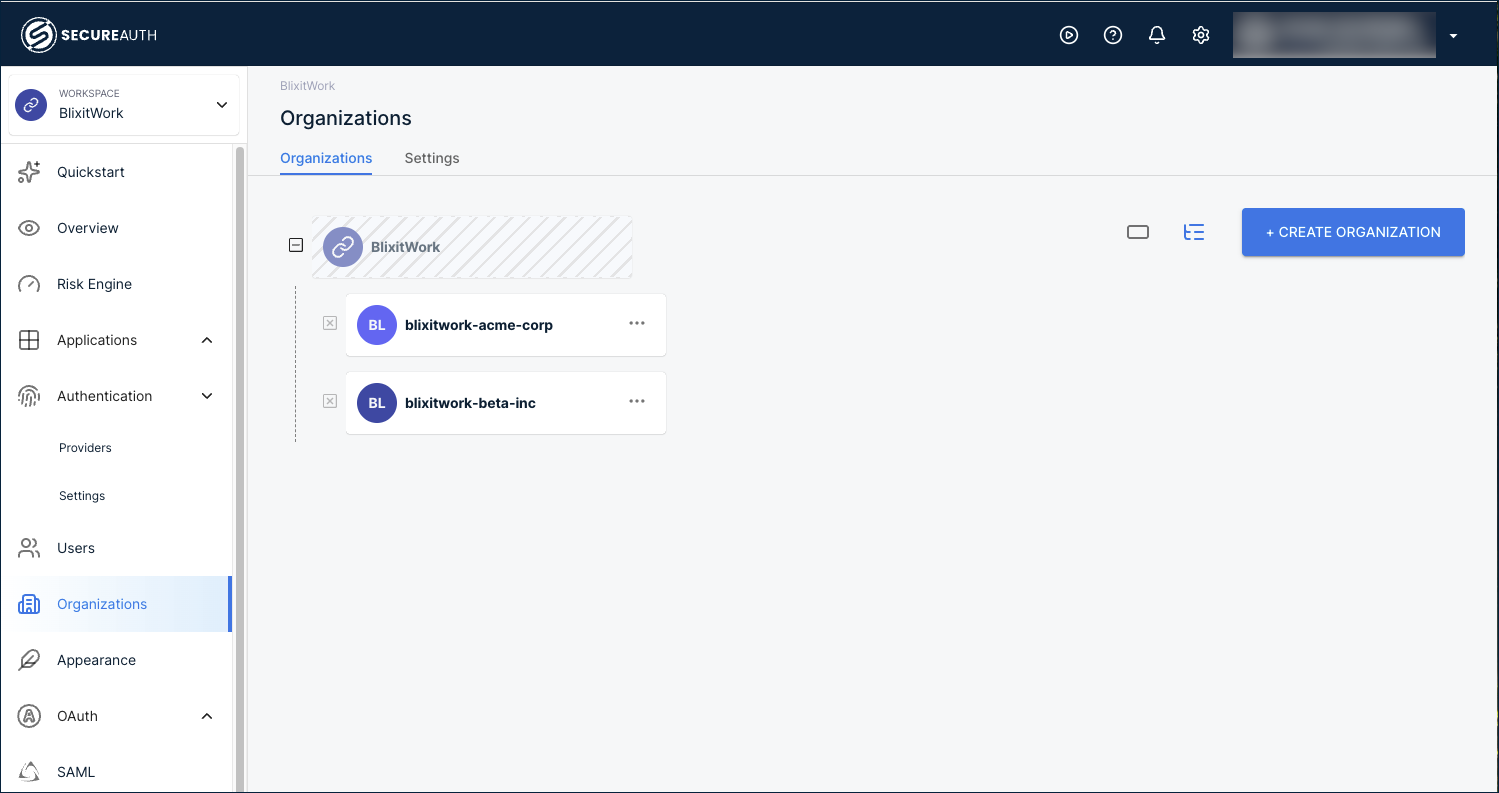
Fill in the customer's name, an organization ID, and the email domains they sign in with. Email domains drive automatic identity provider discovery when users land on the sign-in page.
After you add a few customers, the Organizations page lists them:
- Create organizations and suborganizations – the step-by-step walkthrough, including suborganizations for franchises or multi-location customers.
- Create organizations via API – automate customer onboarding from your provisioning workflow.
When you onboard many similar customers, capture one fully configured organization as a template, then apply it to every new customer. Templates carry the authentication methods, policies, schemas, and branding forward, so onboarding the next customer is a few minutes instead of a rebuild.
See Organization templates to set one up, and pair it with the API for creating organizations to automate onboarding end to end.
Add an organization administrator
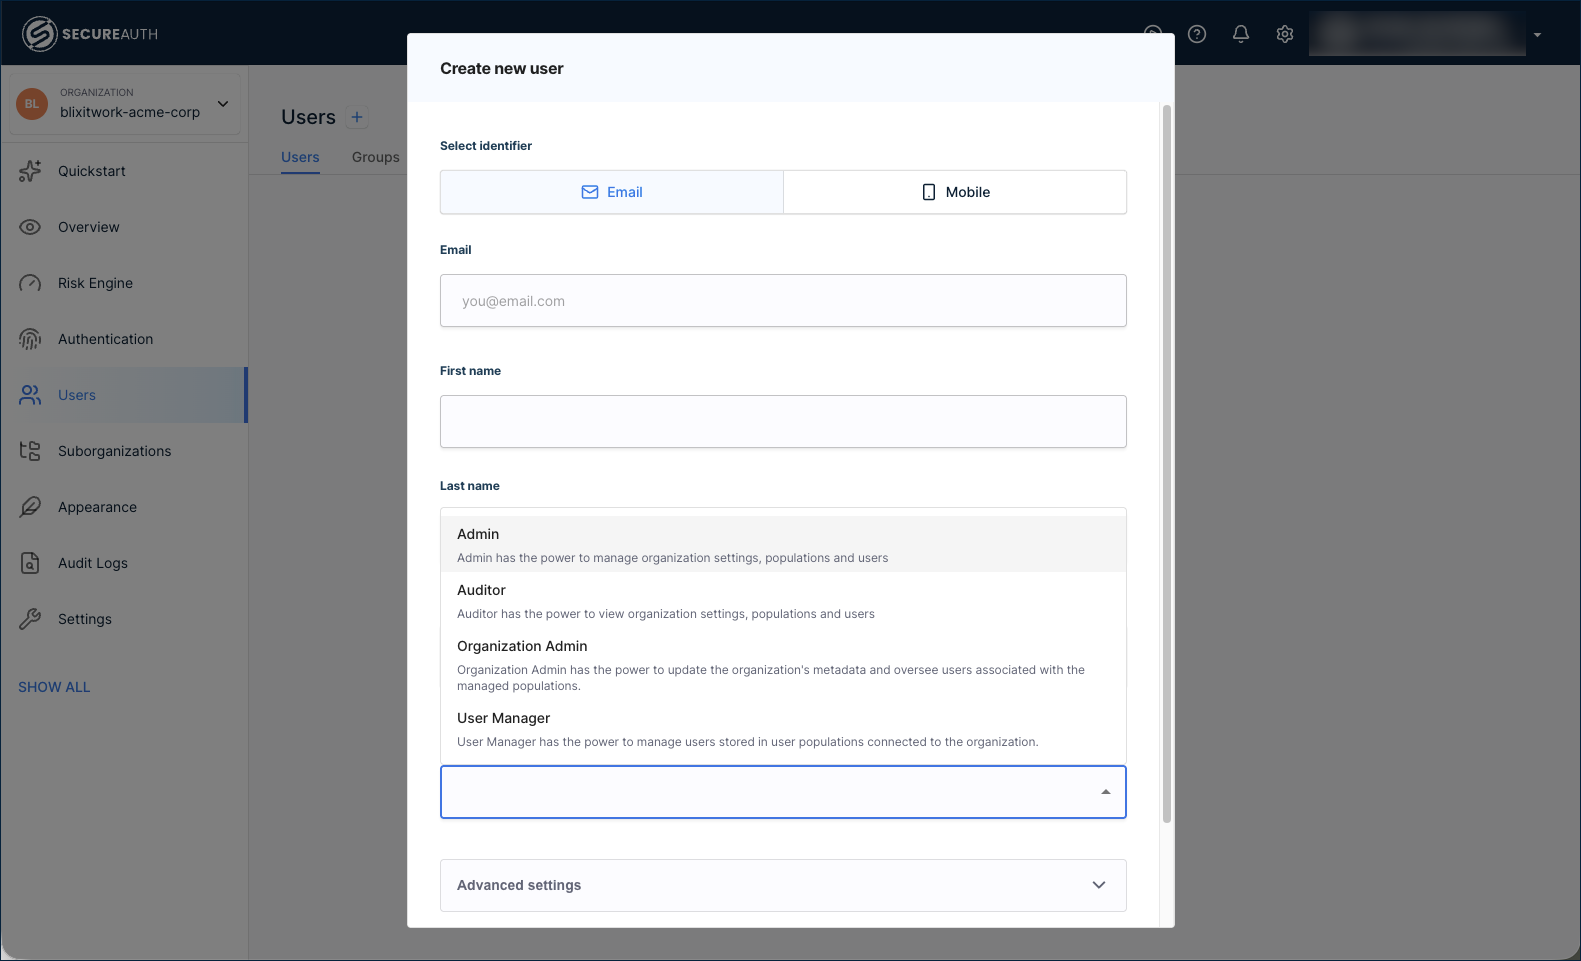
Each customer needs at least one administrator who can manage their own users and settings. Create this administrator as a user inside the customer's organization and assign them the Organization Admin role.
Inside the customer's organization, go to Users > + Create User. Enter the admin's email and name, expand the role list, and select Organization Admin.
These are two different administrator scopes managed in two different places:
- Workspace administrators manage the entire workspace, including every organization inside it. Add them inside the workspace at Settings > Administrators.
- Organization administrators manage only their own organization. Add them as users with the Organization Admin role, as above.
The Settings > Administrators tab inside an organization shows only workspace administrators with delegated access, not organization administrators created through Users.
The role list also includes:
- Admin – broad management of the organization.
- Auditor – read-only access.
- User Manager – manages users only.
For the standard B2B SaaS scenario, Organization Admin is the right starting role for the customer's primary admin contact.
Connect each customer's identity provider
Most B2B customers want their employees to sign in with the same identity they already use everywhere else: no new password, no new account, no parallel directory to keep in sync. SecureAuth Connect supports SAML and OIDC federation per organization and creates the user record on the fly the first time someone signs in, so you never manually onboard a customer's user list.
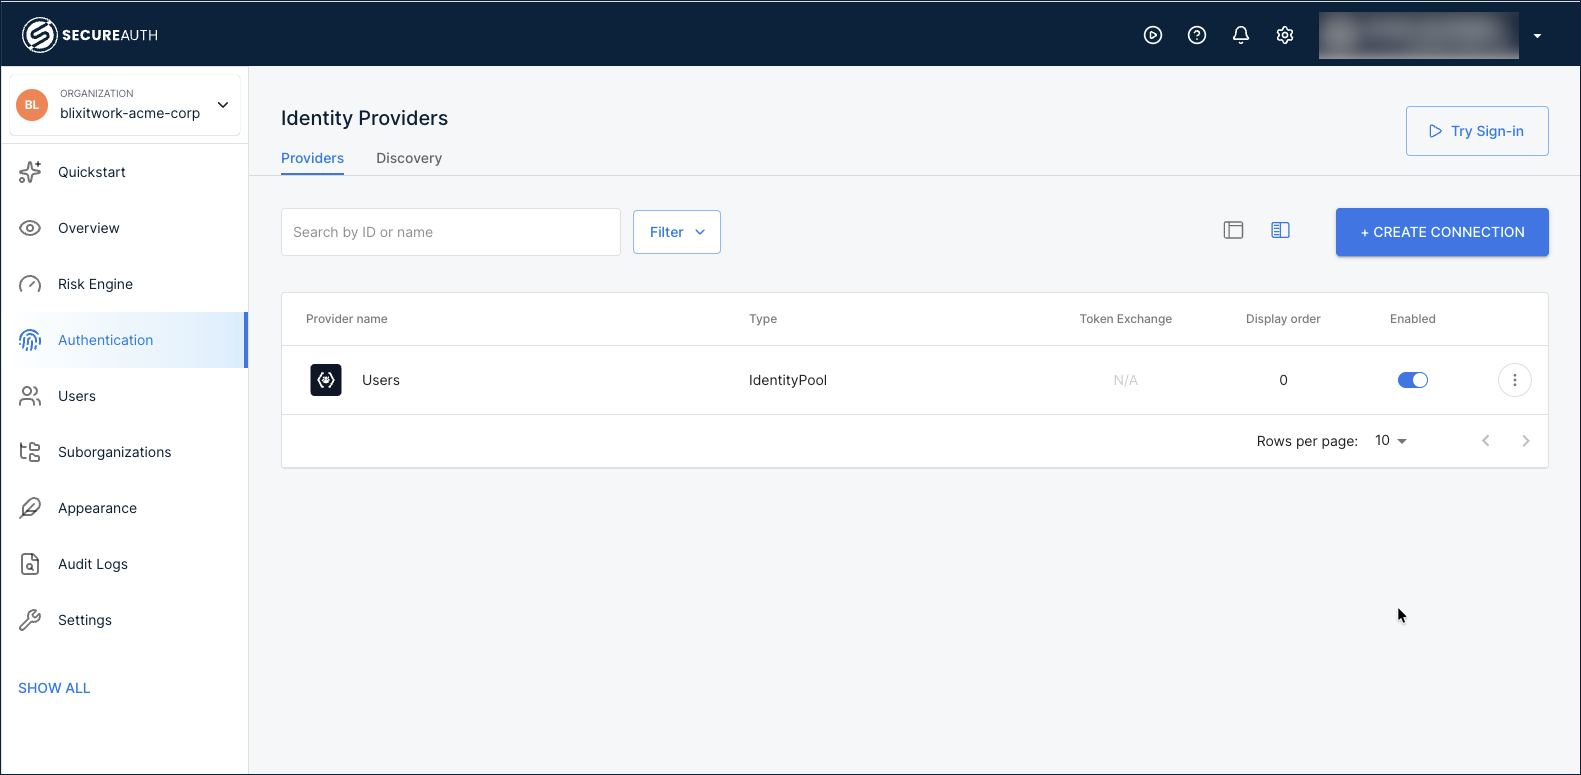
Connect the identity provider inside each customer's organization, not the workspace. Click the workspace name at the top-left, go to Organizations, then select the customer's organization. In the left navigation, go to Authentication > Providers and click + Create Connection.
Pick a setup guide for the customer's IdP:
- Active Directory (CIAM) – common in enterprise B2B scenarios, with LDAP Agent integration and automatic identity sync.
- Identity providers index – the catalog of provider templates: Okta, Microsoft Entra ID, Auth0, Google Workspace, generic SAML/OIDC, and more.
For customers without an external IdP, use the User directory built into the organization. Each organization has its own, isolated from every other customer's.
Once you've added more than one provider, configure IdP Routing so users land on the right one automatically based on their email domain.
Identify each customer in every token
In B2B, your application needs to know which customer the user belongs to, in addition to who the user is. The token carries that customer identity through a claim. Without one, every request your app sees looks identical regardless of customer.
Configure the claim once on the workspace where your shared application is registered. The workspace's authorization server issues tokens for every customer, so a single claim definition serves all your organizations. The value resolves to whichever customer the user signed in through at token-issue time.
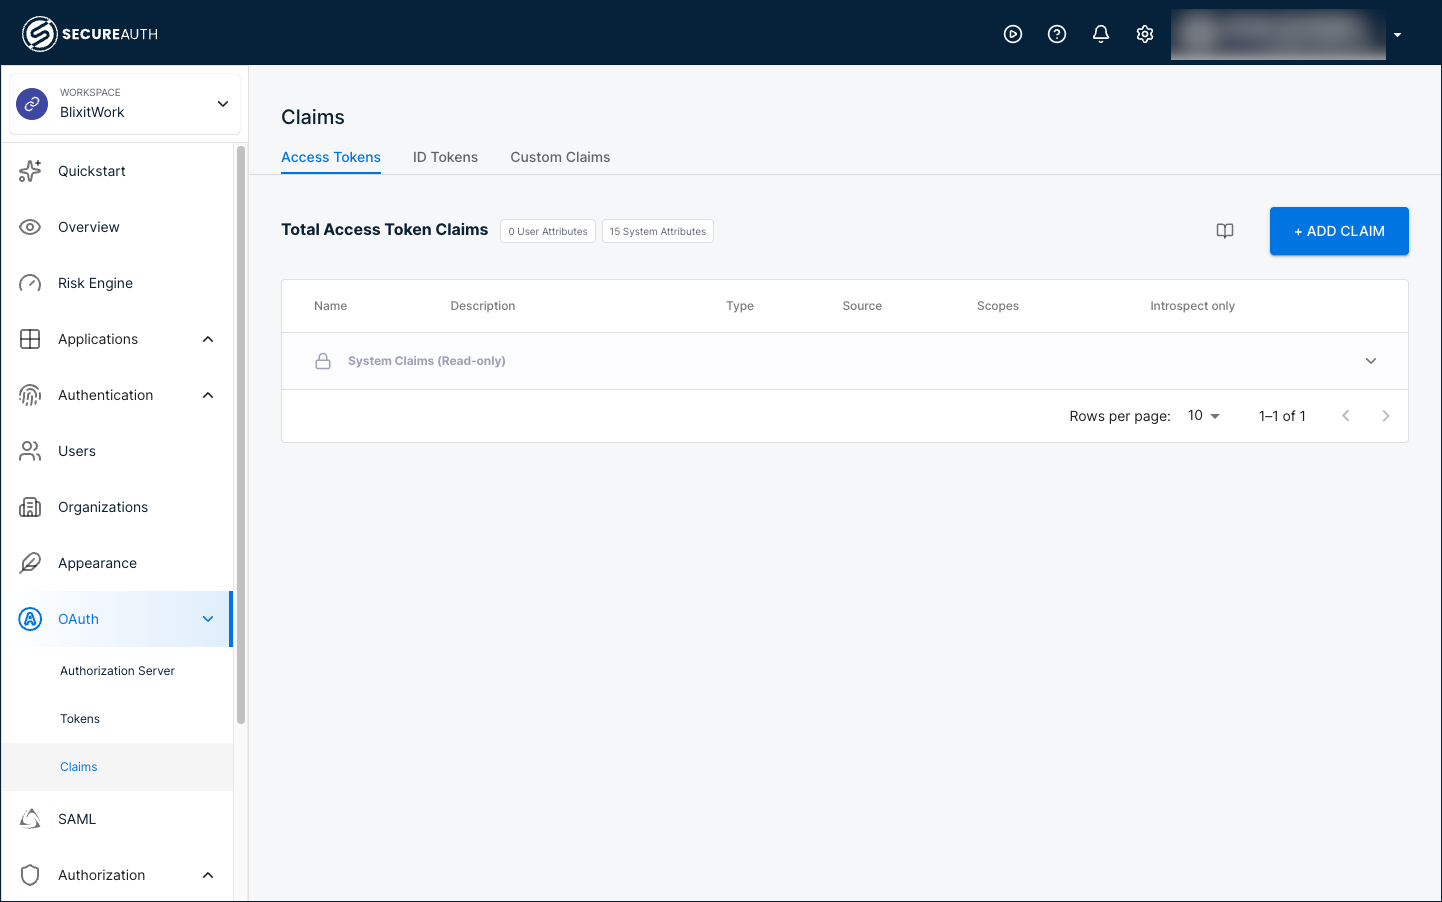
Switch back to the workspace from the top-left selector, then in the left navigation go to OAuth > Claims. On the Access Tokens tab, click + Add Claim and create:
- Name:
organization_id - Type: Organization
- Source: ID
Every access token your authorization server now issues includes the organization_id claim with the ID of whichever organization the user signed in through. You configure this once. Adding more customer organizations later doesn't require any extra claim setup.
- Manage token claims – full walkthrough including every Type option and how to add the user's role or custom attributes.
- Configure authorization servers – validate the combination of user and organization before issuing tokens.
Organizations are authorization servers in their own right, so they show their own OAuth > Claims page in the left navigation. Claims added there apply only to tokens issued by that organization's own authorization server, which is the per-organization application model (see Building B2B SaaS platforms with Organizations). For the shared-application quickstart, configure claims on the workspace.
If your business also works with external partners (vendors, brokers, contractors, distributors, channel resellers), the same workspace and organization pattern applies, with three deltas: scoped application access, time-bounded tokens, and audit metadata. Continue to Add features below for the B2B application setup, or jump to the Partner access quickstart to layer on partner-specific configuration.
Add features
With the platform configured, connect your application below, then layer on optional features in any order.
Connect your application
Register your SaaS application so SecureAuth Connect knows how to issue tokens to it. In the shared-application model this quickstart targets, you register one application that all organizations share, and the organization_id claim in the token tells your app which customer the request belongs to.
Inside the workspace, go to Applications > Clients and click + Create Client.
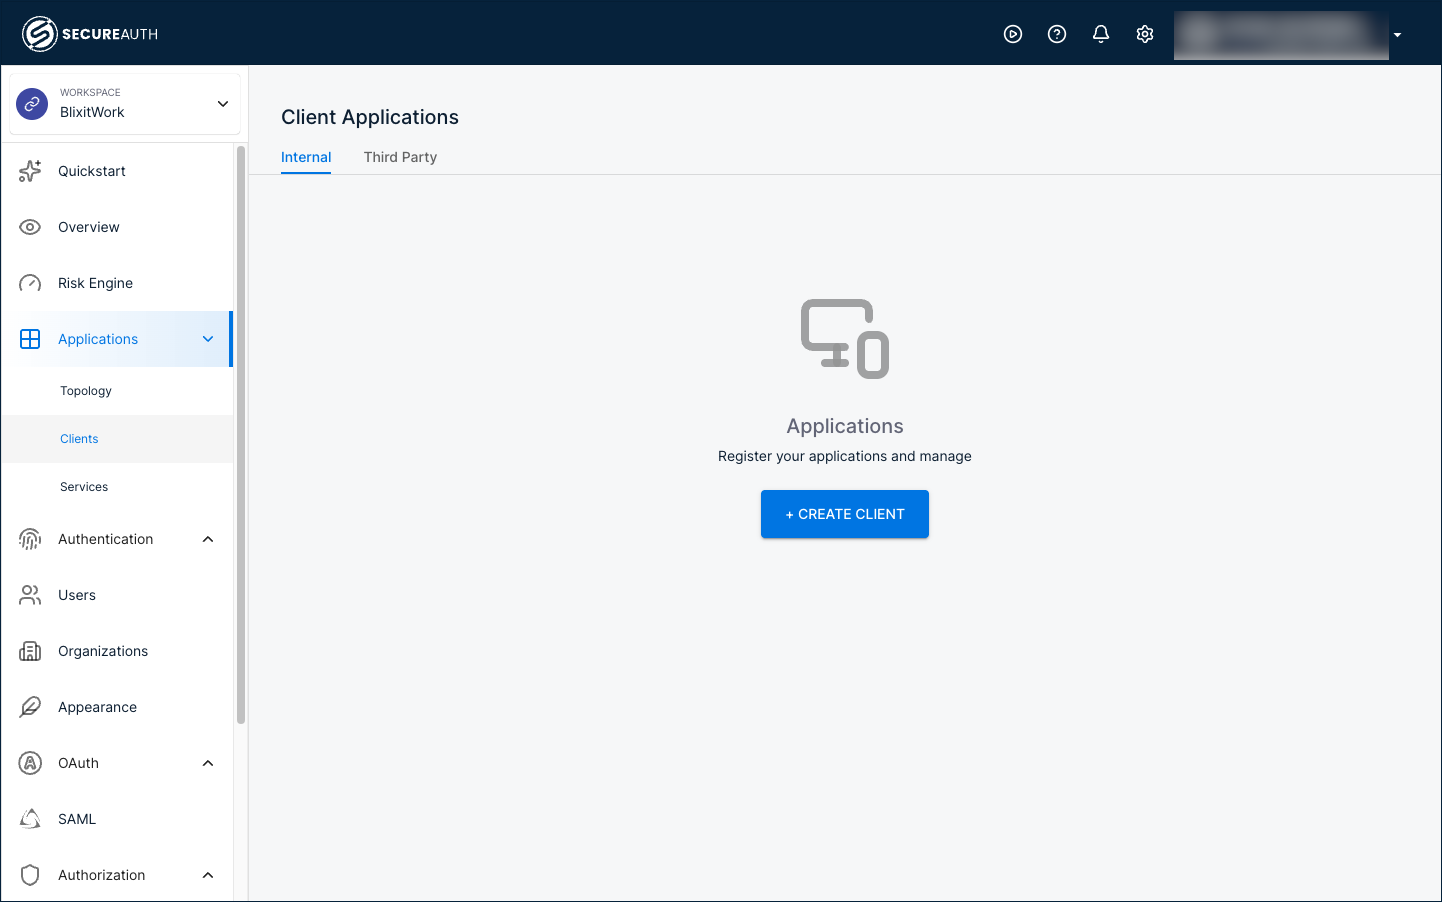
A B2B workspace offers three client types. Choose the one that matches your application:
- Custom application – for your SaaS application. Custom gives you full control over the OAuth grants and authentication methods, so you can configure the standard OpenID Connect (Authorization Code) sign-in flow your web, single-page, or mobile app uses.
- SAML service provider – for an application that signs users in with SAML instead of OpenID Connect. A SAML service provider includes a Quickstart tab with .NET, Java, and Node.js integration code.
- Machine-to-machine (M2M) application – for a backend service or API that authenticates without a user, such as a scheduled job that calls your API on a customer's behalf.
Enable delegated administration
Let each customer's IT team onboard their own users, configure sign-in, and audit their own access without touching your support queue. Customer admins use a portal scoped to their organization, separate from the workspace admin console you use.
- Delegated administration – role-assignment walkthrough and what customer admins can manage.
- Delegated admin portal – portal URL, sign-in flow, and the admin experience.
Brand the sign-in experience per organization
Each customer expects a login page that looks like their product, not a generic SecureAuth page. Apply branding and templates inside each customer's organization so changes don't leak across customers.
- Branding overview – logos, colors, and fonts per organization.
- Vanity domains – run sign-in on
login.customer-name.cominstead of the SecureAuth domain. - Customize templates for email, SMS, and voice notifications used for invitations, password reset, and MFA prompts.
Apply MFA and risk policies
Not every customer carries the same risk. A financial-services customer might require WebAuthn for every admin and step-up authentication on sensitive actions; a small-business customer might be fine with password plus email OTP. Workspace policies set a sensible floor; organization policies let each customer tighten the rules to match their own security posture.
Next steps
Before taking your B2B platform to production:
- Redirect URIs – Replace local development URIs with your production redirect URIs. For multi-tenant apps, register every customer-facing host.
- Token claims – Verify
organization_idand any custom claims appear in tokens before your application depends on them. - MFA policies – Configure MFA policies for sensitive actions and high-risk customers.
- Token lifetimes – Access tokens expire after 60 minutes by default. Adjust token lifetimes based on how long your application should keep a customer's user signed in.
- Audit logging – Decide what each customer's delegated admin can see. Organization-scoped audit logs let customers run their own compliance reviews without exposing other customers.