Self-Service Verification VAM Deployment Guide
Updated September 4, 2018
Self-Service Verification provides a method for validating that contact information is updated properly. While the normal self-service post-authentication page allows the user to update their contact information (such as emails and phone numbers), there is no assurance that the user has updated with a valid phone number or email.
The Self-Service Verification page enforces validity of the updated information. Once a user changes their email address or phone number, they are directed to verify that change with an OTP code sent to either their email or phone.
Note
This VAM only supports sending SMS to U.S. phones. Non-U.S. phones are not supported at this time.
Benefits
Acts as a safeguard to make sure the contact information is always valid
Supports OTP verification of updated account information
Prerequisites
SecureAuth® Identity Platform (formerly SecureAuth IdP) version 9.2 or later
Have a realm ready for the Self-Service VAM integration. For more information about creating a realm, see the SecureAuth IdP Realm Guide.
Install the VAM
This section covers the steps to install this VAM. To install this VAM, perform the following steps:
Download the installer for the Self-Service Verification module to the root directory where the Identity Platform resides.
Double-click the installer to start the VAM installation.
Click past the Introduction page until you get to the End-User License Agreement page.
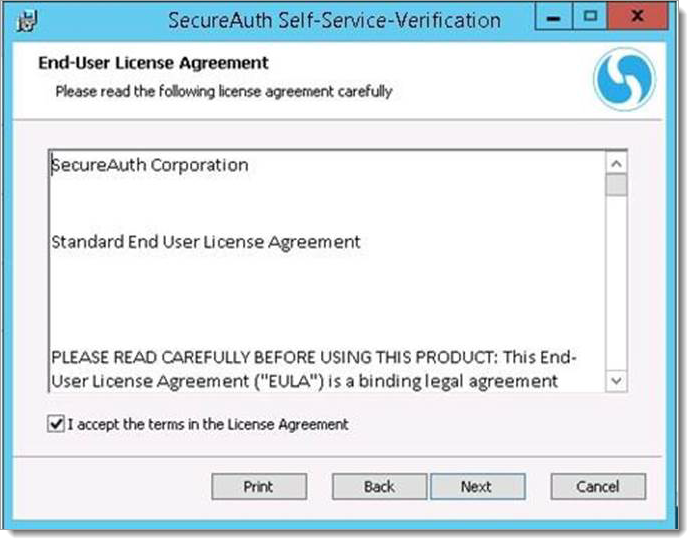
Select the check box agreeing to the terms of the License Agreement and click Next.
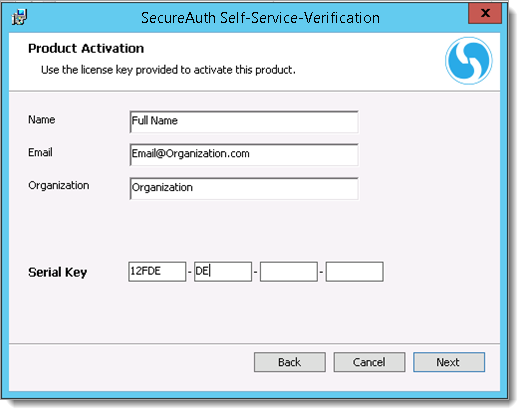
On the product activation page, enter the Name, Email, and Organization exactly as how it is entered in the Identity Platform.
From the Realm list, select the realm to which you want to install Self-Service Verification and click Next.
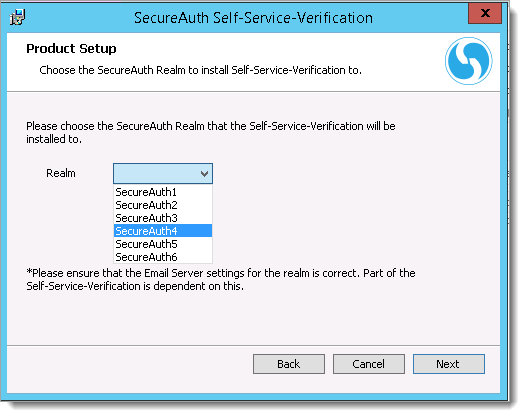
Click Finish to start the installation process.
Configure the Identity Platform
After you install the VAM, configure the Identity Platform to function properly with the VAM.
In the Identity Platform Web Admin console, select the realm designated to handle the Self-Service Verification VAM integration.
Select the Post Authentication tab.
In the Post Authentication section, set the following:
Set Authenticated User Redirect to Use Custom Redirect.
In the Redirect To field, enter Customized/AccountUpdateVerify.aspx. This is a file generated by the VAM that directs the interface how to display certain web pages.
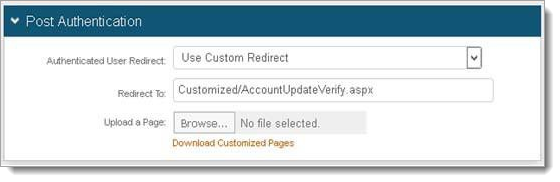
Save your changes.
Understanding how the VAM works
Once the Post Authentication page is configured for the required realm, the following describes the process flow for the user who wants to change their email, phone number or other relevant data.
The user makes a request to change their contact information and the process starts with:
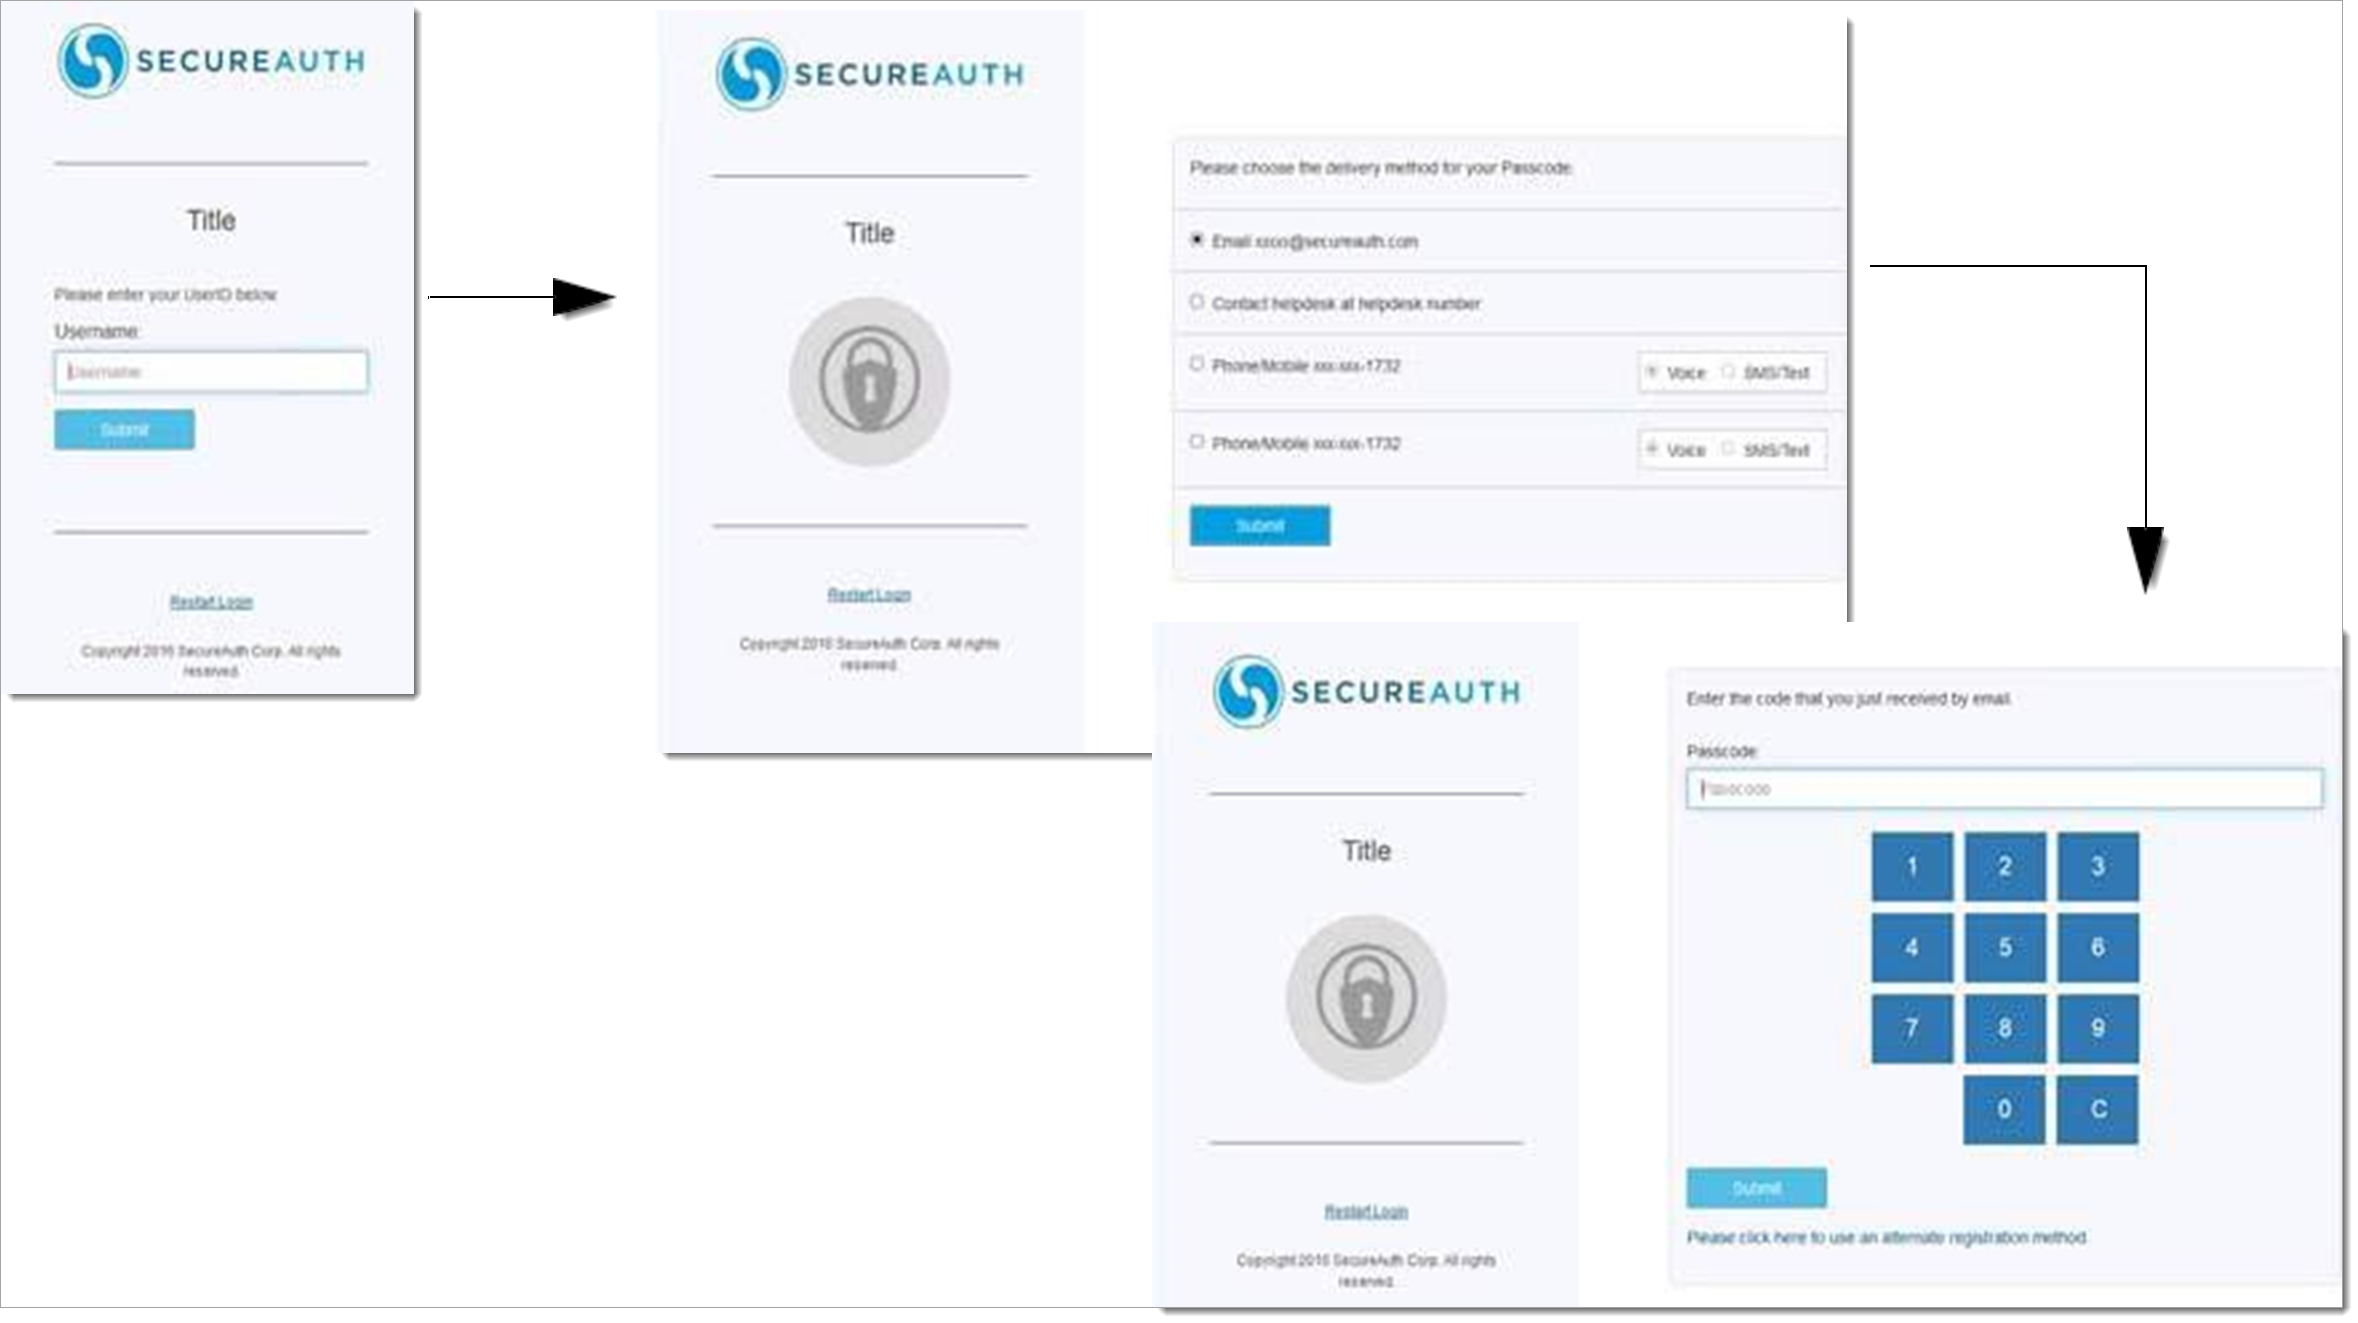
Step 1: User enters their Username
Step 2: User chooses the delivery method for their passcode
Step 3: User receives the passcode by means of their selected delivery method
Step 4: User enters the passcode to authenticate their contact change request.
 |
If authentication is successful, the VAM-customized self-service data field page appears for the requesting user. The fields contain the current values assigned to the user profile for that user similar to the following example.
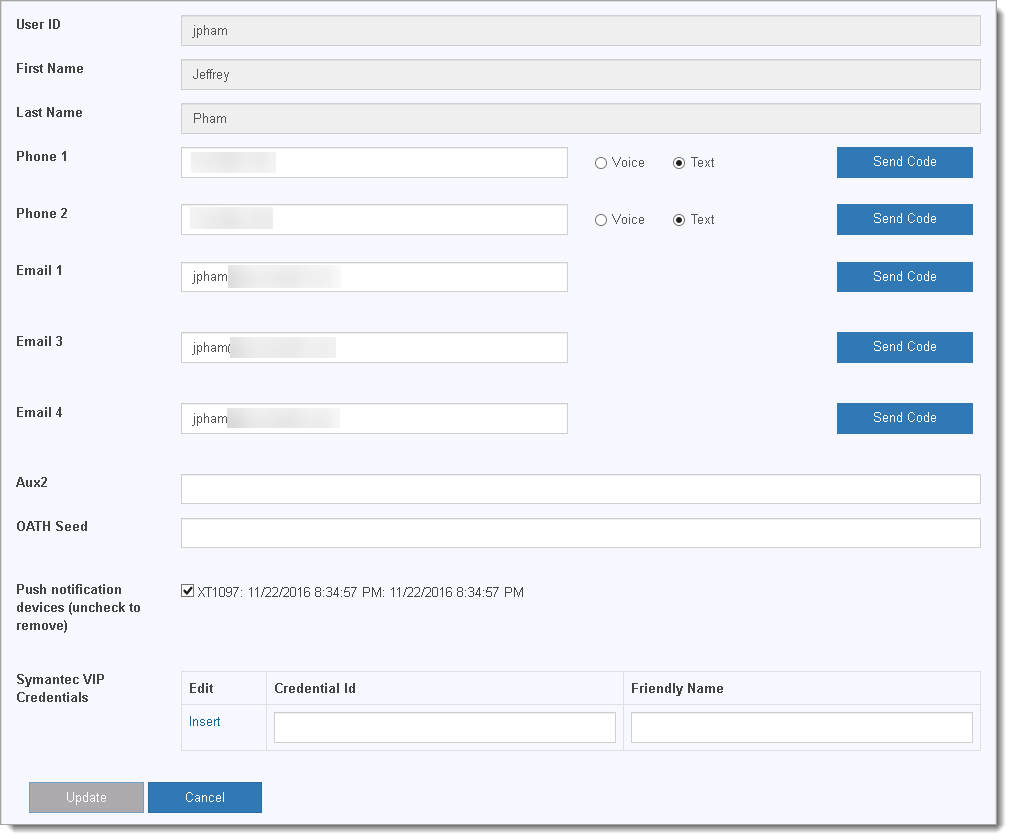 |
On this page, there is a Send Code button to the right of each changeable field and Voice and Text options to indicate the delivery method.
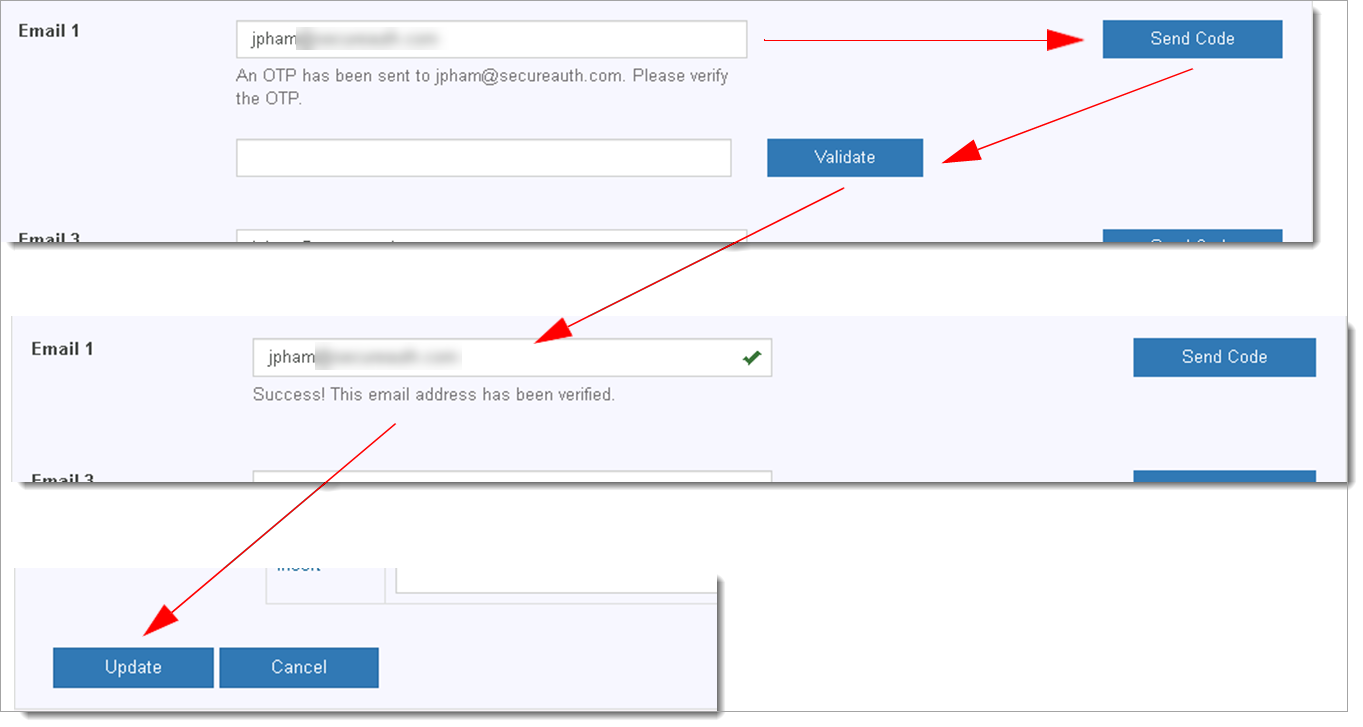
Step 5: When the user wants to update a phone number, for example, they must first enter the new phone number in the specified field (Phone 1 or Phone 2). Then, they select either the Voice or Text option to receive verification of their change and click Send.
A message appears below the changed field indicating that the OTP code is sent to the new phone number using the chosen delivery method (text or voice) and displays the Validate field, similar to the following example.
 |
Step 6: In the Validate field, the user enters the OTP code that was sent to the new number and clicks Validate.
When the OTP code is correct, a success message displays similar to the following example.
 |
Step 7: User clicks the Update button on the self-service page confirming their changes
The workflow is the same if the user wants to change or update their email address as shown in the following process flow example.
 |