Internationalization
SecureAuth supports internationalization (i18n) to localize the identity experience across multiple languages. This includes login UI text, consent screens, email templates, and SMS messages.
You can manage translations directly from the admin portal without requiring theme customization or code changes.
💡 Why this matters
Localization helps you deliver personalized, compliant, and user-friendly experiences across global identity journeys. Use workspace-level translation management for granular control over multi-brand and multi-region deployments.
Watch this video to understand how internationalization works:
Translations vs. internationalization
Internationalization (i18n) The process of designing software to support multiple languages and regions.
Translations The actual localized text strings for specific languages.
Use the i18n system in SecureAuth IAM to:
- Configure translations for any supported language
- Set a default language to fall back to when a translation is missing
- Detect the user's preferred language automatically from their browser
- Preview changes in real-time
- Manage translations at the workspace level for multi-brand deployments
Supported areas for translation
You can configure translations for:
- Login and registration page labels
- Error messages and form placeholders
- Consent and privacy text
- Email templates (subject and body)
- SMS messages (OTP, alerts)
Step-by-step guide
Step 1: Access the Tenant Settings
Do one of the following:
-
From any workspace, scroll down in the left navigation and click View all workspaces
-
Click the gear icon in the top right and select Appearance
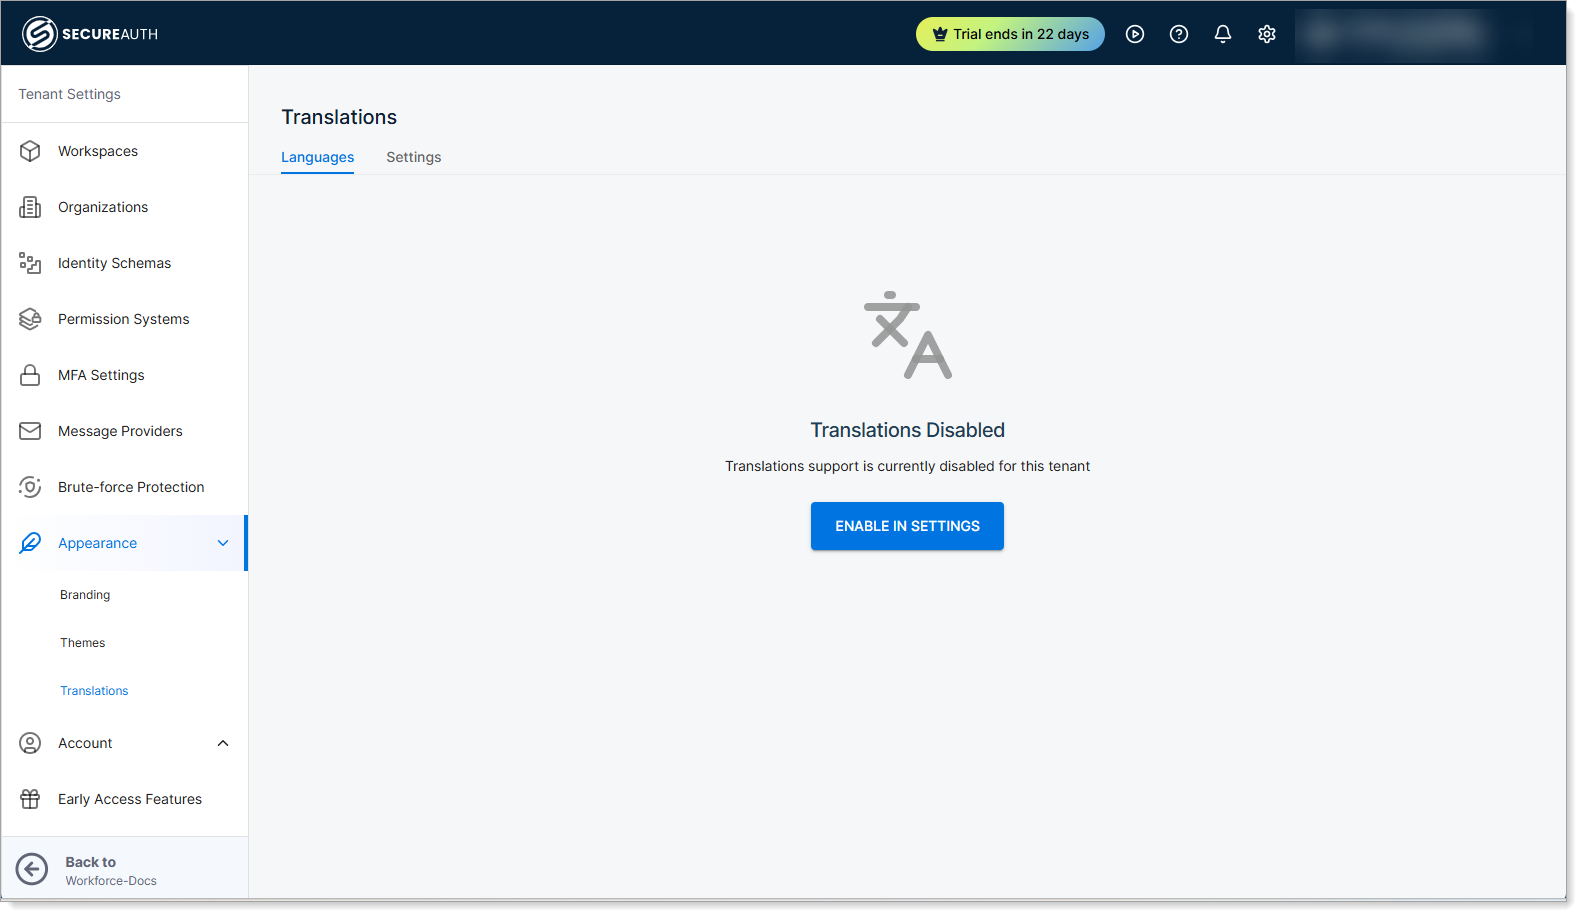
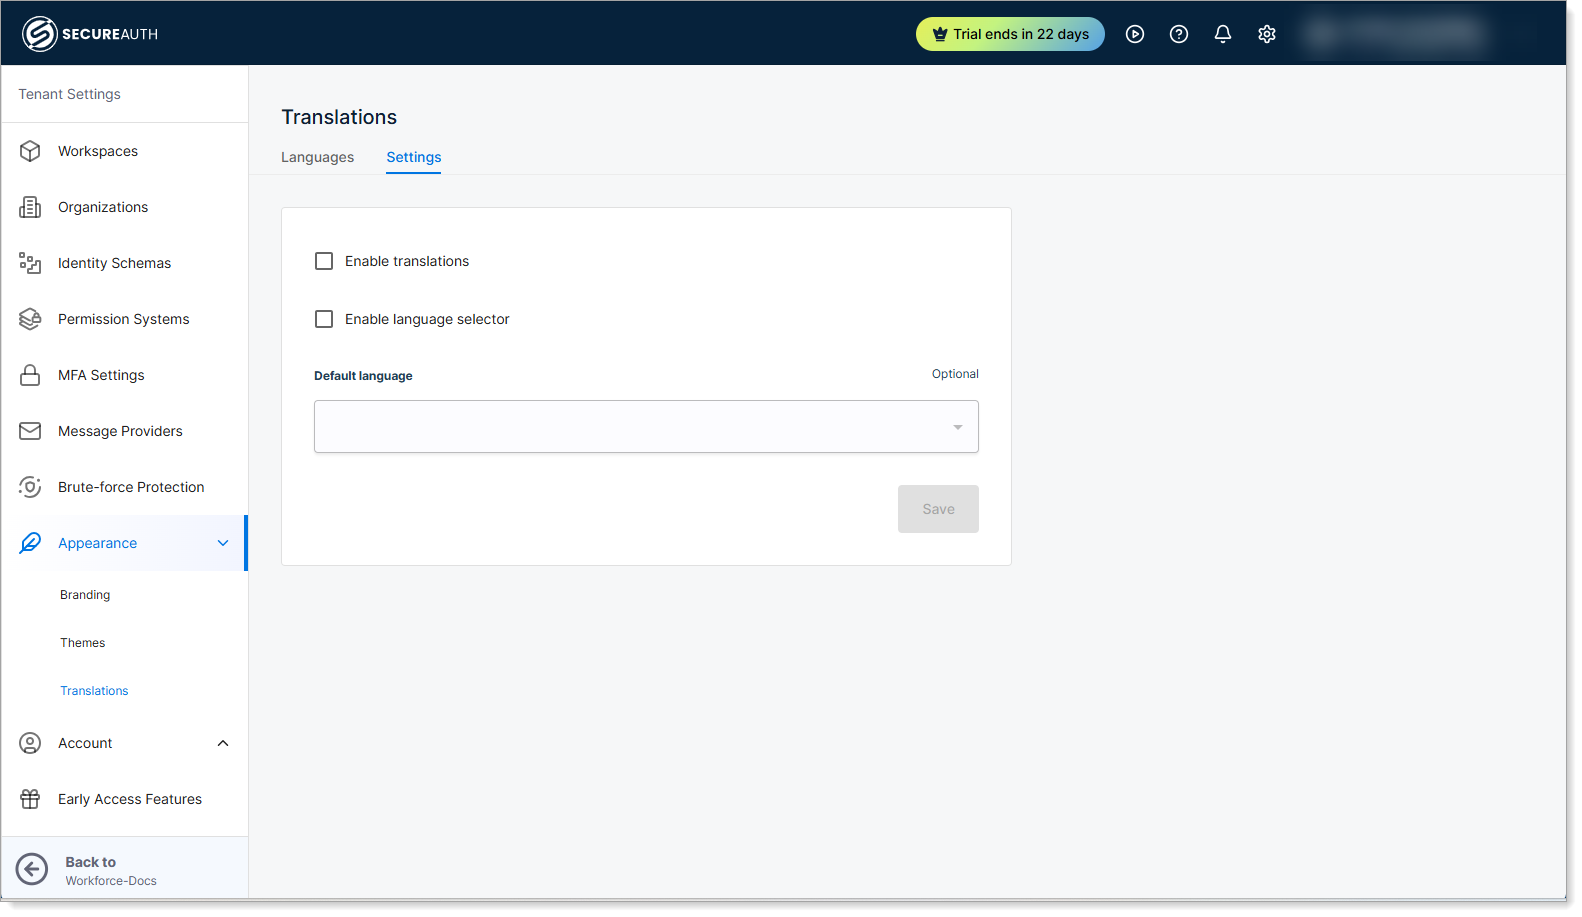
Step 2: Enable translations
-
Select the Settings tab.
-
Select the check boxes for Enable translations and Enable language selector. Sign-in pages detect the user's preferred language from their browser; enabling the language selector also lets users switch languages themselves.
-
Optionally, set a Default language. The default language is used as the fallback when a string is not translated in the user's language. You choose it from the languages you have added, so you may prefer to set it after Step 3.
-
Save your changes.
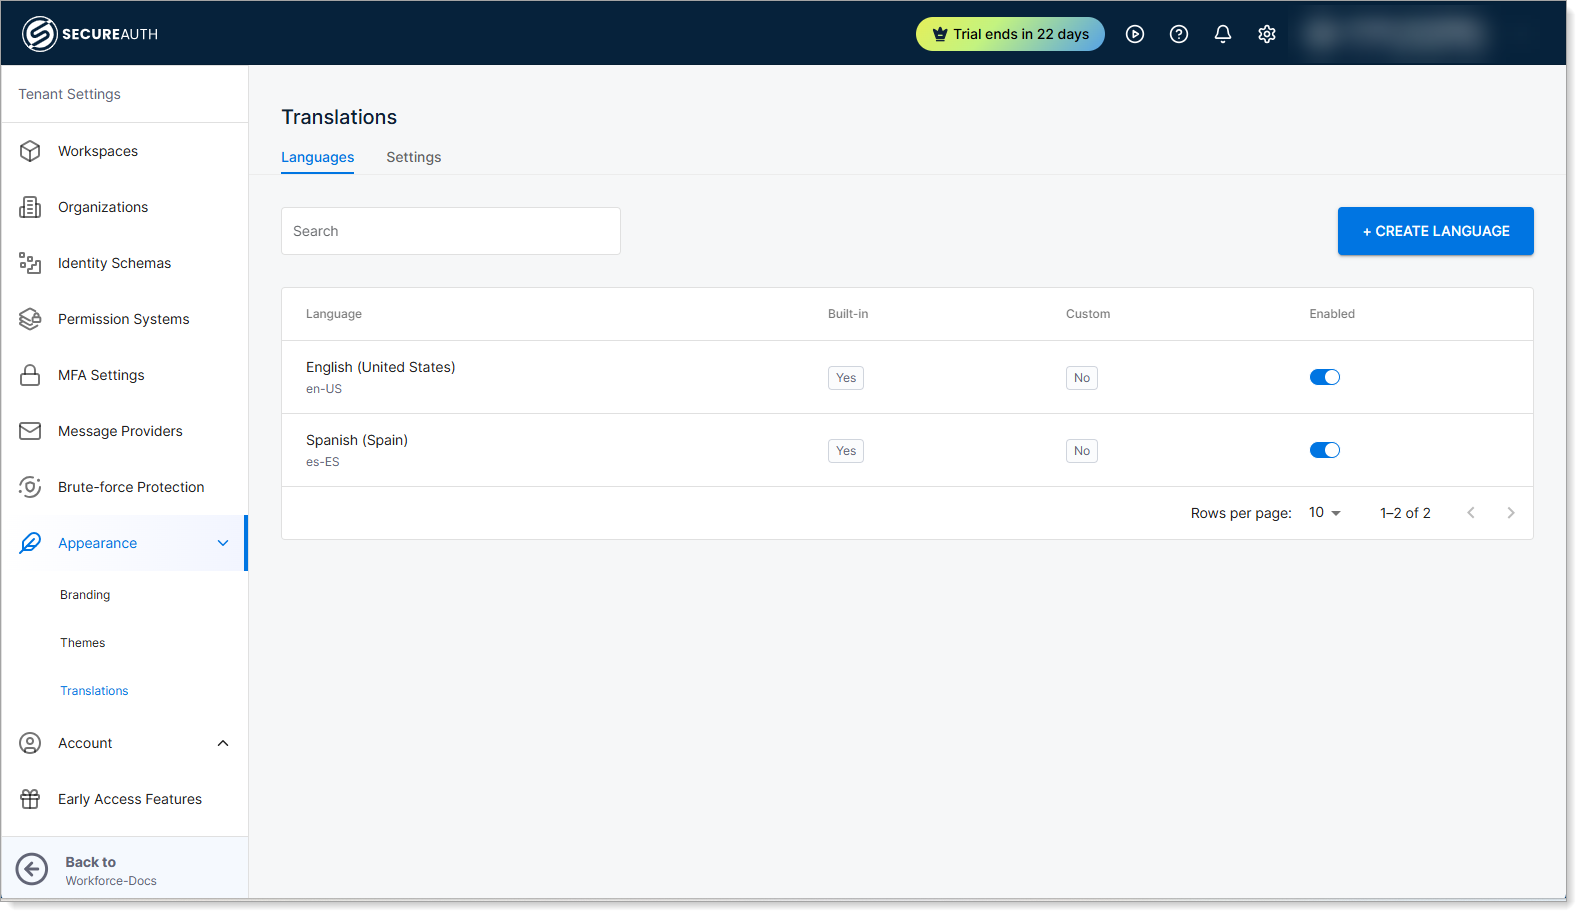
Step 3. Add a new language for translation
-
Select Languages tab.
-
Click Create Language.
-
From the list, select a language option (for example,
es,fr,de,ar).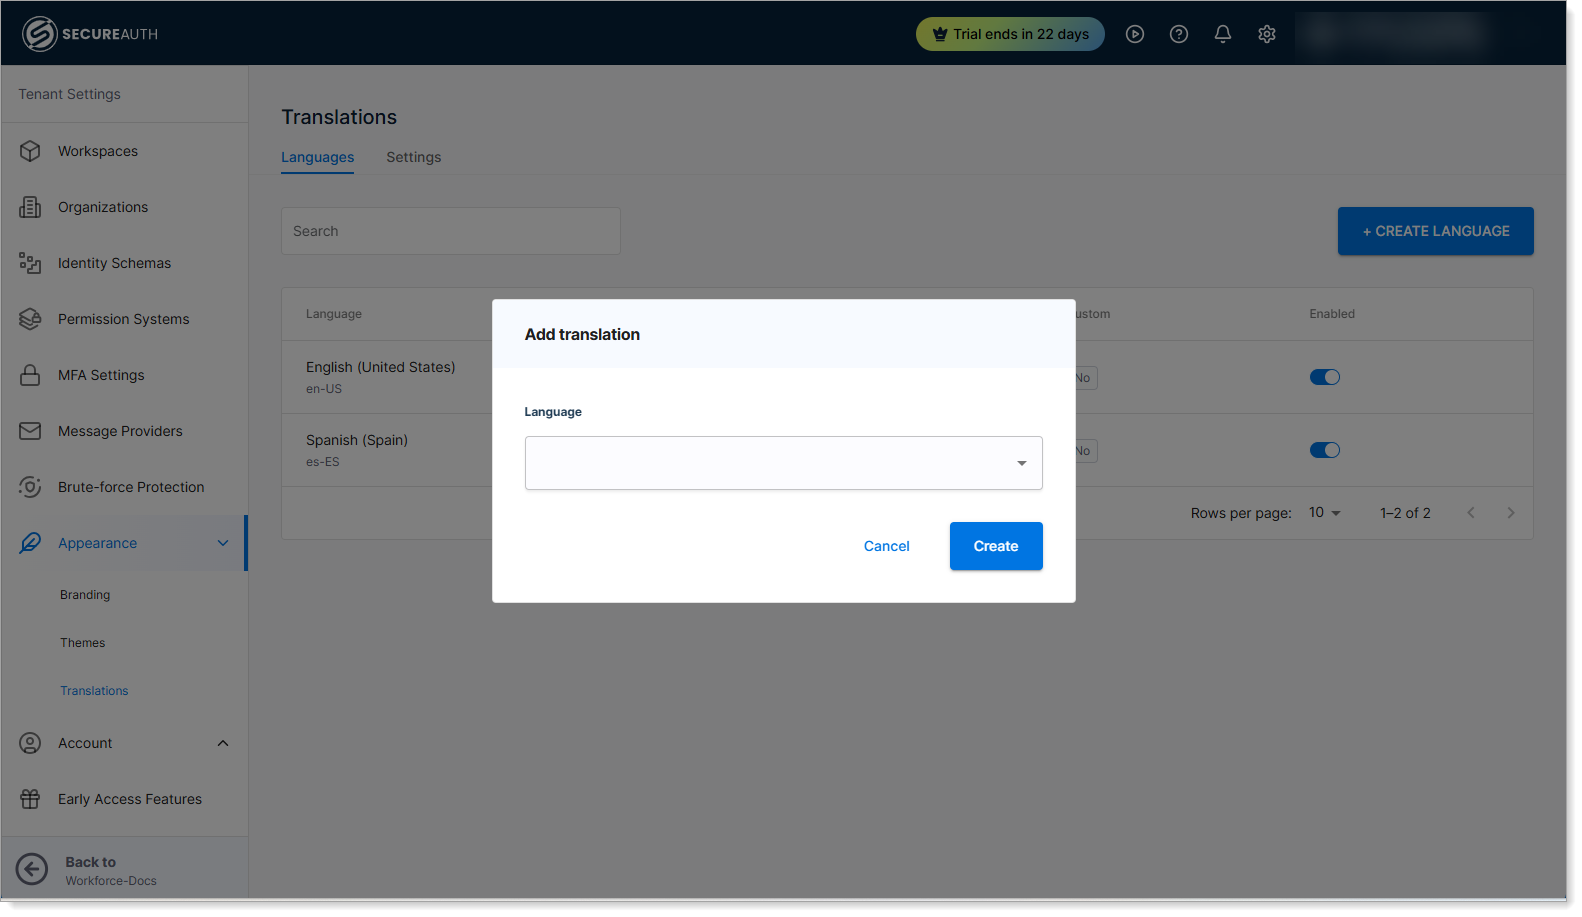
-
Click Create.
The language management interface displays.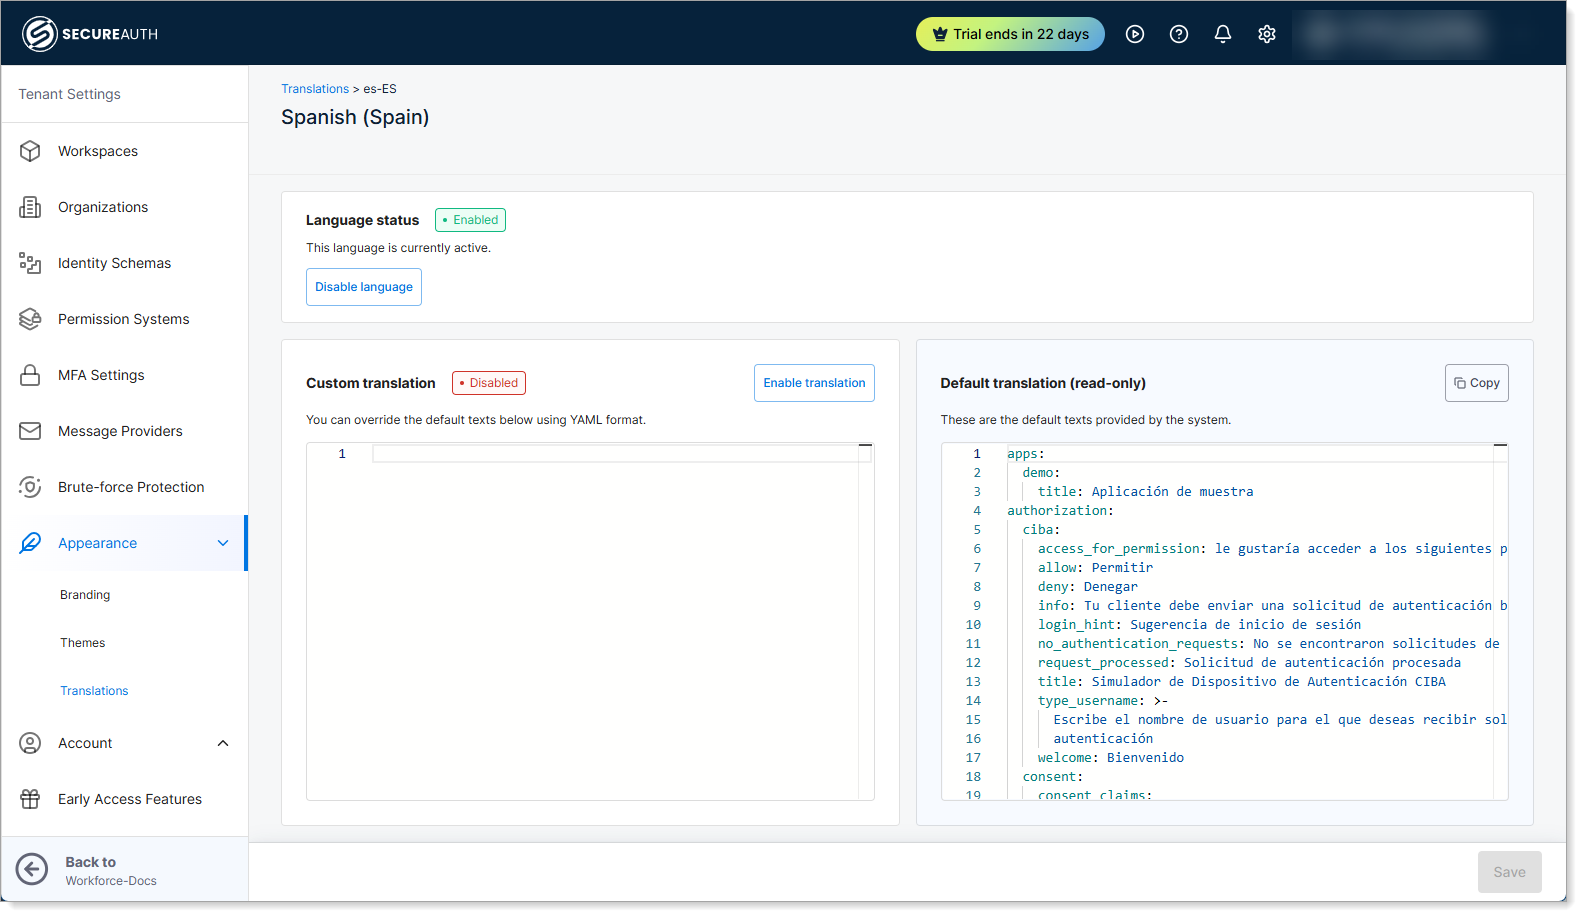
SecureAuth supports more than 90 languages. Enable multiple languages for the same workspace; the default language you set is used as the fallback for any untranslated strings.
Step 4: Edit translation text
- From the list, click the language (translation key) you want to edit.
- Enter your custom translated text.
- Save your changes.
Translation workflow
For efficient translation management:
- Start with your primary language Complete all translations in your main language first.
- Use consistent terminology Maintain a glossary of key terms across all languages.
- Test with real content Preview translations with actual user data when possible.
- Review in context Check how translations appear in different UI states (loading, error, success).
- Validate with native speakers Have team members fluent in each target language review translations.
Best practices
- Keep translations consistent with your brand tone and legal requirements.
- Use variable placeholders (e.g.,
{{username}},{{code}}) carefully. - Update translations when you introduce new consent fields or UI customizations.