User directory
SecureAuth Connect includes a built-in user directory in every workspace and every organization. It stores user accounts and credentials, controls how users sign in, and defines the profile attributes your application can collect at sign-up. In a consumer (B2C) workspace, the directory holds all your end users. In a B2B SaaS workspace, each organization has its own directory, so customers stay isolated from one another. You access it through Users in the navigation of whichever workspace or organization you're inside.
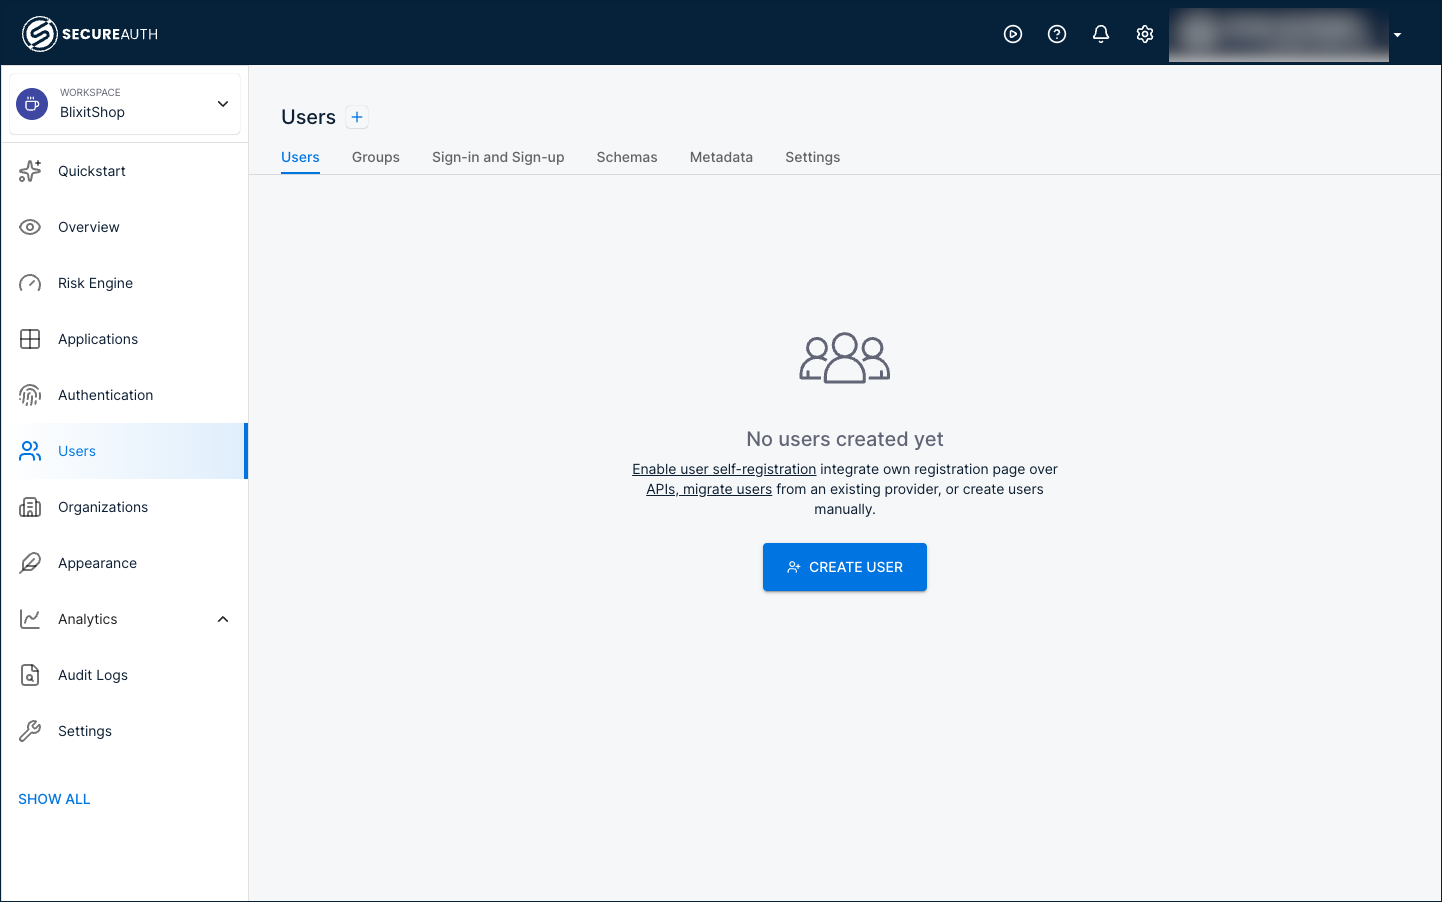
Add users
You can populate the user directory in three ways:
- Create manually – In the Users tab, click + Create User to add users individually.
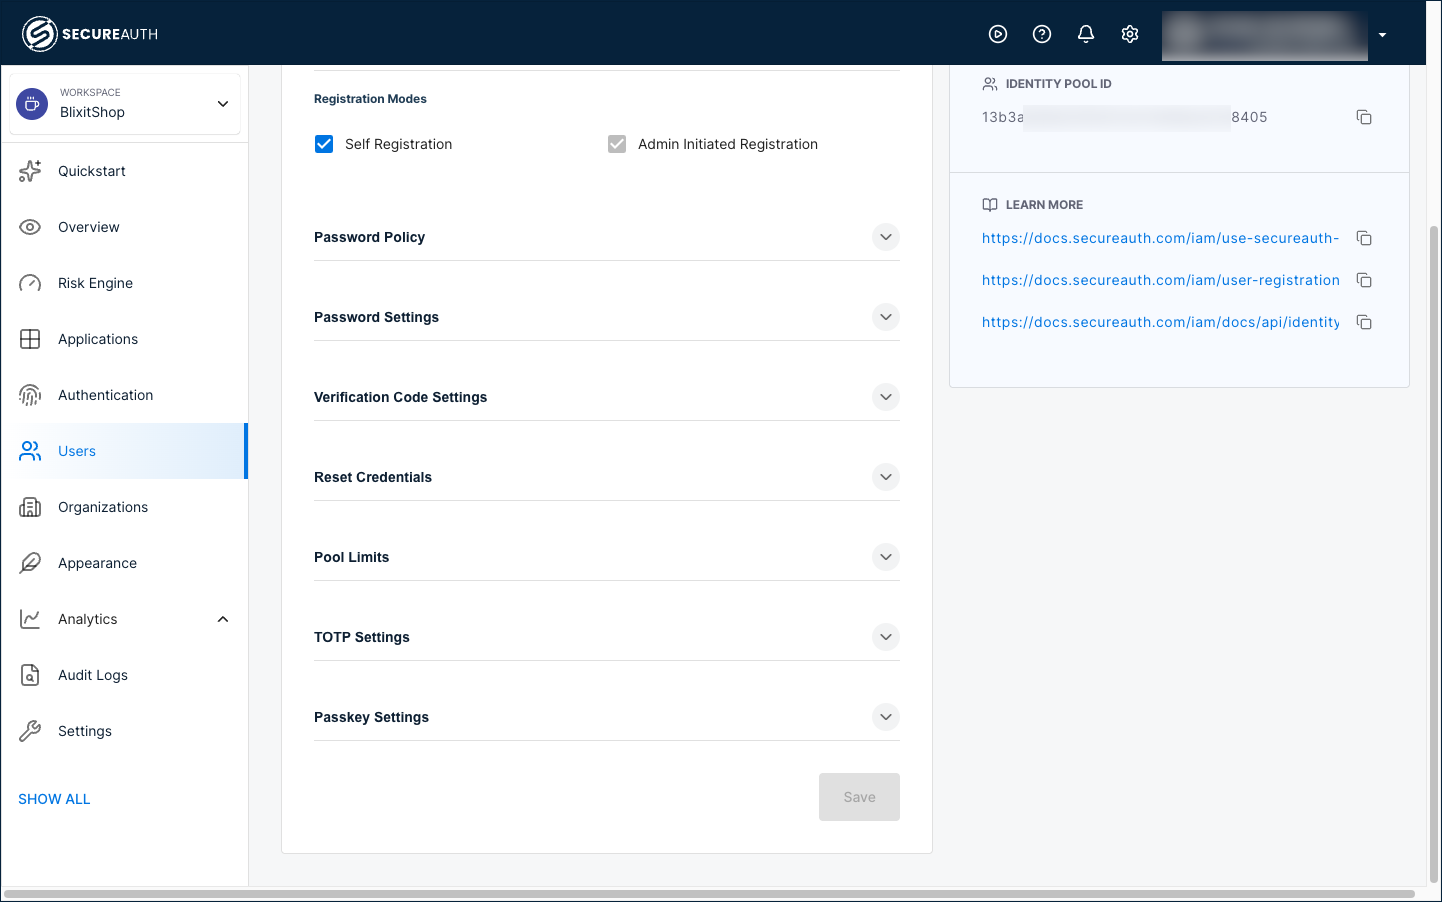
- Enable self-registration – Let users create their own accounts at sign-in. Go to Users > Sign-in and Sign-up and in the Registration Modes section, select Self Registration.
- Migrate from another provider – Use the migration guide to import users in bulk.
Configure sign-in and sign-up
Go to Users > Sign-in and Sign-up to control how users authenticate.
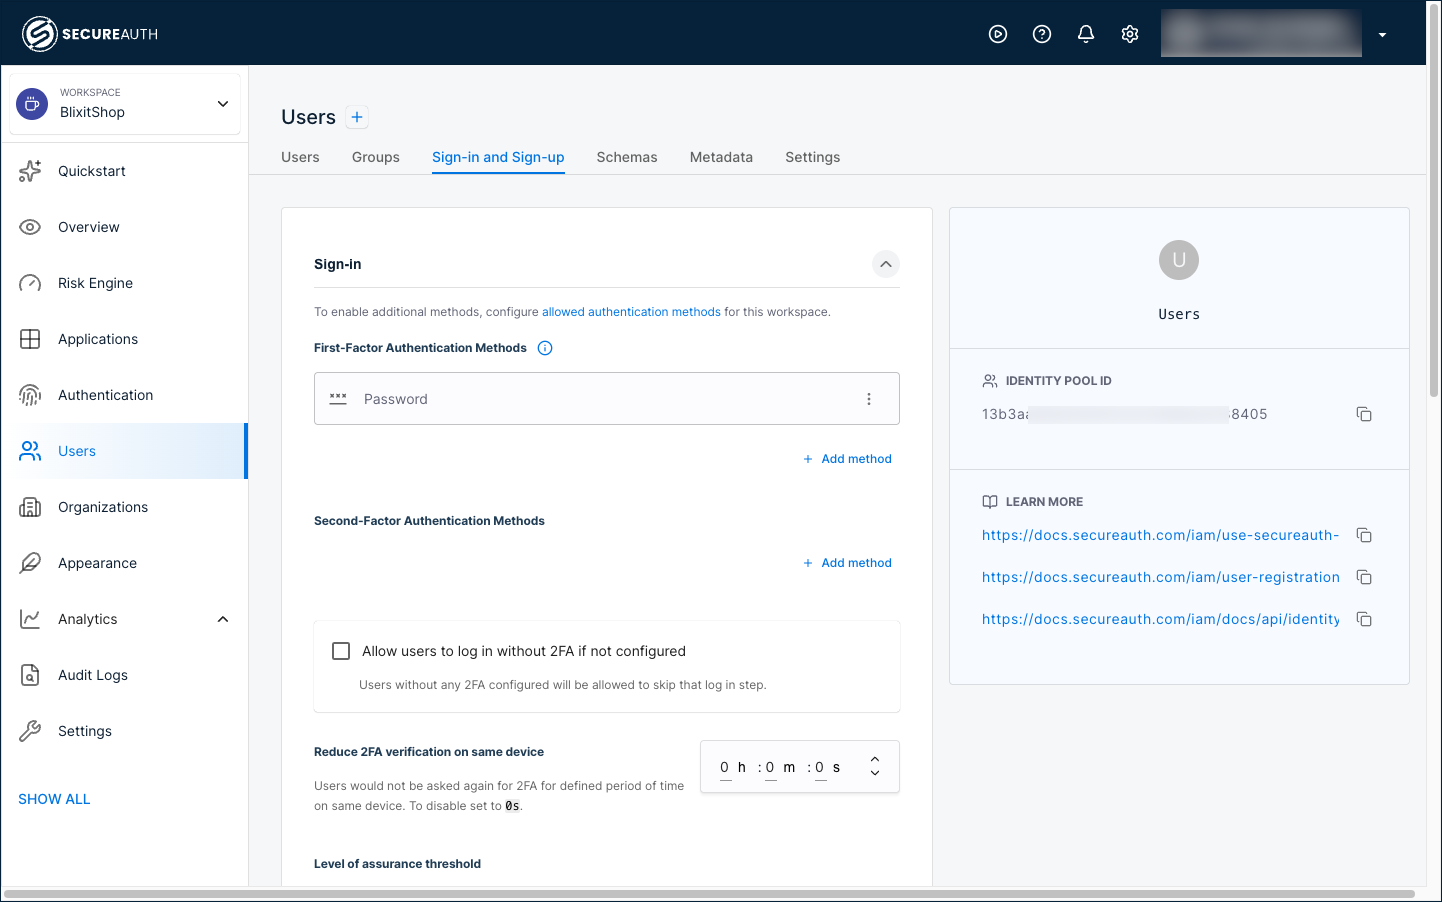
The Sign-in section lists the authentication methods available to users. Password is enabled by default.
Each method has its own setup steps. See the Authentication overview for the full list and individual guides.
The Registration Modes section controls how new accounts are created. Use Self Registration for consumer-facing applications where users sign up on their own. Use Admin Initiated Registration for controlled onboarding, such as invite-only or enterprise applications, where an administrator creates each account and the user receives an activation email to complete setup.
- Self Registration – Users sign up on their own at the sign-in page.
- Admin Initiated Registration – Administrators create accounts, and users receive an activation email to complete setup.
Customize user profile attributes
The Schemas tab defines the attributes collected for each user. Use it to add the profile data your application needs at sign-up, such as a phone number, company name, or custom field. There are three schema types:
| Schema | Purpose |
|---|---|
| Profile | User-facing attributes such as first name, last name, and email, collected at sign-up. |
| Administrative | Internal attributes managed by administrators, not visible to users. |
| Delegated | Attributes managed by authorized applications or services. |
The default Profile schema includes first_name, last_name, and name. To collect additional data at sign-up (for example, a phone number or company name), add attributes to the schema in JSON Schema format.
For guidance and examples, see Define user profile attributes.
Find the identity pool ID
The Identity Pool ID is the system identifier for your user directory. You need it when calling the Identity System API to manage users programmatically.
Find it in the sidebar on the Sign-in and Sign-up or Settings tab.