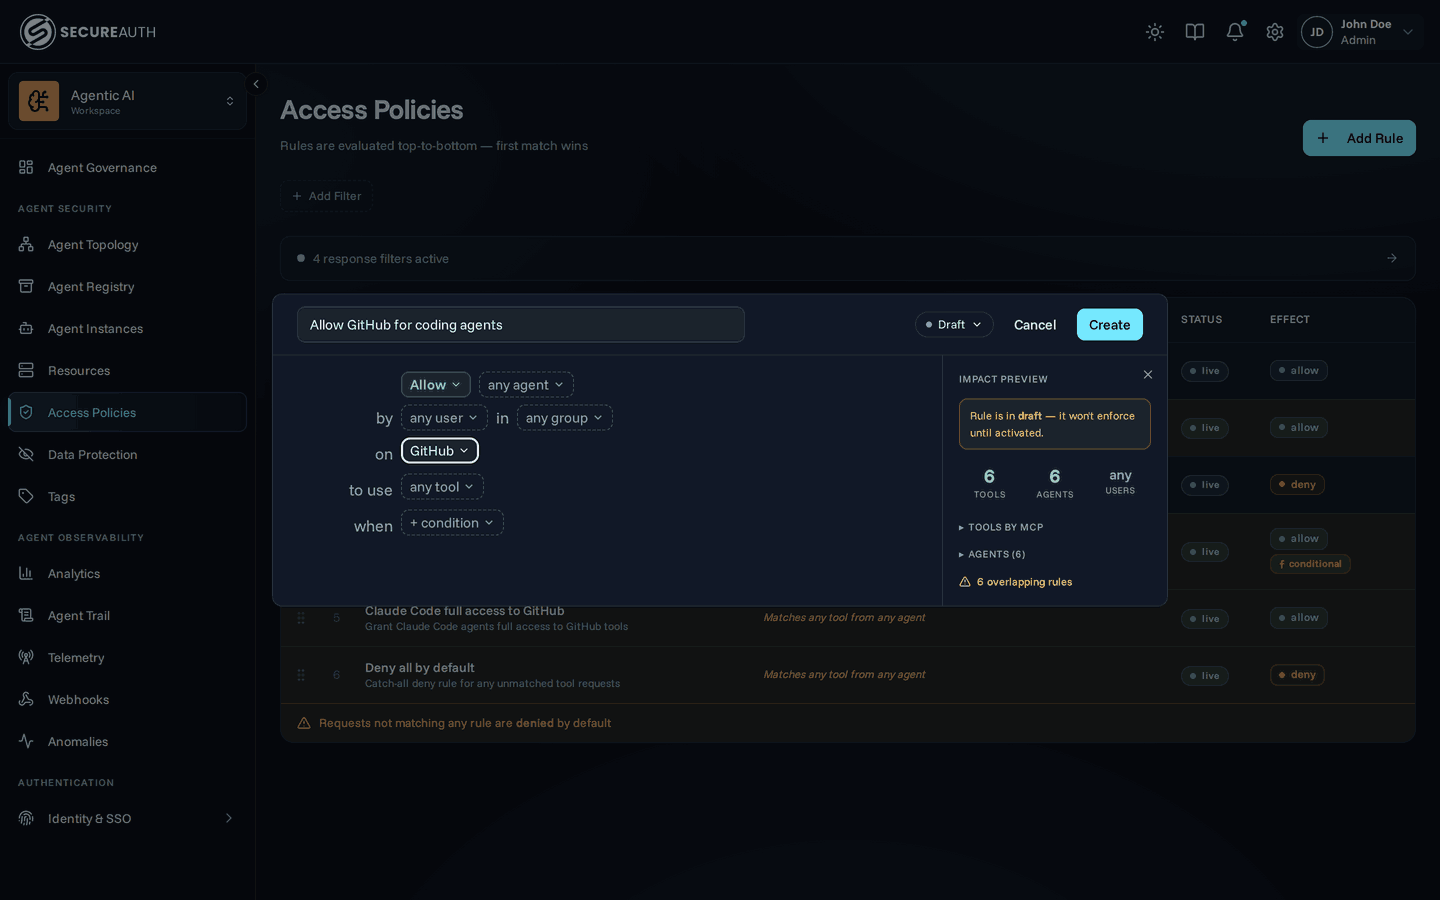
Create a policy
Define which agents can access which tools
Policies control what your agents are allowed to do. Without any rules, all requests are denied by default.
New organizations start with a default Allow all rule so agents work out of the box. Edit or delete it once you're ready to lock things down.


Add a rule
To create a rule of your own:
- Navigate to Access Policies in the dashboard
- Click Add Rule
- Enter a name that describes what the rule does
- Choose the effect — Allow or Deny
- Set the scope to target specific resources, agents, users, or groups — leave it empty to match everything
- Set tool patterns to choose which tools the rule covers —
*matches all tools, or use wildcards likesend_* - Set the status to Active to start enforcing it — new rules start as Draft, which saves the rule without enforcing it
- Click Create
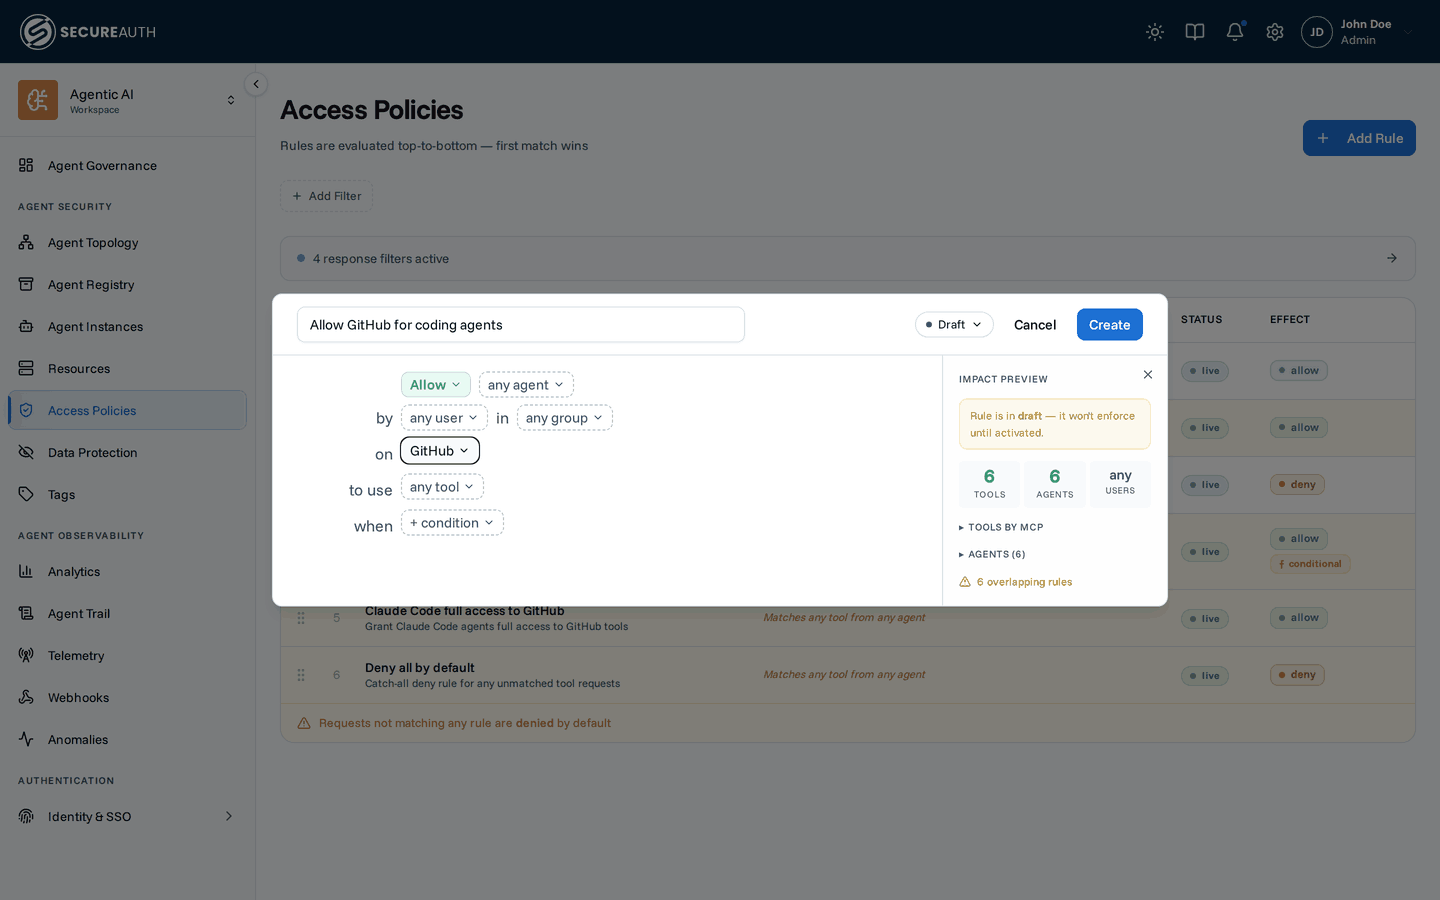
As you fill in the scope and tool patterns, the Impact Preview beside the sentence shows how many tools and agents the rule would cover and which existing rules it overlaps — a quick way to catch a pattern that matches far more, or far less, than you meant.
New rules are added at the top of the table, so they take precedence over the default Allow all rule below them.
How rules work
Rules are evaluated top-to-bottom — the first match wins. If no rule matches, the request is denied.
- Allow rules permit the tool call
- Deny rules block it
- Drag rules in the table to reorder them
Put more specific rules above more general ones. For example, a deny rule for delete_* at position 1 blocks deletes even if an allow-all rule exists below it.
Next steps
Continue to Connect an agent to point a client at the gateway and put this policy to work.
Once basic access is working, refine it with scope-by-tag, CEL conditions, and argument-level conditions on the live tool-call payload — see the full Policies guide for all of it.