Add resources
Pick from the catalog and start connecting tools in seconds
Connect the services your agents need — once added, a resource's tools are ready to reference in a policy. Resources are the MCP servers that expose those tools to your agents through the gateway.
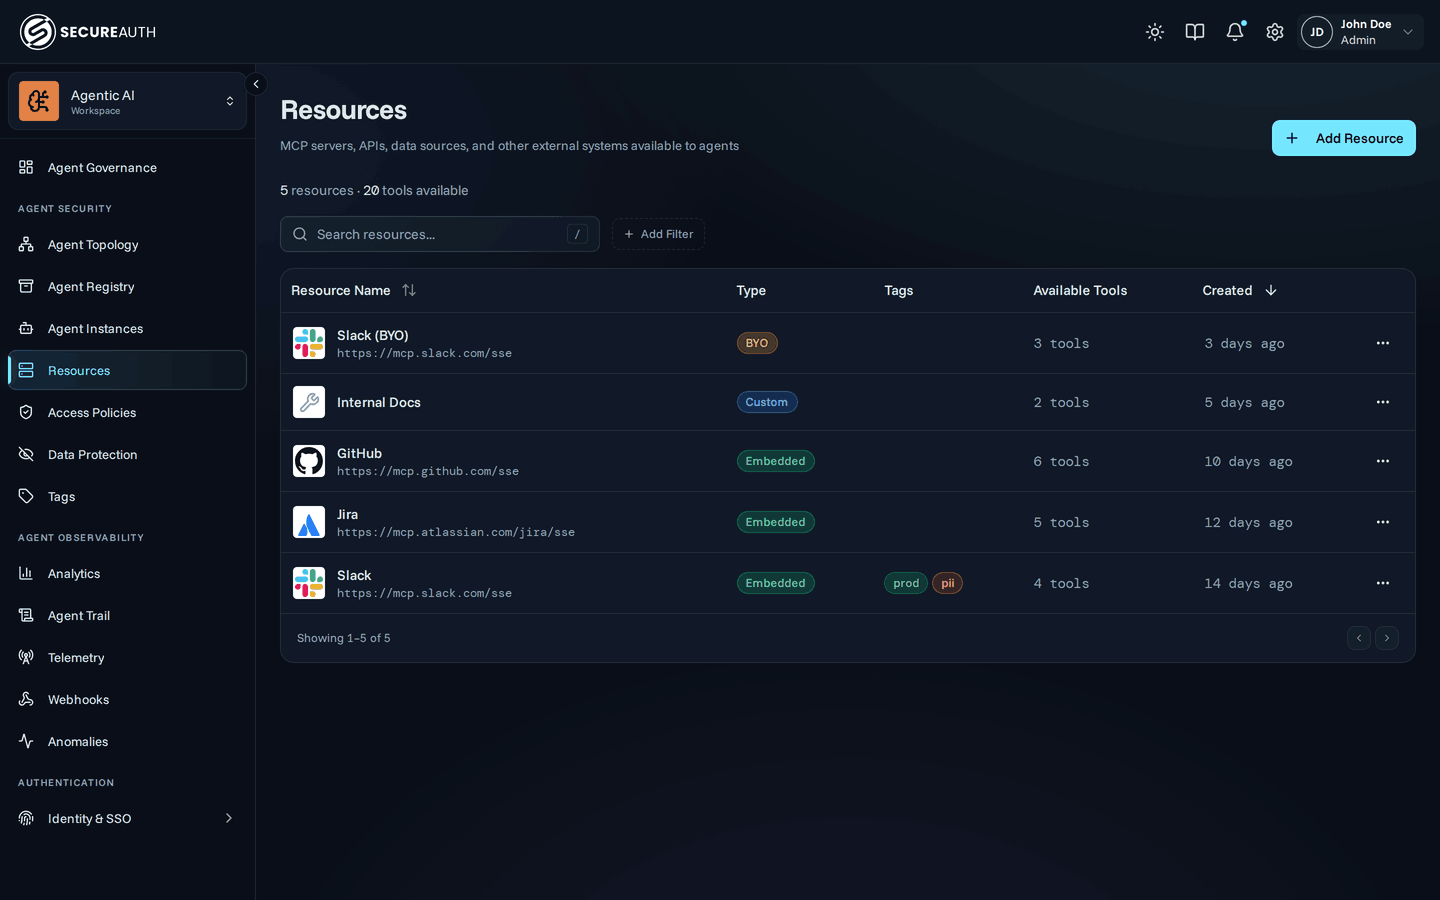
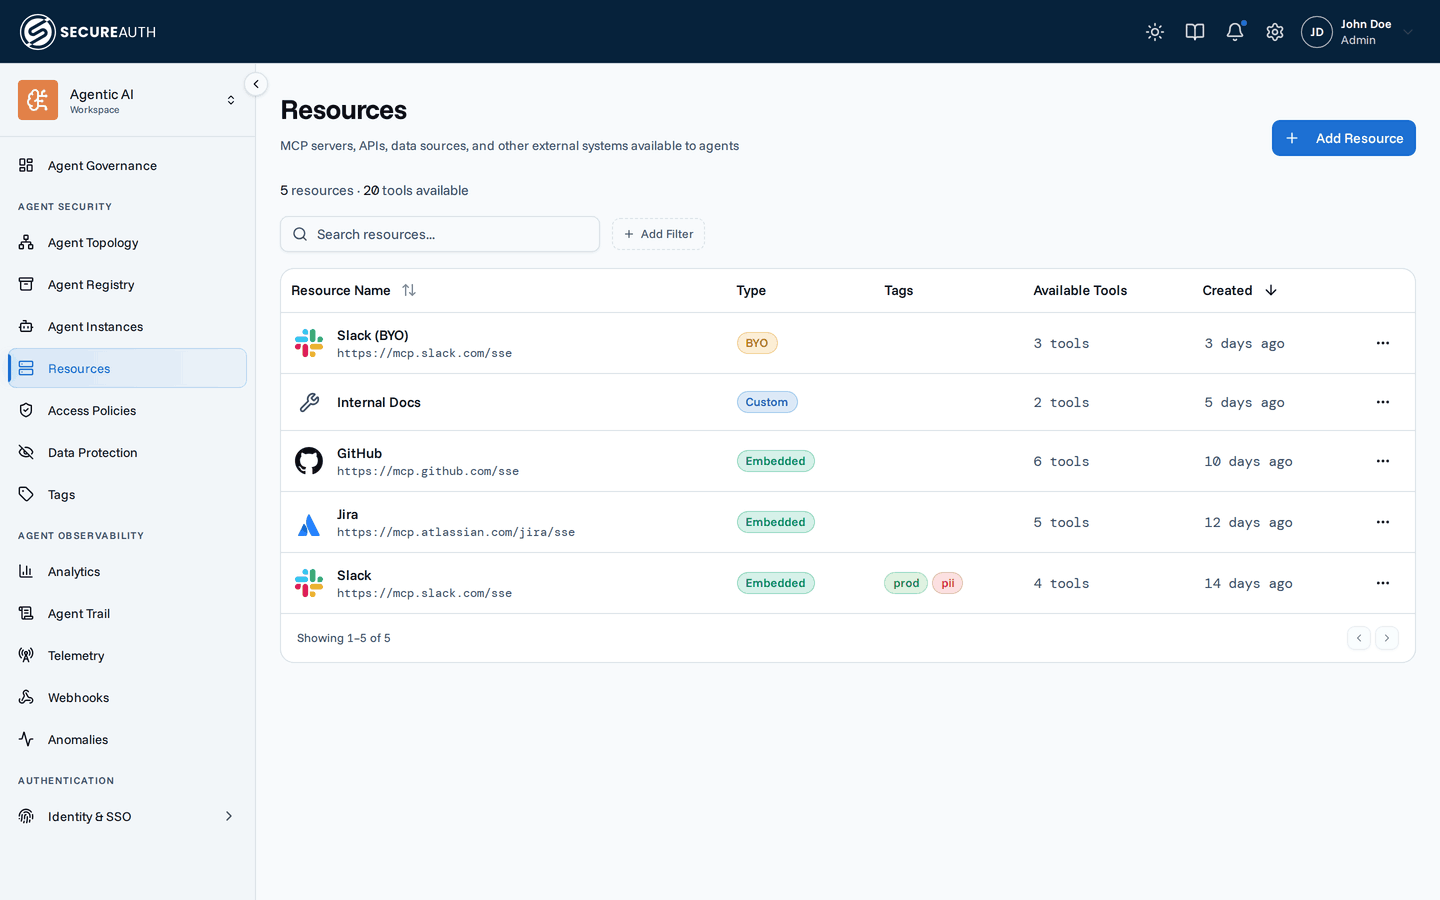
From the catalog
The catalog includes pre-configured resources that work out of the box:
- Navigate to Tools & Services in the dashboard
- Click Add Resource to open the catalog
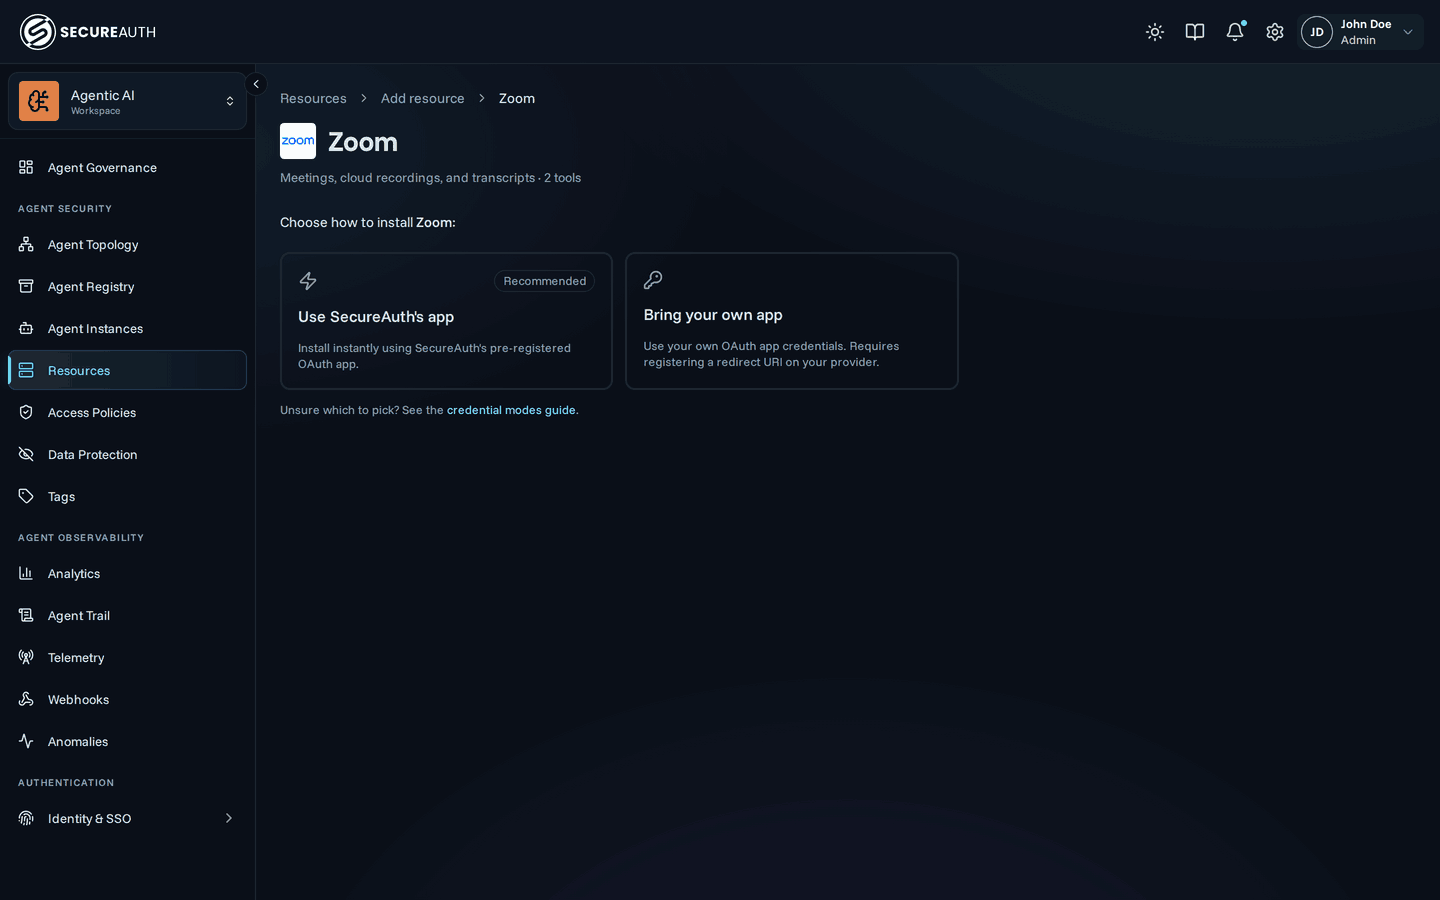
- Find a resource by search or by browsing a category, then click it to open its page
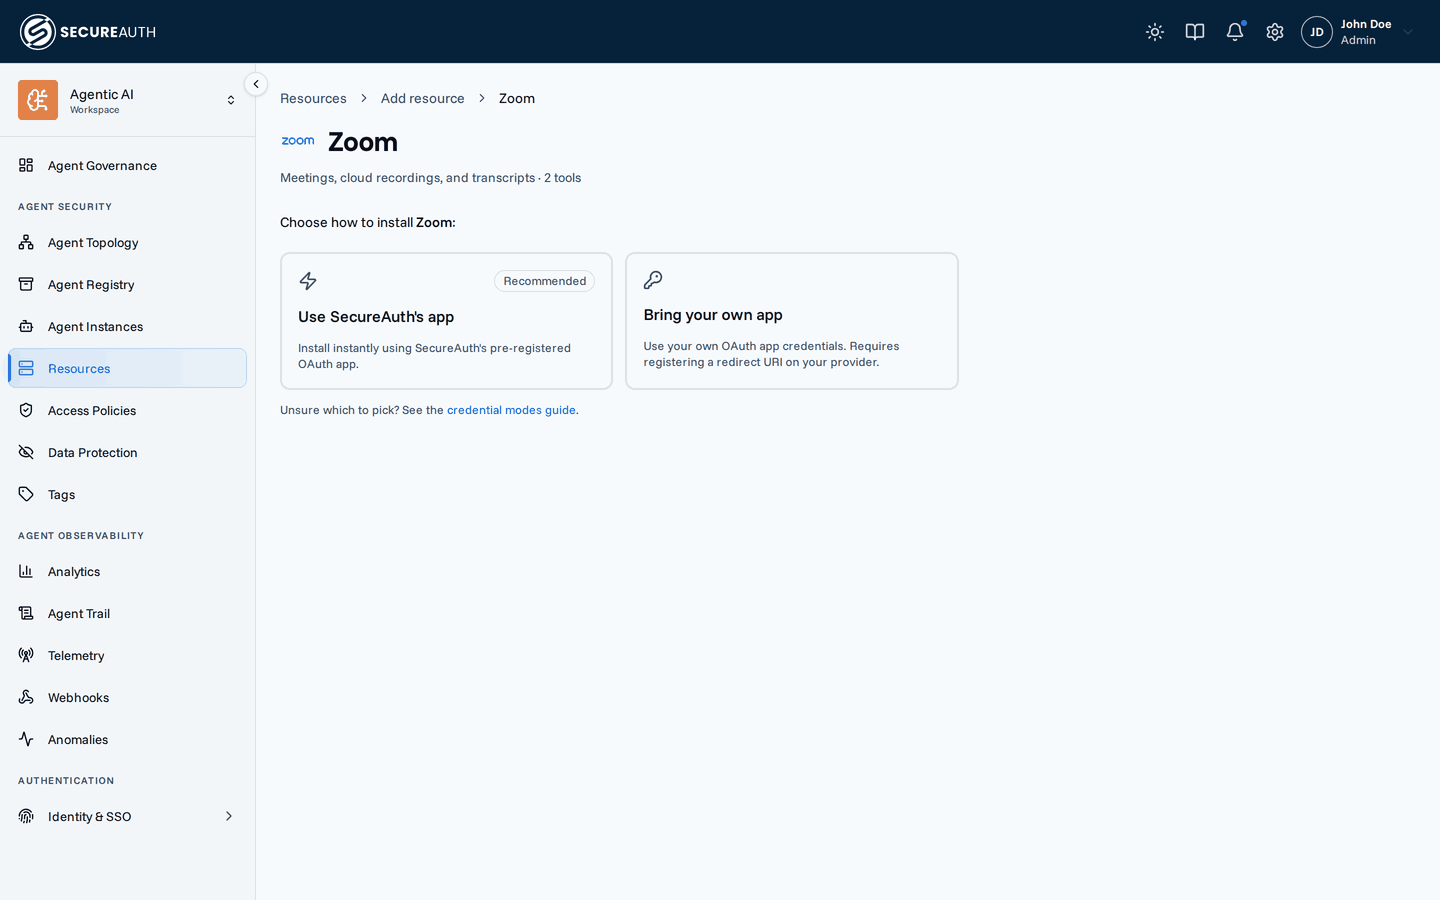
- If it supports more than one way to authenticate, pick Use SecureAuth's app (the quickest option) or Bring your own app (paste your own OAuth client ID and secret — the form shows a redirect URI to register with the provider, then click Add). See Credential modes for the differences.
- Resources with a single one-click mode show one card — click it to install. Resources that only support bring-your-own credentials skip the picker entirely and open the credentials form directly, with the same fields as step 4
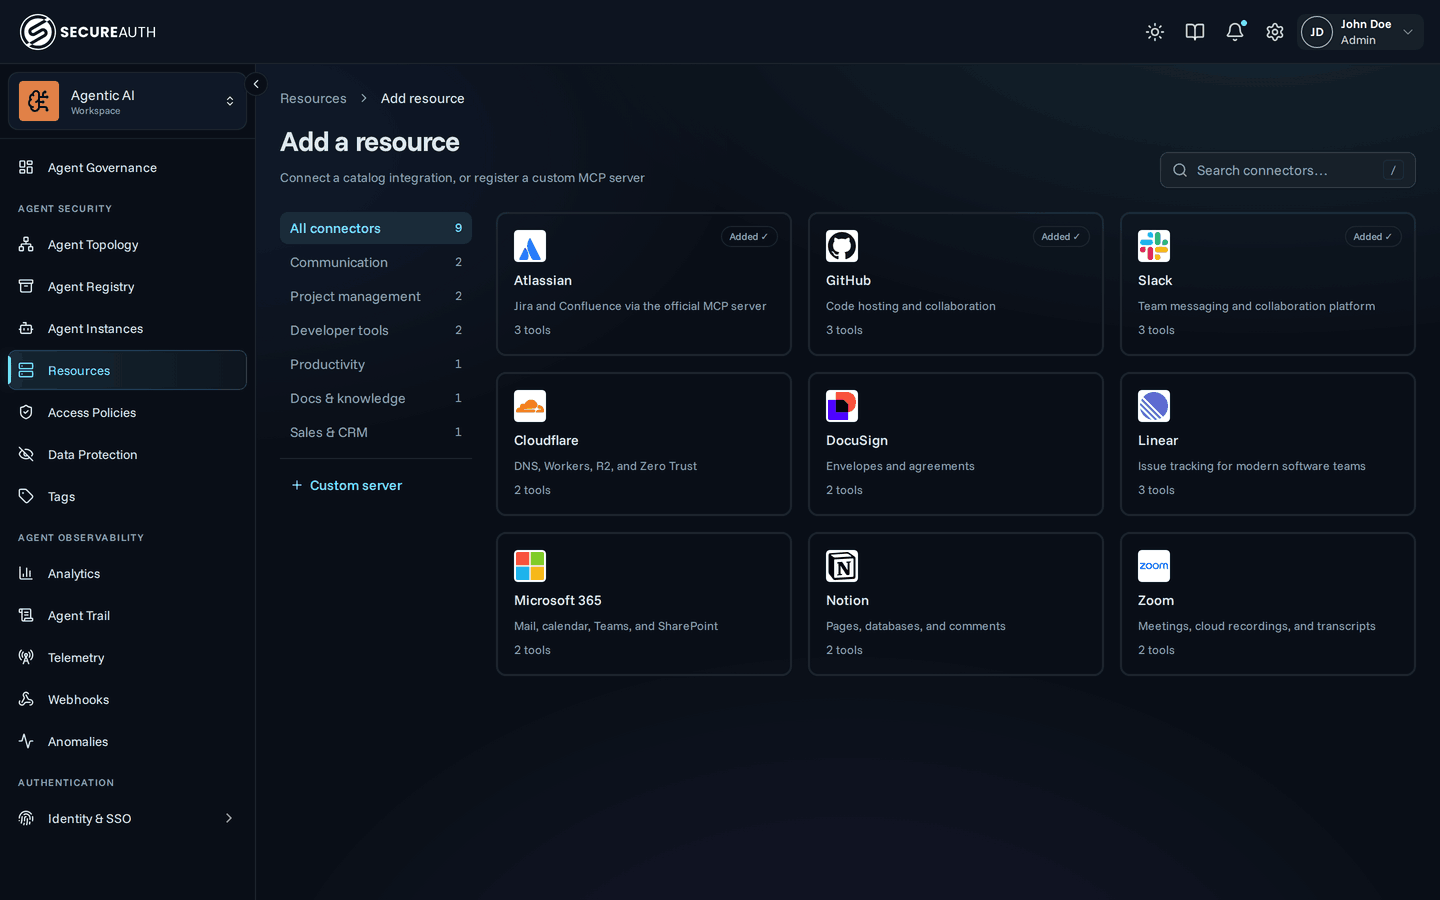
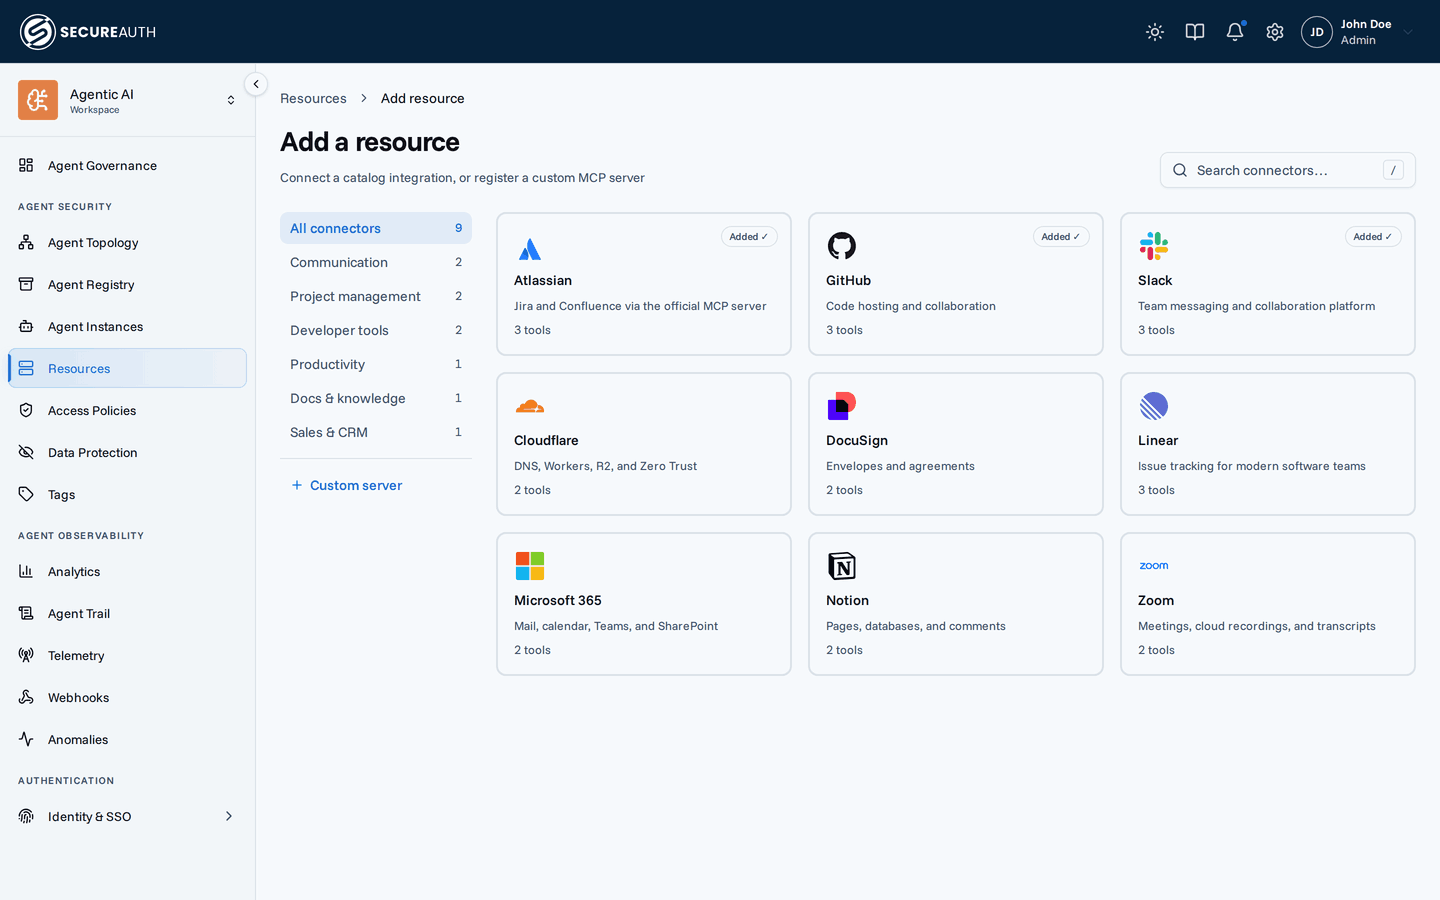
Many connectors need one-time work in the provider's own admin console — approving the app, granting scopes. For those, the resource's detail page opens with an Admin setup required dialog right after you install; its Setup guide button links to the steps. The resource is already added, but users can't connect their accounts until you've finished them.
Available tools are discovered automatically. Users will be prompted to connect their accounts via OAuth when they first use the resource.
Custom resources
You can add any MCP server not in the catalog:
- Navigate to Tools & Services, click Add Resource, then + Custom server
- Enter a display name, a slug, and the server URL for the MCP server. The slug is the short identifier used in policies (
mcp.slug == "…") - Choose the authentication type:
- None – no authentication required
- OAuth2 – defaults to Automatic (DCR), where the gateway registers itself with the server's authorization server on save and you enter no credentials at all. Choose Use existing client credentials instead to supply a client ID, secret, and scopes, with the endpoints discovered from an issuer URL or entered manually
- API Key – add custom headers sent with every request
- Click Add
The gateway connects to the server and discovers available tools automatically.
Resource details
Click any resource in the list to see its detail page:
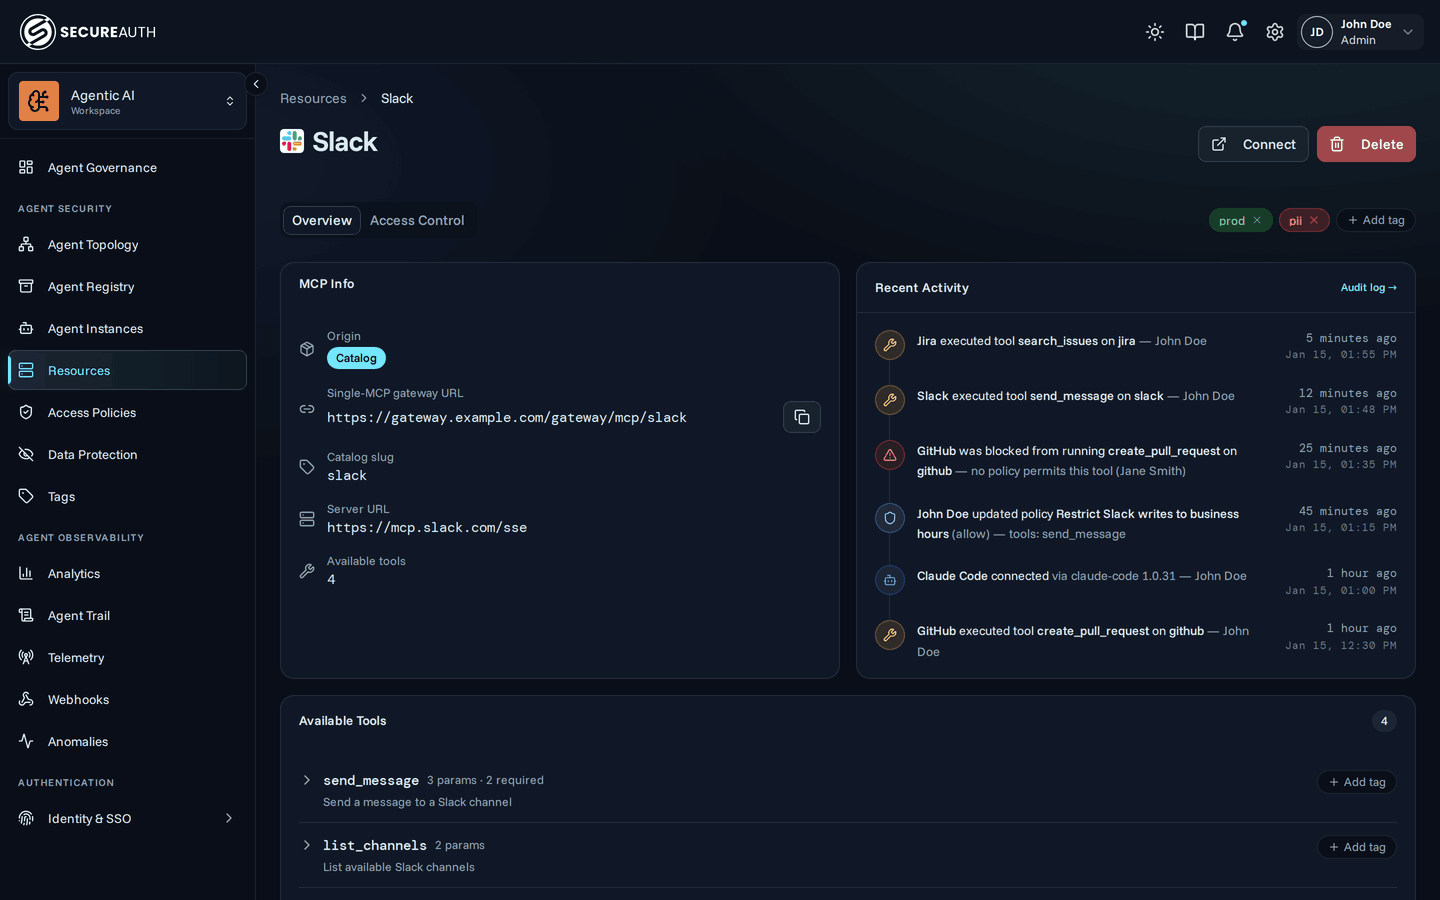
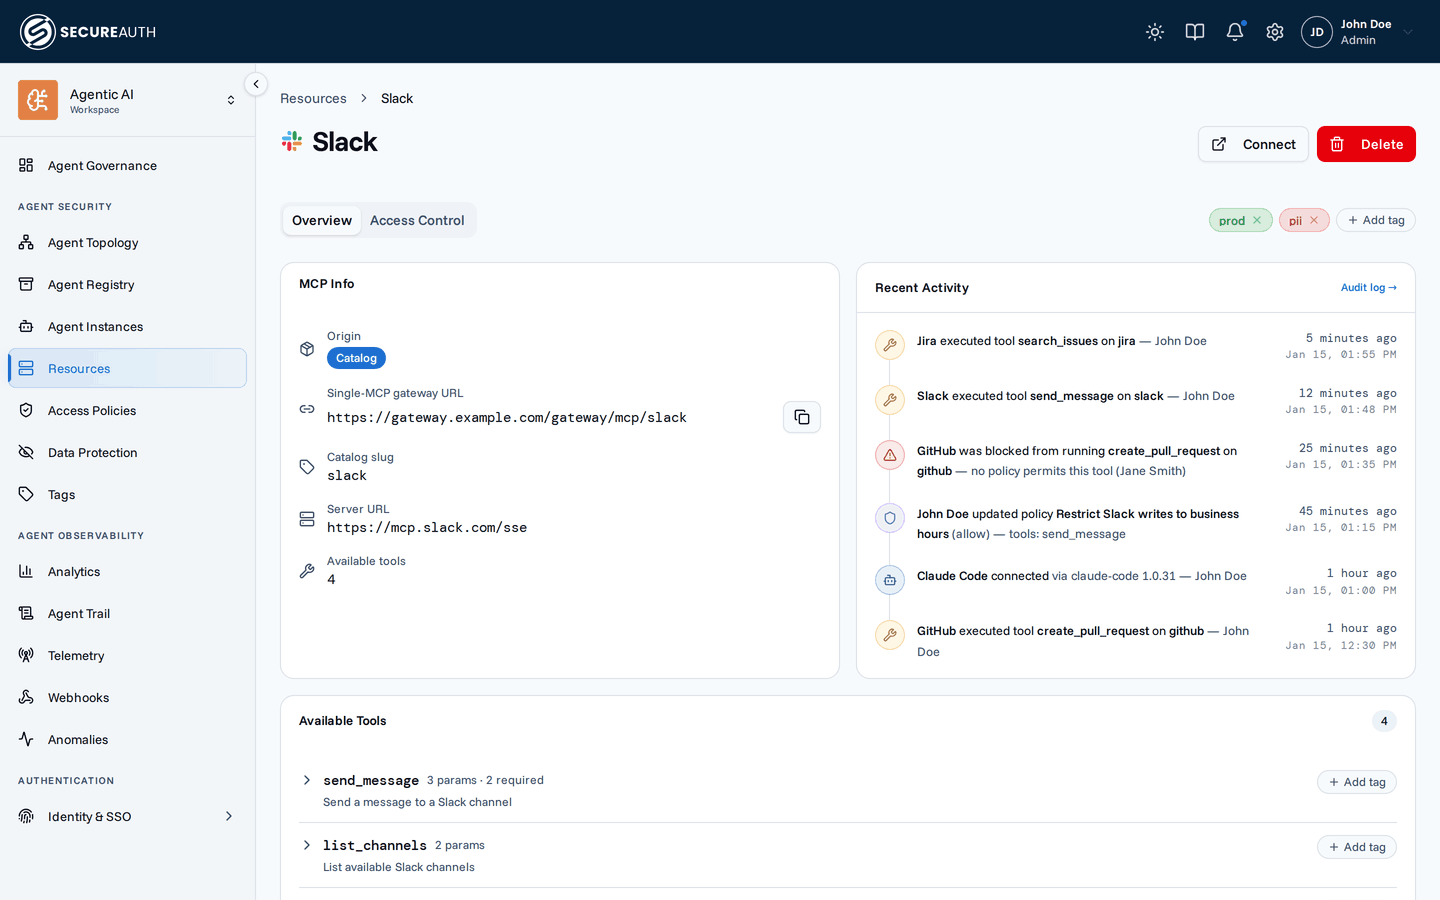
- Available tools – every tool the MCP server exposes, with descriptions
- MCP Info – origin (catalog or custom) and its slug; custom servers also show the server URL and authentication type
- Credentials – for resources installed in bring-your-own mode, a card to rotate the OAuth client ID and secret in place (details)
- Recent activity – audit events related to this resource
Next steps
Continue to Create a policy to control which agents can use these tools.
See the full Resources guide for custom-resource details, and Credential modes for how the gateway authenticates to each catalog resource.