Connect Gemini Enterprise to Agent Authority
Connect Google's Gemini Enterprise to SecureAuth Agent Authority through its Custom MCP Server connector
Google's enterprise agentic AI platform. Once connected, Gemini Enterprise reaches every tool your organization has approved through a single governed endpoint — every call authenticated, policy-checked, and audited.
Unlike the coding agents, Gemini Enterprise's Custom MCP Server connector supports neither Dynamic Client Registration nor OAuth discovery, so it can't self-register on first connect. Instead you create an OAuth client here — the gateway registers it for you and shows its credentials once — and paste those values into the Google Cloud console.
Before you start
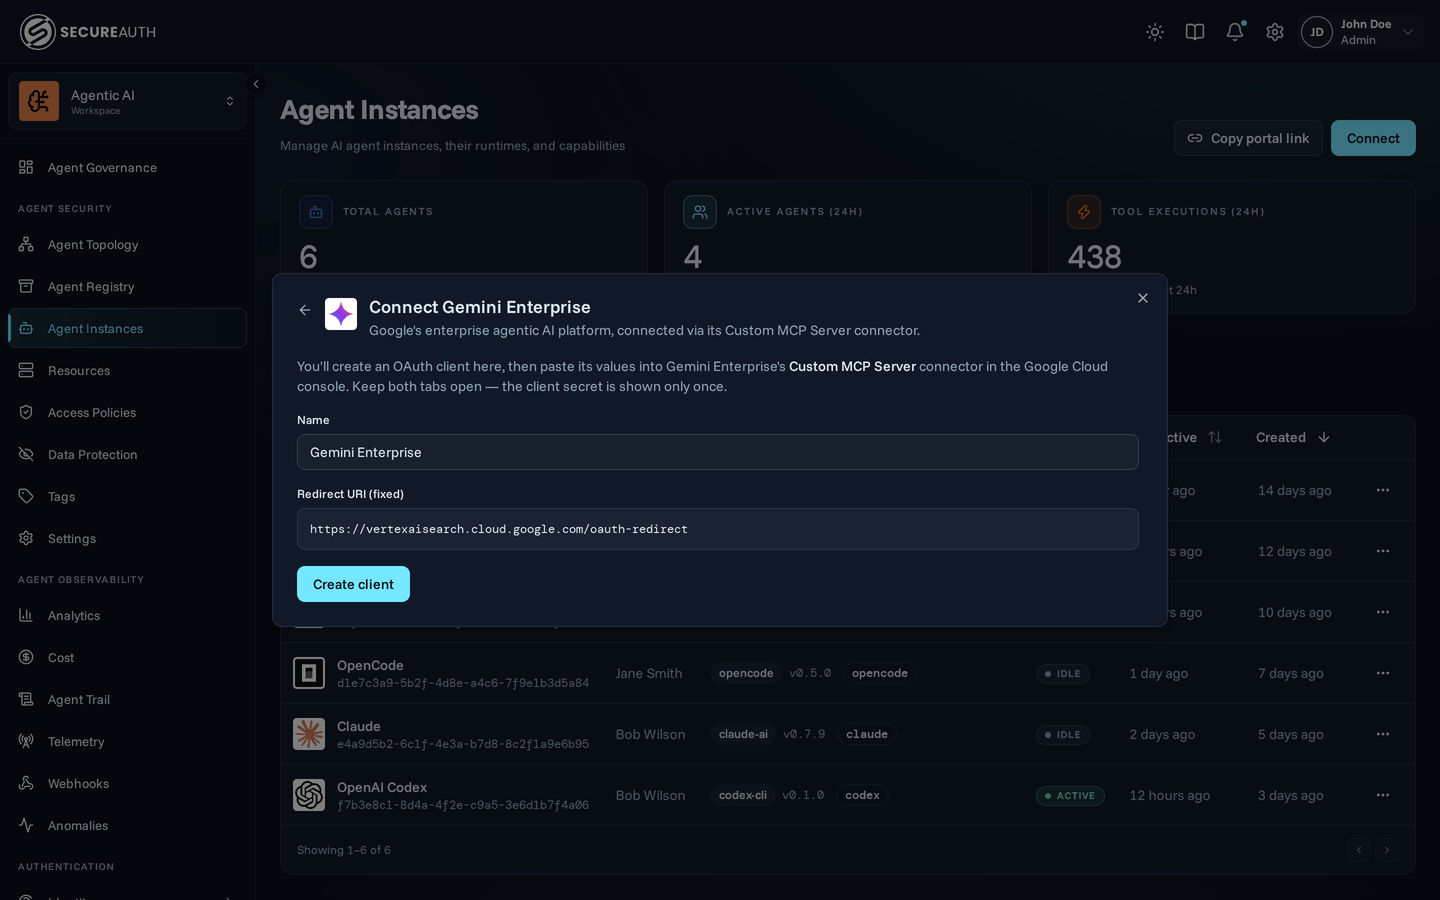
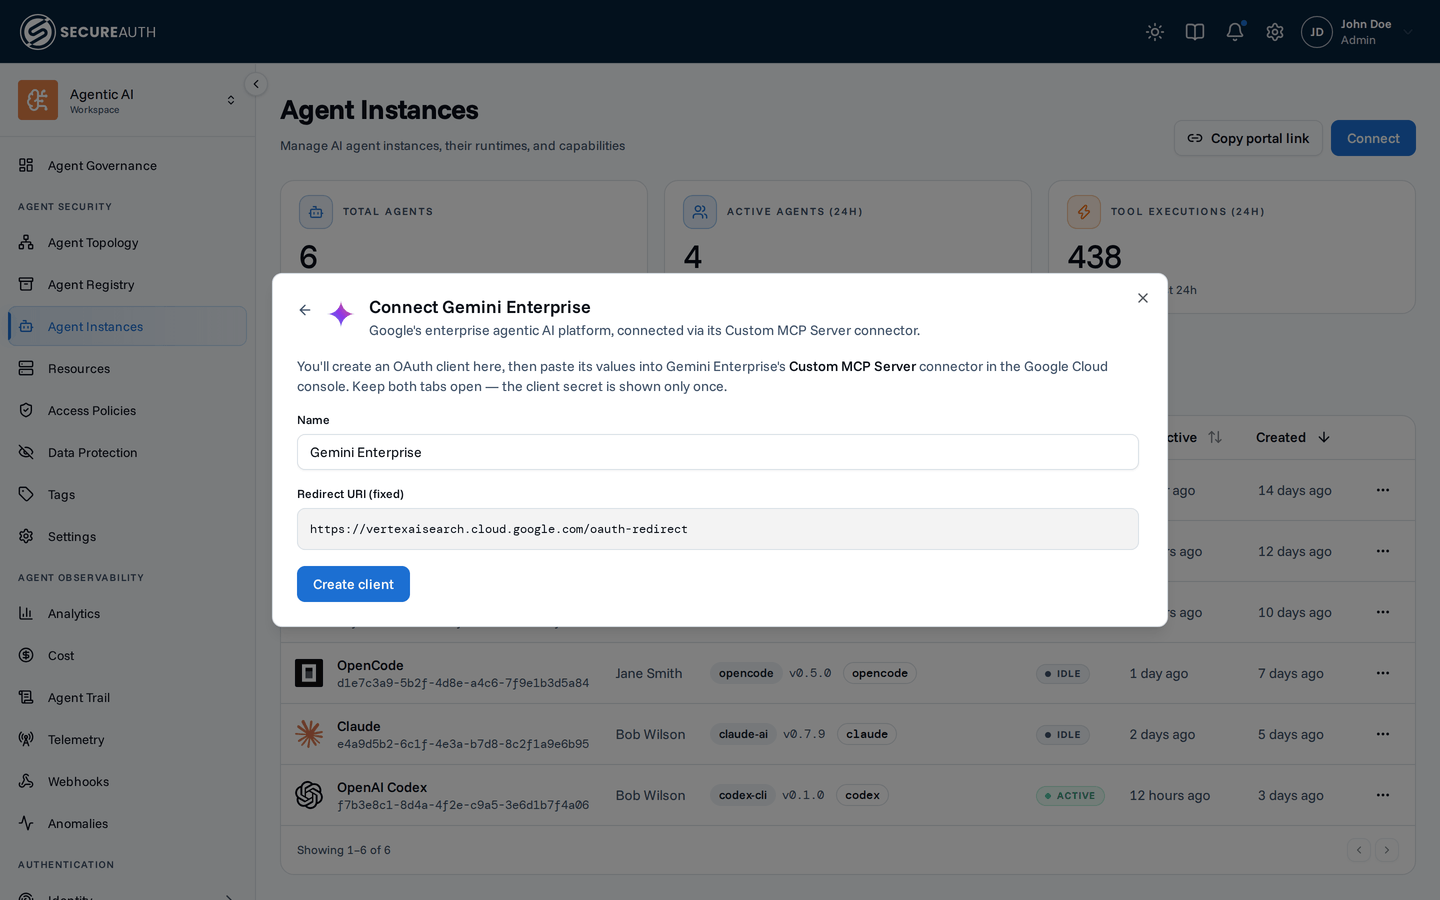
You'll create an OAuth client in Agent Authority, then paste its values into Gemini Enterprise's Custom MCP Server connector in the Google Cloud console. Keep both tabs open — the client secret is shown only once.
Create the OAuth client
-
Open the connect flow — In Agent Authority, go to Agents & NHIs, click Connect, then choose Gemini Enterprise.
-
Name it and create — Enter a name for the connection and click Create client. The redirect URI is fixed by Google (
https://vertexaisearch.cloud.google.com/oauth-redirect) and can't be changed. The gateway registers the OAuth client and reveals its credentials. -
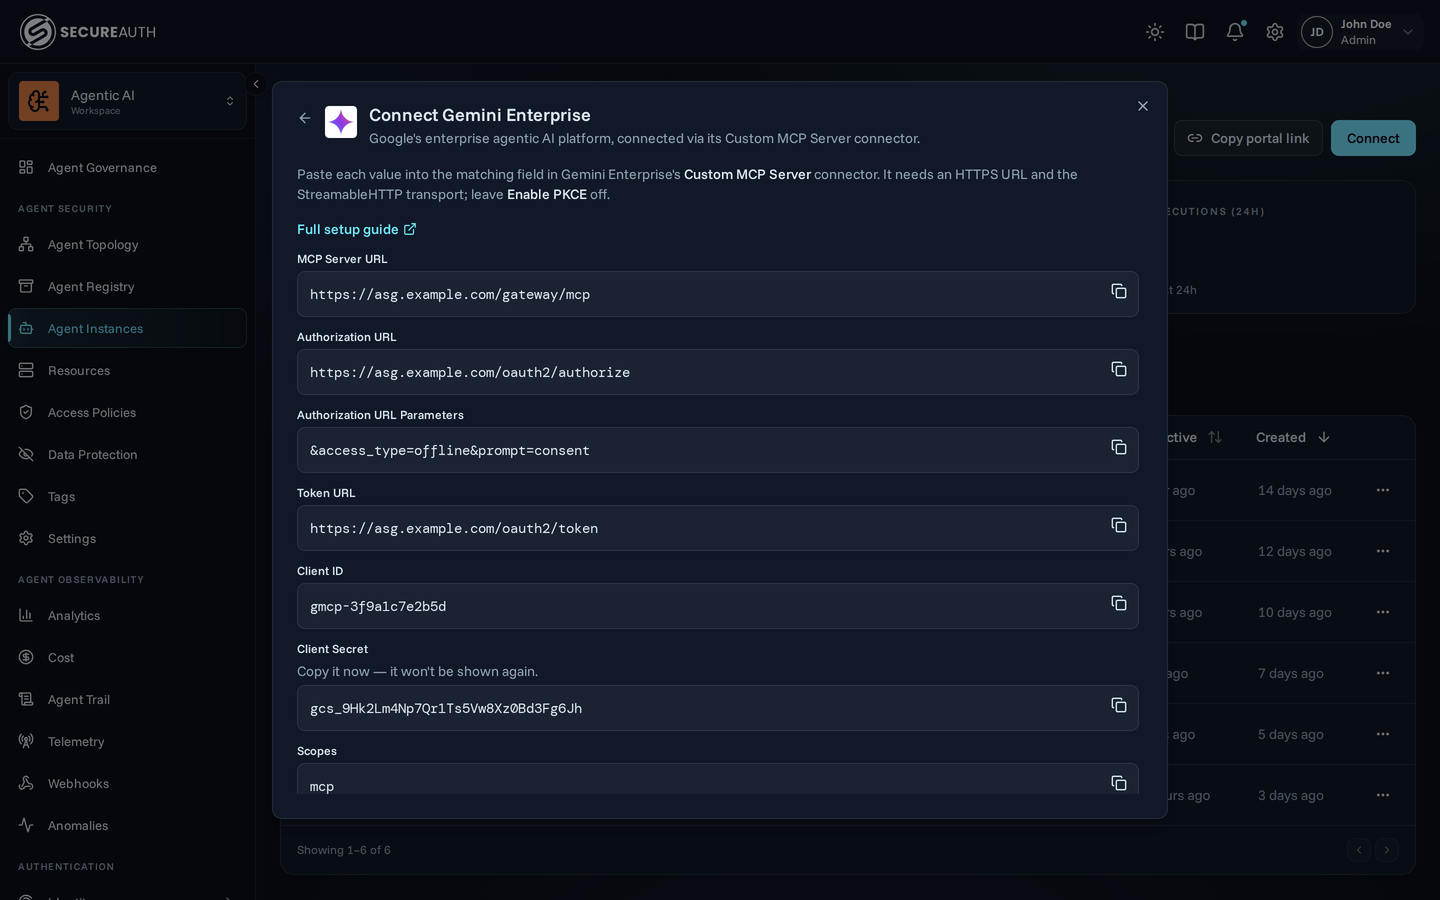
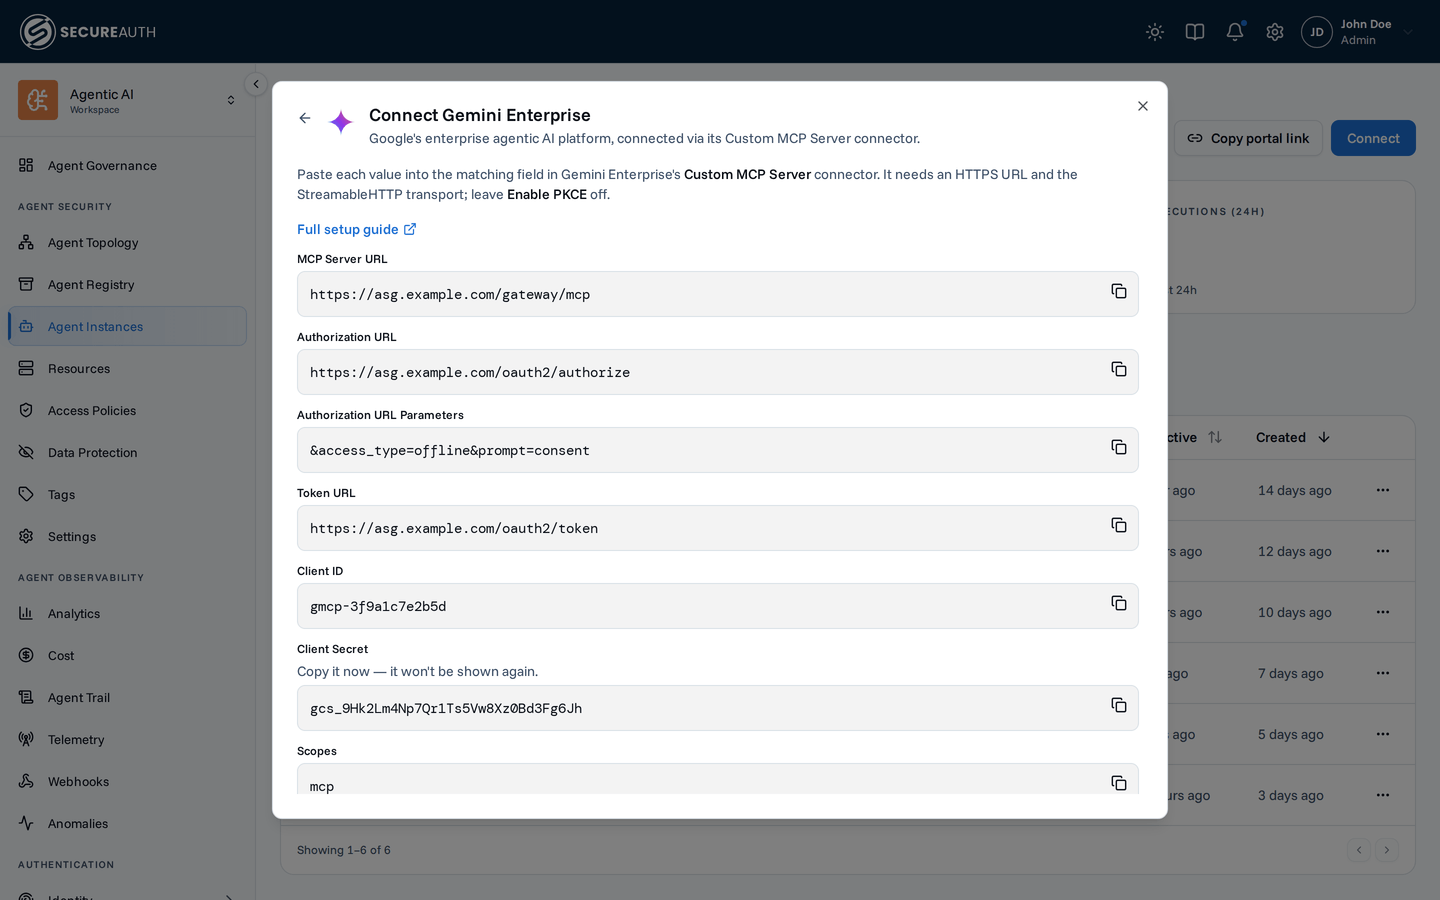
Copy the values now — Copy each field before you leave the page; the client secret is shown only once. If you lose it, delete the agent and reconnect to issue a new client.
Paste into Google Cloud
In the Google Cloud console, go to Gemini Enterprise → Data stores → Create data store, choose Custom MCP Server, and click Add MCP server. Copy each value from Agent Authority into the matching field, in order:
| Connector field | Value from Agent Authority |
|---|---|
| MCP Server URL | the MCP Server URL |
| Authorization URL | the Authorization URL |
| Authorization URL Parameters | &access_type=offline&prompt=consent (for refresh tokens) |
| Token URL | the Token URL |
| Client ID / Client Secret | the generated credentials |
| Scopes | the listed scopes |
The connector requires an HTTPS URL and the StreamableHTTP transport. Leave Enable PKCE off — the gateway issues a client secret.
Authorize and enable tools
- Click Verify Auth and sign in through SecureAuth to authorize the connection.
- Once the data store shows Active, open Actions → Reload custom actions, pick the tools to expose, and click Enable actions.
On first use, Gemini Enterprise signs the user in through SecureAuth; the agent then appears in your Agent Instances list.
Connecting to just one MCP? To stay under an agent's tool limit, point the URL at a single MCP —
/gateway/mcp/{slug}instead of/gateway/mcp. Grab the exact URL from the resource's detail page; see Scope a connection.
Next steps
- Create a policy – control which tools Gemini Enterprise can call.
- Monitor activity – watch its tool calls appear in the dashboard and audit log.