Add a single-page application (SPA)
A single-page application (SPA) runs entirely in the browser — React, Angular, and Vue are common examples. Gmail and Google Maps are well-known SPAs: the page loads once and everything after that happens without a full page reload. Unlike a traditional web app, a SPA loads once and handles navigation without full page reloads.
Because all code runs in the browser where it is publicly visible, SPAs cannot safely store a client secret. SecureAuth registers them without a secret and uses Authorization Code with Proof Key for Code Exchange (PKCE) to keep sign-in secure.
Before you begin
You'll need:
- Access to your workspace in SecureAuth
- The redirect URI where users should land after signing in (your application's callback URL)
Add the application
-
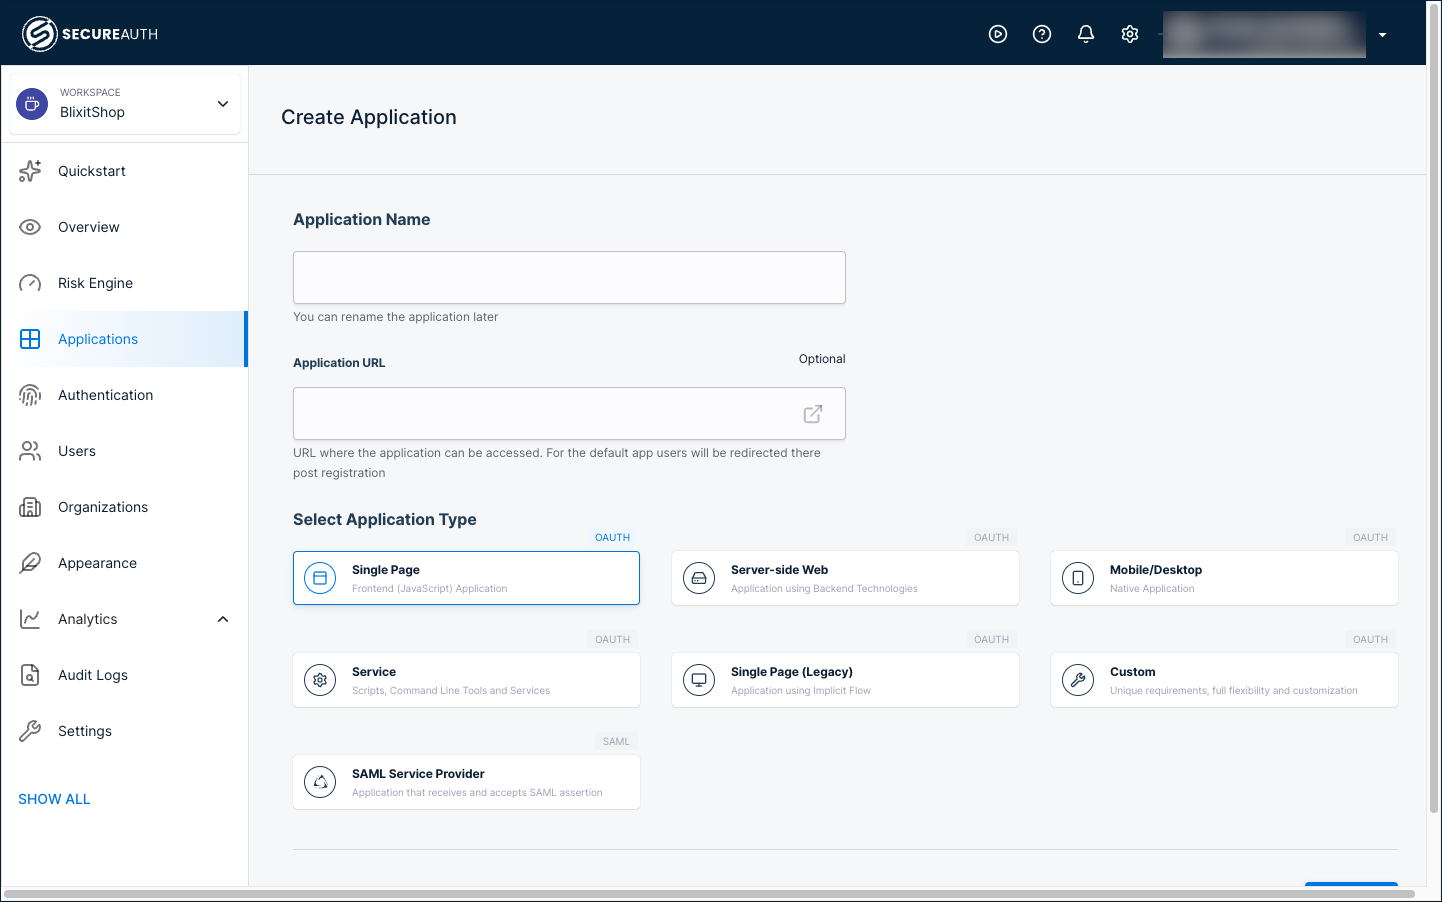
In your workspace, select Applications > Clients > Create client.
-
Enter a name for your application, select the Single Page type, and click Create.
-
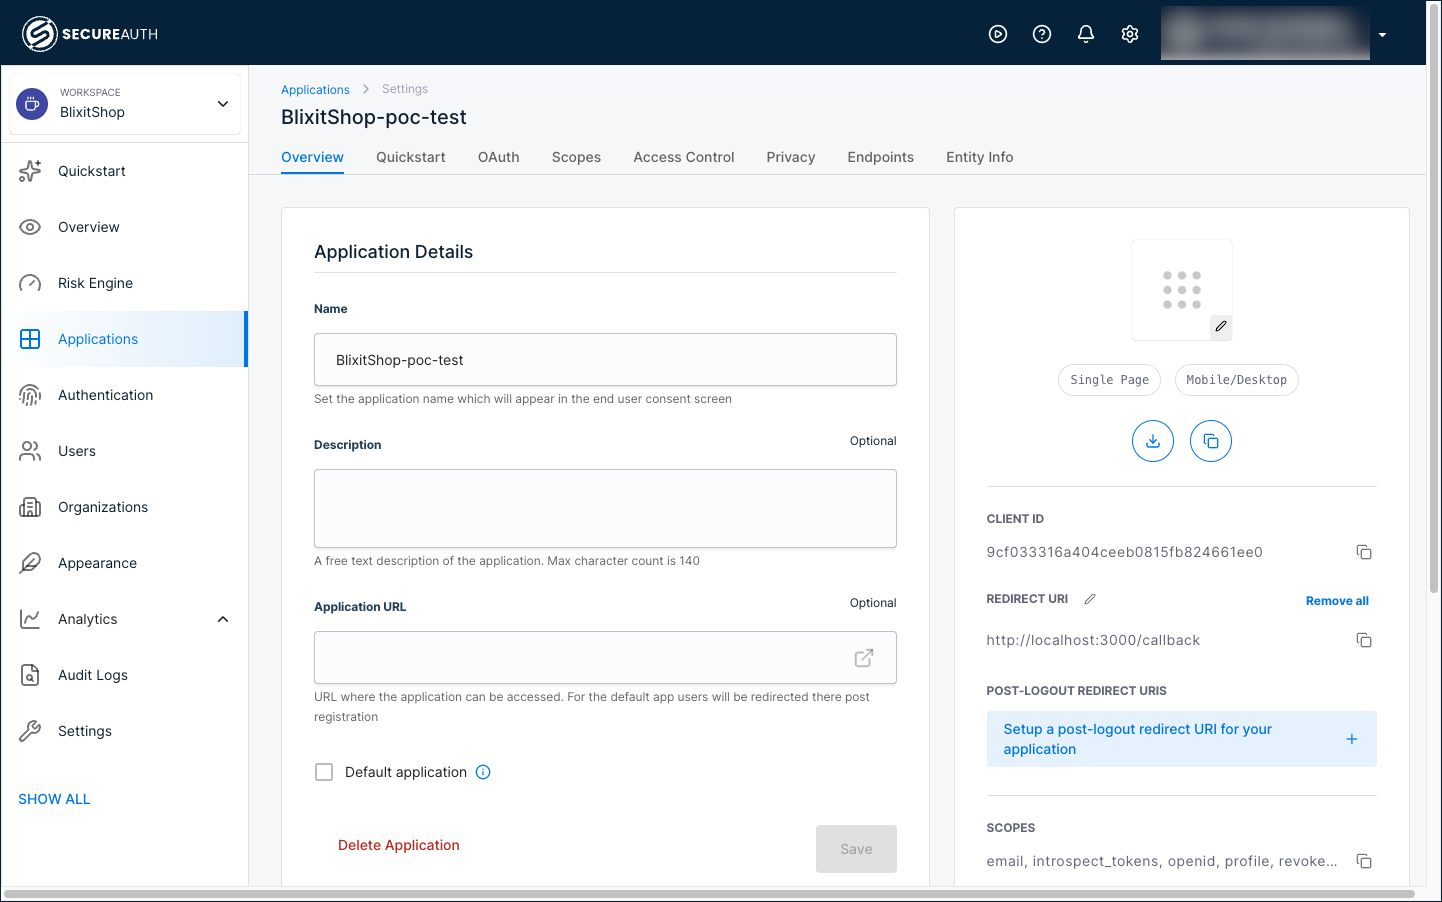
In the right panel, click + Setup a redirect URI and enter your application's callback URL.
The redirect URI is the URL where SecureAuth sends users after they sign in. This must match the callback URL in your application code.
-
Copy the Client ID from the right panel. You'll need it when configuring your application code.
Integrate with your application
After creating the client in SecureAuth, use the Quickstart tab to get framework-specific integration code pre-filled with your application's configuration.
Open the Quickstart tab guide for step-by-step instructions, code snippets for React, Angular, and Vue, and a link to clone a full working example.
Test the integration
- Start your application.
- Navigate to the login page.
- Verify that users are redirected to SecureAuth for authentication.
- After signing in, confirm users are redirected back to your application.
Next steps
- Restrict access with user policies to control who can use the application
- Set up single sign-on (SSO) by connecting external identity providers
- Skip the consent screen for your own applications
- Enable passwordless authentication for a better user experience