Configure inbound SCIM provisioning
SecureAuth Connect supports inbound SCIM v2.0 so external identity providers (Okta, Microsoft Entra ID, and similar) can automatically provision and manage users in SecureAuth identity pools. Configure inbound SCIM integrations on the Custom Applications page in your workspace. The page generates the SCIM endpoint URL and OAuth 2.0 credentials your identity provider needs.
Use cases
- Automatically provision users into SecureAuth from your HR system or identity provider (for example, Okta, Microsoft Entra ID)
- Synchronize user attributes from external systems into SecureAuth
- Automatically deprovision or deactivate SecureAuth users when they're removed from your external identity provider
- Maintain a single source of truth for identity data in your external system while keeping SecureAuth synchronized
Prerequisites
Before you begin, ensure you have:
- Administrator access to your SecureAuth workspace
- An identity pool configured to store provisioned users. See Identity Pools
- Access to configure your external identity provider (for example, Okta, Microsoft Entra ID)
- Understanding of the user schemas in your workspace and which custom fields are configured
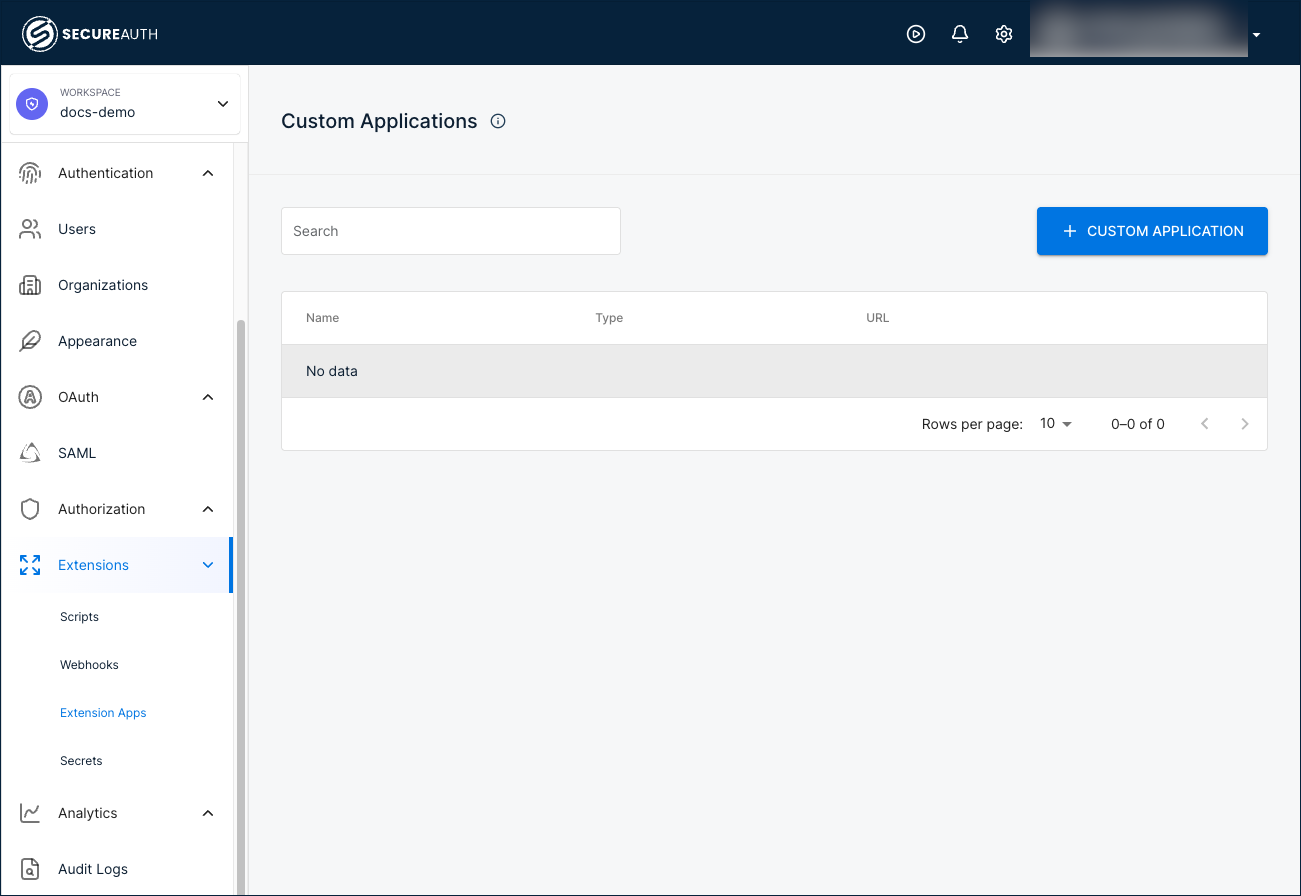
Step 1: Create a SCIM inbound application
Create a SCIM inbound custom application that connects your external identity provider to a SecureAuth identity pool.
-
In your workspace sidebar, go to Extensions > Extension Apps.
-
Click + CUSTOM APPLICATION.
-
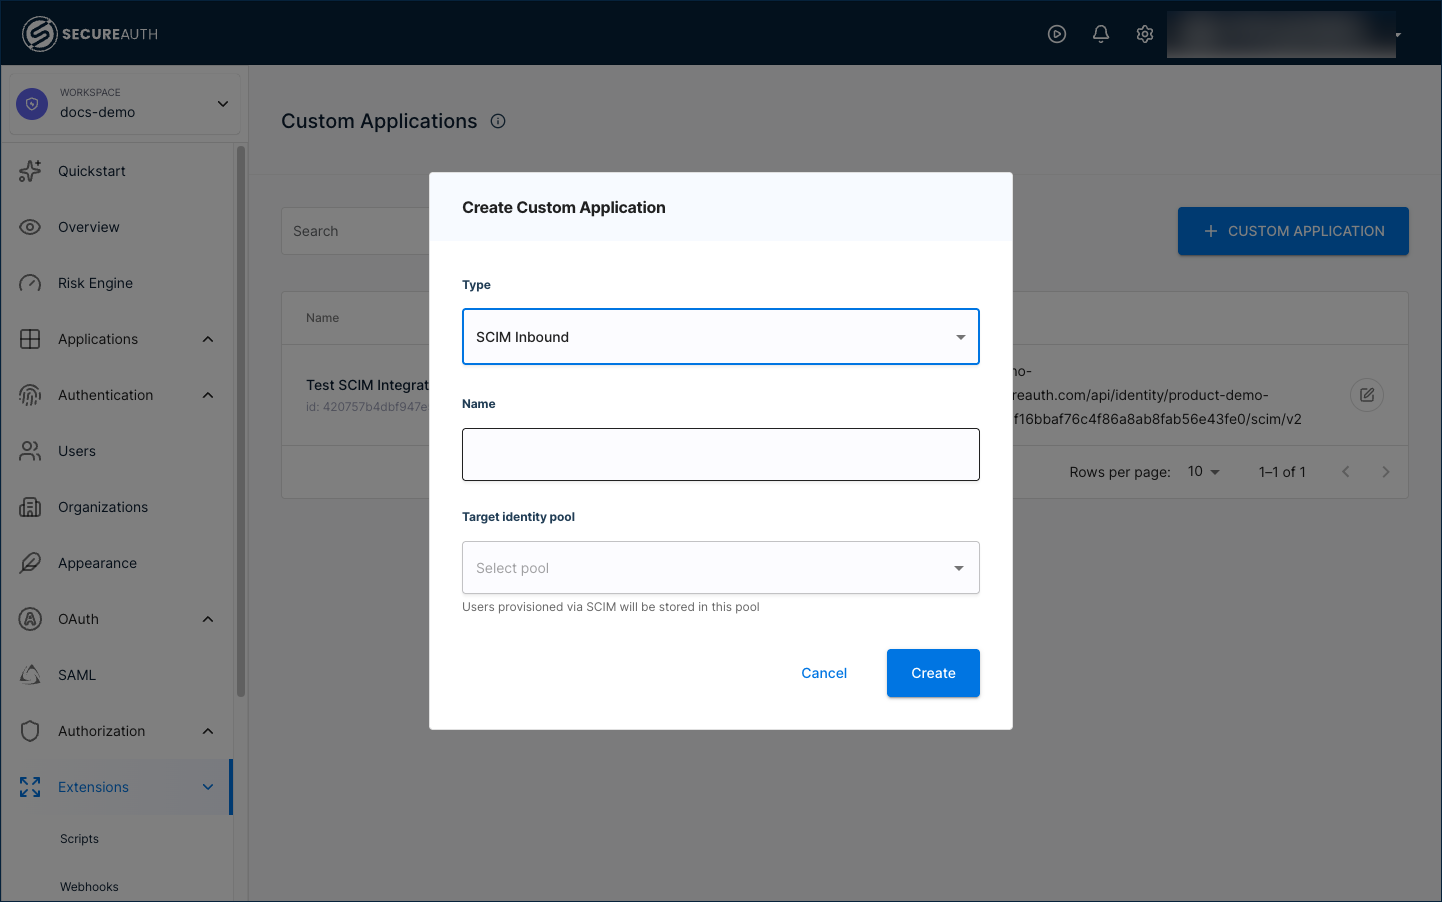
In the dialog that appears, configure the following fields:
-
Type – Select
SCIM Inboundfrom the list. -
Name – Enter a descriptive name for the integration (for example,
Okta SCIM Provisioning). -
Target identity pool – Select the identity pool that stores provisioned users.
-
-
Click Create. SecureAuth adds a new SCIM application to the Custom Applications list.
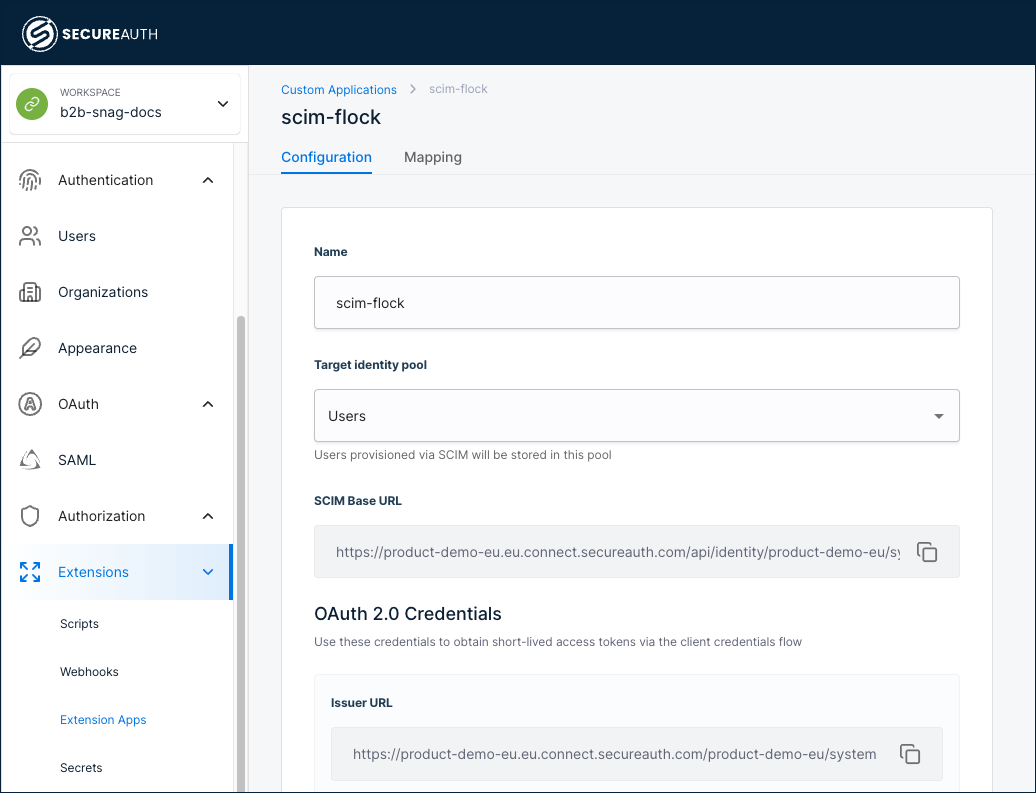
Step 2: Configure the SCIM integration
Click the SCIM application to open the Configuration tab. This tab provides the SCIM endpoint URL and authentication credentials your identity provider needs.
Review and configure the following settings:
-
Name – Edit the application name if needed.
-
Target identity pool – Change the target pool if needed. Users provisioned through SCIM are stored in this pool.
-
SCIM Base URL – The auto-generated SCIM endpoint URL. Copy this value to provide to your identity provider. The URL follows this format:
https://<TENANT_ID>.<REGION>.connect.secureauth.com/api/identity/<TENANT_ID>/system/pools/<POOL_ID>/scim/v2
Do not add /Users or /Groups to the end of this URL. Most identity providers (Okta, OneLogin, Entra ID) automatically append these paths. Adding them manually causes the integration to fail.
Authentication
The Configuration tab displays two authentication options:
| Method | Description |
|---|---|
| OAuth 2.0 (recommended) | Generate short-lived, renewable access tokens using the OAuth 2.0 client credentials flow. |
| API keys | Generate up to 2 static keys for identity providers that don't support OAuth 2.0 client credentials. Keys are passed as Bearer tokens in the Authorization header. |
OAuth 2.0 credentials
OAuth 2.0 is selected by default. The following read-only fields appear:
-
Issuer URL – The OAuth token issuer URL.
-
Client ID – The OAuth client identifier.
-
Client Secret – The OAuth client secret, masked by default. Use the show/hide toggle to reveal the value.
Use these credentials to obtain access tokens through the OAuth 2.0 client credentials flow. Your identity provider uses the Client ID, Client Secret, and Issuer URL to automatically request and refresh access tokens.
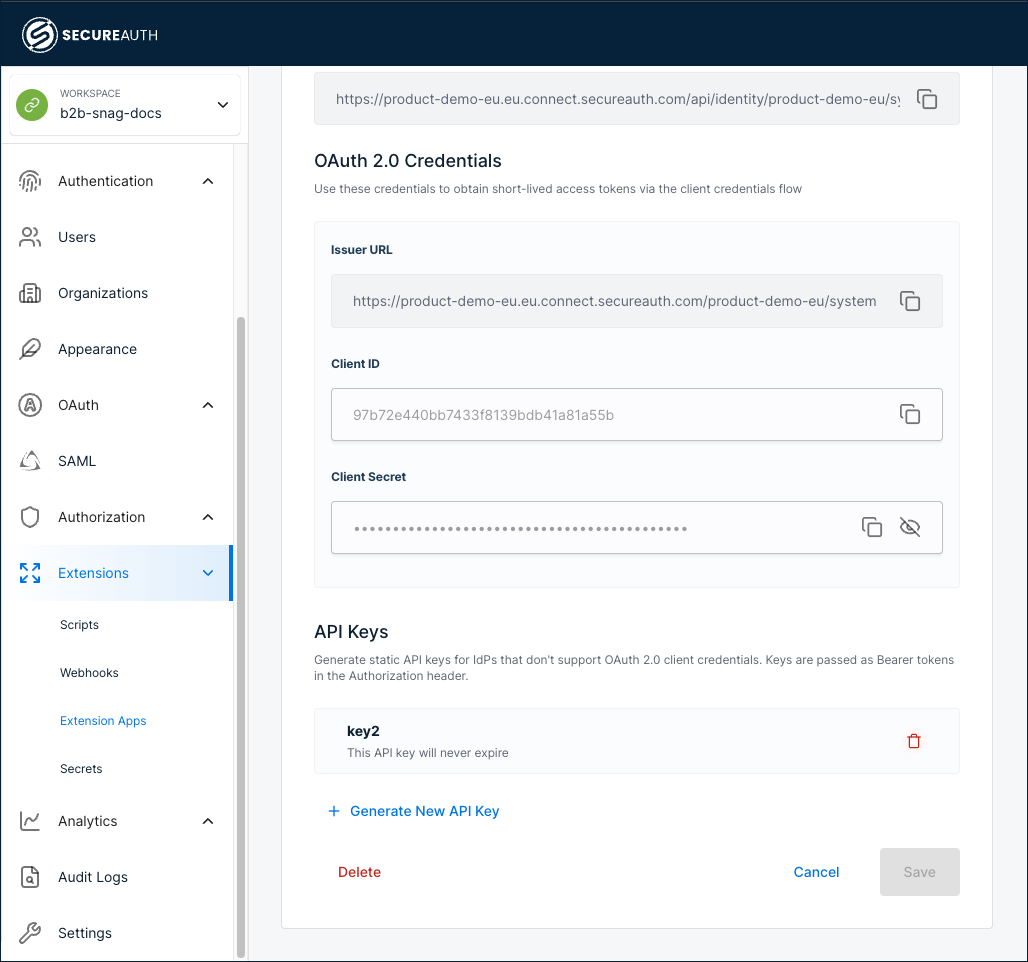
API keys
Use API keys when your identity provider does not support OAuth 2.0 client credentials. SecureAuth generates a static key. Your identity provider sends the key as a Bearer token in the Authorization header on each SCIM request.
You can have at most 2 active API keys per SCIM application. After you generate the second key, + Generate New API Key is disabled. To free a slot, delete an existing key first.
To generate an API key:
-
In the API Keys section of the Configuration tab, click + Generate New API Key.
-
Provide a name for the key and an optional expiration. Leave the expiration blank for a key that never expires.
-
Save the new key.
Result: SecureAuth displays the generated key value. Copy and save the key now. SecureAuth does not display it again.
-
In your identity provider, configure the SCIM connection to authenticate with this key as a Bearer token in the
Authorizationheader.
To delete an API key, click the delete icon next to the key in the API Keys list.
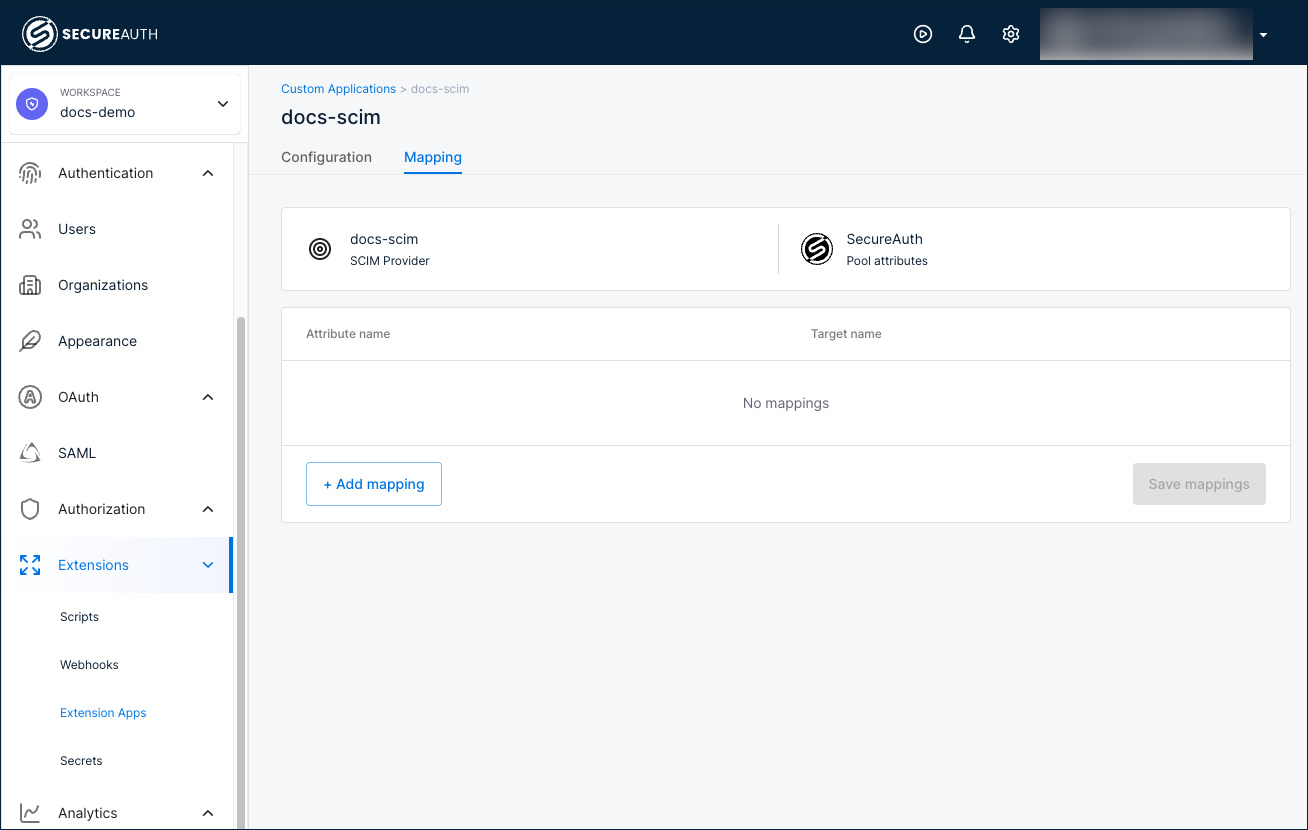
Step 3: Configure attribute mappings
Use the Mapping tab to define how SCIM attributes from your identity provider map to SecureAuth pool attributes.
-
Select the Mapping tab.
-
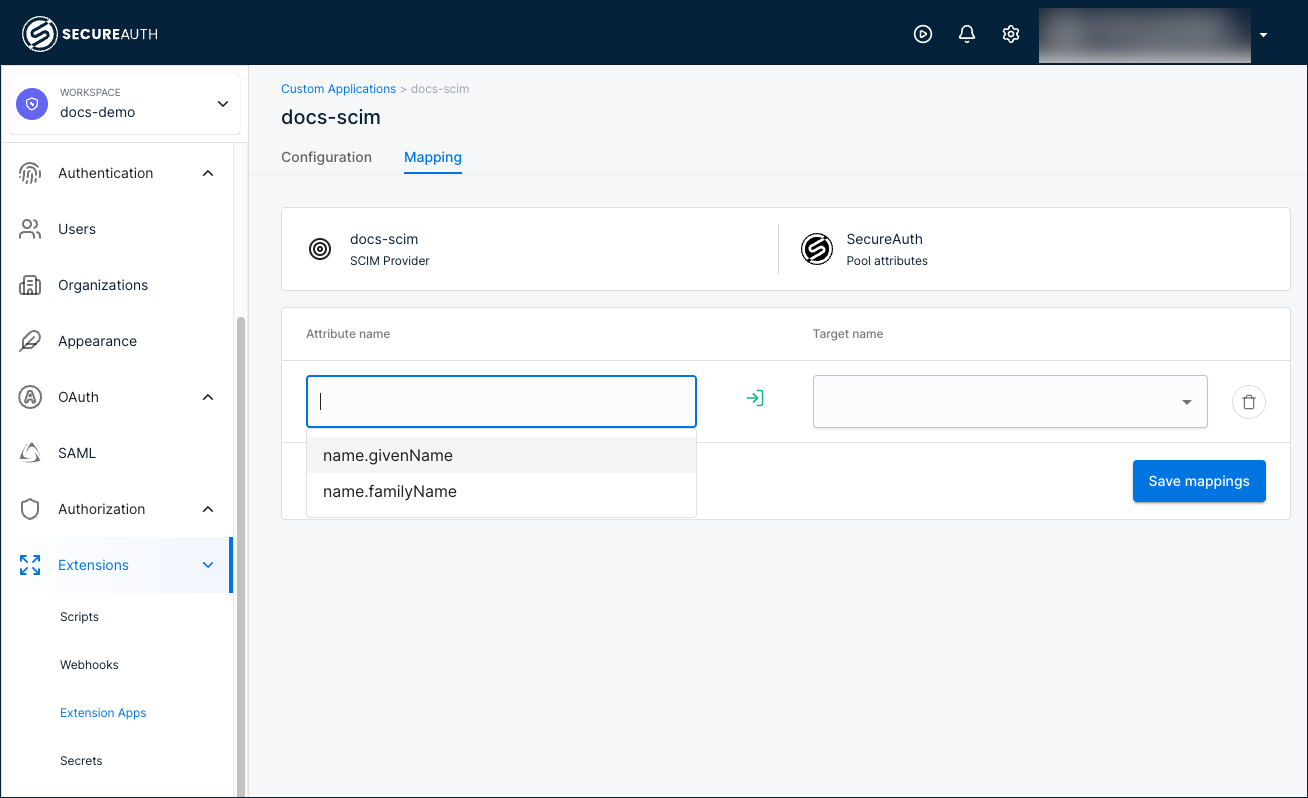
Click + Add mapping to add a new mapping row.
-
In the Attribute name field, select a SCIM attribute from the list (for example,
name.givenName,name.familyName). -
In the Target name field, select the corresponding SecureAuth pool attribute from the list.
-
Repeat steps 2 through 4 to add all required mappings.
-
To remove a mapping, click the delete icon next to the row.
-
Save your changes.
Step 4: Configure your identity provider
Provide your identity provider with the connection details from the Configuration tab.
-
Copy the SCIM Base URL from the Configuration tab.
-
Copy the OAuth 2.0 credentials (Issuer URL, Client ID, and Client Secret).
-
In the SCIM configuration of your identity provider (for example, Okta, Microsoft Entra ID), enter the SCIM Base URL as the connector endpoint.
-
Configure your identity provider to use the copied values for OAuth 2.0 client credentials authentication.
-
Test the connection from your identity provider to verify that provisioning works.
See the documentation for your identity provider for specific instructions on configuring outbound SCIM provisioning.
SecureAuth SCIM schemas and custom attributes
SecureAuth supports both the default SCIM core schema and a SecureAuth extension for custom attributes. Always include both in the schemas array:
"schemas": [
  "urn:ietf:params:scim:schemas:core:2.0:User",
  "urn:ietf:params:scim:schemas:extension:secureauthciam:2.0:User"
]
Core SCIM schema
The core SCIM 2.0 User schema provides standard attributes like userName, emails, phoneNumbers, active, and groups. SecureAuth requires only userName by default. SecureAuth typically maps userName to the unique user identifier in your system. All other fields are optional unless your identity pool schema or external identity provider requires them.
SecureAuth extension schema
SecureAuth extends SCIM with three configurable groups, visible in Users > Schemas and referenced in API requests as:
| UI Tab | API Field Name | Example |
|---|---|---|
| PROFILE | payload | "first_name": "Jane","last_name": "Smith" |
| ADMINISTRATIVE | metadata | "employee_id": "EMP-12345" |
| DELEGATED | businessMetadata | "project_role": "Manager" |
All custom fields must use snake_case.
Inspect your schema
To inspect your schema and see all valid fields:
curl -X GET \
  "https://<TENANT_ID>.<REGION>.connect.secureauth.com/api/identity/<TENANT_ID>/system/pools/<POOL_ID>/scim/v2/Schemas" \
  -H "Authorization: Bearer <ACCESS_TOKEN>" \
  -H "Accept: application/json"
Example: Create a user
curl -X POST 'https://<TENANT_ID>.<REGION>.connect.secureauth.com/api/identity/<TENANT_ID>/system/pools/<POOL_ID>/scim/v2/Users' \
  -H "Accept: application/json" \
  -H "Authorization: Bearer <ACCESS_TOKEN>" \
  -H "Content-Type: application/json" \
  -d '{
    "schemas": [
      "urn:ietf:params:scim:schemas:core:2.0:User",
      "urn:ietf:params:scim:schemas:extension:secureauthciam:2.0:User"
    ],
    "userName": "anna.jones@example.com",
    "active": true,
    "emails": [
      {
        "value": "anna.jones@example.com",
        "type": "work",
        "primary": true
      }
    ],
    "urn:ietf:params:scim:schemas:extension:secureauthciam:2.0:User": {
      "payload": {
        "first_name": "Anna",
        "last_name": "Jones"
      },
      "metadata": {
        "employee_id": "EMP-77777",
        "department": "Finance"
      },
      "businessMetadata": {
        "cost_center": "CC-456",
        "project_role": "Project Manager"
      }
    }
  }'
Example: Create a group and add a user
Create a group
To create a group in SecureAuth using SCIM, send a POST request to the /Groups endpoint with a displayName field. For example, the following command creates a group named "Finance Team":
curl -X POST 'https://<TENANT_ID>.<REGION>.connect.secureauth.com/api/identity/<TENANT_ID>/system/pools/<POOL_ID>/scim/v2/Groups' \
  -H "Authorization: Bearer <access_token>" \
  -H "Content-Type: application/json" \
  -d '{
    "displayName": "Finance Team",
    "externalId": "",
    "schemas": ["urn:ietf:params:scim:schemas:core:2.0:Group"]
  }'
Add a user to a group
After you create the group and have its SCIM ID, add an existing user to it. For example, the following PATCH request adds Anna Jones (user ID: 79859dddf40d4b26afa2b5d9bbd9d515) to the "Finance Team" group (group ID: 308cf9c1a5c54e1799c9ff6ec3d0b2f9):
curl -X PATCH 'https://<TENANT_ID>.<REGION>.connect.secureauth.com/api/identity/<TENANT_ID>/system/pools/<POOL_ID>/scim/v2/Groups/308cf9c1a5c54e1799c9ff6ec3d0b2f9' \
  -H "Authorization: Bearer <access_token>" \
  -H "Content-Type: application/json" \
  -d '{
    "schemas": ["urn:ietf:params:scim:api:messages:2.0:PatchOp"],
    "Operations": [
      {
        "op": "add",
        "path": "members",
        "value": [
          {
            "value": "79859dddf40d4b26afa2b5d9bbd9d515",
            "display": "anna.jones@example.com"
          }
        ]
      }
    ]
  }'
API reference
For detailed API documentation, including all supported endpoints, request/response formats, and error codes, refer to: SecureAuth SCIM v2 API documentation