Salesforce application integration
This topic covers how to integrate the Salesforce application in the SecureAuth® Identity Platform to securely allow the right user access to Salesforce applications in your organization.
On the left side of the Identity Platform page, click Application Manager.
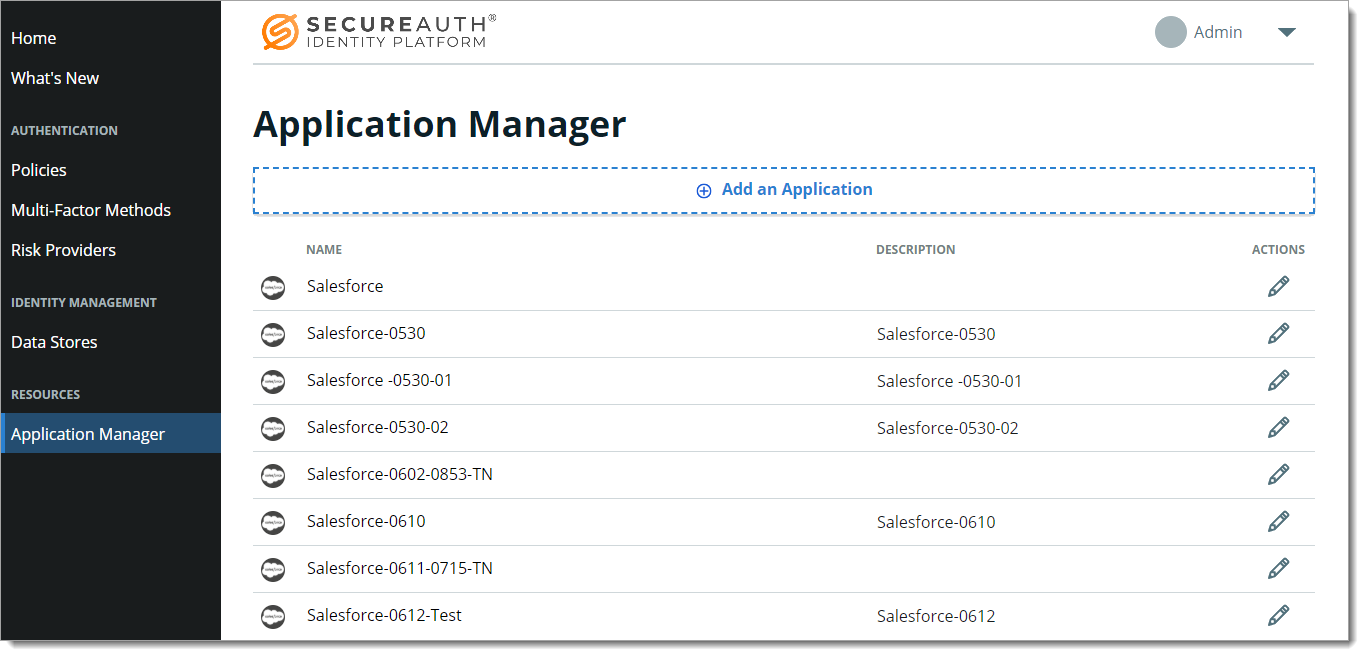
Click Add an Application.
The application template library appears.
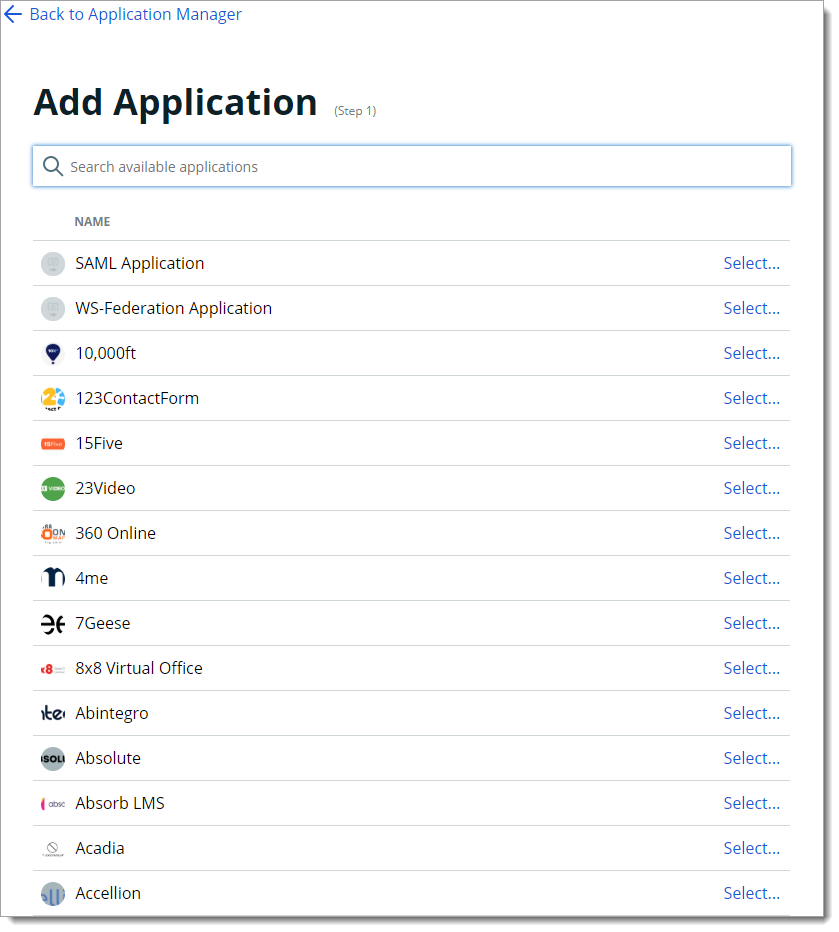
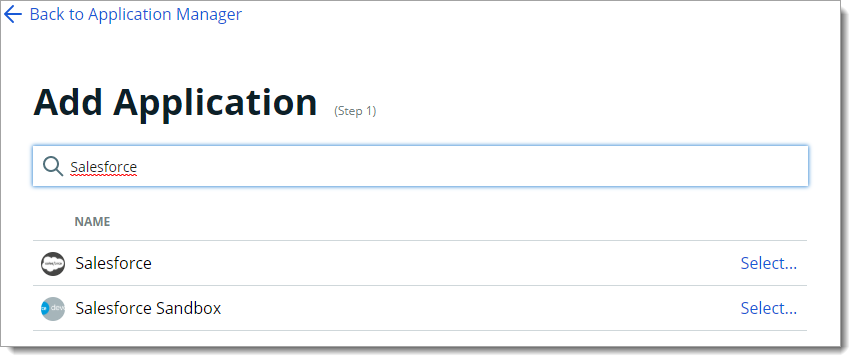
From the list of application templates, search and select Salesforce.
On the Applications Details page, set the following configurations.
Application Name
Name is prefilled by default; you can optionally change the application name. This displays on the Application Manger list and on the Application Settings page.
Application Description
Enter descriptive name about this application integration.
Upload logo
Optional. Click Upload to change the logo.
Authentication Policy
Select the login authentication policy for this application.
Data Stores
Enter the data stores to to authenticate and allow user access for this application. Start typing to bring up a list of data store names. You can enter more than one data store.
Groups
Use one of the following options:
Slider in the On position (enabled): Allow users from every group in your selected data stores access to this application.
Slider in the Off position (disabled): Enter the specific groups who are allowed access to this application.
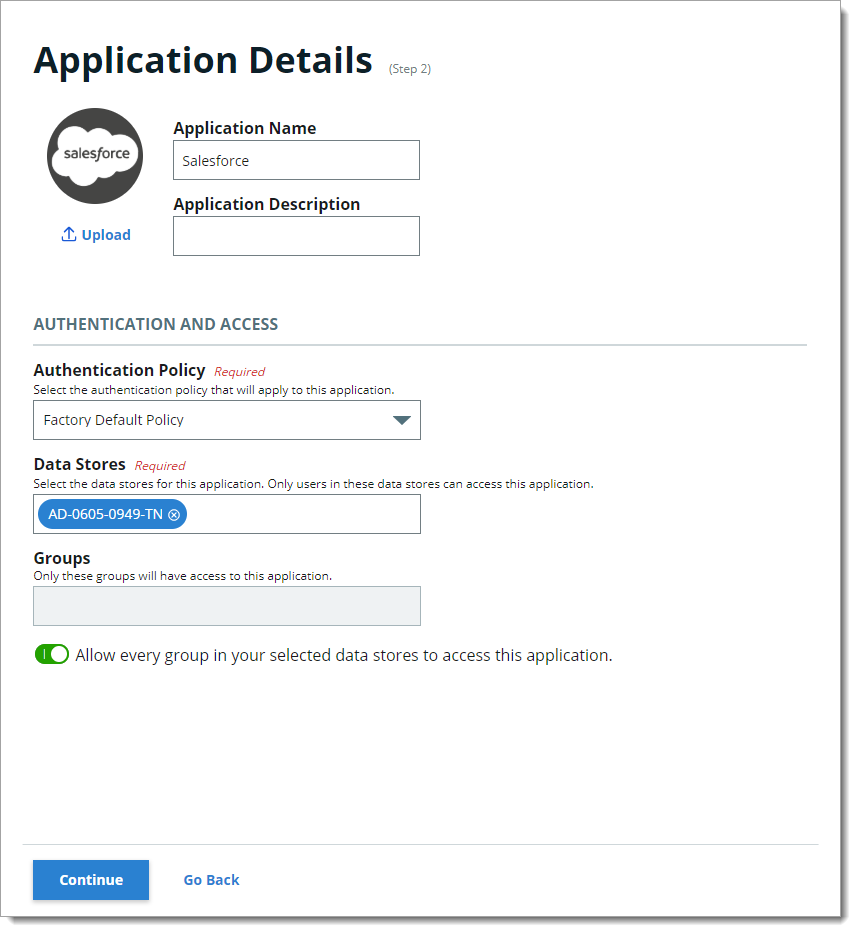
Click Continue.
The Connection Settings page appears.
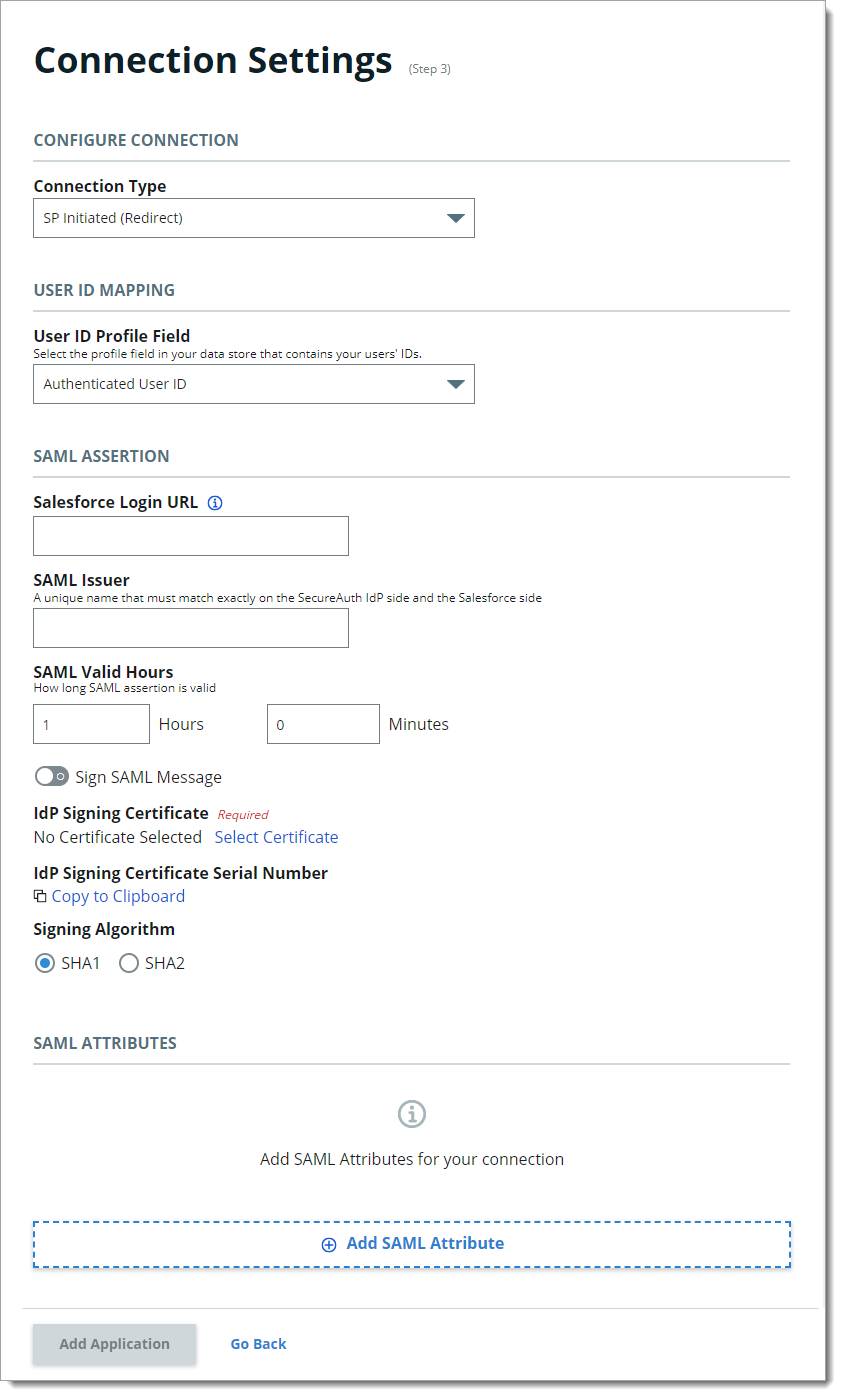
In the Configure Connection section, set the following configuration.
Connection Type
Select one of the following:
SP Initiated (Redirect) – Starts the login process at the service provider / application, then redirects the user to the Identity Platform for authentication, and upon successful authentication, it finally asserts the user back to the application.
IdP Initiated – Starts the login process at the Identity Platform, and upon successful authentication, asserts the user to the application.

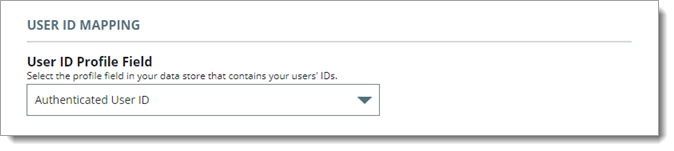
In the User ID Mapping section, set the following configuration.
User ID Profile Field
Select the profile field in your data store that contains the user IDs.
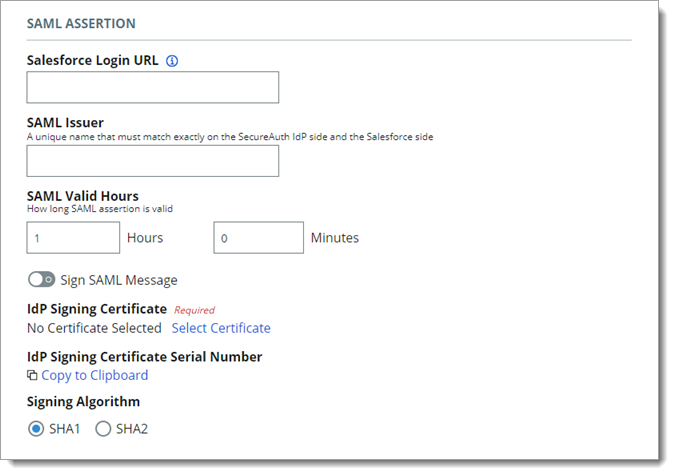
In the SAML Assertion section, set the following configurations.
Salesforce Login URL
Set the Salesforce login URL endpoint to https://login.salesforce.com and include the ID number from Salesforce.
For example: https://login.salesforce.com?so=XXXXXXXXXXX
Note
You can find this setting in the Salesforce admin console under the Endpoints section of the Security Controls > Single Sign-On Settings.
To use a custom domain in Salesforce, copy the full URL from Salesforce, including the ID, and paste it into this field.
SAML Issuer
A unique name that must match exactly on the Identity Platform side and the Salesforce side. This helps the Salesforce application identify the Identity Platform as the SAML issuer.
SAML Valid Hours
Indicate in hours and minutes, how long the SAML assertion is valid.
The default setting is one hour, but for more sensitive application resources, the recommended value is between one to five minutes.
Sign SAML Message
Move the slider to enable or disable signing of the SAML message.
IdP Signing Certificate
Click Select Certificate, choose the IdP signing certificate to use, and then click Select to close the box.
IdP Signing Certificate Serial Number
When you select an IdP signing certificate, the serial number populates this field.
Signing Algorithm
The signing algorithm digitally signs the SAML assertion and response.
Choose the signing algorithm – SHA1 or SHA2 (slightly stronger encryption hash and is not subject to the same vulnerabilities as SHA1).
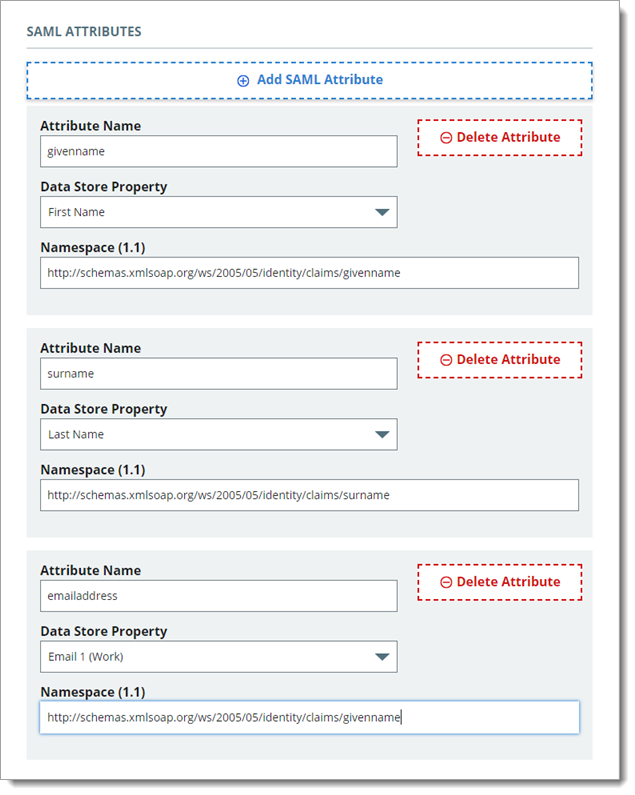
If more information from the directory needs to be sent in the assertion, in the SAML Attributes section, click Add SAML Attribute and set the following configurations.
Attribute Name
Provide the attribute name from the directory to which identifies the user to the application.
For example, givenname
Data Store Property
Select the data store property which maps to this directory attribute.
For example, First Name
Namespace (1.1)
Set the authorization URL to tell the application which attribute is being asserted.
Click Add Application.
After saving the application, the Information for Service Providers page appears.
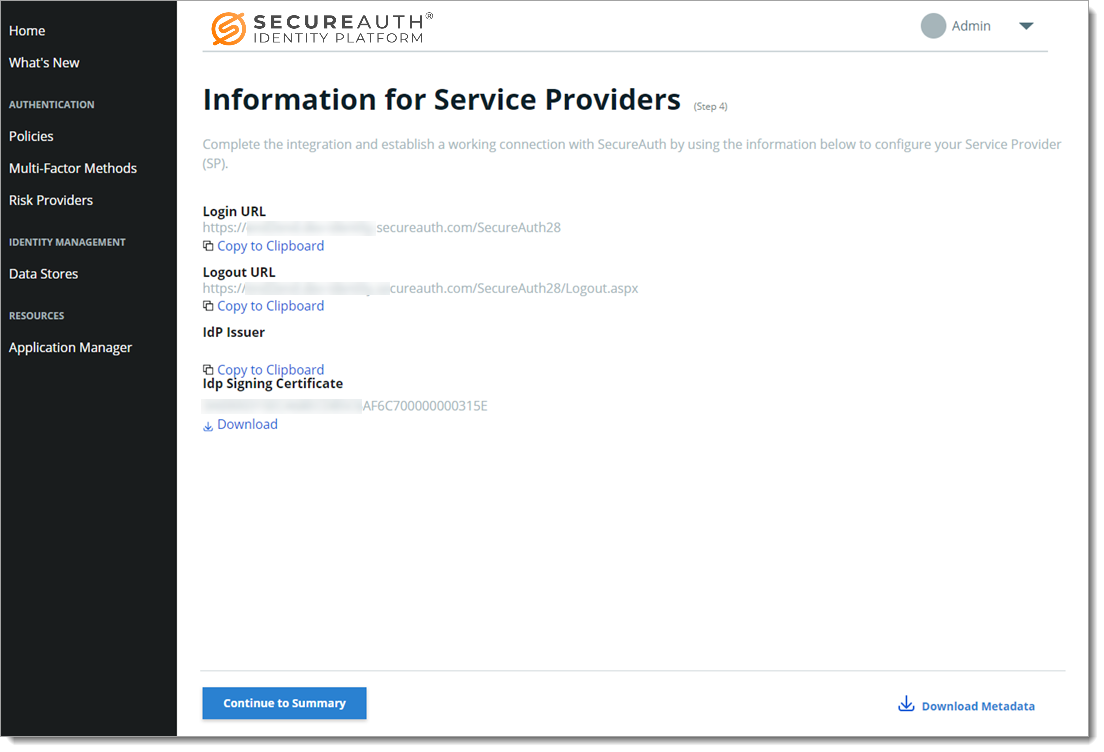
To complete the integration and establish a working connection with SecureAuth, provide the following information as required to the service provider.
Login URL, Logout URL, IdP Issuer
Click Copy to Clipboard to copy the Identity Platform realm information and paste it in the corresponding field on the service provider user interface, as required.
IdP Signing Certificate
Download the IdP Signing Certificate.
Download Metadata
To download the metadata file:
Click Download Metadata.
Enter the Domain name to the Identity Platform appliance URL or IP address.
For example, https://secureauth.company.com or https://111.222.33.44
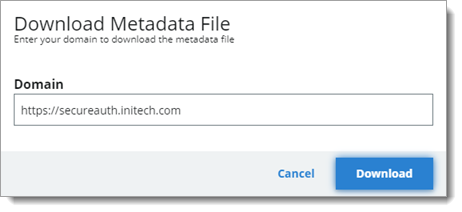
Click Download to get the configuration file.
Upload the file to the service provider.
Click Continue to Summary to review the application settings.
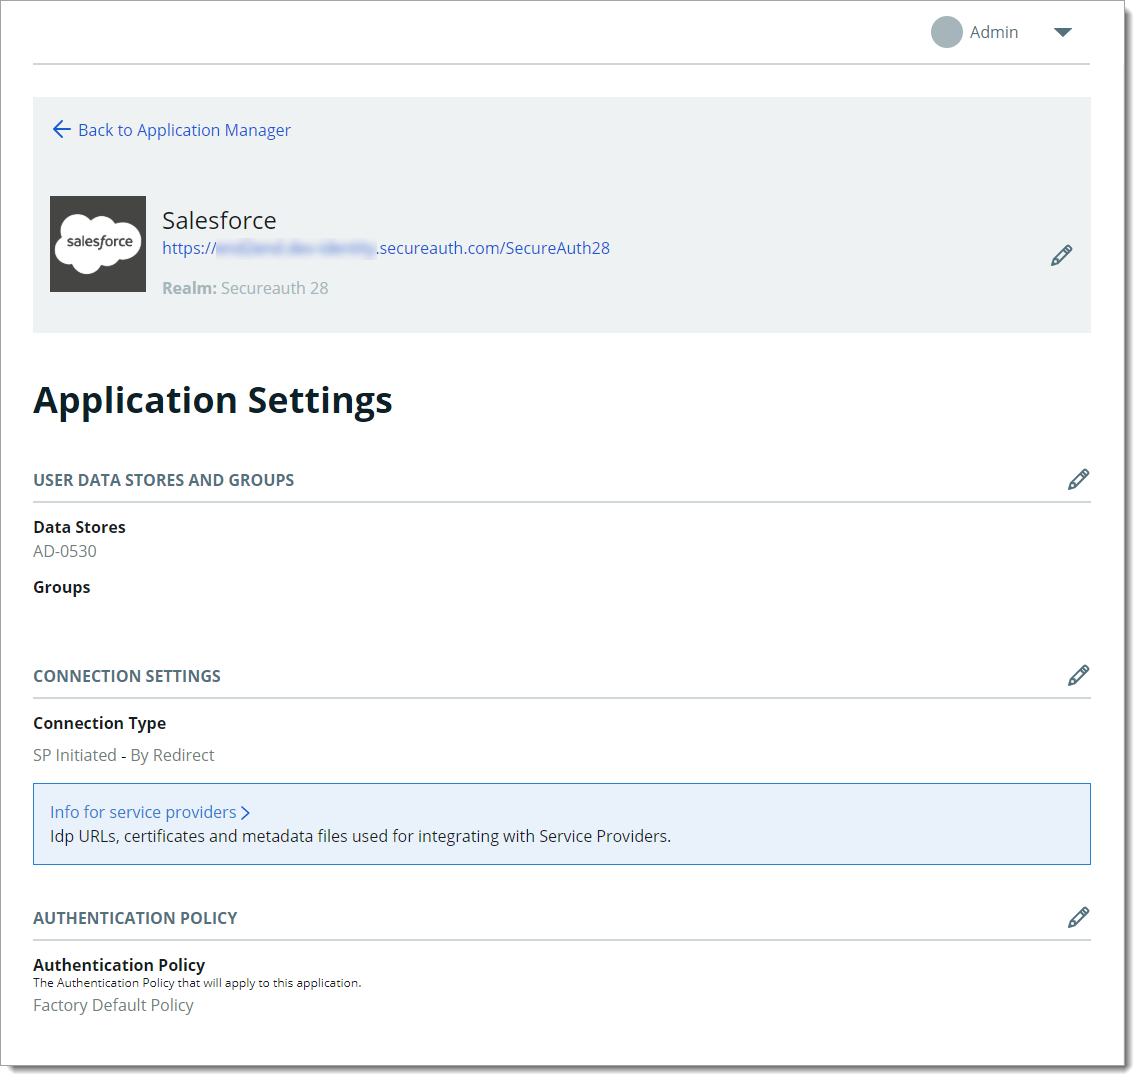
Click Back to Application Manager to find the application added to the list.