Set up sign in and sign up methods
SecureAuth Connect lets you configure which authentication methods are available at sign-in and whether users in an identity pool can self-register for an account.
Prerequisites
For mobile push authentication methods (QR Code, Symbol, and Push), users must download and install the SecureAuth Authenticate mobile app on their device.
- Apple App Store: SecureAuth Authenticate
- Android Google Play: SecureAuth Authenticate
After installing the app, users pair it with their account to enable mobile push authentication methods.
Accessing Sign-in and Sign-up settings
Navigate to the Sign-in and Sign-up section:
- Workspace level: In your workspace, go to Users and select the Sign-in and SSO tab.
- Tenant level: Go to Tenant Settings (gear icon) > Sign-in and Sign-up.
Sign-in configuration options
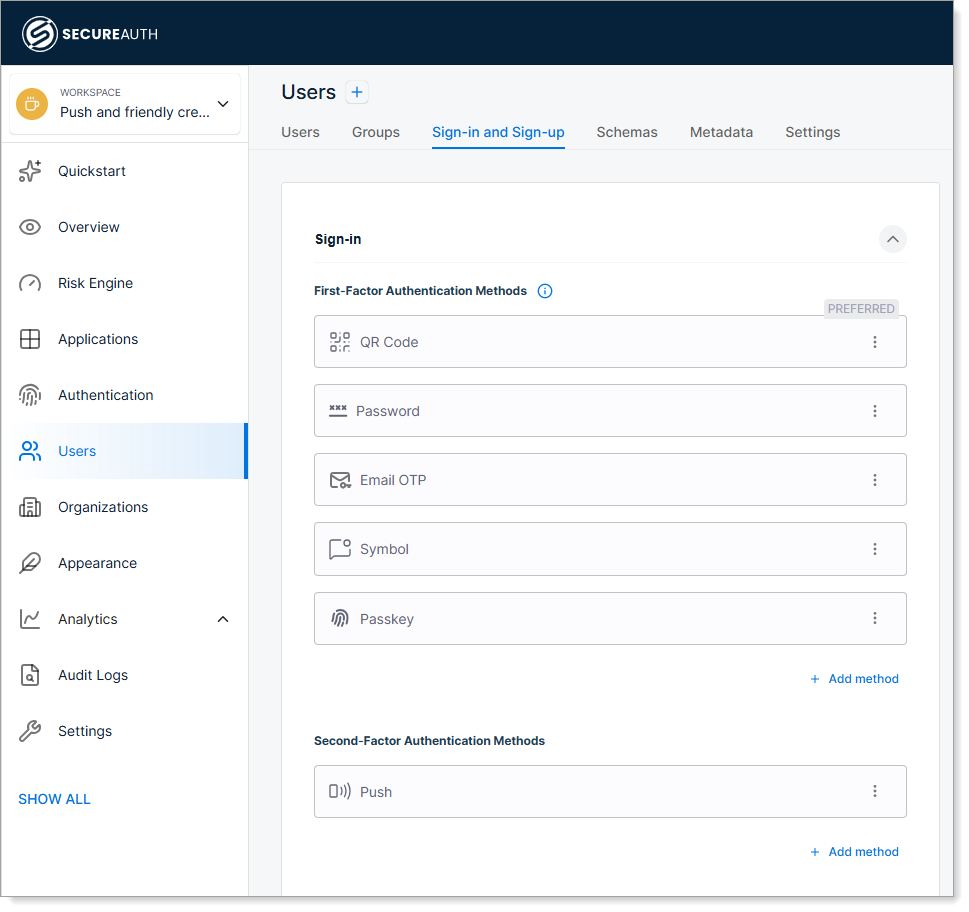
First-factor authentication methods
Enable the authentication methods users can choose from at login. Click + Add method to enable a method. If this button is grayed out, all available methods are already enabled.
To set a preferred method, click Make Preferred. The preferred method displays prominently on the login page, while other enabled methods appear as secondary options. If no method is preferred, all enabled methods display equally.
Use the three-dot menu on each enabled method to Make Preferred, Move to 2FA, or Remove it.
These methods are only available if they are enabled at the workspace level in Authentication > Settings > Methods.
Available first-factor authentication methods:
| Method | Description |
|---|---|
| Password | Users log in with a password. |
| TOTP | Users enter a time-based code from their mobile authenticator app. |
| Email OTP | Users receive a one-time passcode (OTP) sent to their email address. |
| Passkey | Users authenticate with FIDO2 devices like YubiKey or Touch ID instead of passwords. See Configure passkeys. |
| QR Code | Users scan a QR code with a mobile device to authenticate. |
| Symbol | A symbol displays on the login page and on the user's mobile device in the SecureAuth Authenticate mobile app. Users tap the matching symbol on their mobile device to authenticate. |
| Push | Users receive a push notification on their mobile device to approve or deny the sign-in request. |
Second-factor authentication methods
Optionally require a second authentication step after first-factor authentication for additional security. Your second-factor method must be different from your first-factor method. To add a second factor, click + Add method or use the three-dot menu on an existing first-factor method and select Move to 2FA.
Other sign-in configurations
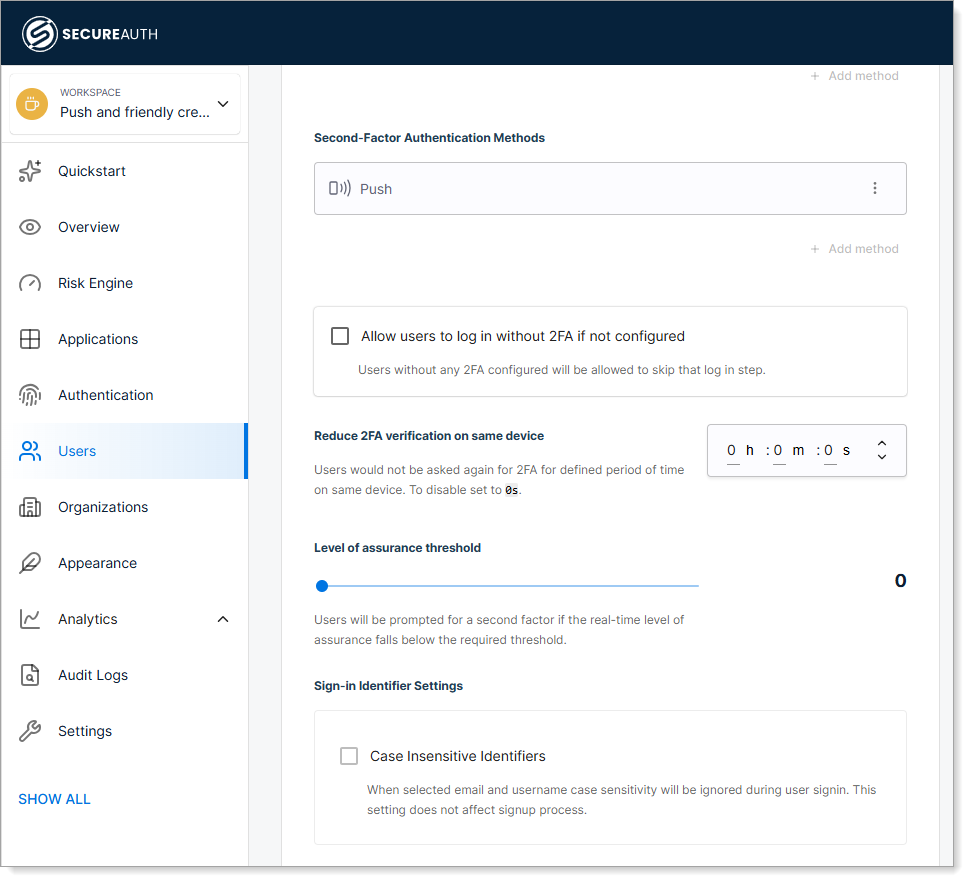
Allow users to log in without 2FA if not configured. Select this check box to let new users who have not configured MFA complete their initial login without a second authentication step. Users can then set up MFA methods after signing in.
Reduce 2FA verification on same device. Select this check box to skip 2FA prompts on remembered devices for a set period. You can adjust the duration or disable it by setting it to 0s.
Level of Assurance Threshold (LOA). Sets the minimum confidence level required for authentication. If the real-time LOA score falls below this threshold, users must complete a second authentication step. Confidence levels:
- Low (30%): New users or logins from unknown devices.
- Medium (60%): Repeated logins from the same device increase confidence over time.
- High (80%): High trust based on device characteristics.
For more information, see Risk Engine: Smarter security in action and Risk analyzers.
Sign-in Identifier Settings. Select this check box to allow case-insensitive email and username entry during sign-in.
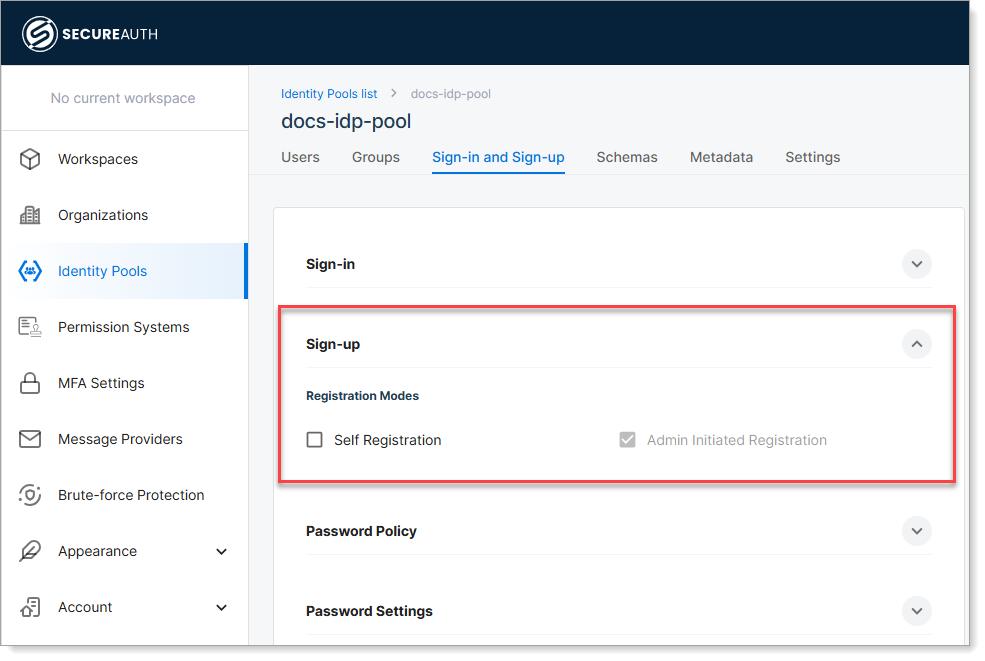
Sign-up registration mode
Configure how users can register for accounts in this Identity Pool.
| Setting | Description |
|---|---|
| Self-registration | Enable or disable user self-registration. |
| Admin Initiated Registration | Allow admins to register users manually (enabled by default). Change only through the API. |
Save your changes
After configuring your sign-in and sign-up preferences, click Save to apply the changes.
User sign-in workflow with mobile push
After users install and pair the SecureAuth Authenticate app, here's how they experience the authentication methods you've configured:
-
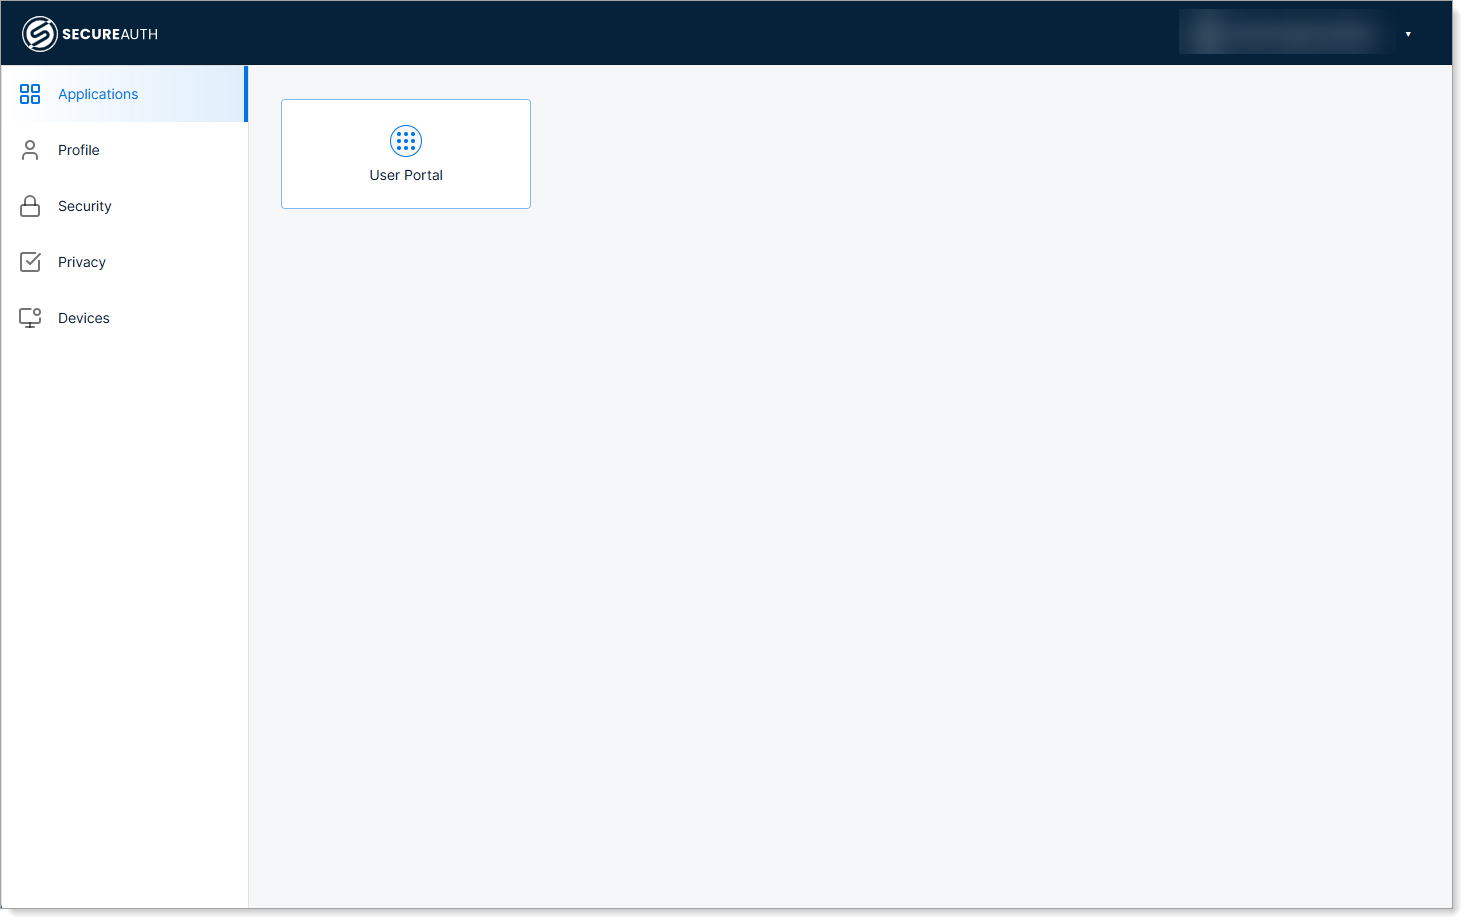
User launches the application and arrives at the login page.
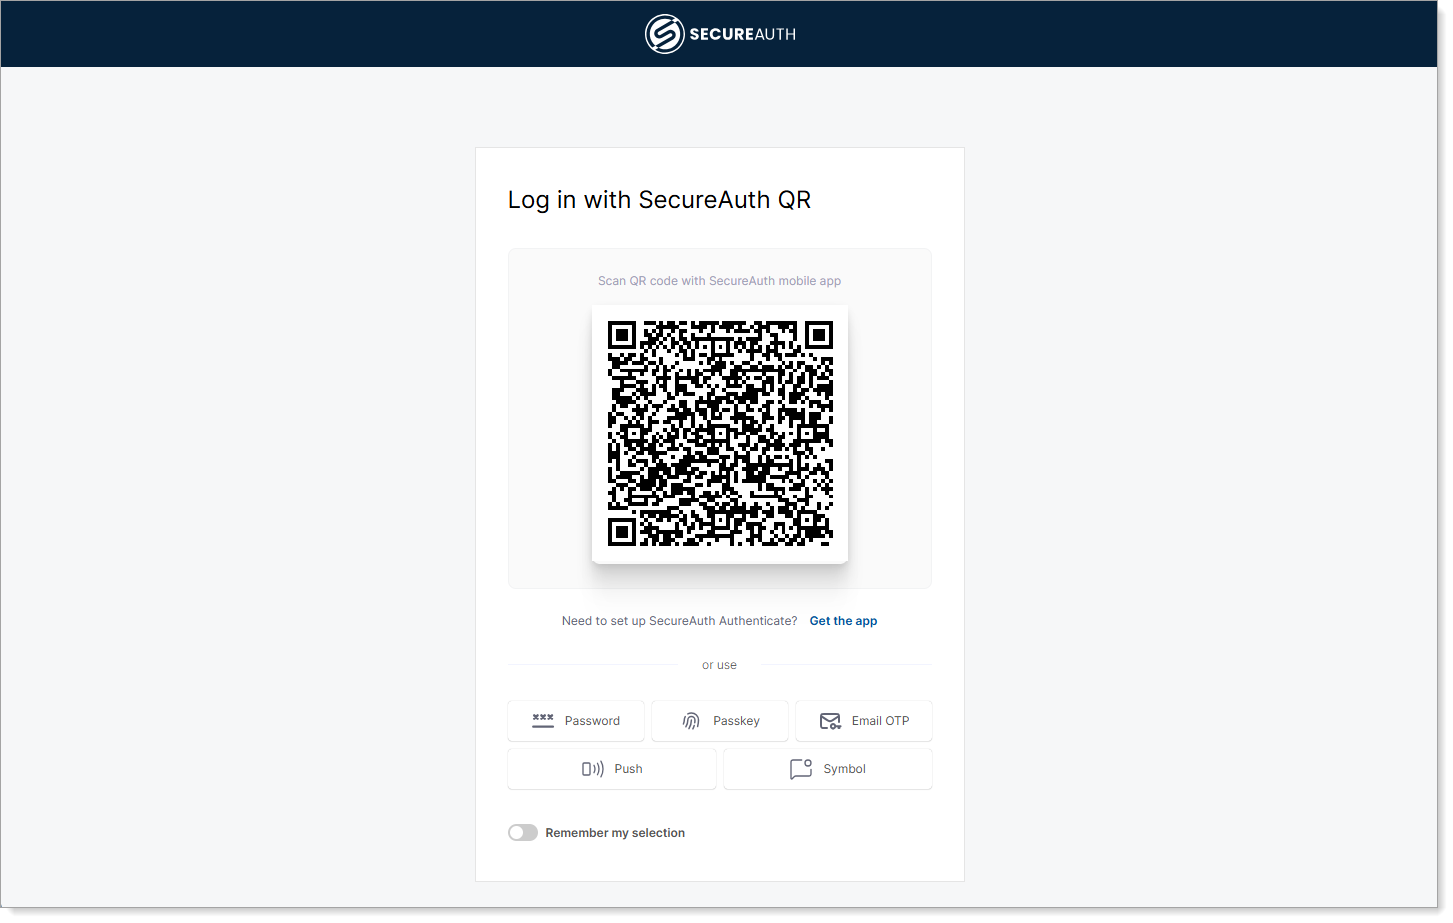
The page displays Log in with SecureAuth QR because the admin set QR Code as the preferred method. Secondary options (Password, Passkey, Email OTP, Push, Symbol) appear below.
-
User chooses an alternative method - In this example, they click Symbol instead of using the preferred QR method.
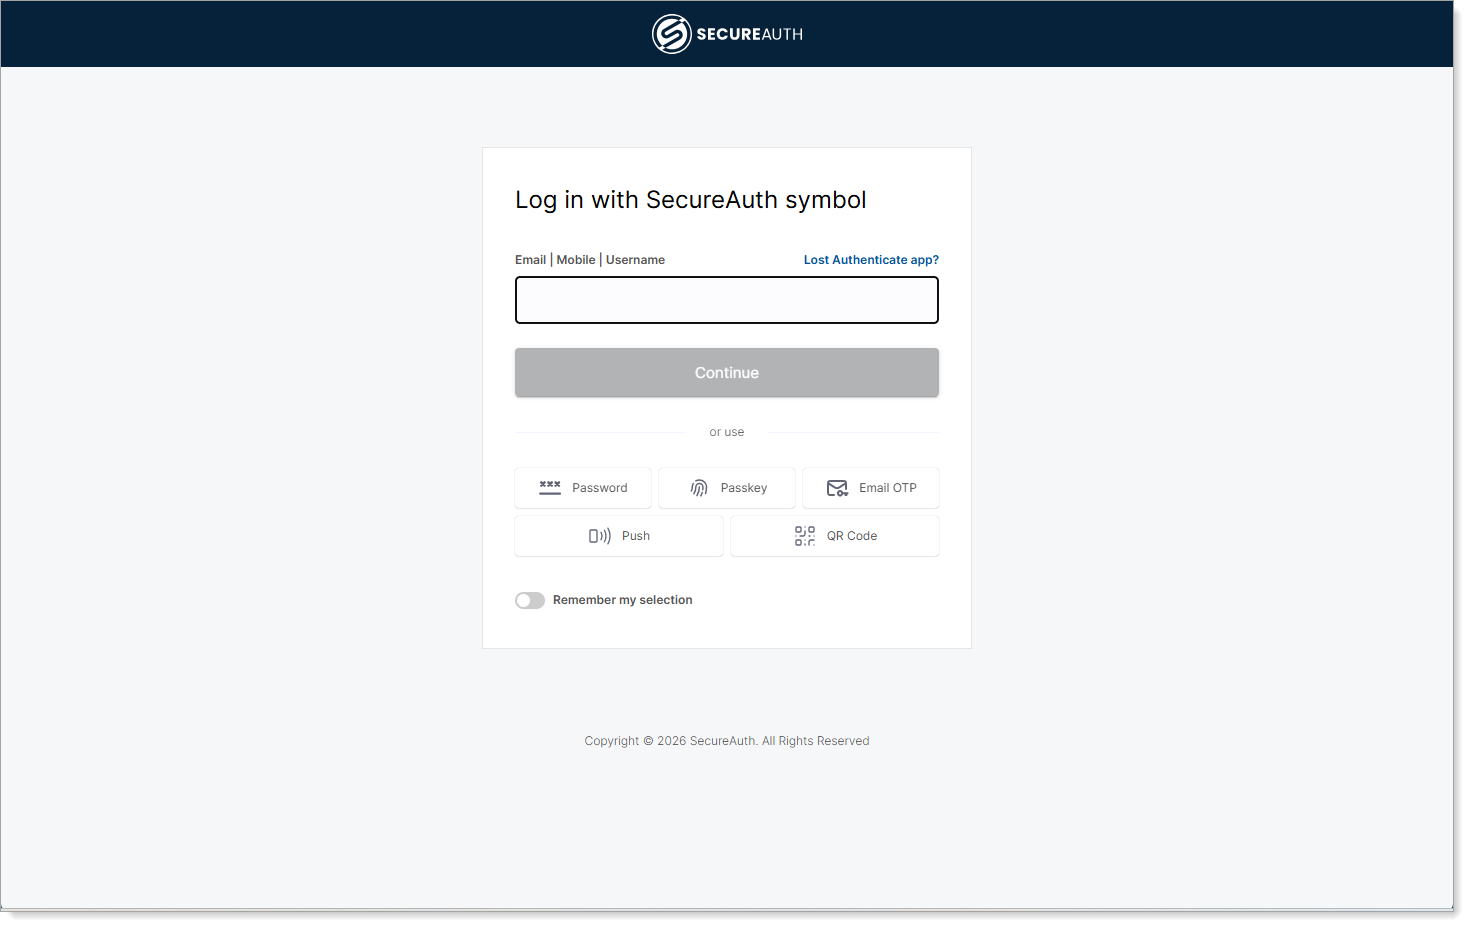
The page updates to prompt for their email address.
-
User enters credentials and continues to the next authentication step.
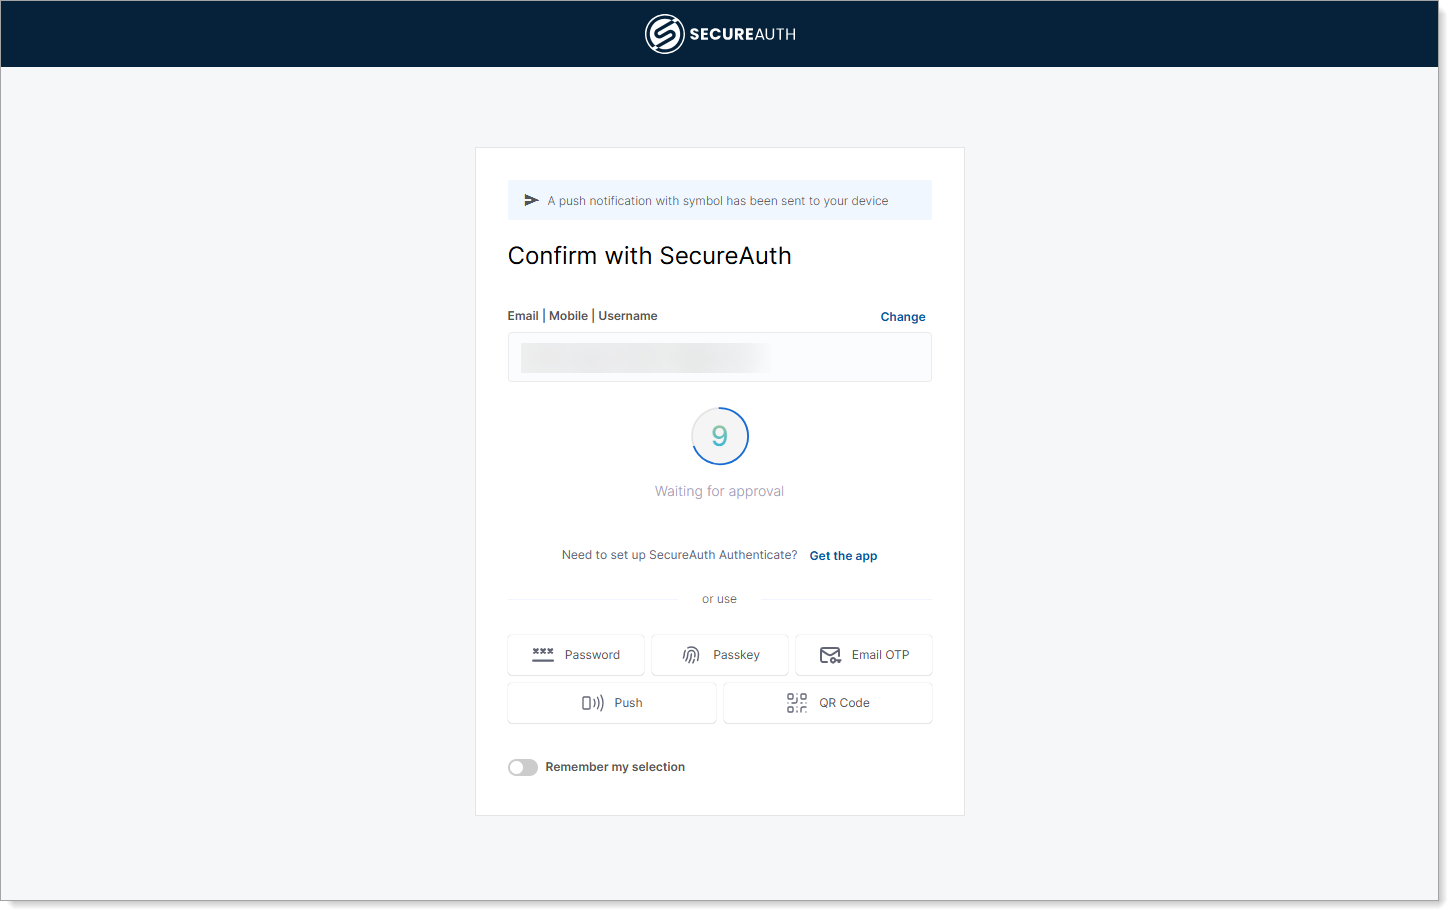
The page displays the symbol (in this case, "9") and prompts the user to tap the matching symbol on their mobile device in the SecureAuth Authenticate app.
-
User completes authentication by tapping the matching symbol on their mobile device, and the application grants access.