Configure SecureAuth Connect on RADIUS
Configure SecureAuth Connect as the authentication source for SecureAuth RADIUS Server. After you add a SecureAuth Connect endpoint and assign it to a RADIUS client, the client authenticates users against your SecureAuth Connect workspace. This applies to customer workspaces.
Prerequisites
- SecureAuth RADIUS Server 26.00.03 or later. The CIAM Endpoints tab and the CIAM Authentication workflow are available in this release.
- A RADIUS client created in SecureAuth Connect. This client provides the Client ID and Client Secret you enter in RADIUS. To learn how to create one, see Create a RADIUS client in SecureAuth Connect.
- The tenant and workspace names for your SecureAuth Connect environment.
Add a CIAM endpoint
A CIAM endpoint tells SecureAuth RADIUS Server how to reach your SecureAuth Connect workspace.
-
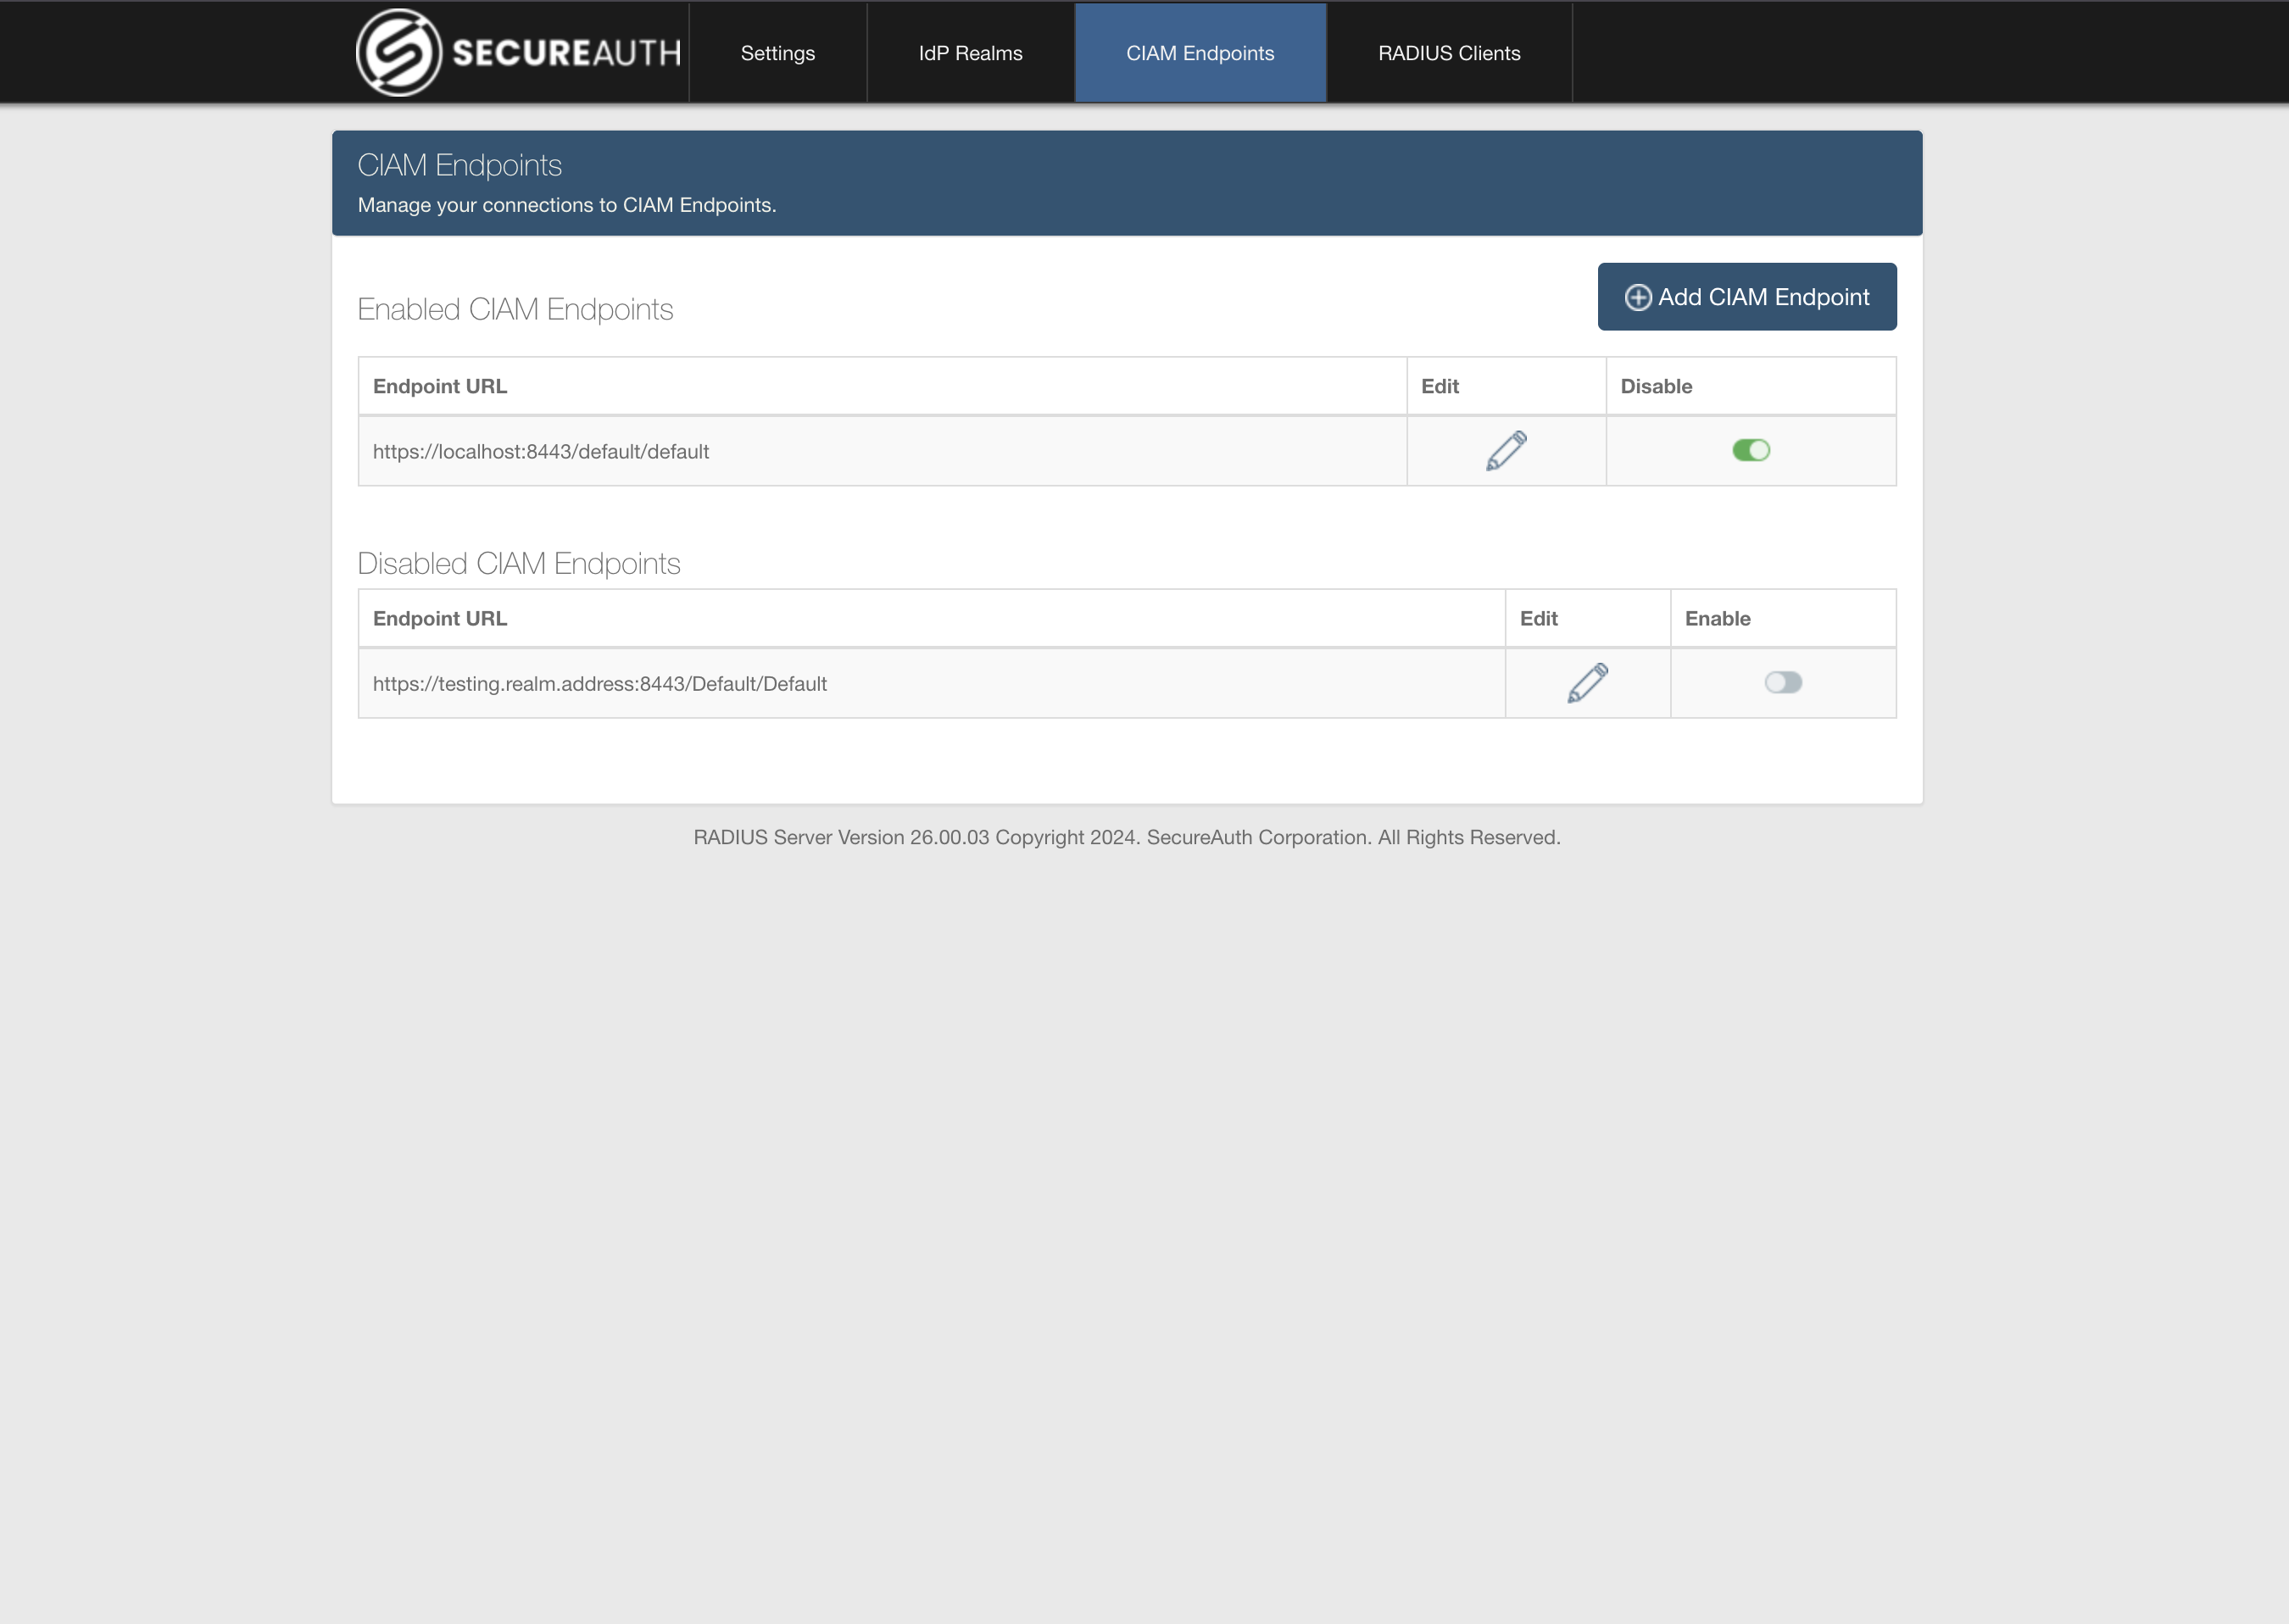
On the SecureAuth RADIUS Server configuration page, select the CIAM Endpoints tab, then click + Add CIAM Endpoint.
-
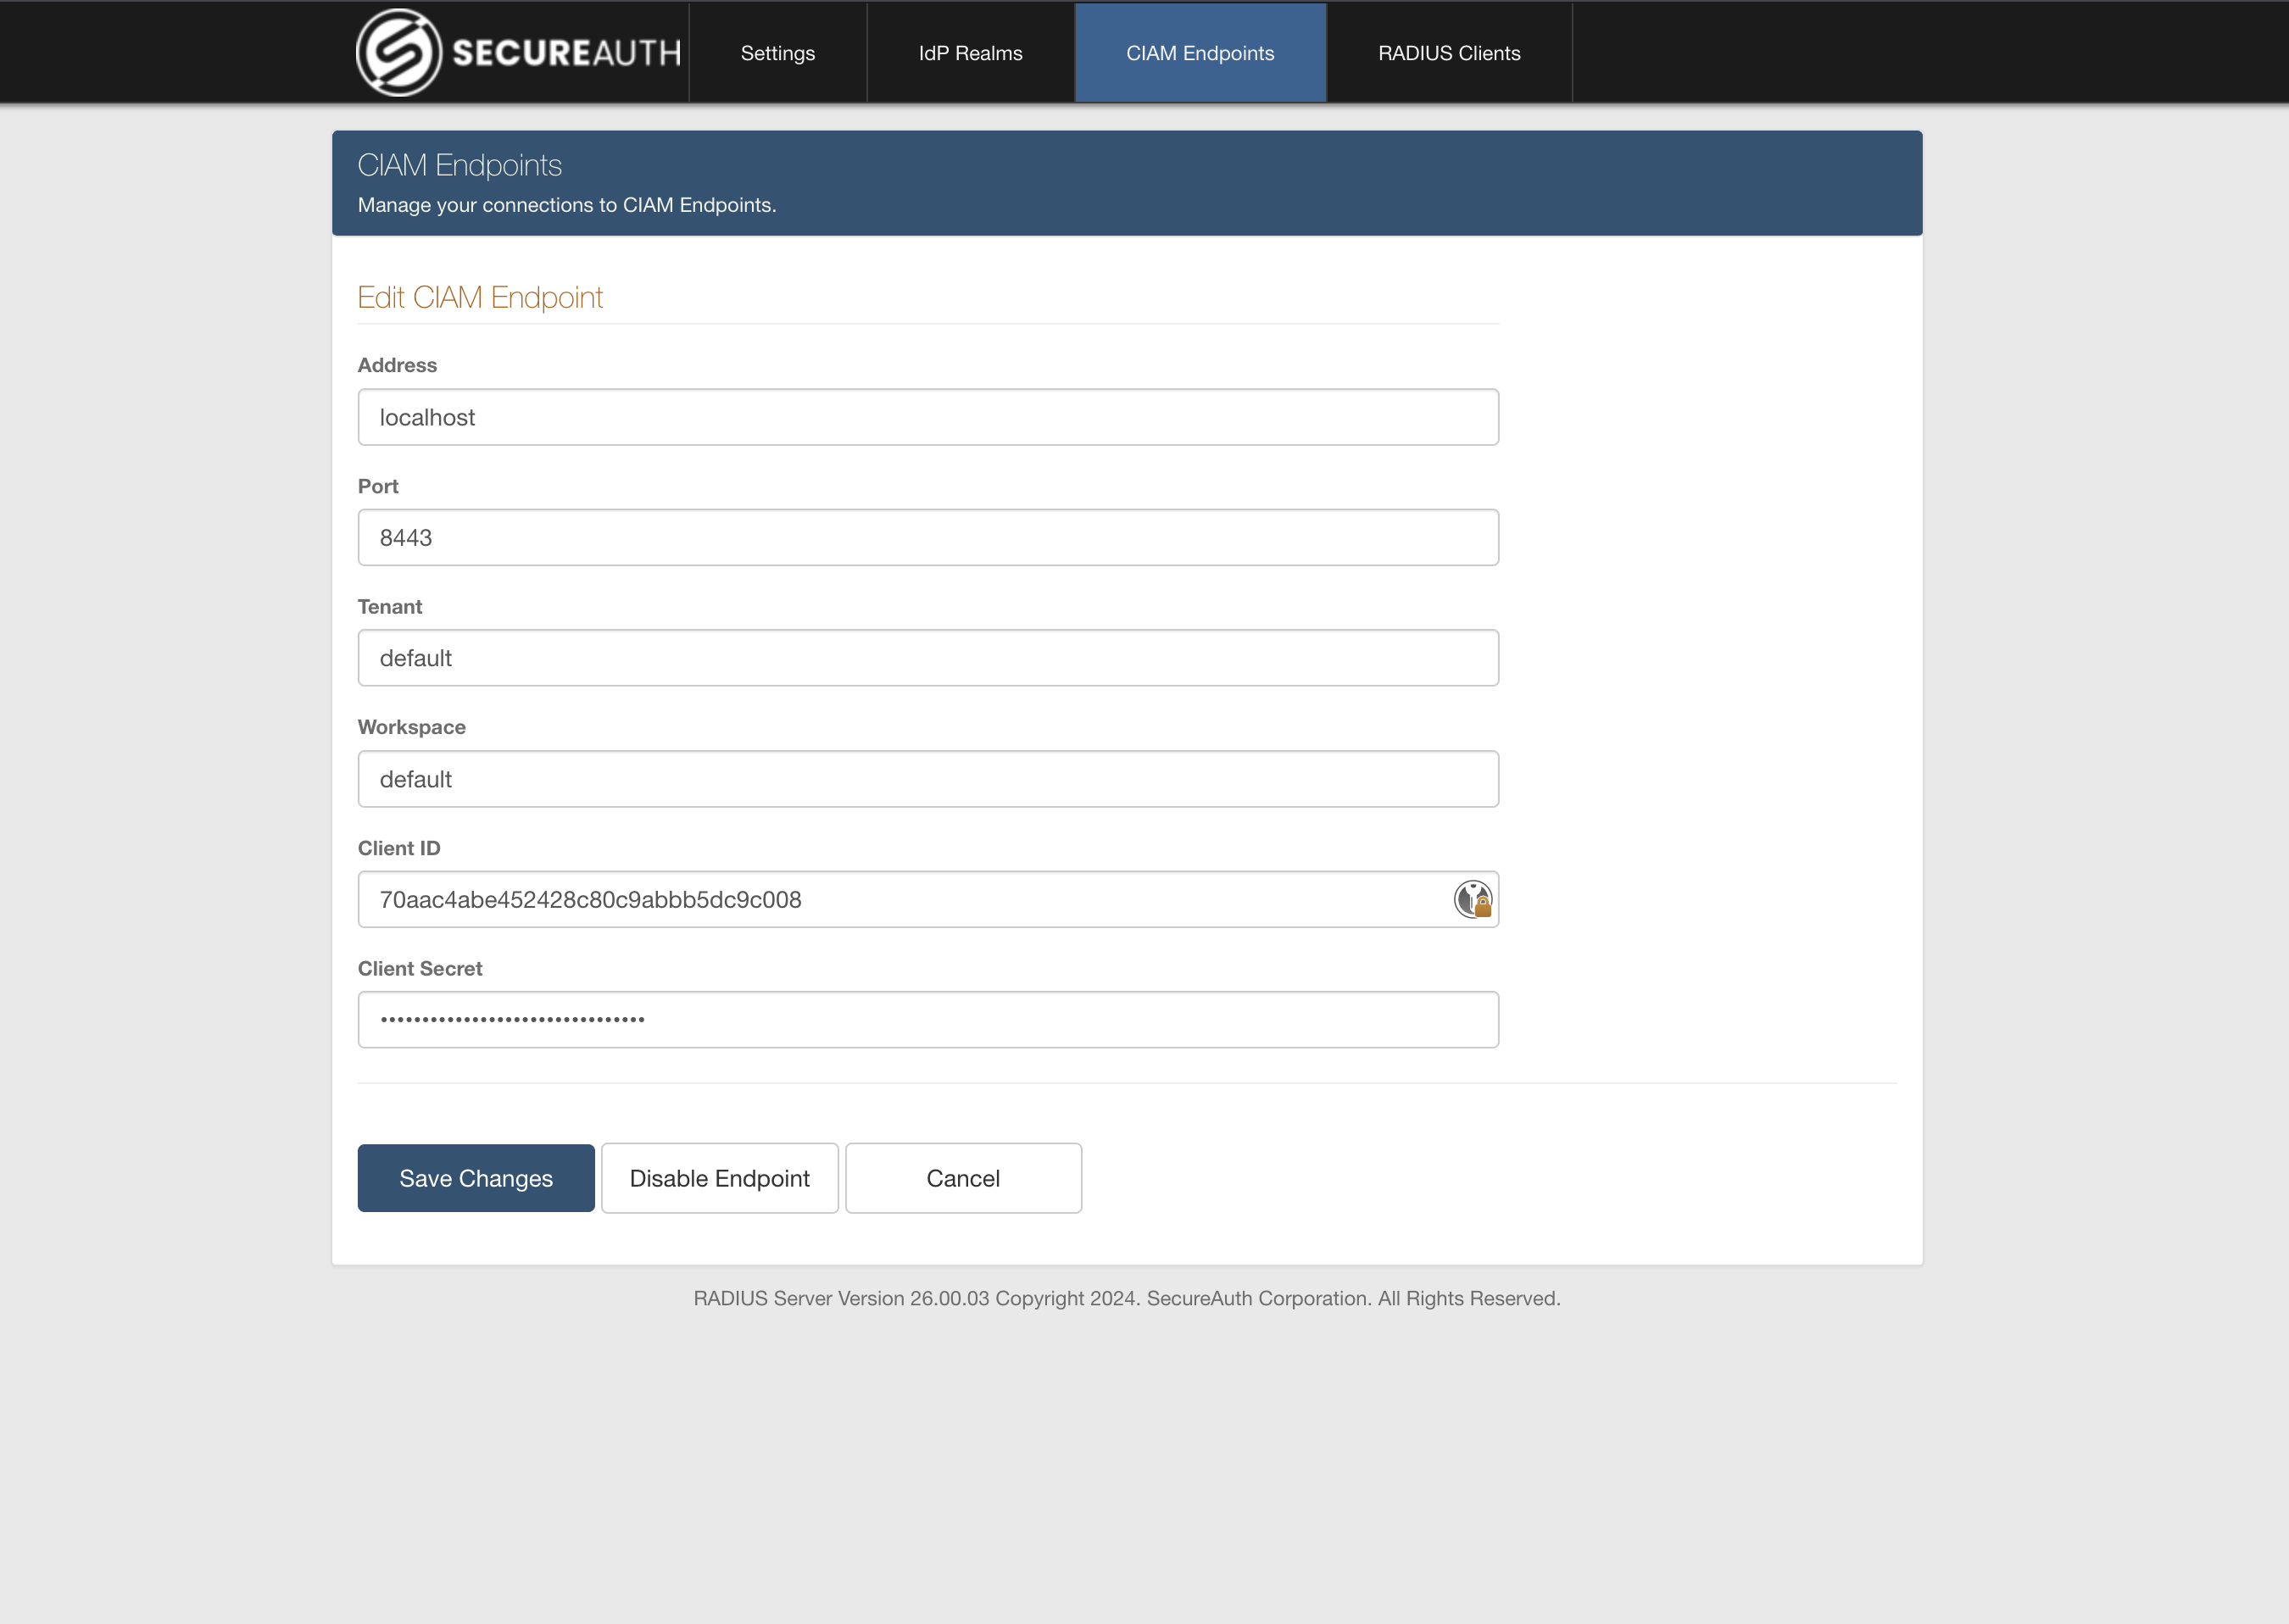
Enter the endpoint details:
- Address – The address where SecureAuth Connect is reachable.
- Port – The port for the SecureAuth Connect endpoints. The default is
443. - Tenant – The SecureAuth Connect tenant that hosts your workspace.
- Workspace – The SecureAuth Connect workspace that holds the authentication configuration.
- Client ID and Client Secret – The credentials for the RADIUS client created in SecureAuth Connect.
warningThe Tenant and Workspace names are case sensitive. Enter them exactly as they appear in SecureAuth Connect.
-
Click Save Changes, then enable the endpoint.
Assign the endpoint to a RADIUS client
Assign the endpoint to a RADIUS client so the client authenticates users through SecureAuth Connect.
-
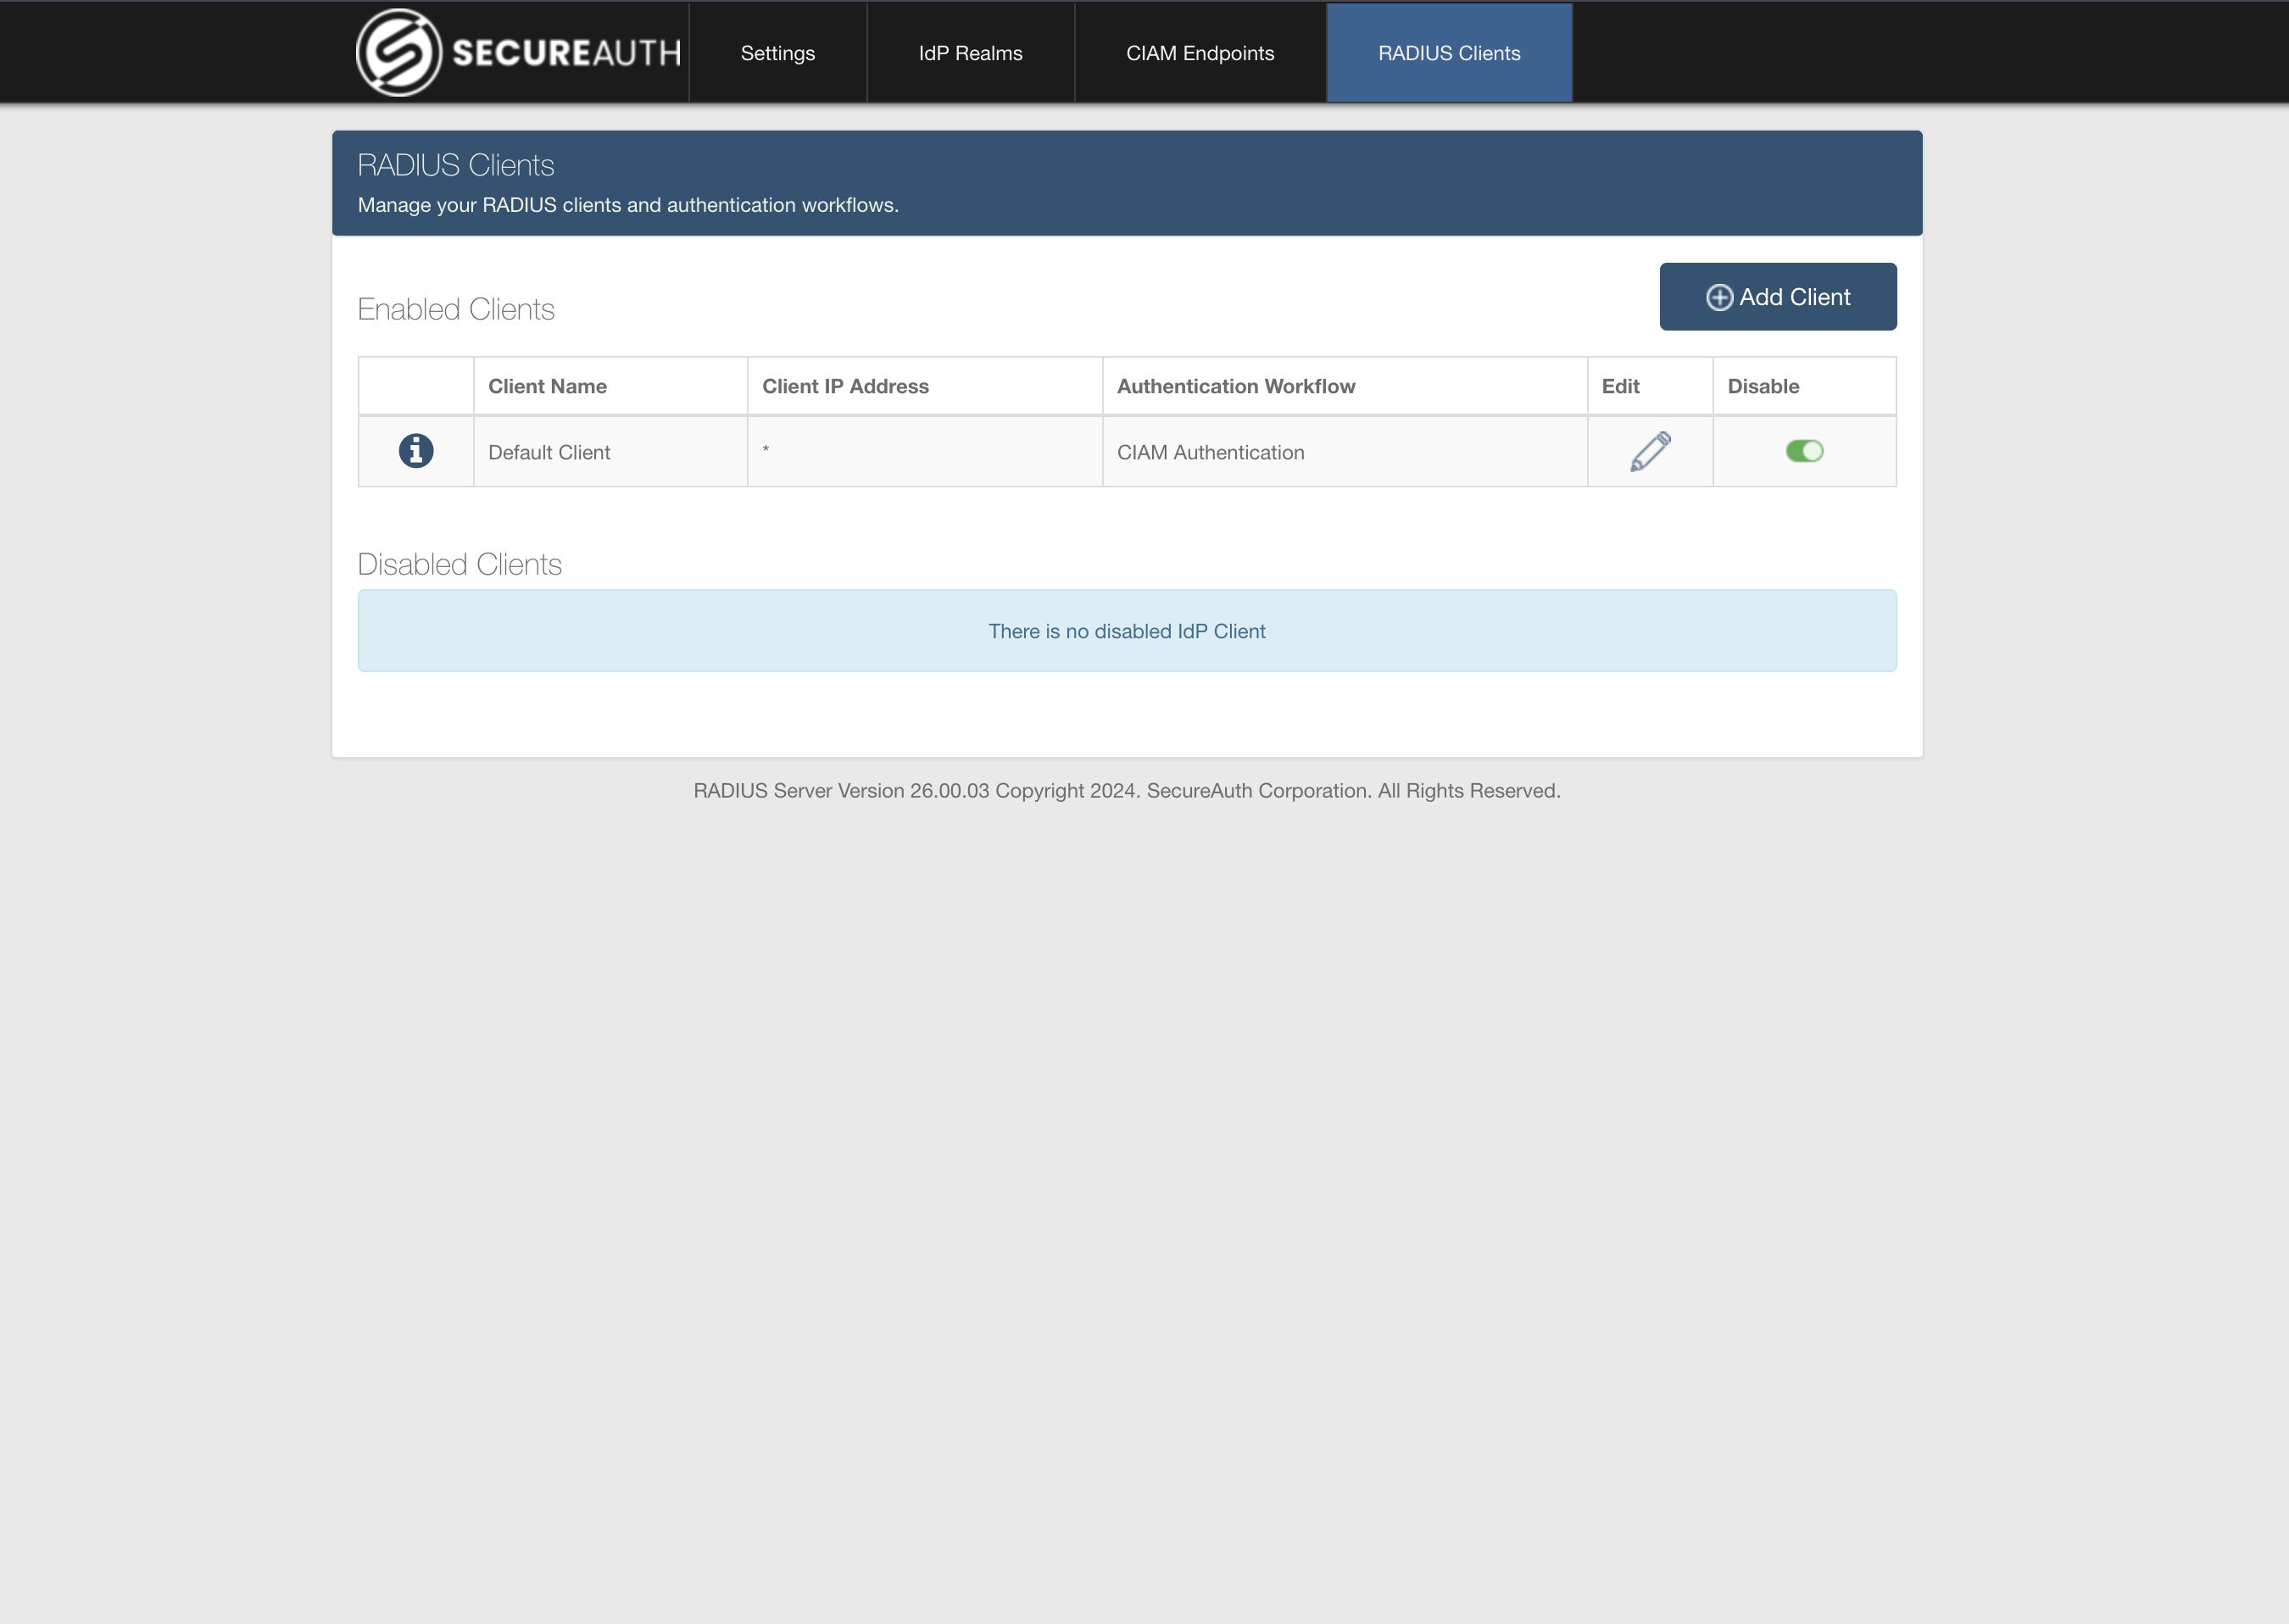
On the RADIUS Clients tab, click the pencil icon for the client you want to edit.
-
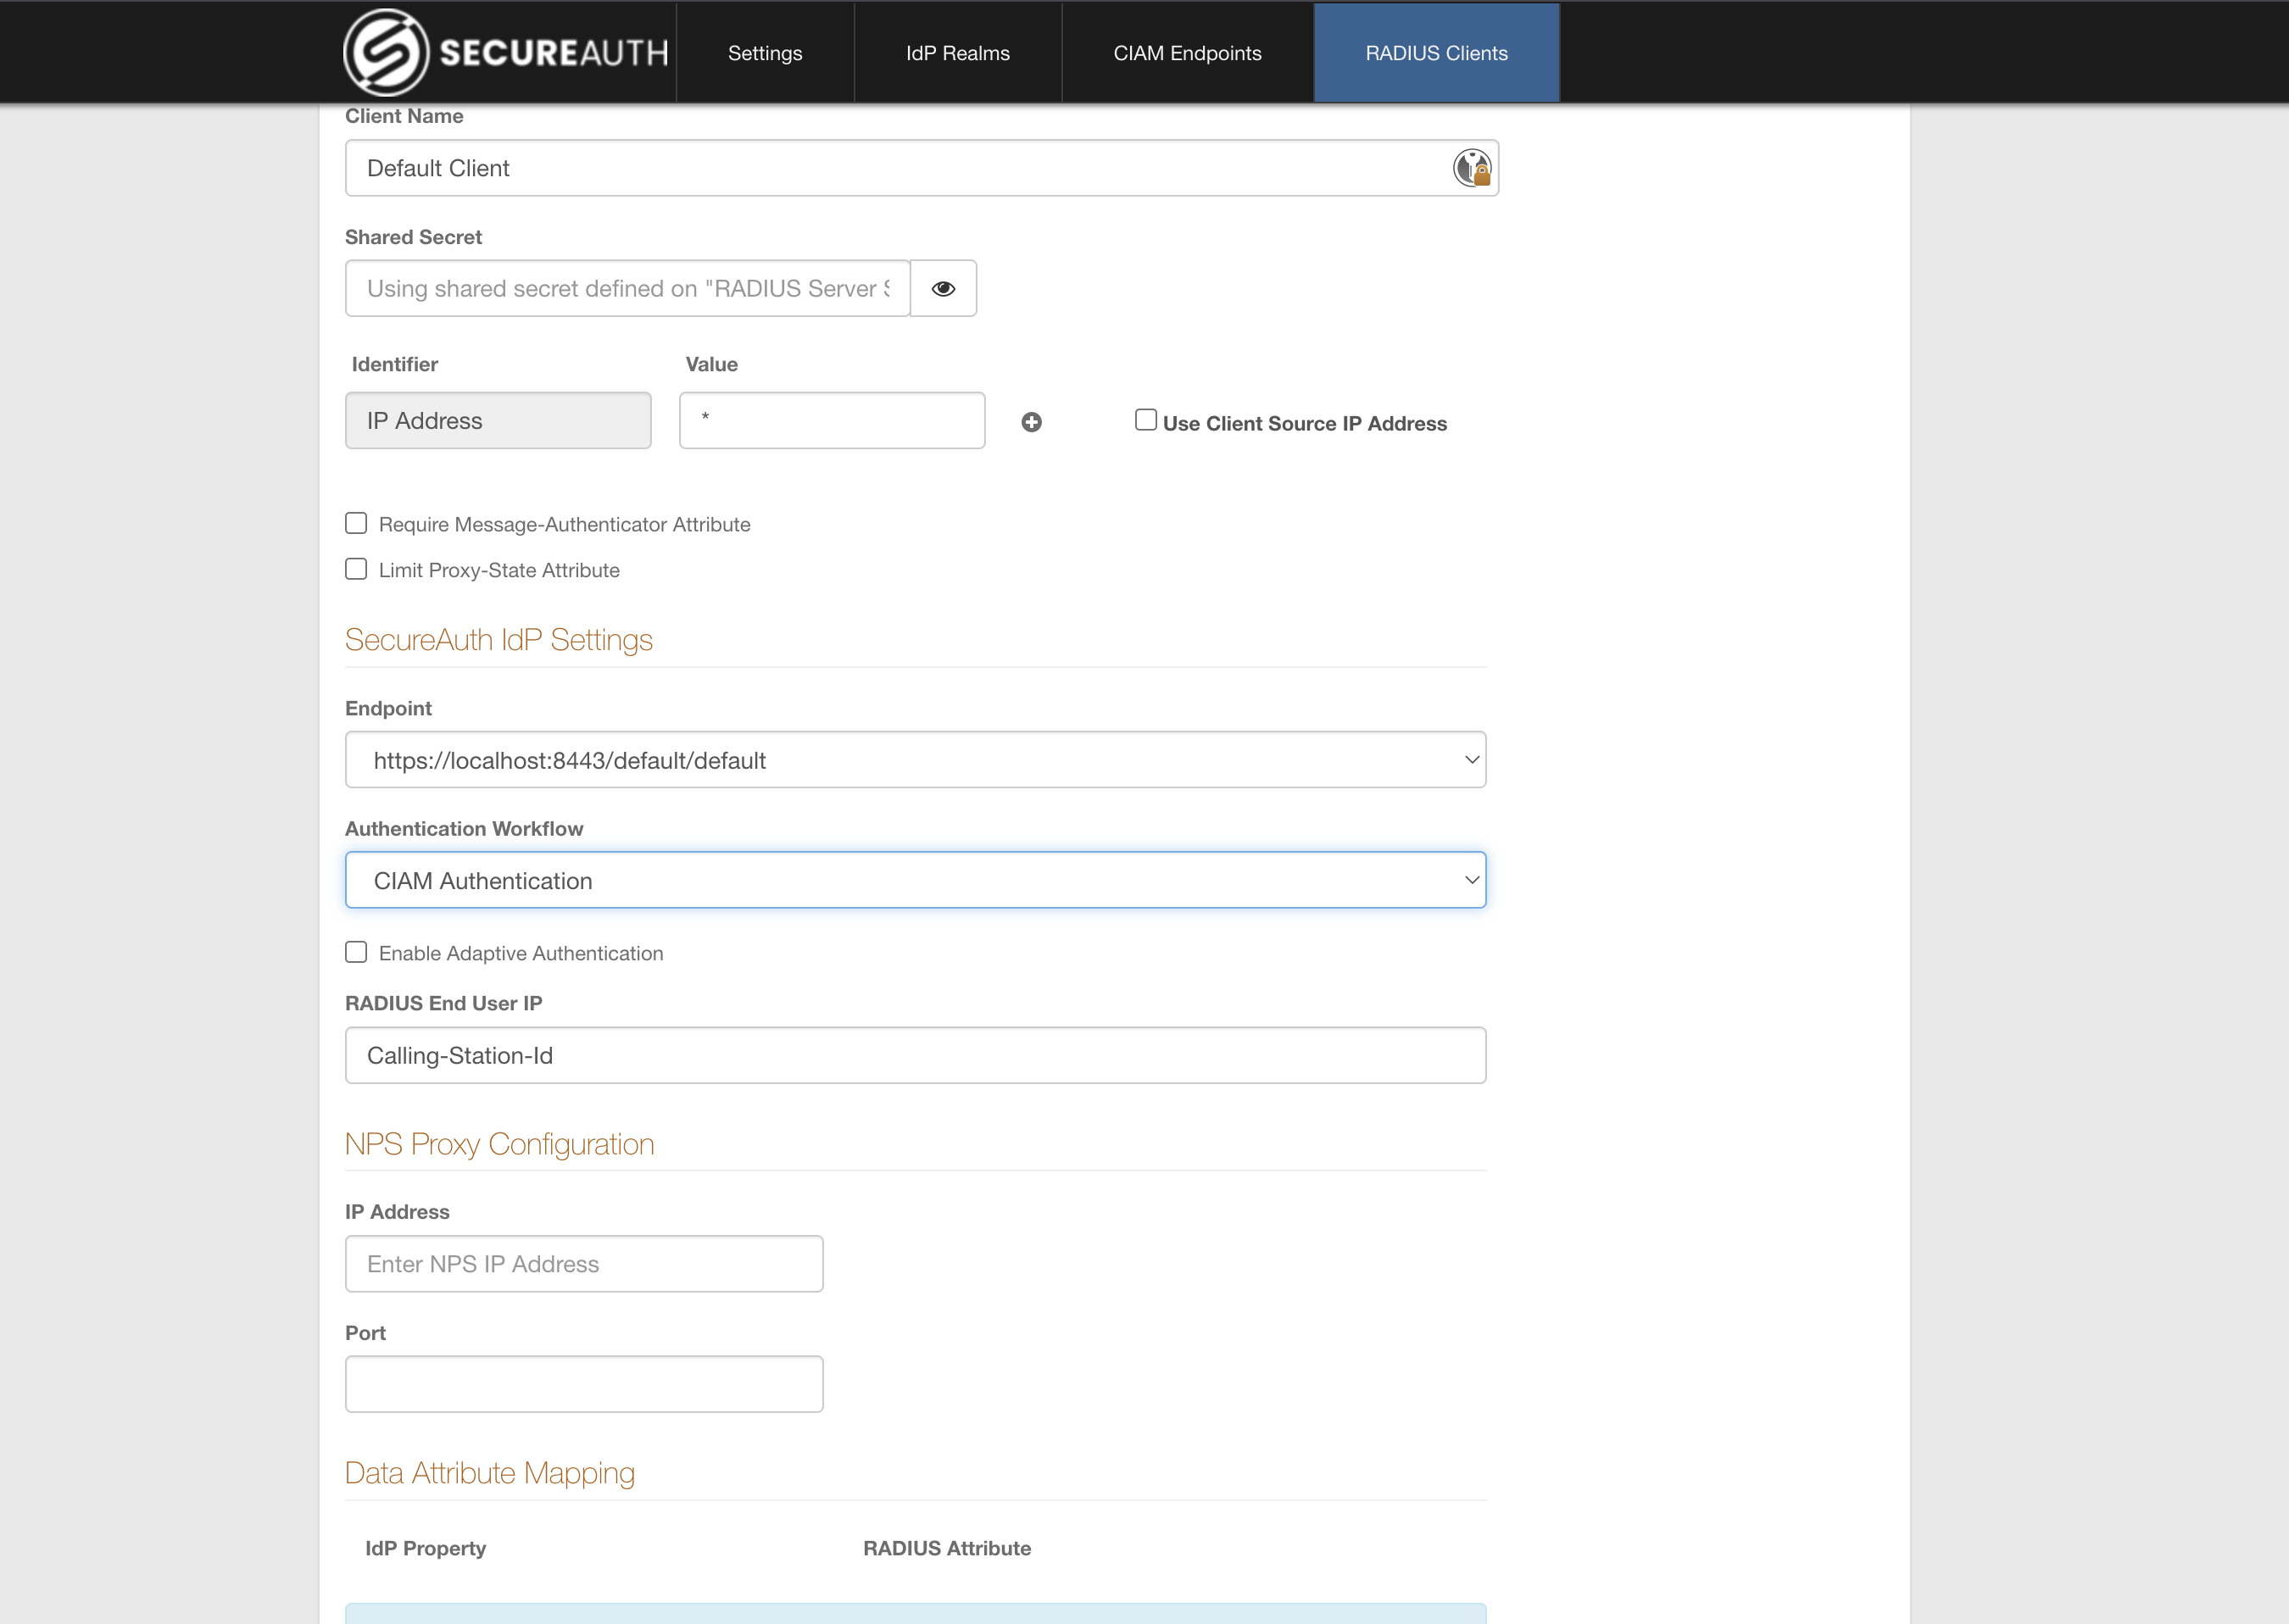
On the client edit page, select your endpoint from the Endpoint list, then select CIAM Authentication from the Authentication Workflow list. Save the client.
The RADIUS client now authenticates users against SecureAuth Connect.