Protect applications with developer metadata
Instructions on how to protect an application using details on a developer who created the application.
Developer metadata can be used for validating policies. It enables, for example, blocking the scope assignment to an application created by a developer identified with specific metadata.
Prerequisites
-
You can log in to SecureAuth as an administrator.
-
You have at least one application in SecureAuth.
Create App Metadata
-
In the workspace, select Applications > Clients from the sidebar.
-
Select an application that you want to add/check the metadata on.
-
In the application view, select the Metadata tab.
-
In the Metadata view, navigate to Developer metadata and review or add content.
Result: You've learned details on a developer who created the application and you are able to use this data for your purposes.
Create Policy
-
Create a SecureAuth user or machine-to-machine policy as described in Creating SecureAuth policies in the Visual Policy Editor.
-
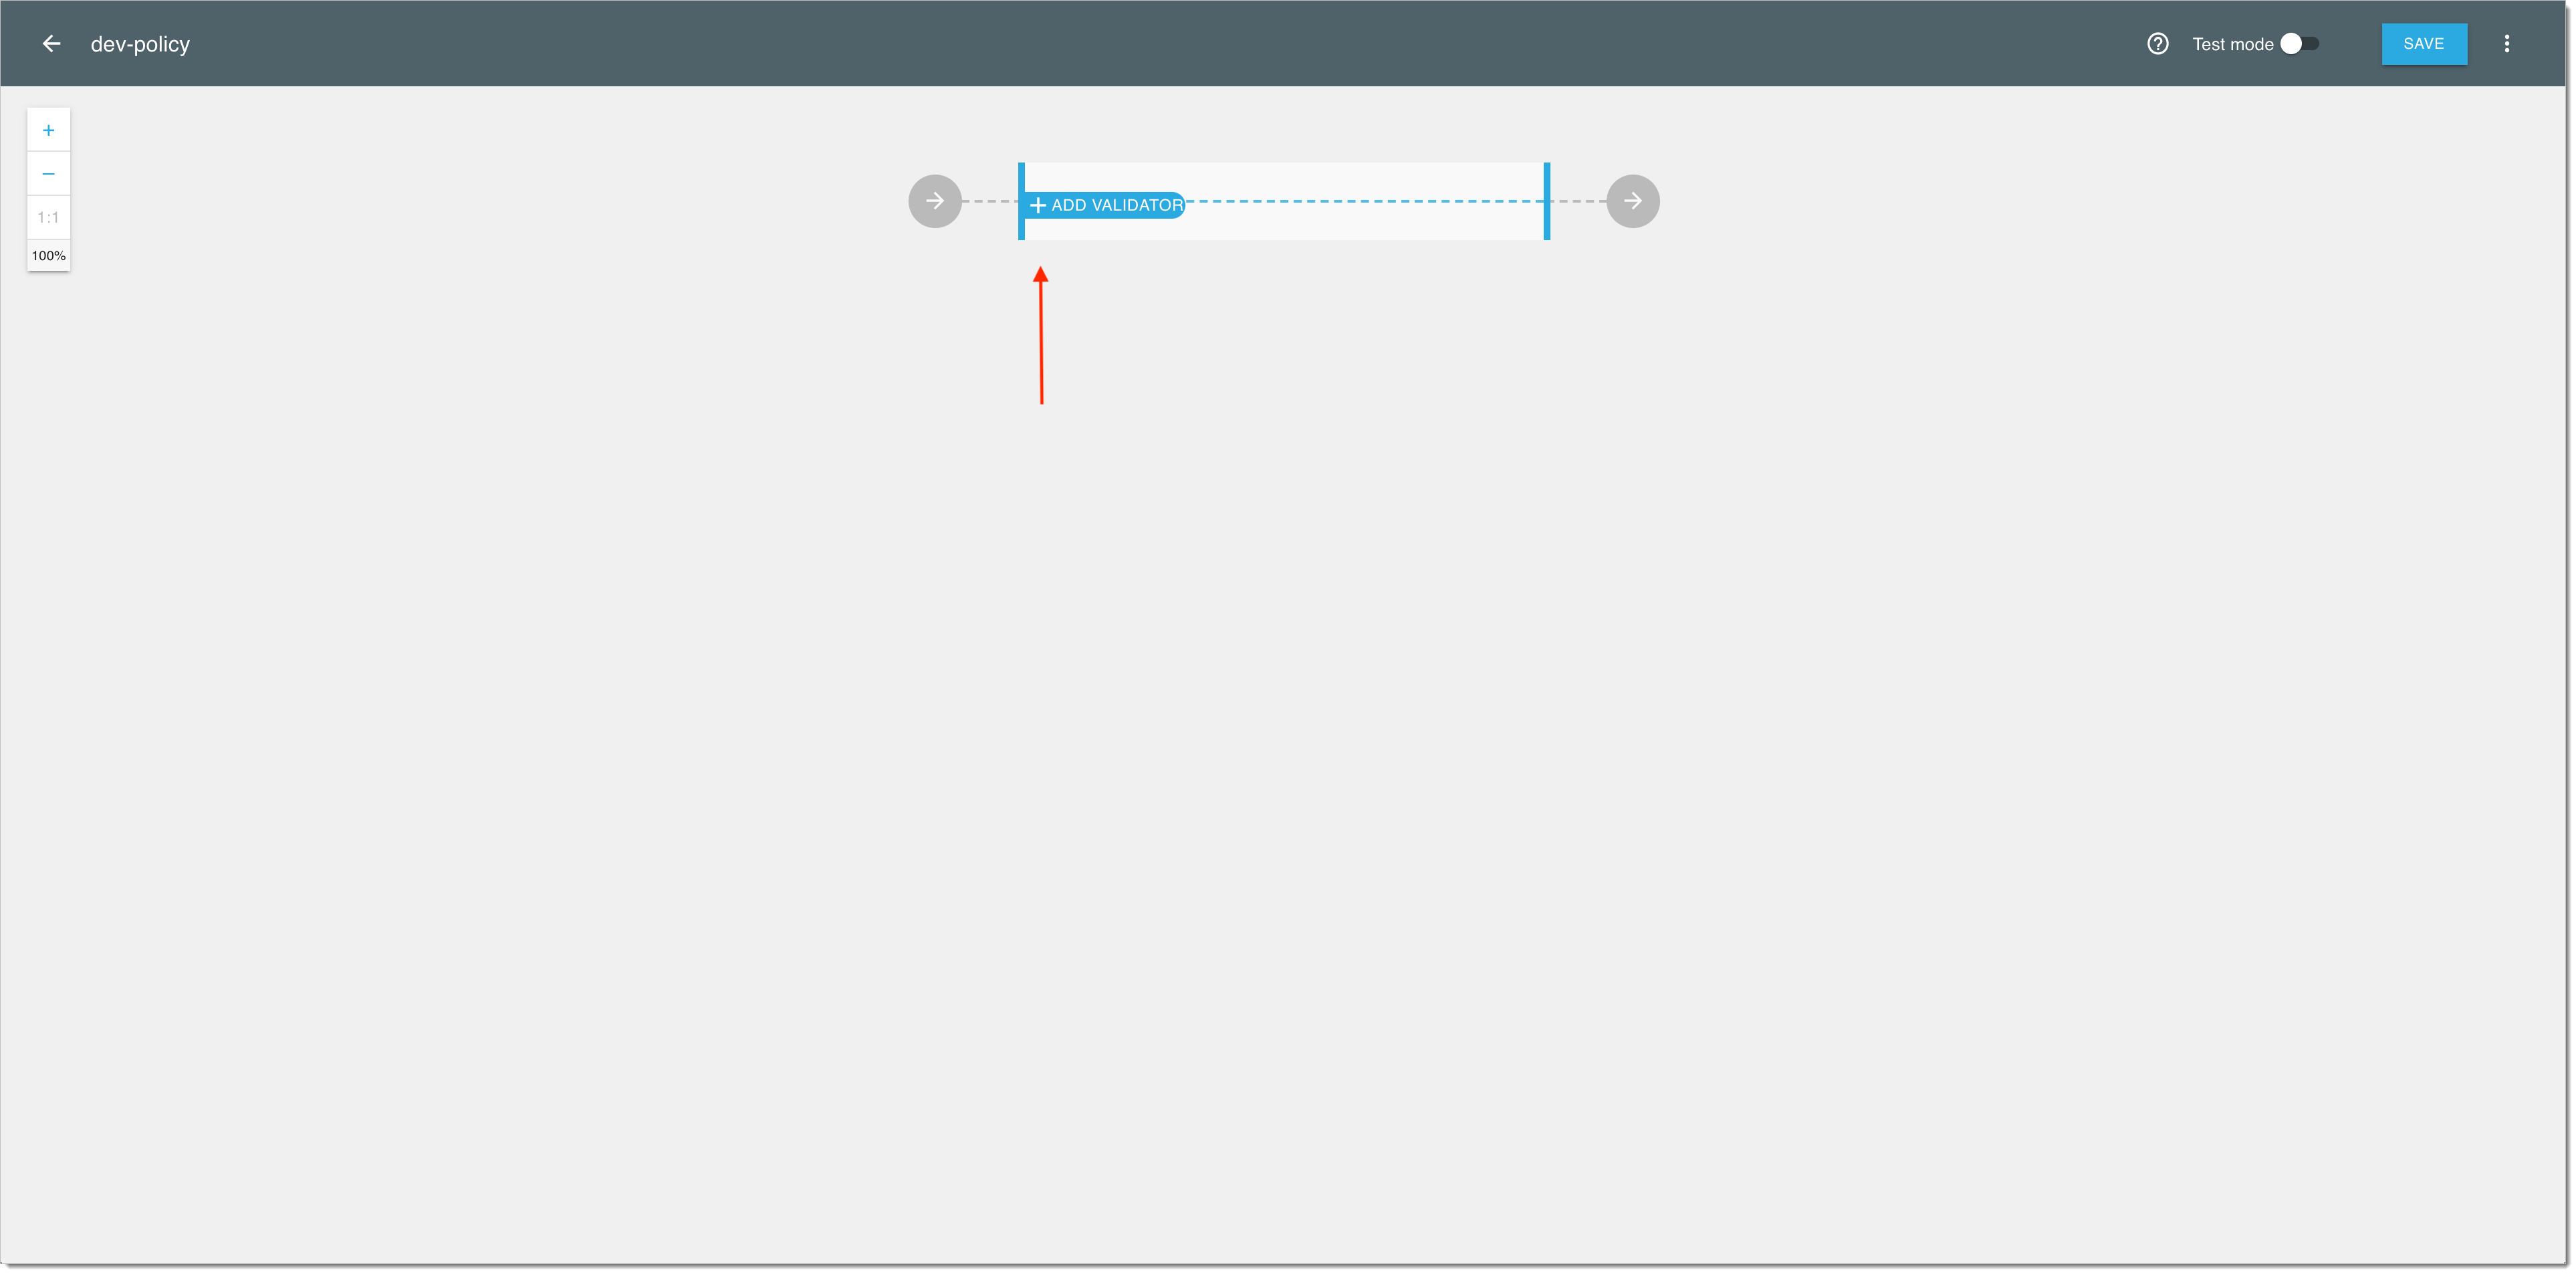
In the policy generating engine, select ADD VALIDATOR.
-
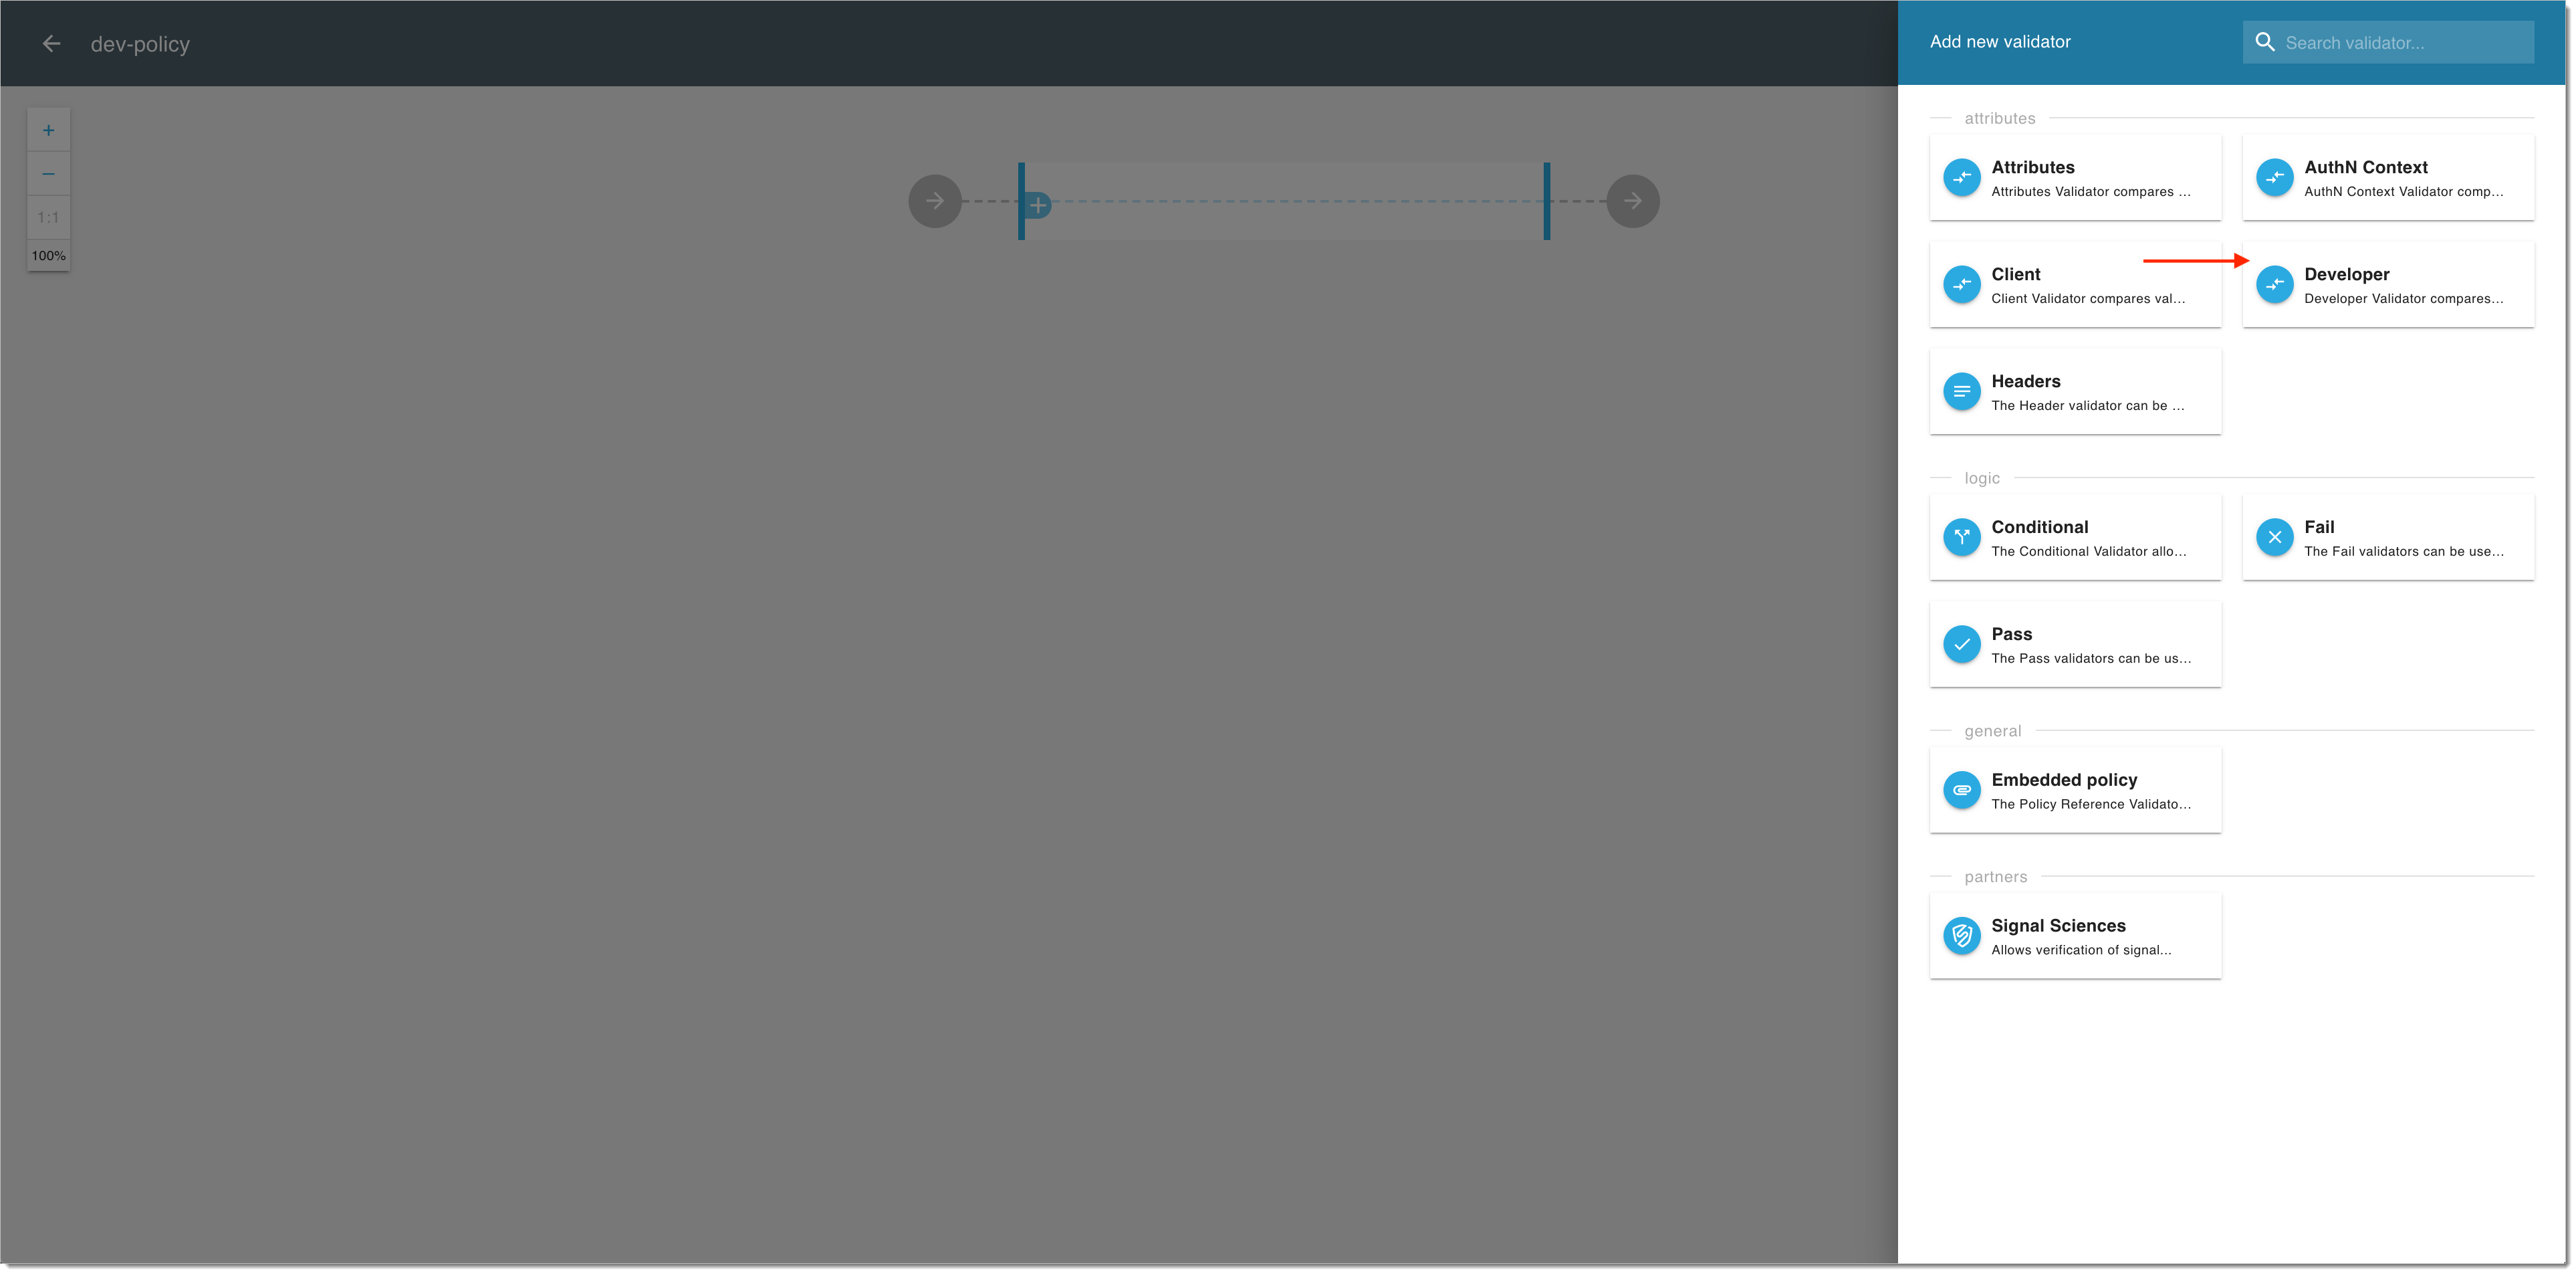
From the fly-out Add new validator pane, select Developer.
-
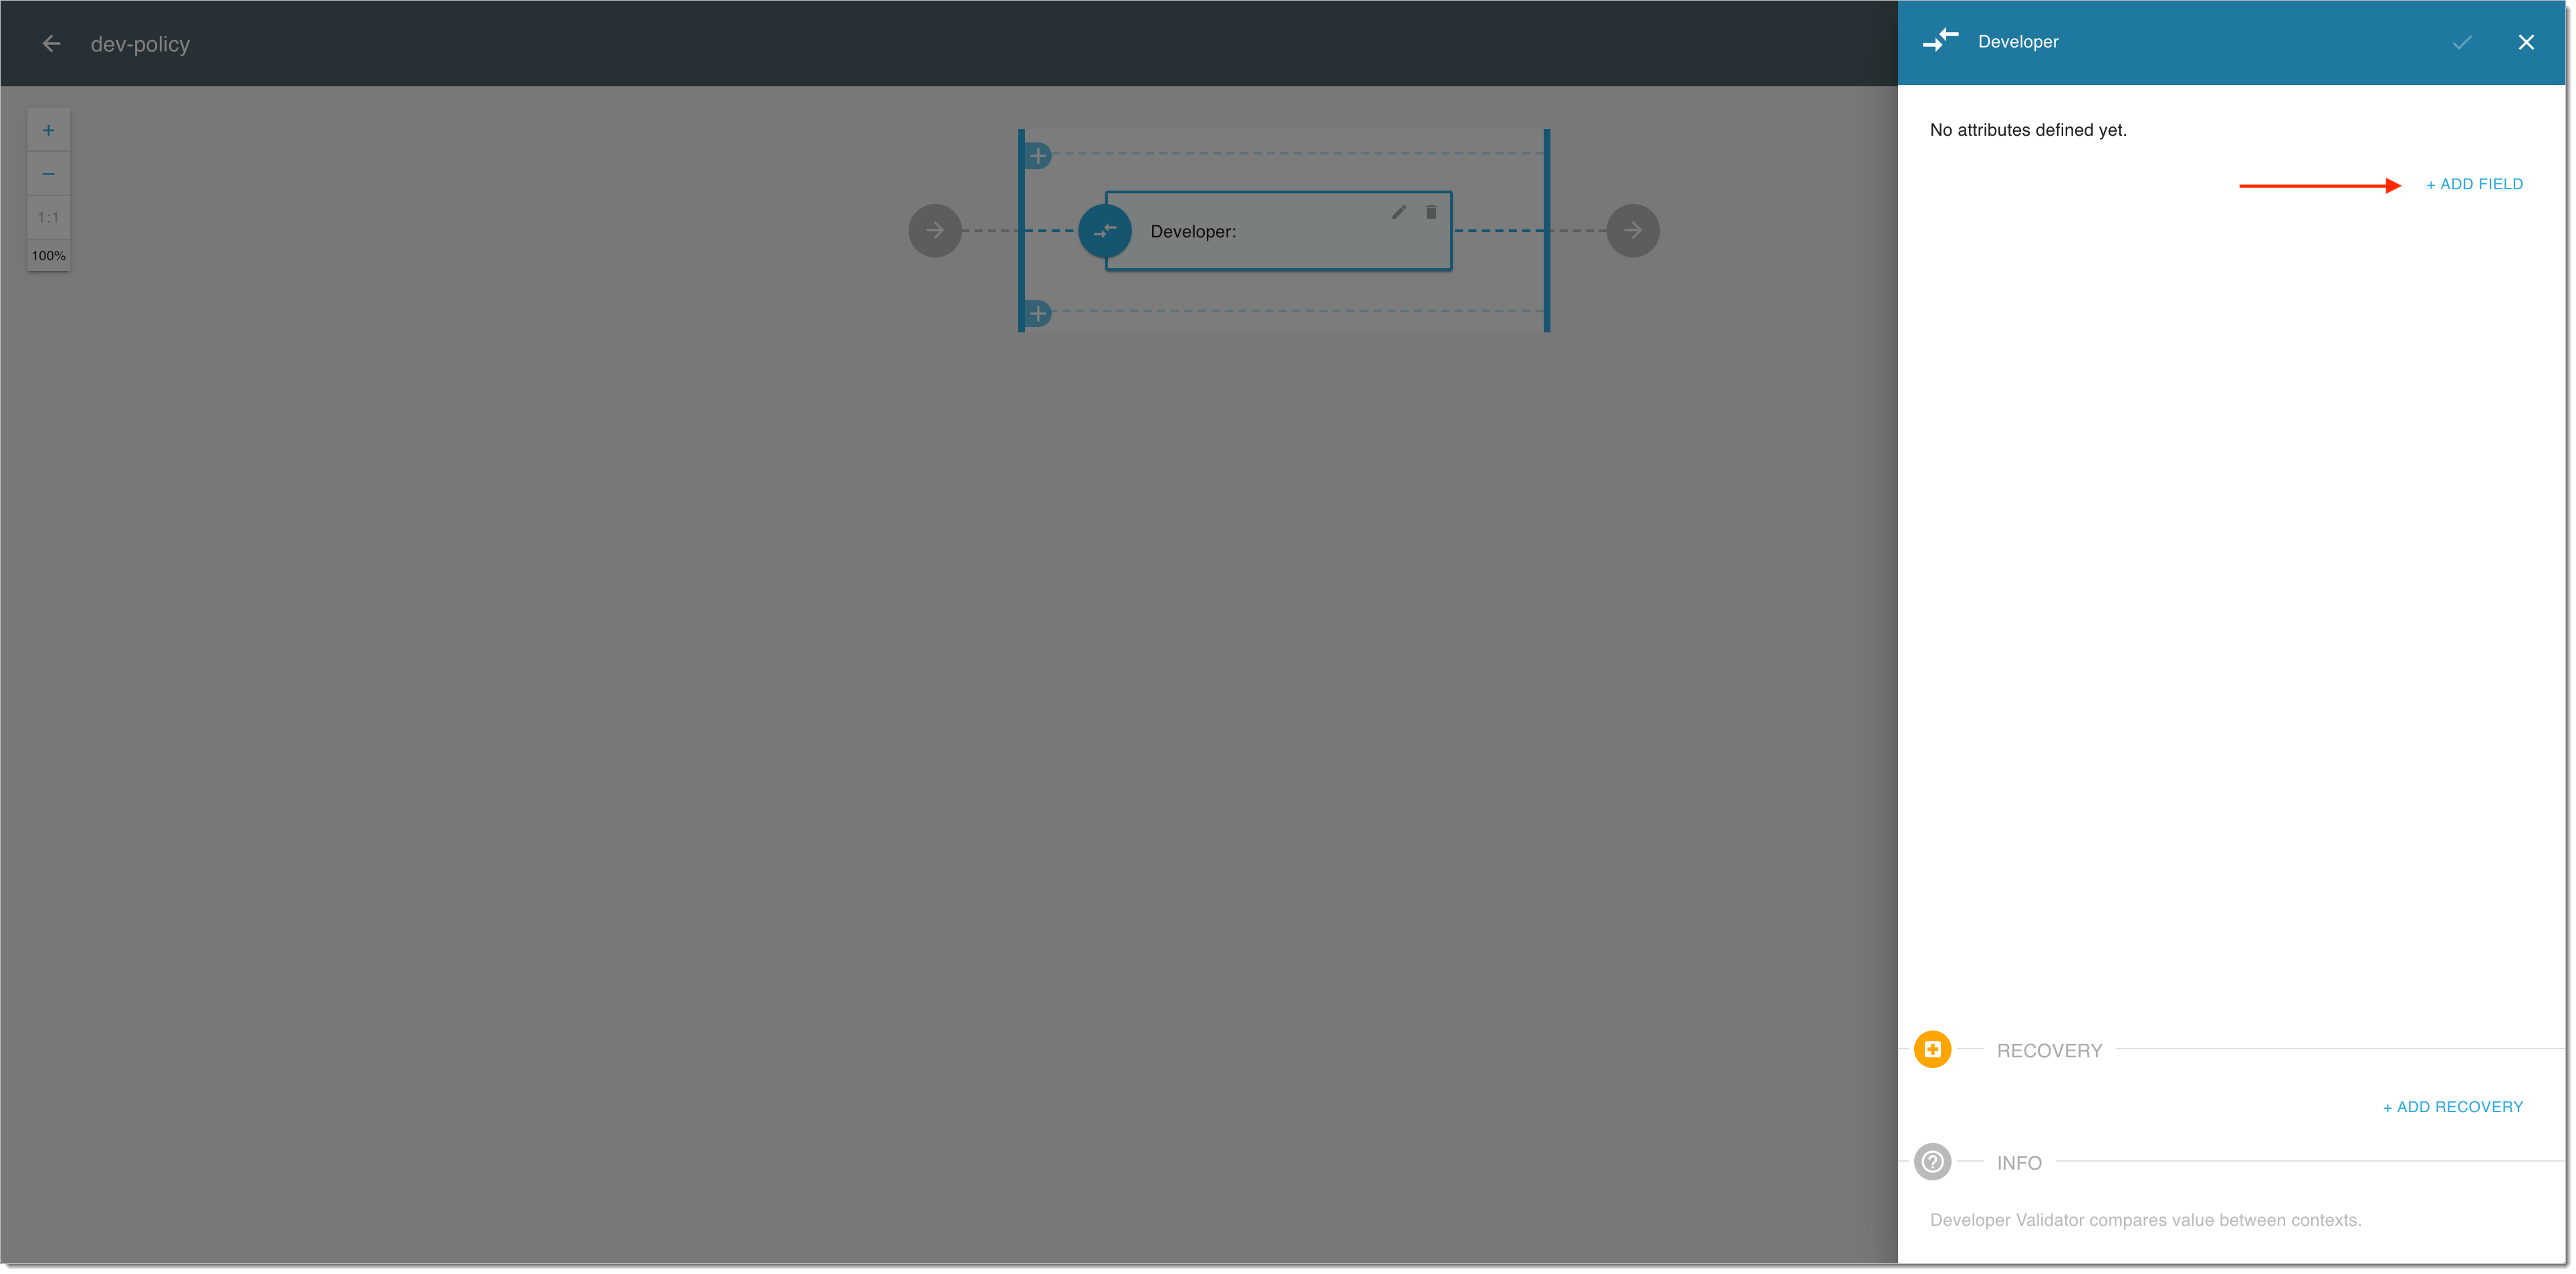
In the Developer validator, select ADD FIELD.
-
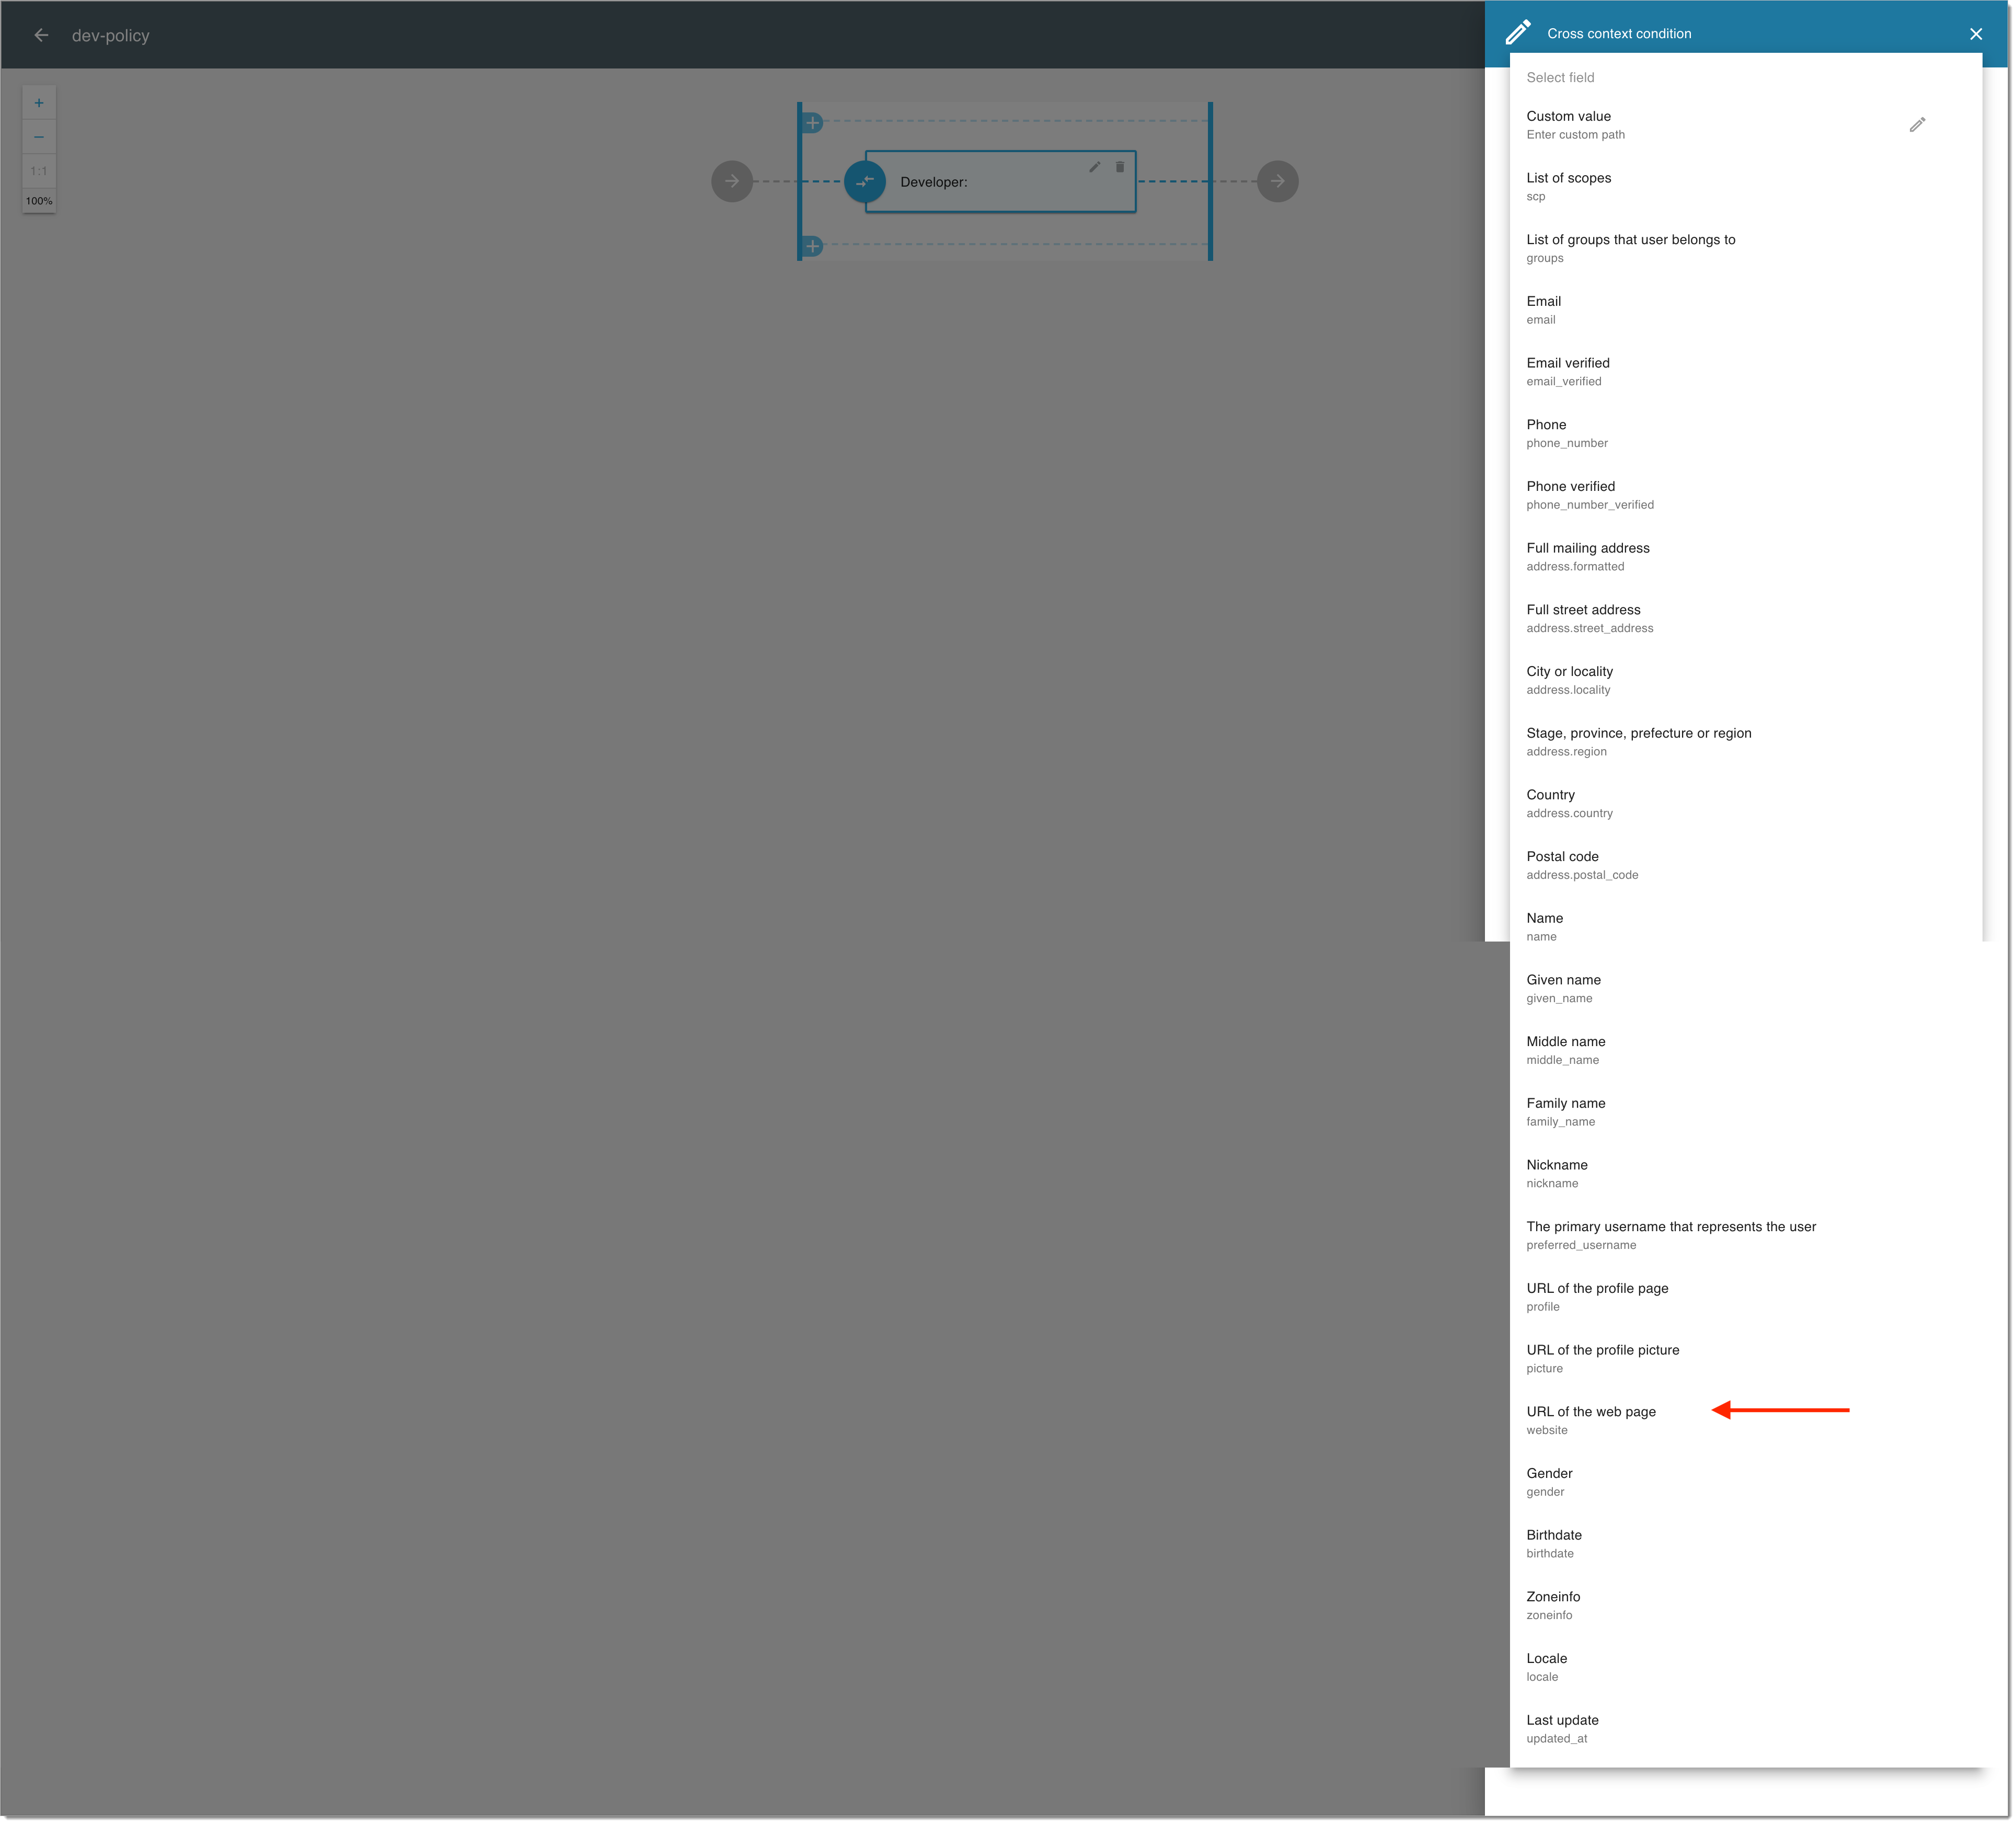
In the Cross context condition editor, select an attribute for the developer context from the drop-down list, for example URL of the webpage.
noteYou can also define your own attribute by selecting Custom value from the top of the list of predefined attributes.
-
Continue the validator setup in the Cross context condition editor:
-
Select an attribute operator, for example, equals.
-
Enter a value (target) for your attribute that would validate the policy, for example,
https://example.com/. -
Select SAVE to complete the field setup.
-
-
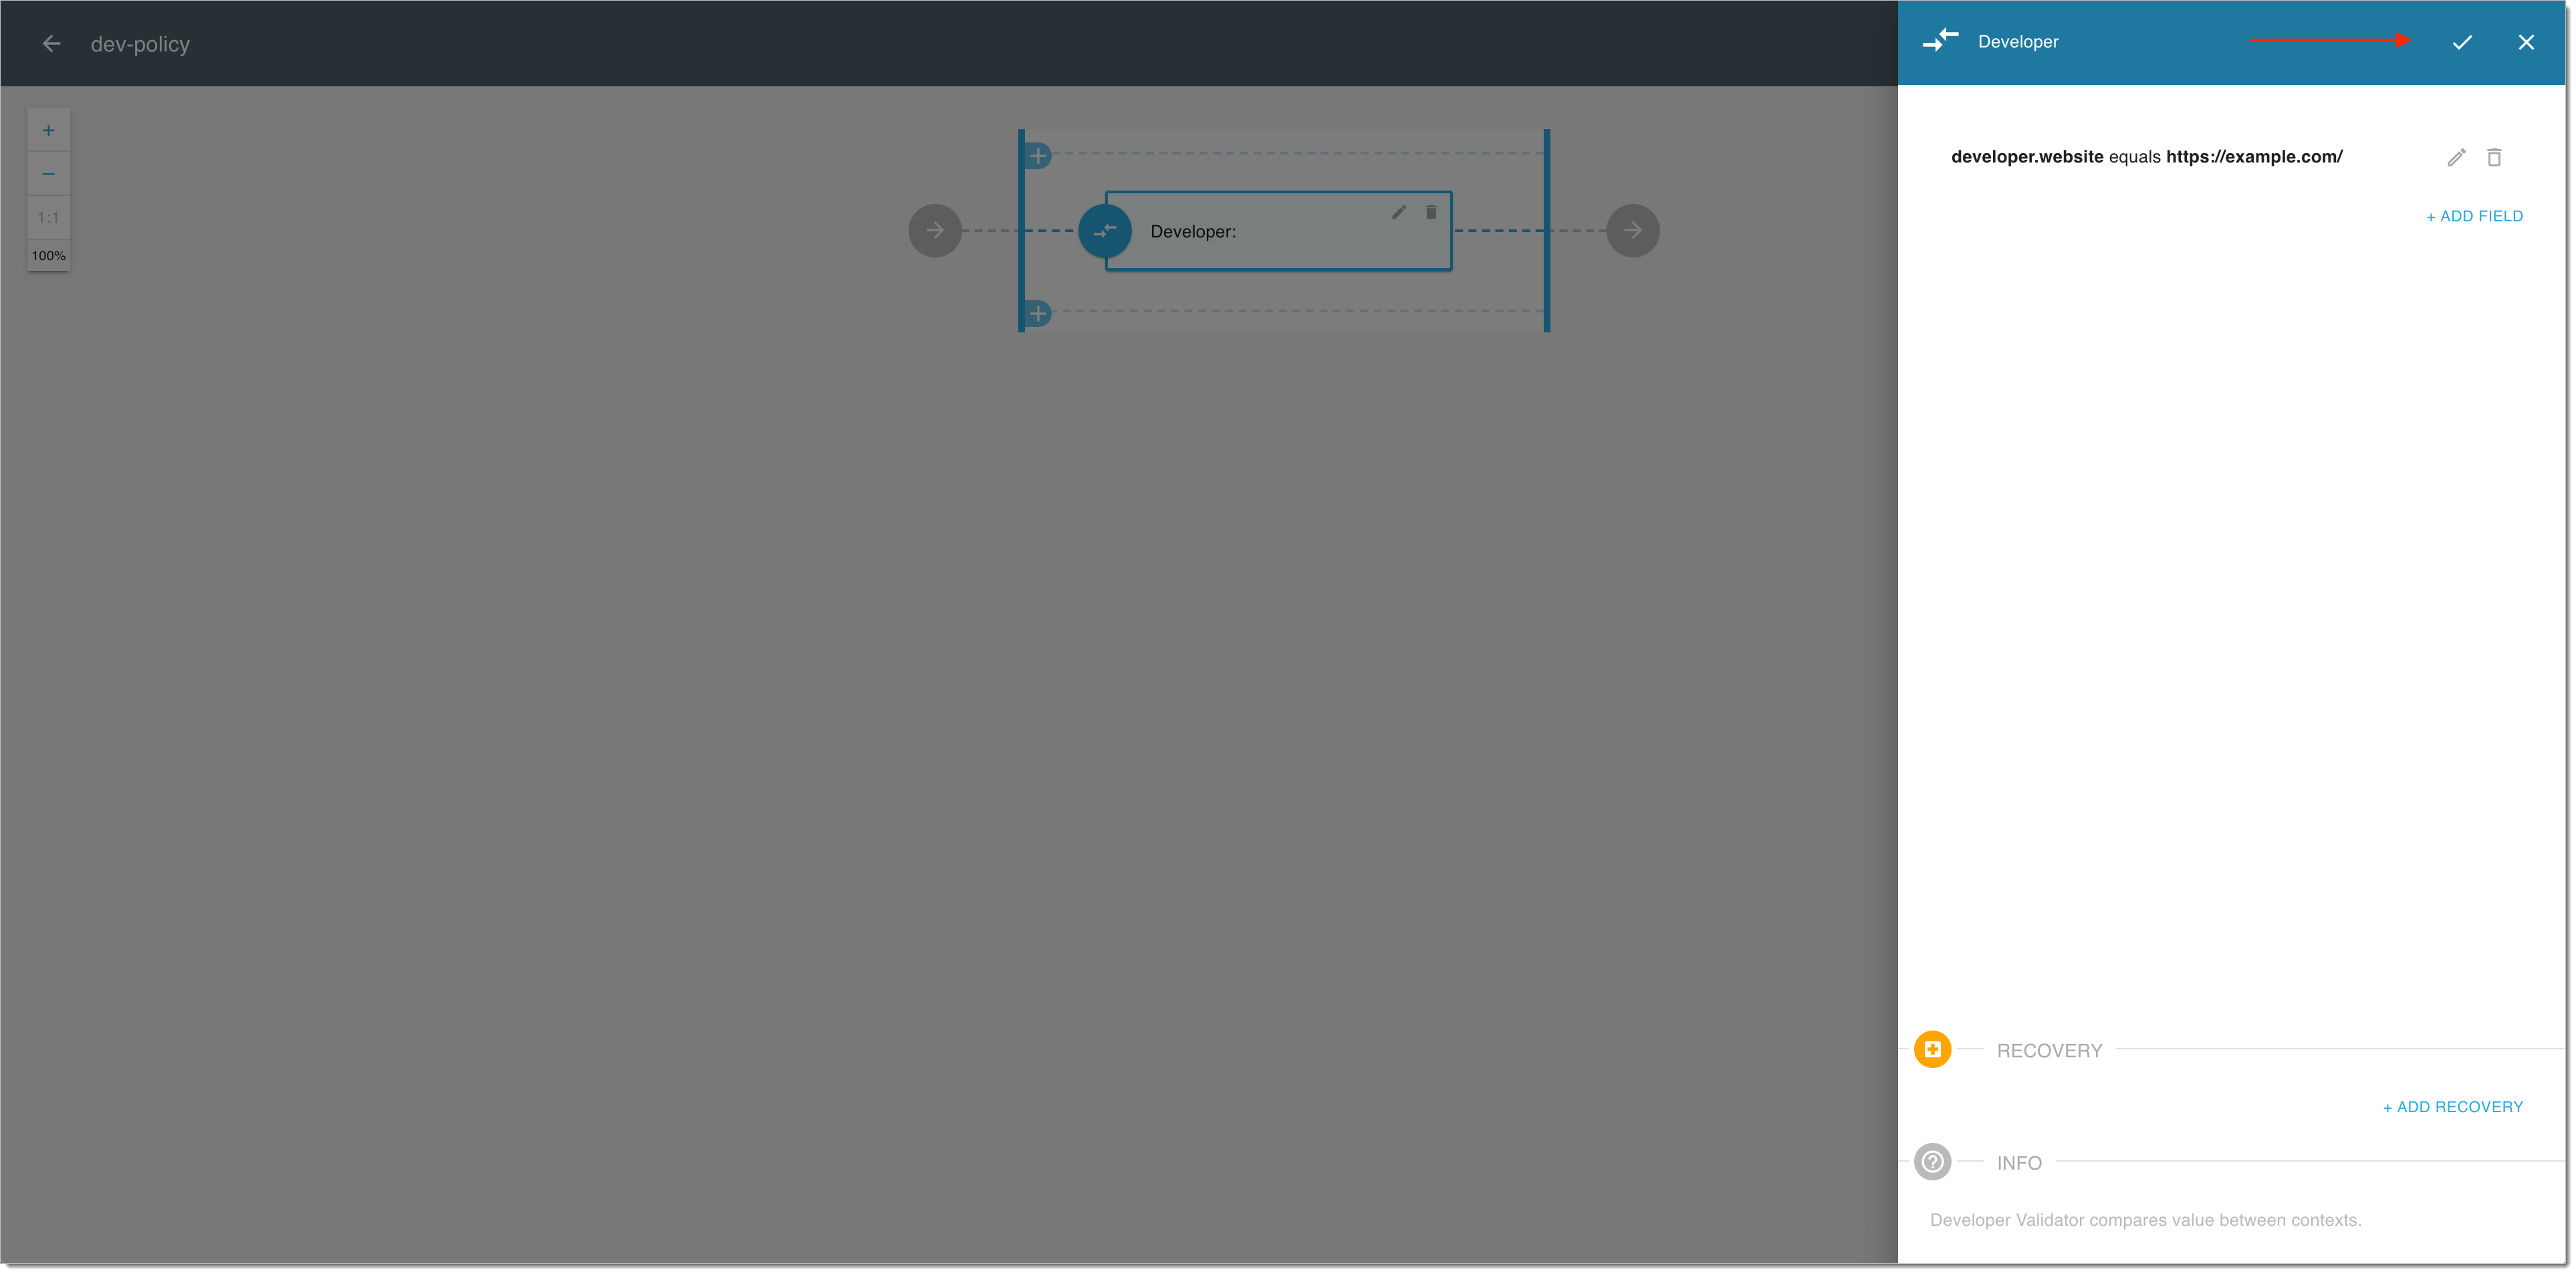
Select the OK icon from the top right corner if you're done with adding fields.
-
If you're done with adding validators, select SAVE to complete the policy setup.
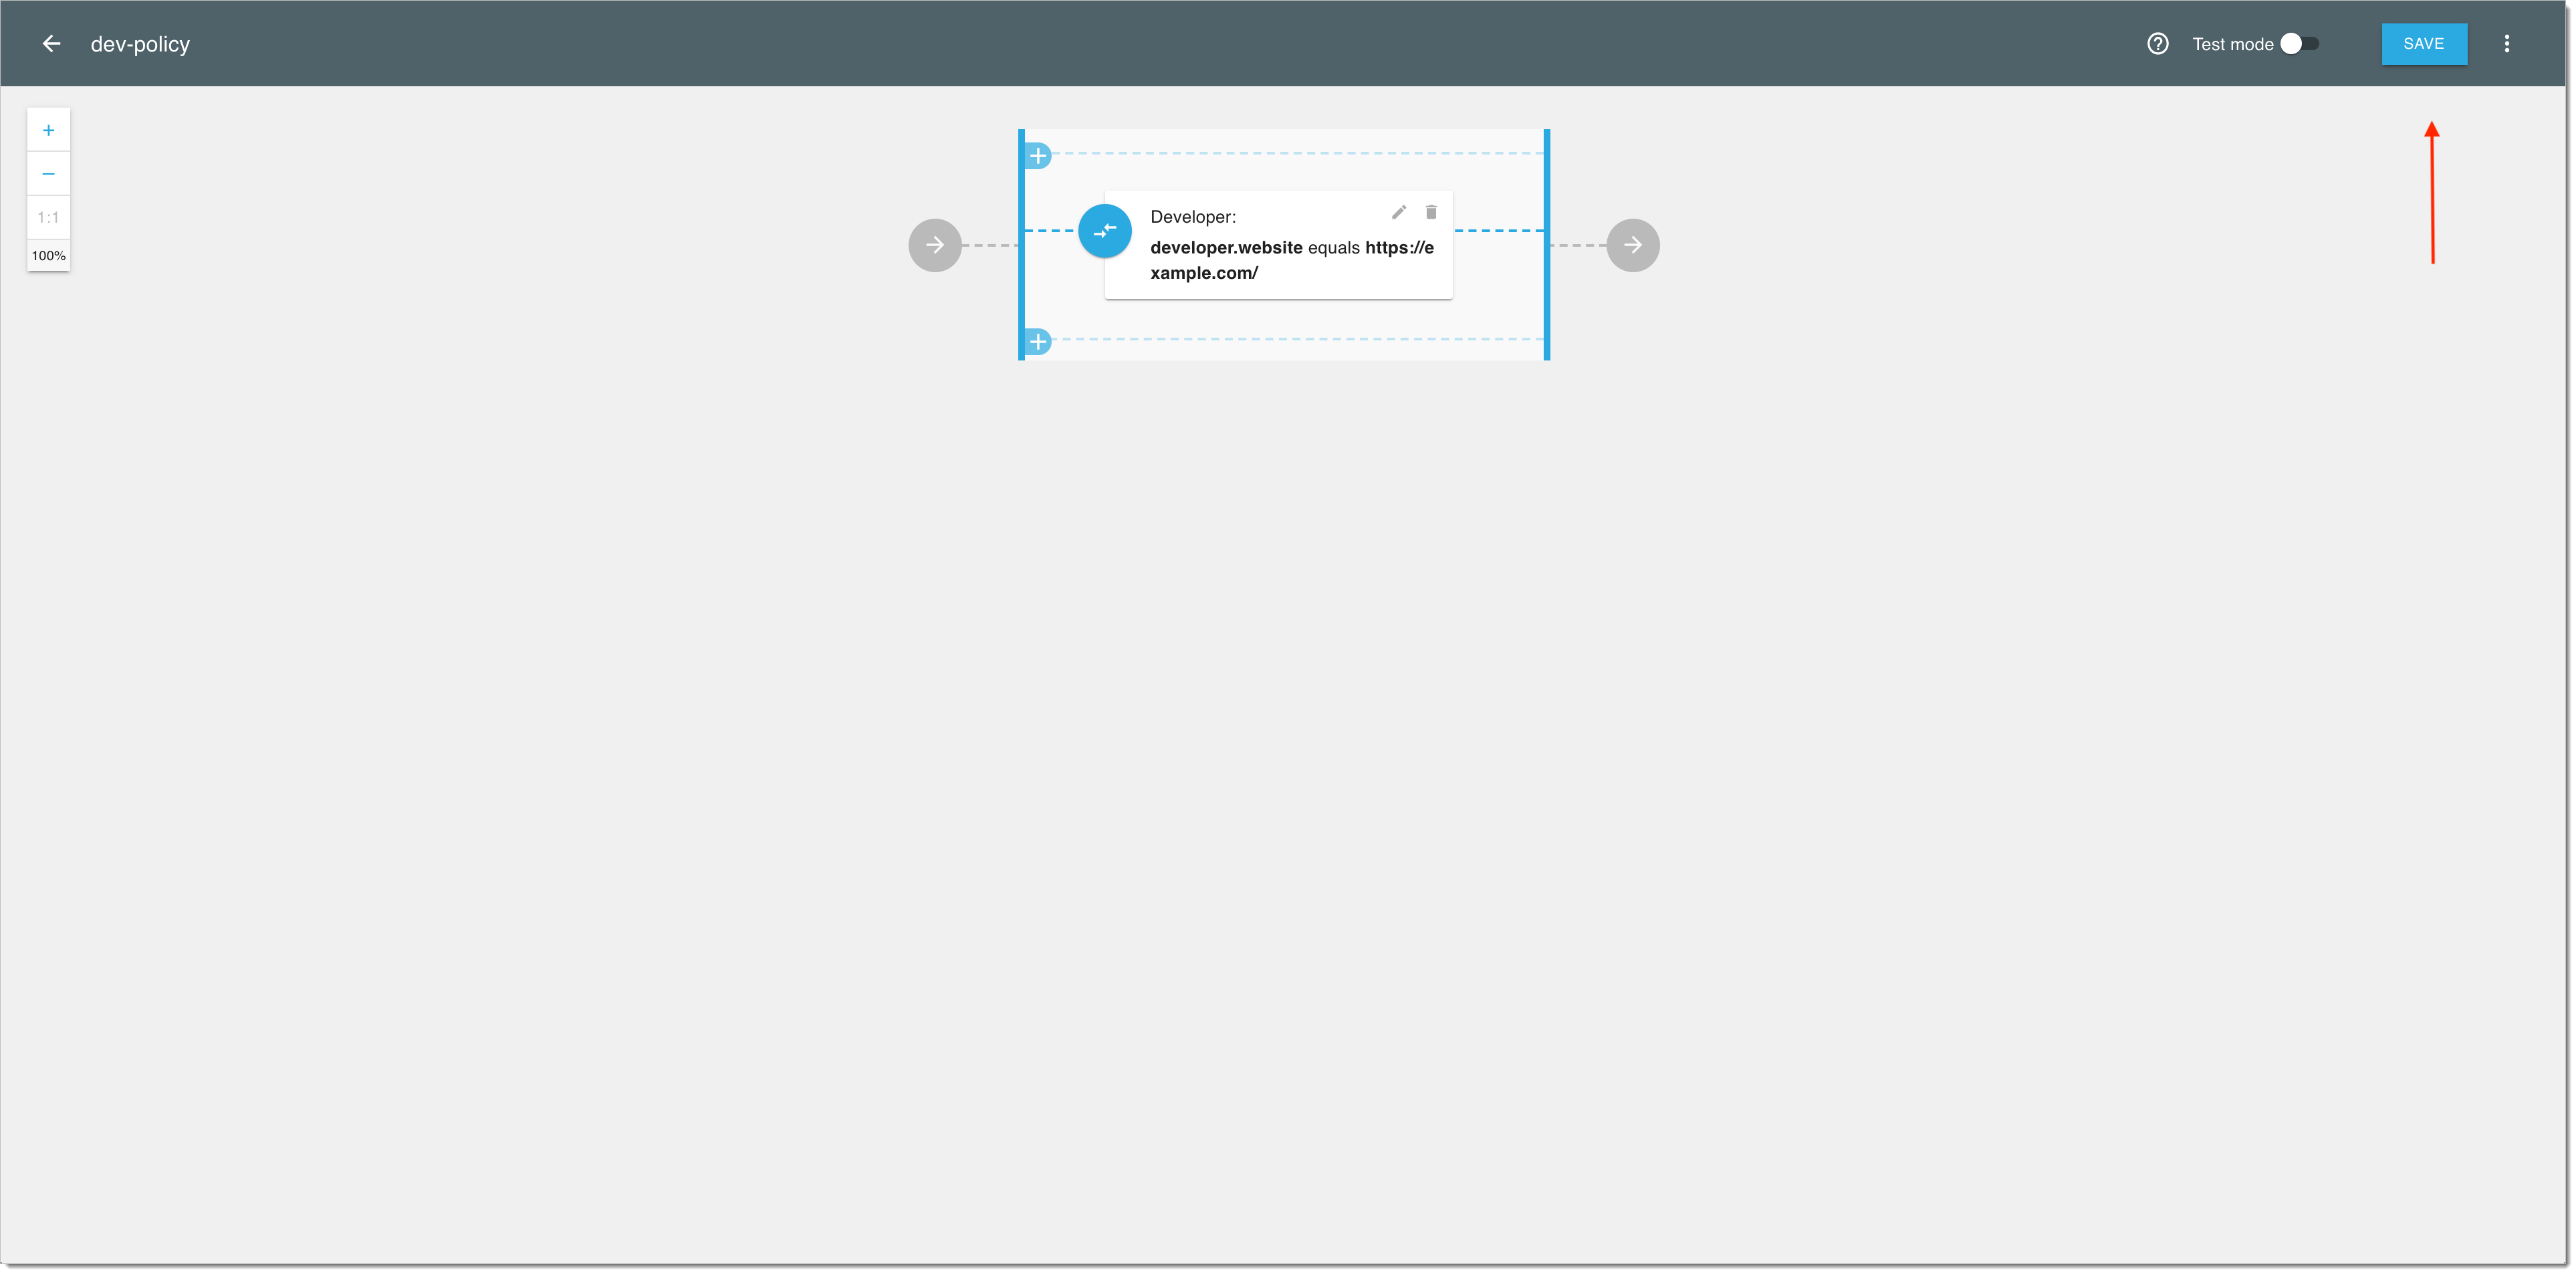
Result: Your policy validating developer metadata is ready to be used.
Next Steps
Use the developer metadata for various authorization operations on the 3rd party application in SecureAuth. See, for example, Restricting Access to Services Using Authorization Scopes as a reference.