Embedded components quickstart
Put a working self-service element on a page in your application. The admin console writes most of the code for you: what follows is the shape of it, and the one part you have to supply.
Before you start
You need:
- An OAuth client in the workspace your people sign in to. A machine-to-machine client cannot be used, because nobody signs in to it and the elements render the signed-in person's own data.
- A way to get a current access token for that person in the browser. See Authentication and tokens if you are not sure what yours is.
- Permission to edit the client and the workspace in the admin console.
Step 1: Create a variant
A variant is a named set of choices: which sections an element renders, and how it looks.
- In the admin console, go to Extensions > Embedded components.
- Click Create a variant and give it a name, for example
Account center. If the workspace already has variants, click New variant instead. - Leave the defaults for now. Everything here can change later without touching your code.
Step 2: Bind it to your application
The variant says what an element shows. The client says which application embeds it, and that is where the code comes from.
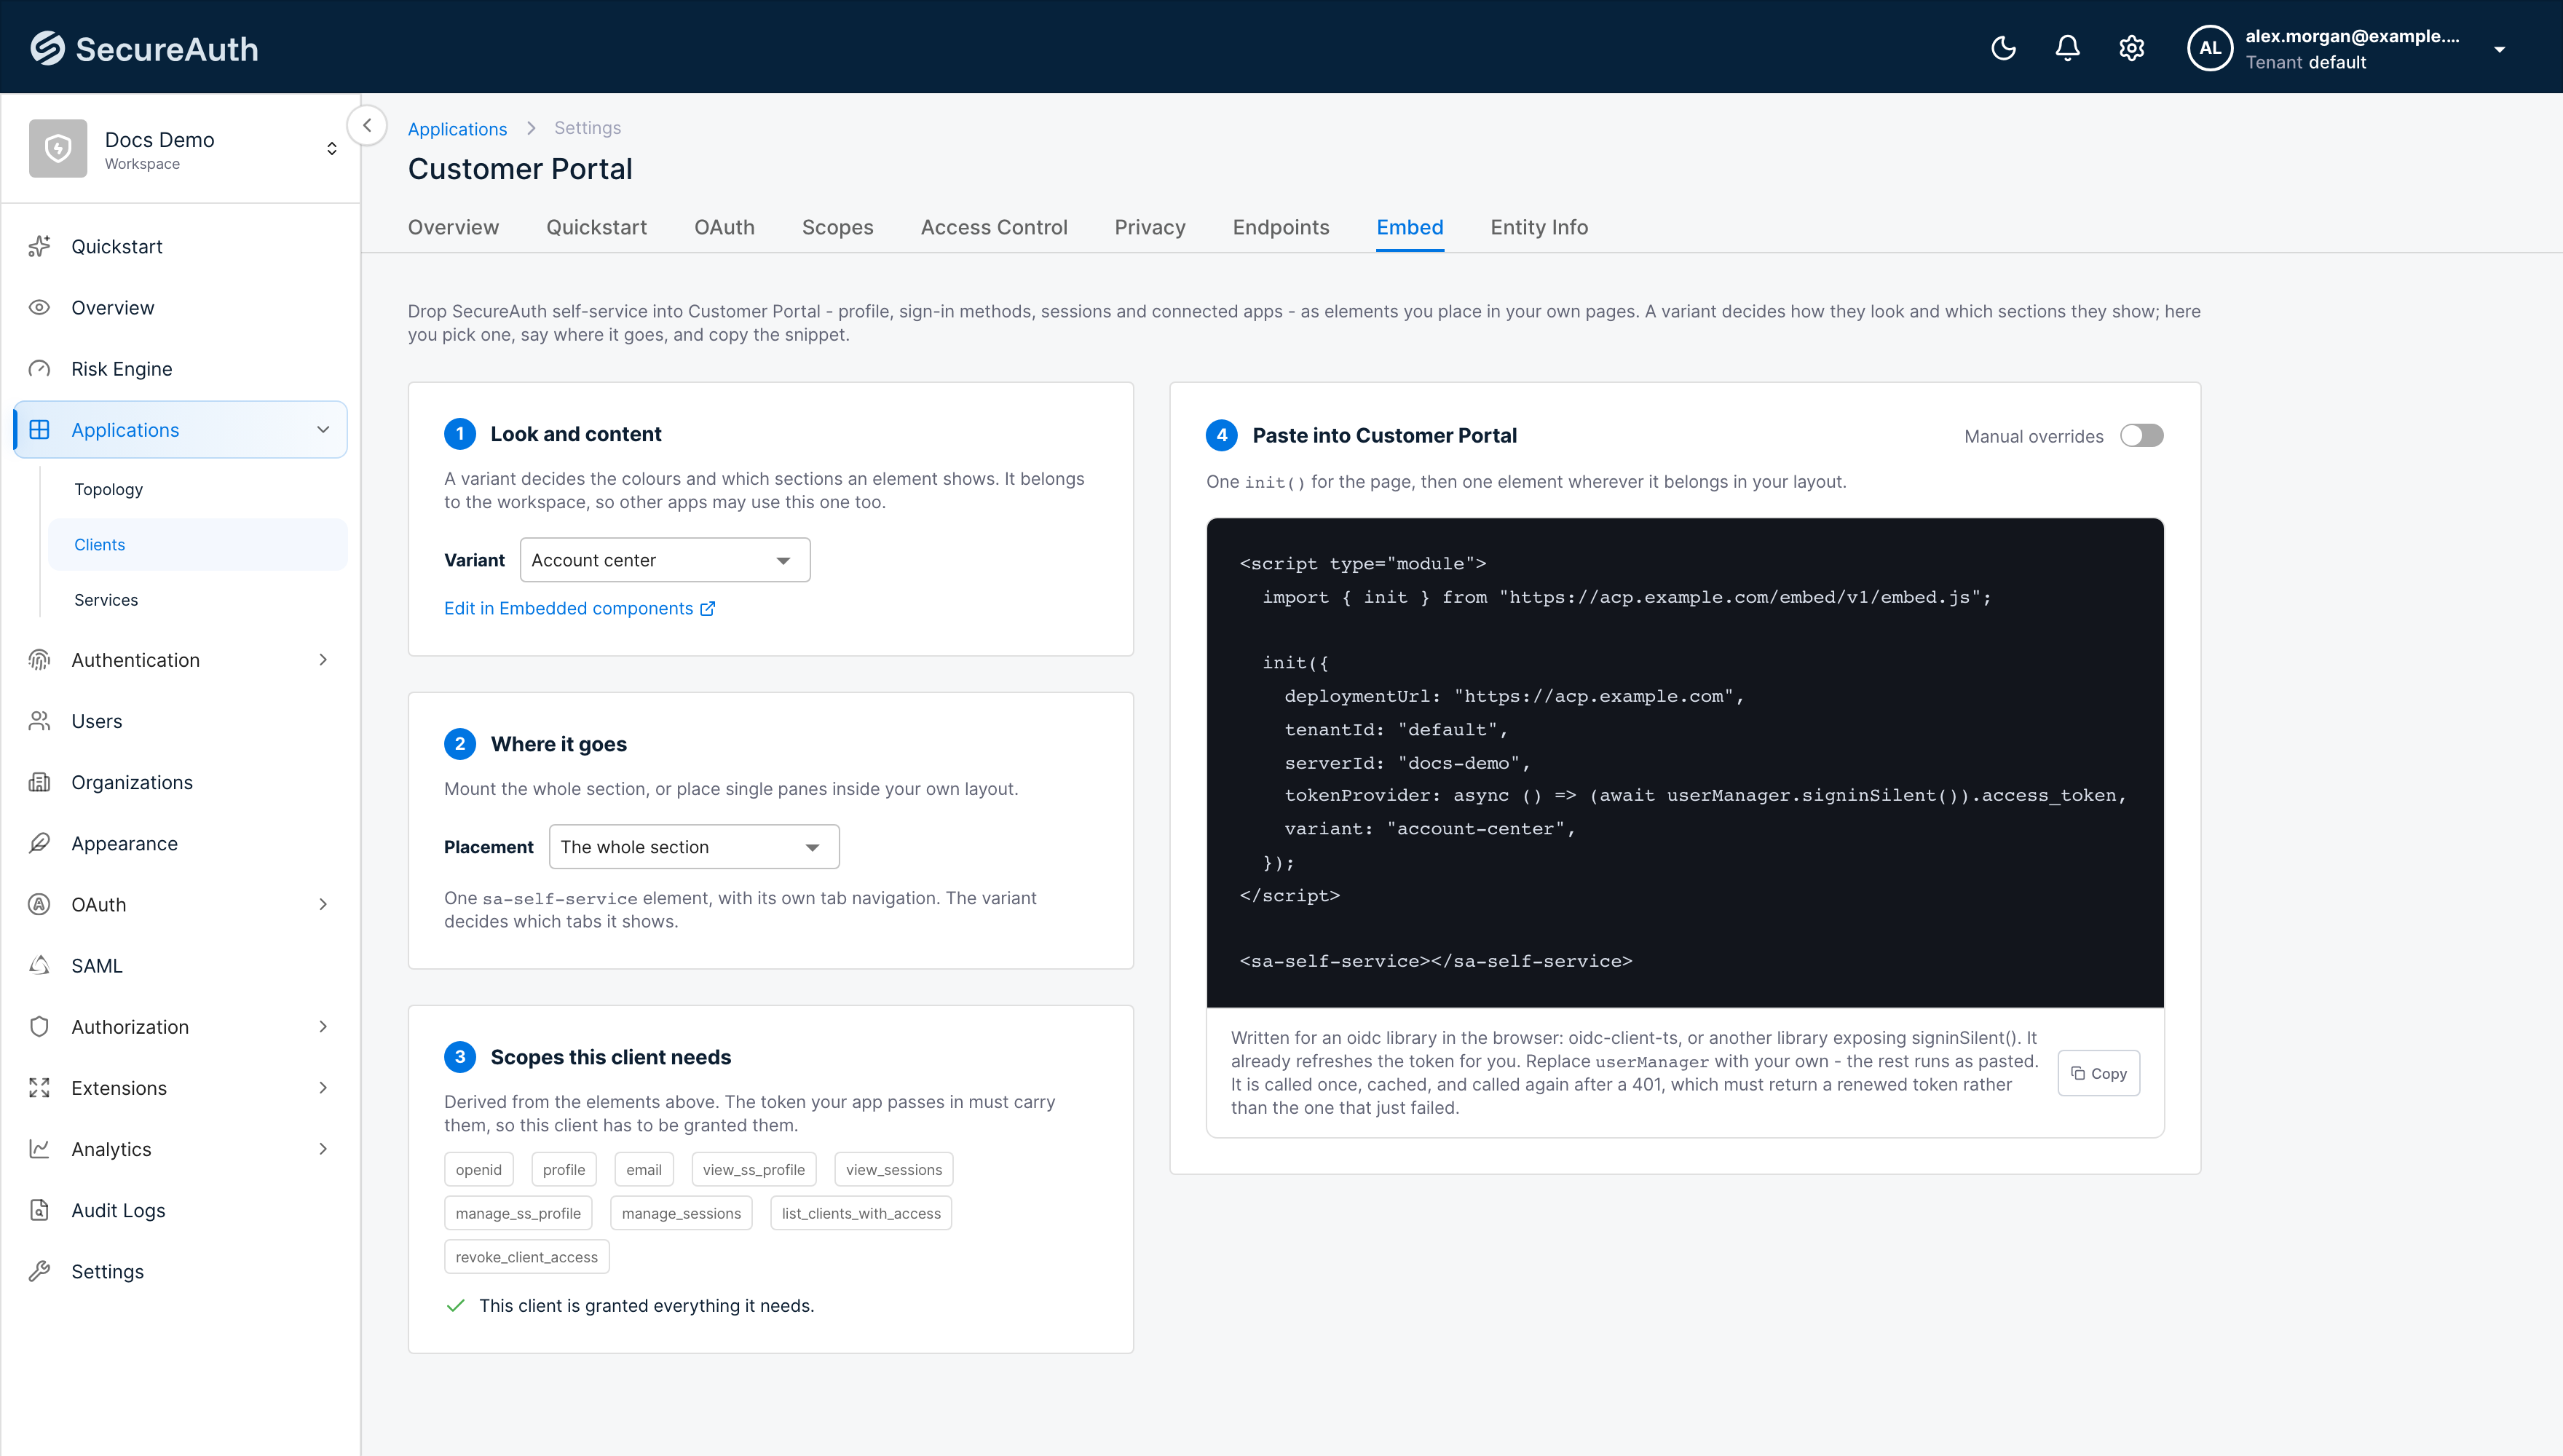
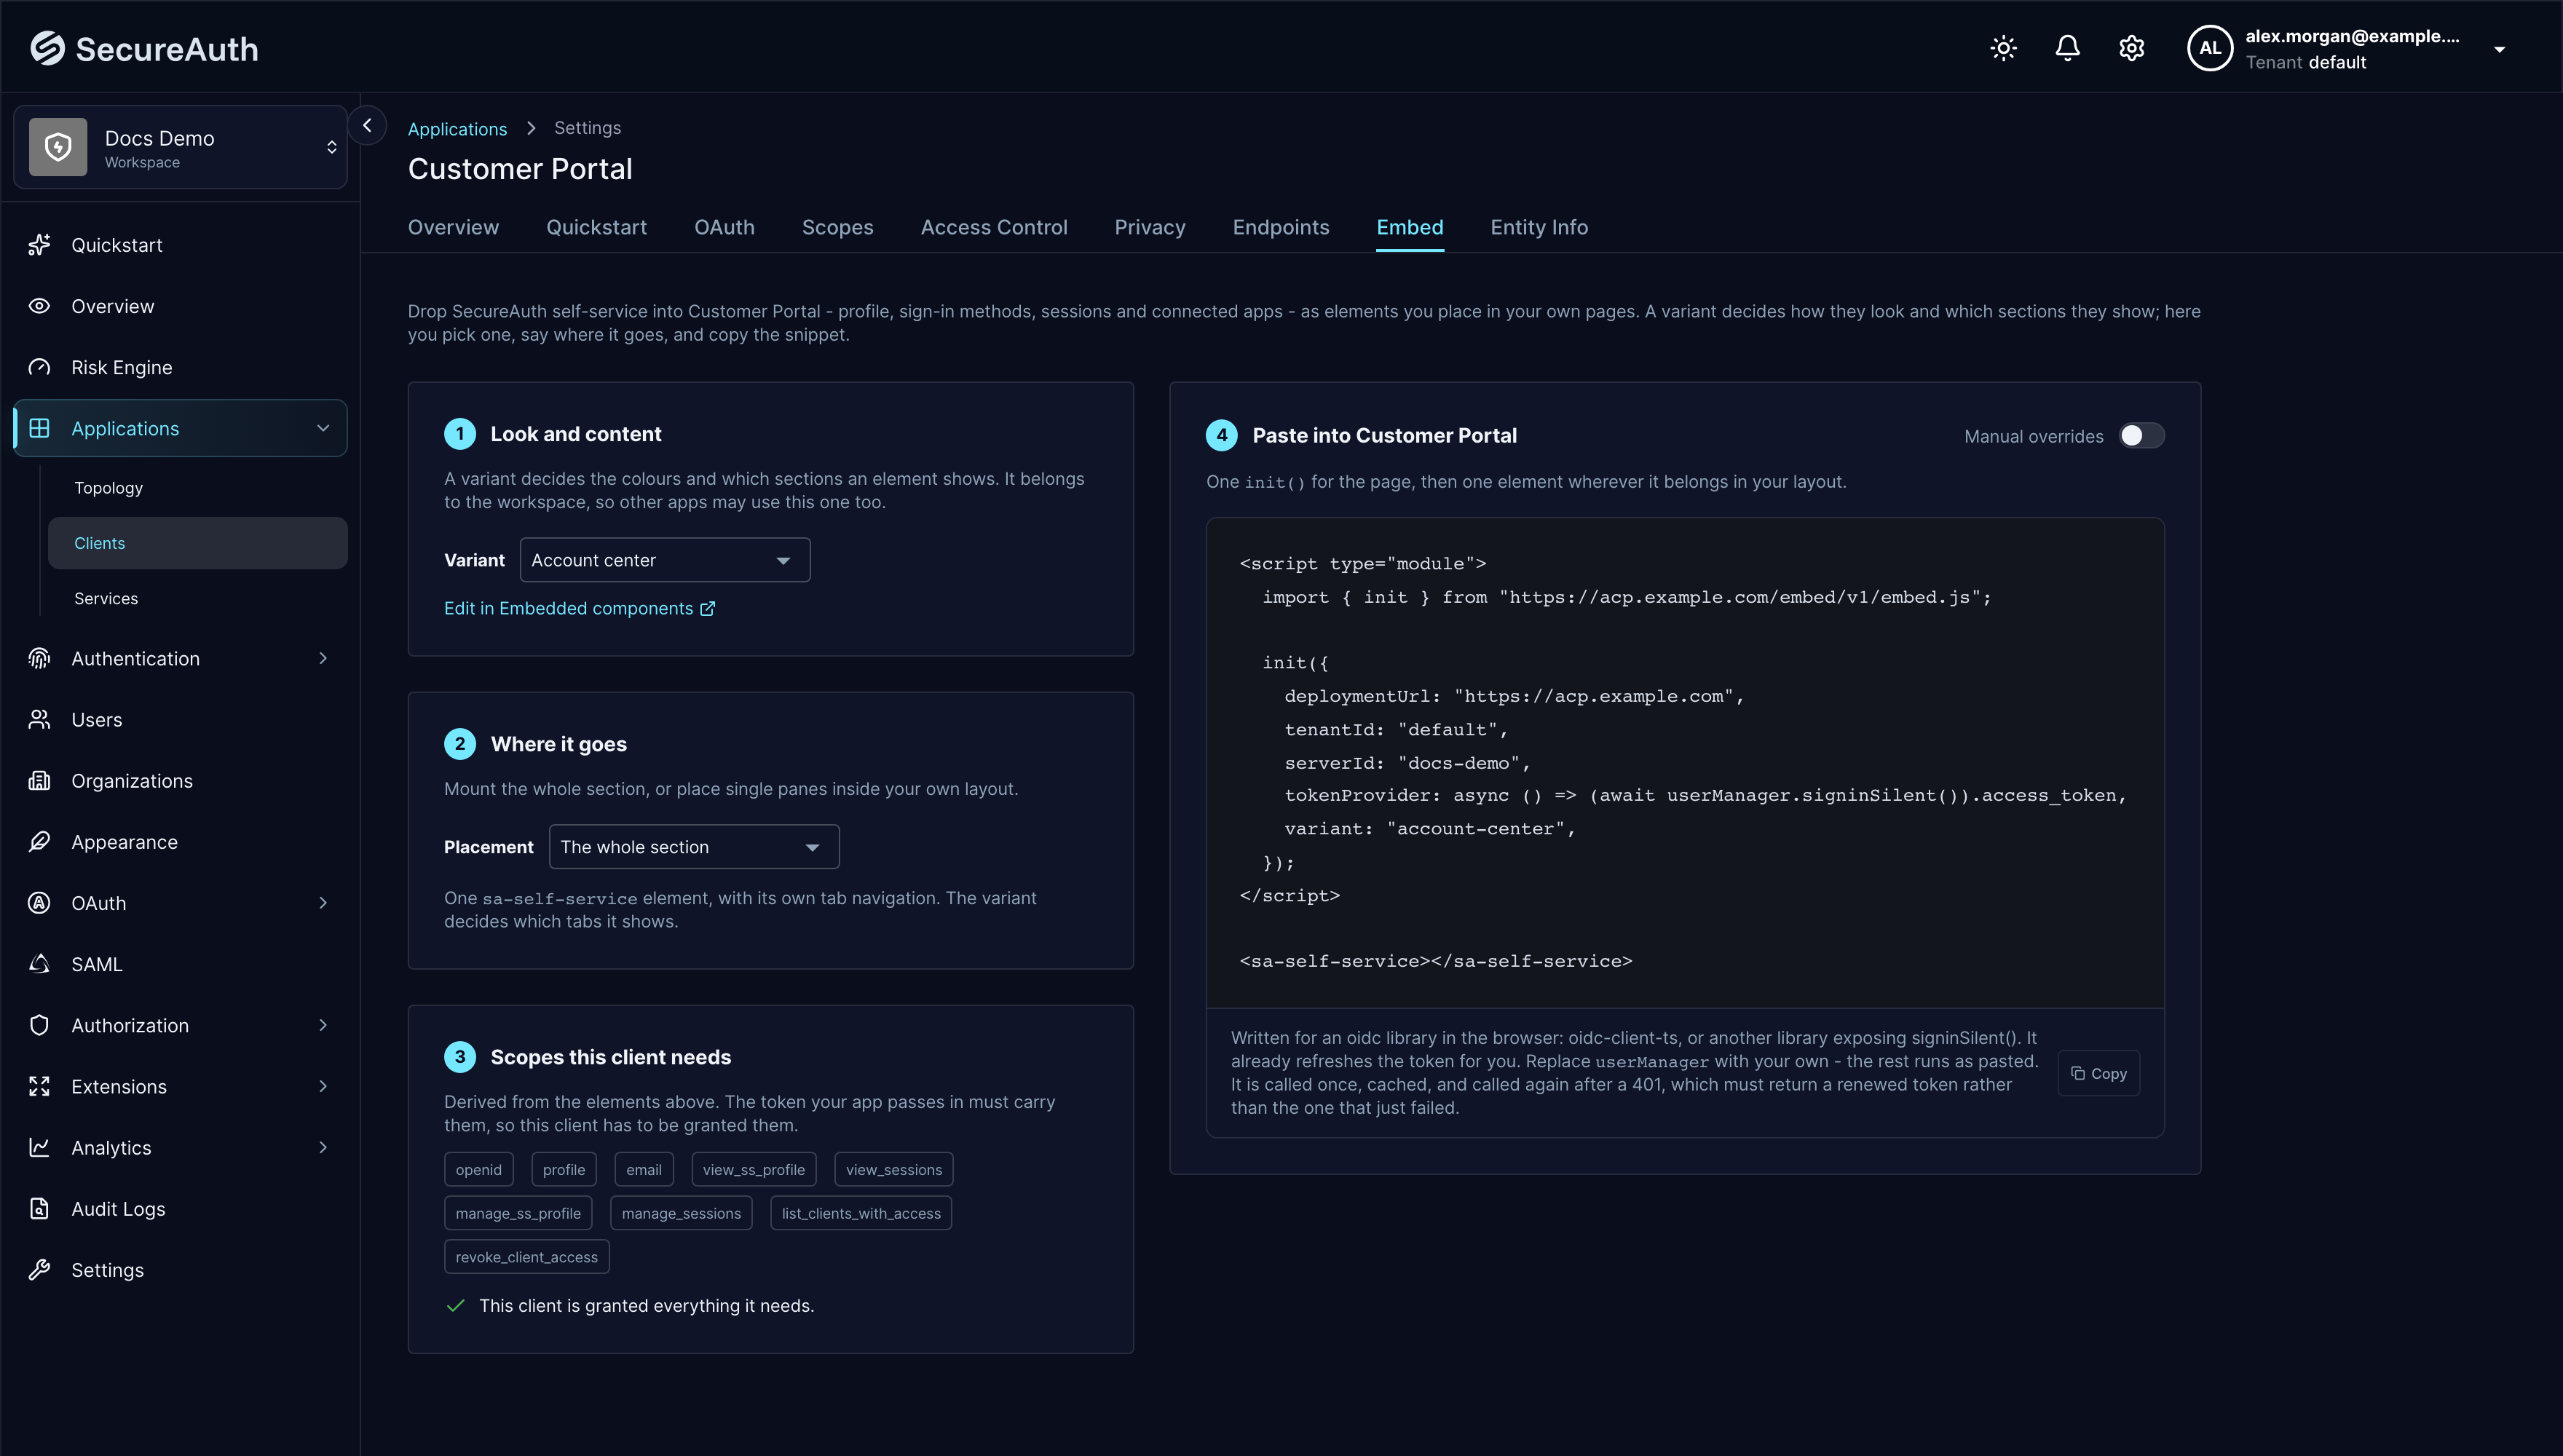
- Go to Applications > Clients and open the client your application signs people in with.
- Select the Embed tab.
- Under Look and content, choose the variant you created.
- Under Where it goes, select The whole section from the list to mount one element with its own tab navigation. A client that embeds nothing yet starts on Single panes, with none chosen.
- Under Scopes this client needs, grant anything the client is missing. The element reads the person's data with their token, so the token has to carry these scopes.
Step 3: Paste the code
Copy the snippet under Paste into your client's name. It looks like this:
<script type="module">
  import { init } from "https://acp.example.com/embed/v1/embed.js";

  init({
    deploymentUrl: "https://acp.example.com",
    tenantId: "your-tenant",
    serverId: "your-workspace",
    tokenProvider: async () => (await userManager.signinSilent()).access_token,
    variant: "account-center",
  });
</script>

<sa-self-service></sa-self-service>
Everything in it is filled in from your deployment and your client except tokenProvider.
Replace userManager with whatever already holds the person's session in your page. The
function must return a current token, because the element calls it again after a 401 and
retries once with whatever comes back.
deploymentUrl is the address the admin console is open on. If you opened it on a custom
domain, change it to your deployment's default address. See
Configure elements in the admin console.
Step 4: Give it room
The elements are display: block with height: 100%, so they fill the container you put them
in. Give that container a definite height, or lay it out with flex or grid:
<div style="height: 600px">
  <sa-self-service></sa-self-service>
</div>
A percentage height resolves against the parent's computed height, so a parent left at auto
leaves the element at its content height, and a mostly empty pane can end up a few pixels tall.
Setting min-height alone does not fix this.
What you should see
The element renders inside your own page, under your own heading and navigation.
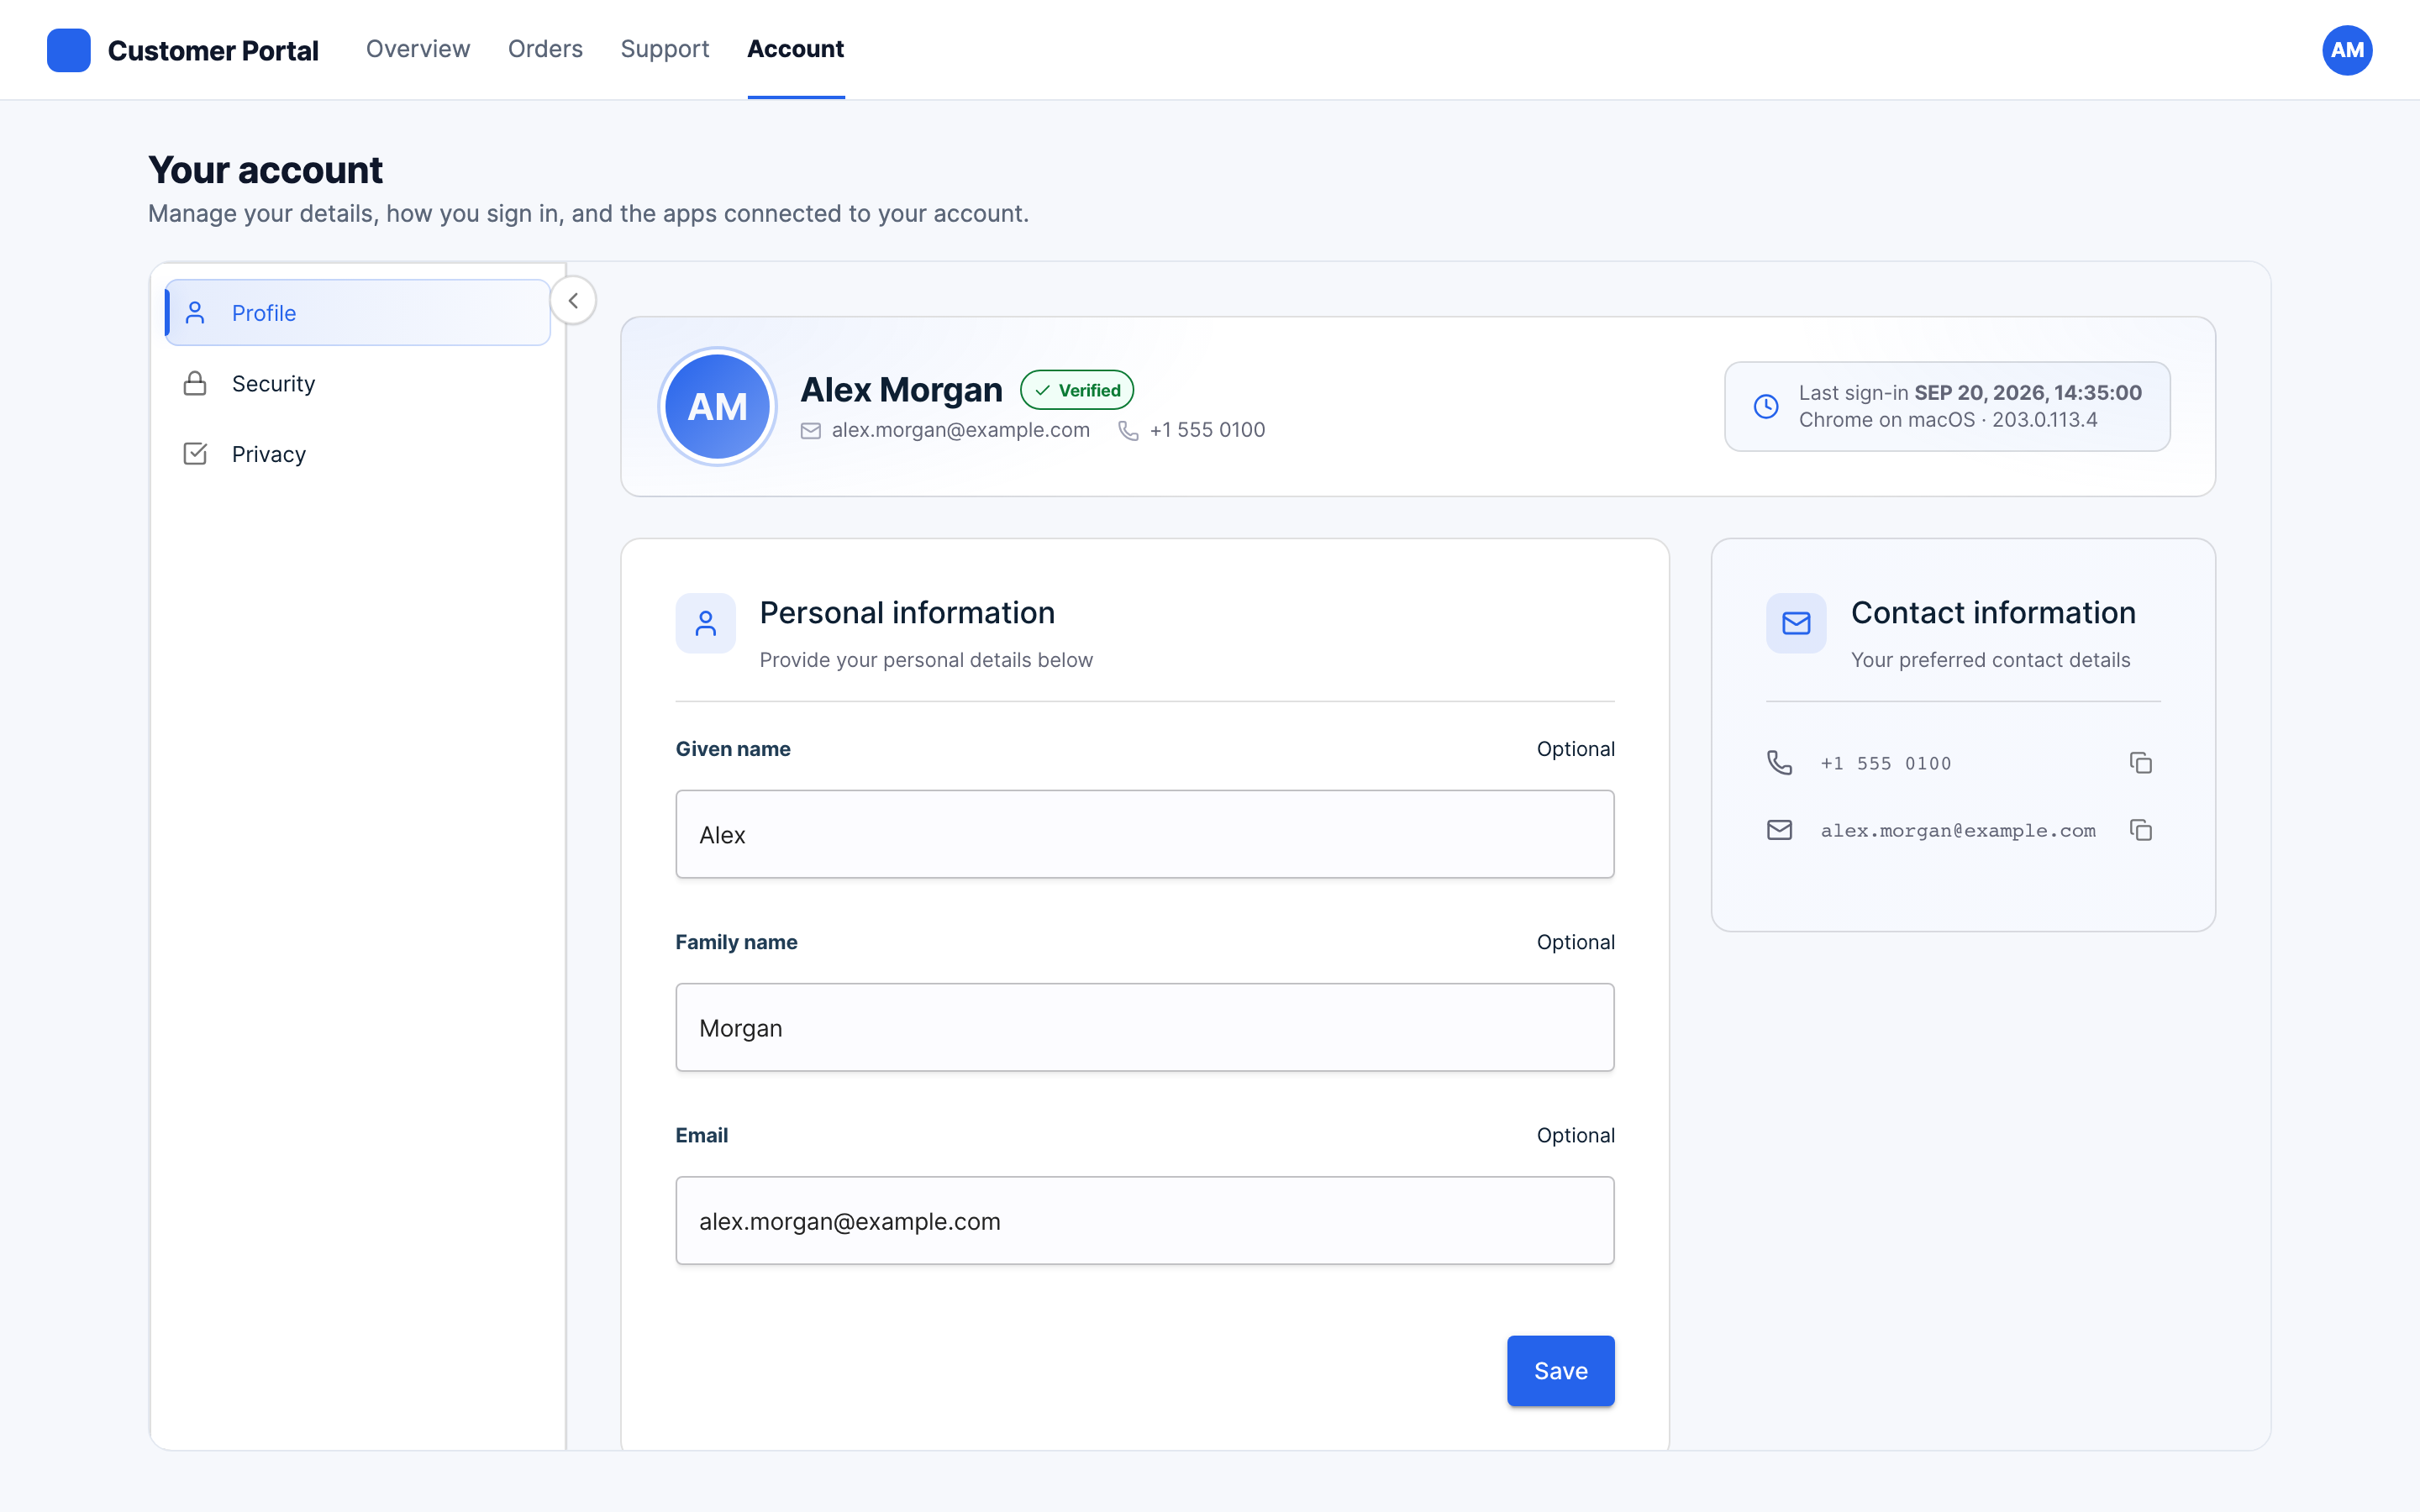
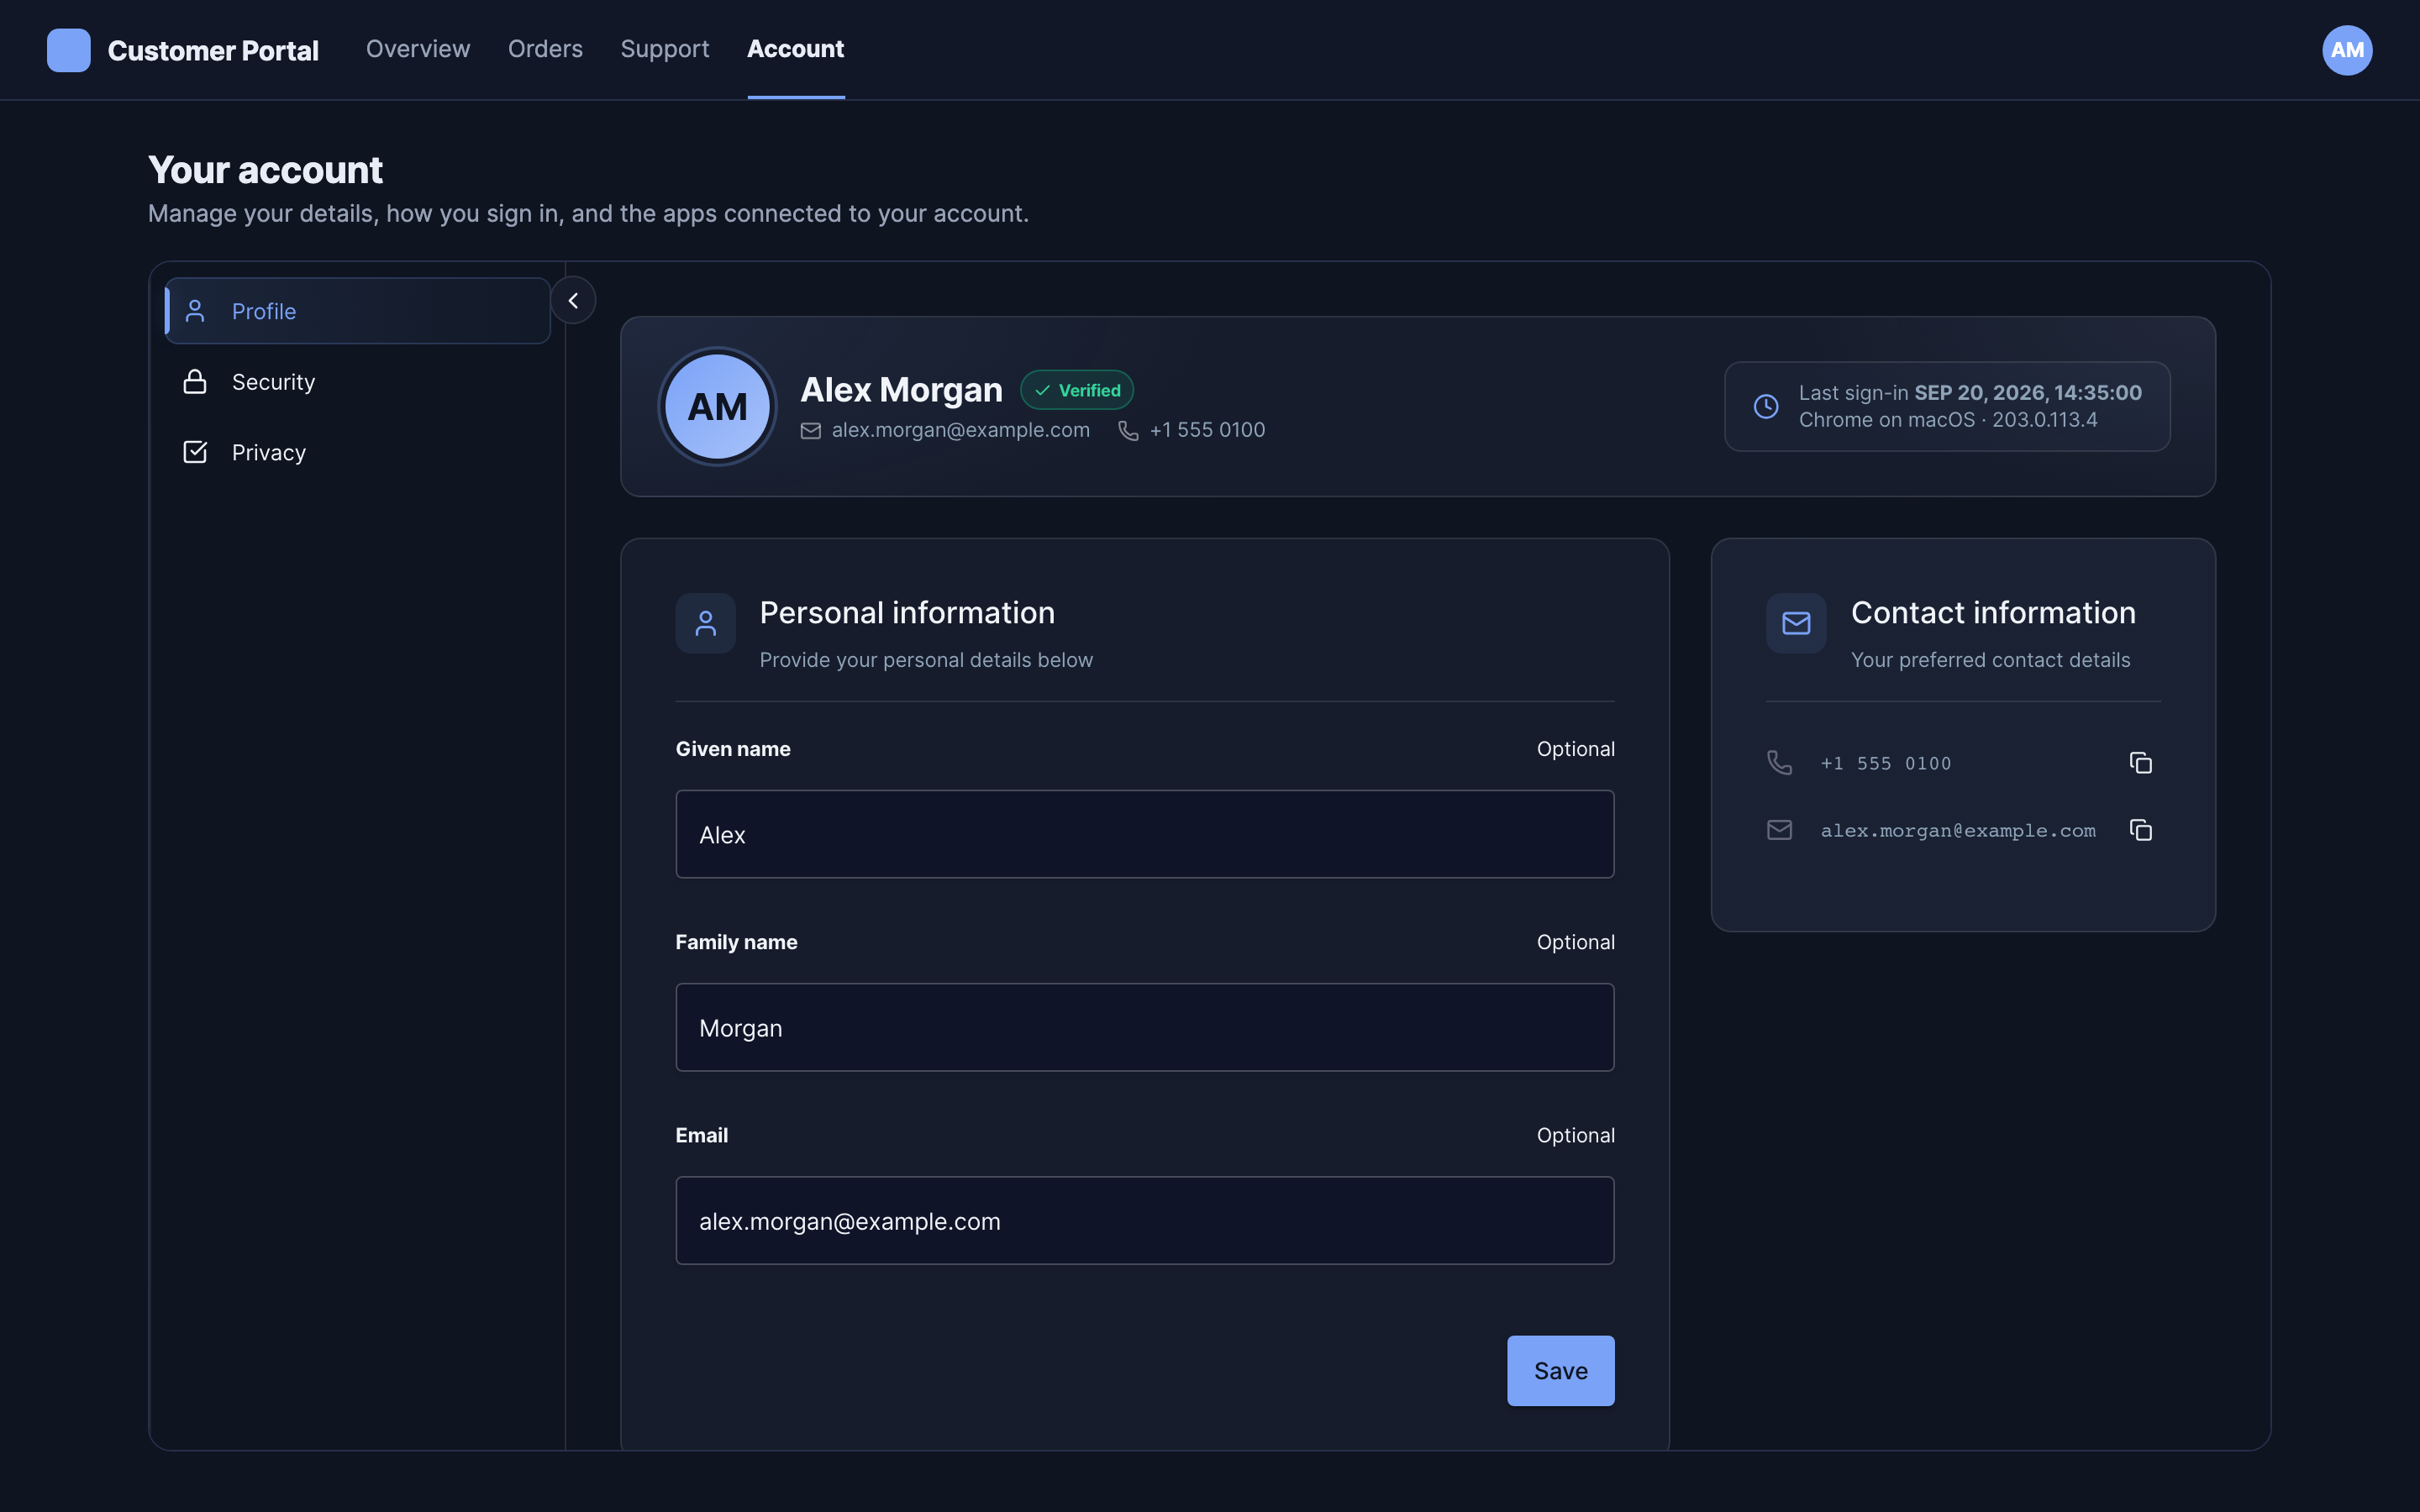
Importing the module registers every element. init() supplies the configuration they need,
and order does not matter: an element mounted before init() runs shows a skeleton and renders
once the configuration arrives.
If nothing renders
- A blank element and a console warning about
init(). The module loaded butinit()has not run, or it threw. It throws synchronously when a required field is missing, so check the call site. - The element loads and then shows an error. Usually a scope the client was never granted. Re-check Scopes this client needs on the Embed tab.
- Styles look unstyled under a strict Content Security Policy. The embed injects style tags and needs a nonce. See Security and CSP.
More in Troubleshooting.