Dynamic IP Blocking settings
Dynamic IP Blocking is a feature that protects your resources by blocking IP addresses from password spraying and other online password attacks. Password spraying is a login attack using a single password against a large number of users. Attackers use common passwords with this method.
SecureAuth blocks the source IP address after failed login attempts using different usernames for a specified amount of time. Instead of locking user accounts, it blocks login attempts coming from that source IP address.
There are two parts to setting up Dynamic IP Blocking:
Use IP Filtering rule to set the length of time to block the source IP address after a set number of failed attempts, and add allowed IP addresses. This setting applies to all policies.
Add the Dynamic IP Blocking rule or condition in each policy in the Authentication Rules tab.
After Dynamic IP Blocking is running, you can view the IP addresses it has blocked and unblock them on the IP Filtering page. See Viewing and unblocking blocked IP addresses.
Defining the Dynamic IP Blocking rule
When you define the IP blocking rule here, it applies to all policies.
In the left navigation of the Identity Platform, click IP Filtering.
The settings you define here will be available in all policies. You can add more trusted IP addresses in a specific policy.
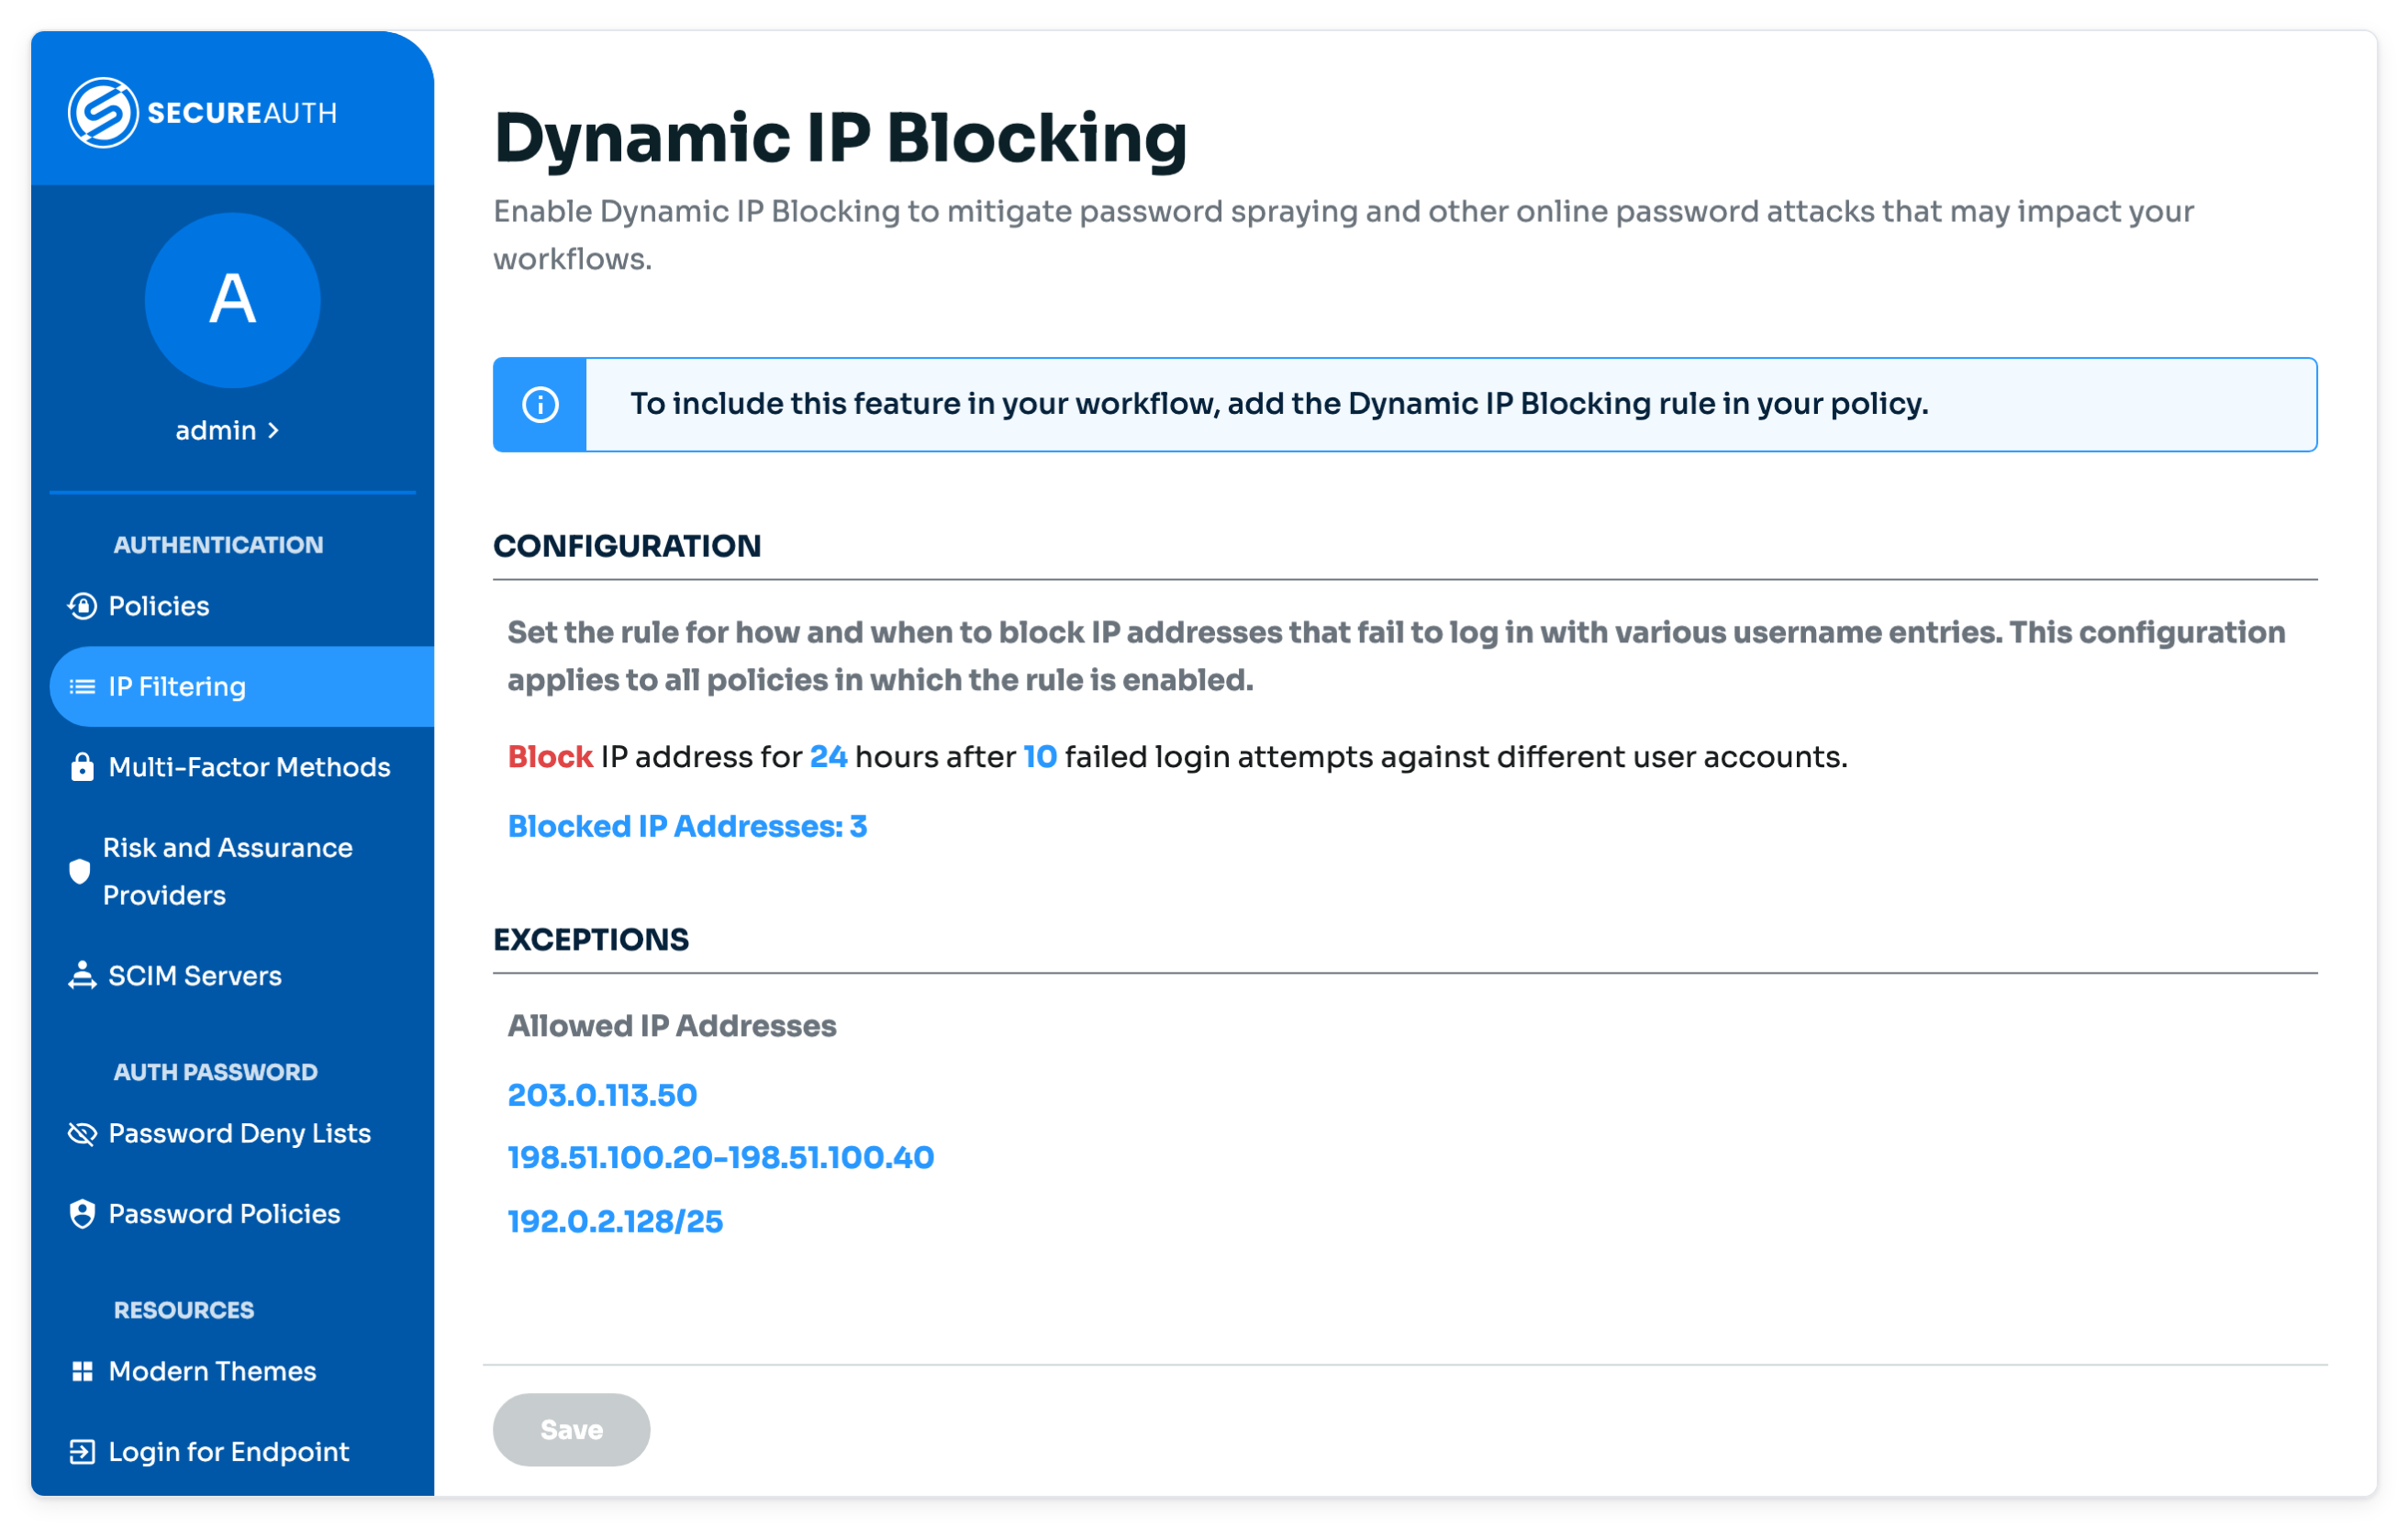
Set the length of time to block the source IP address after a specified number of failed login attempts against different user accounts.
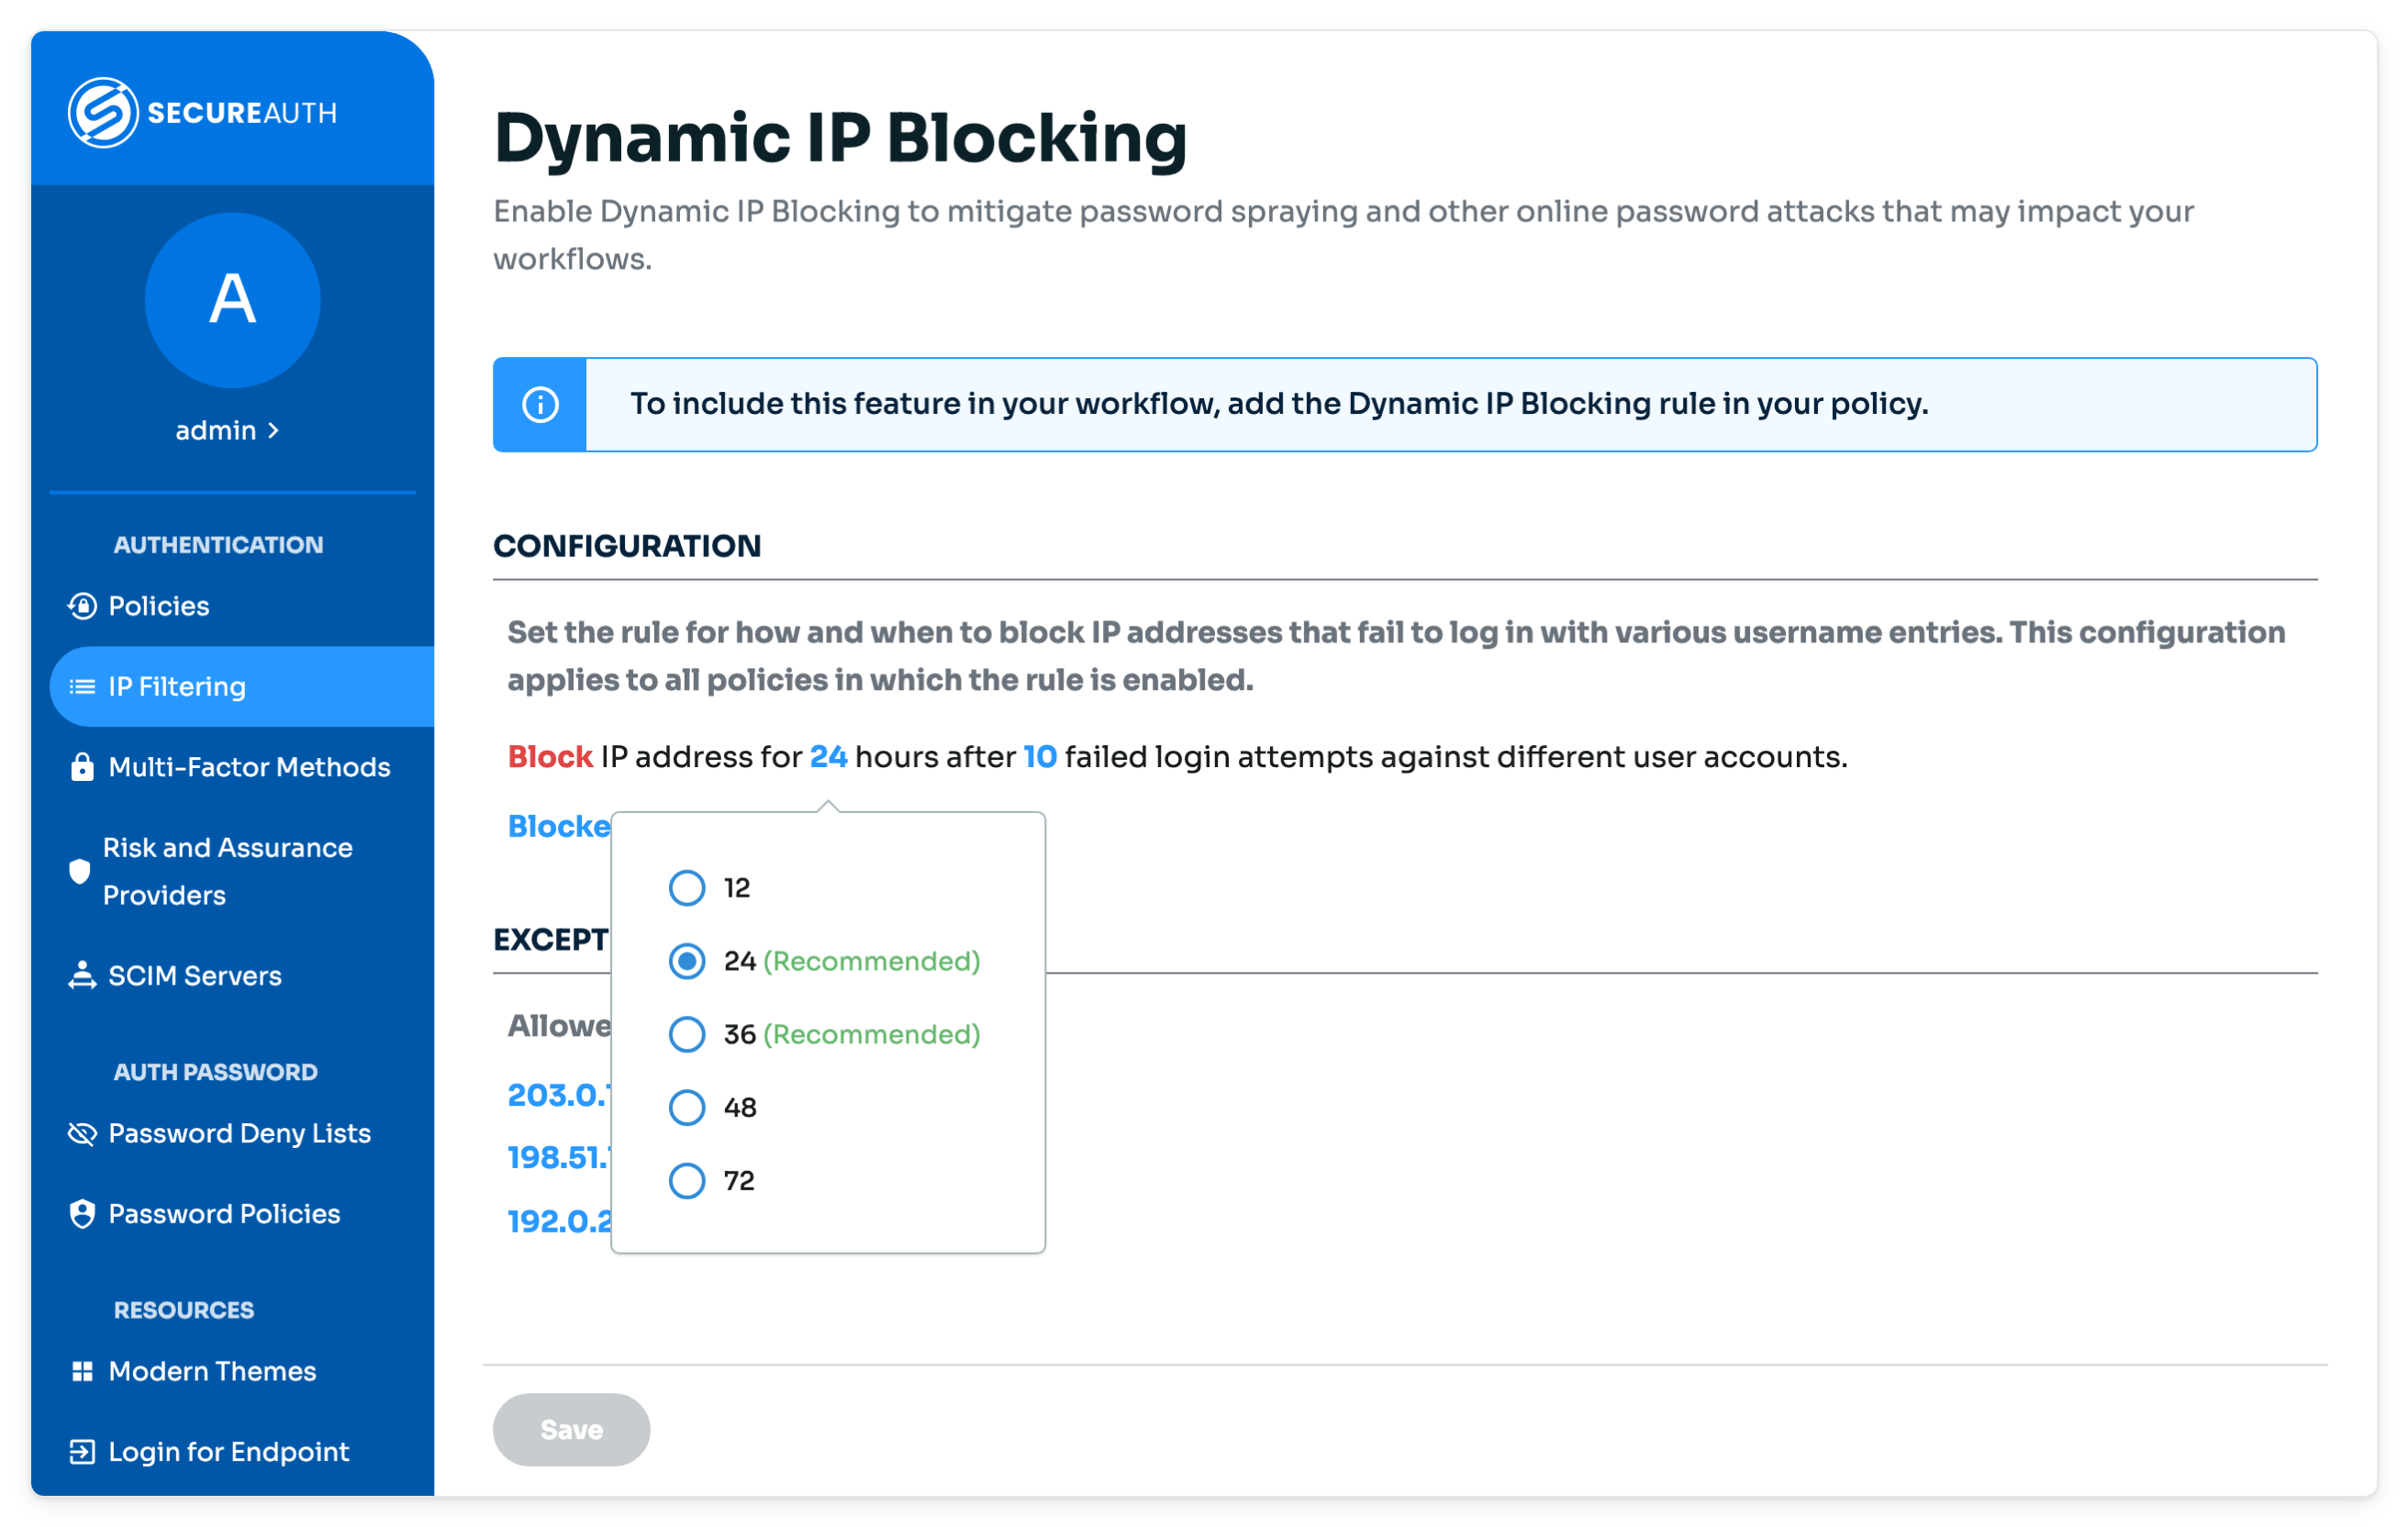
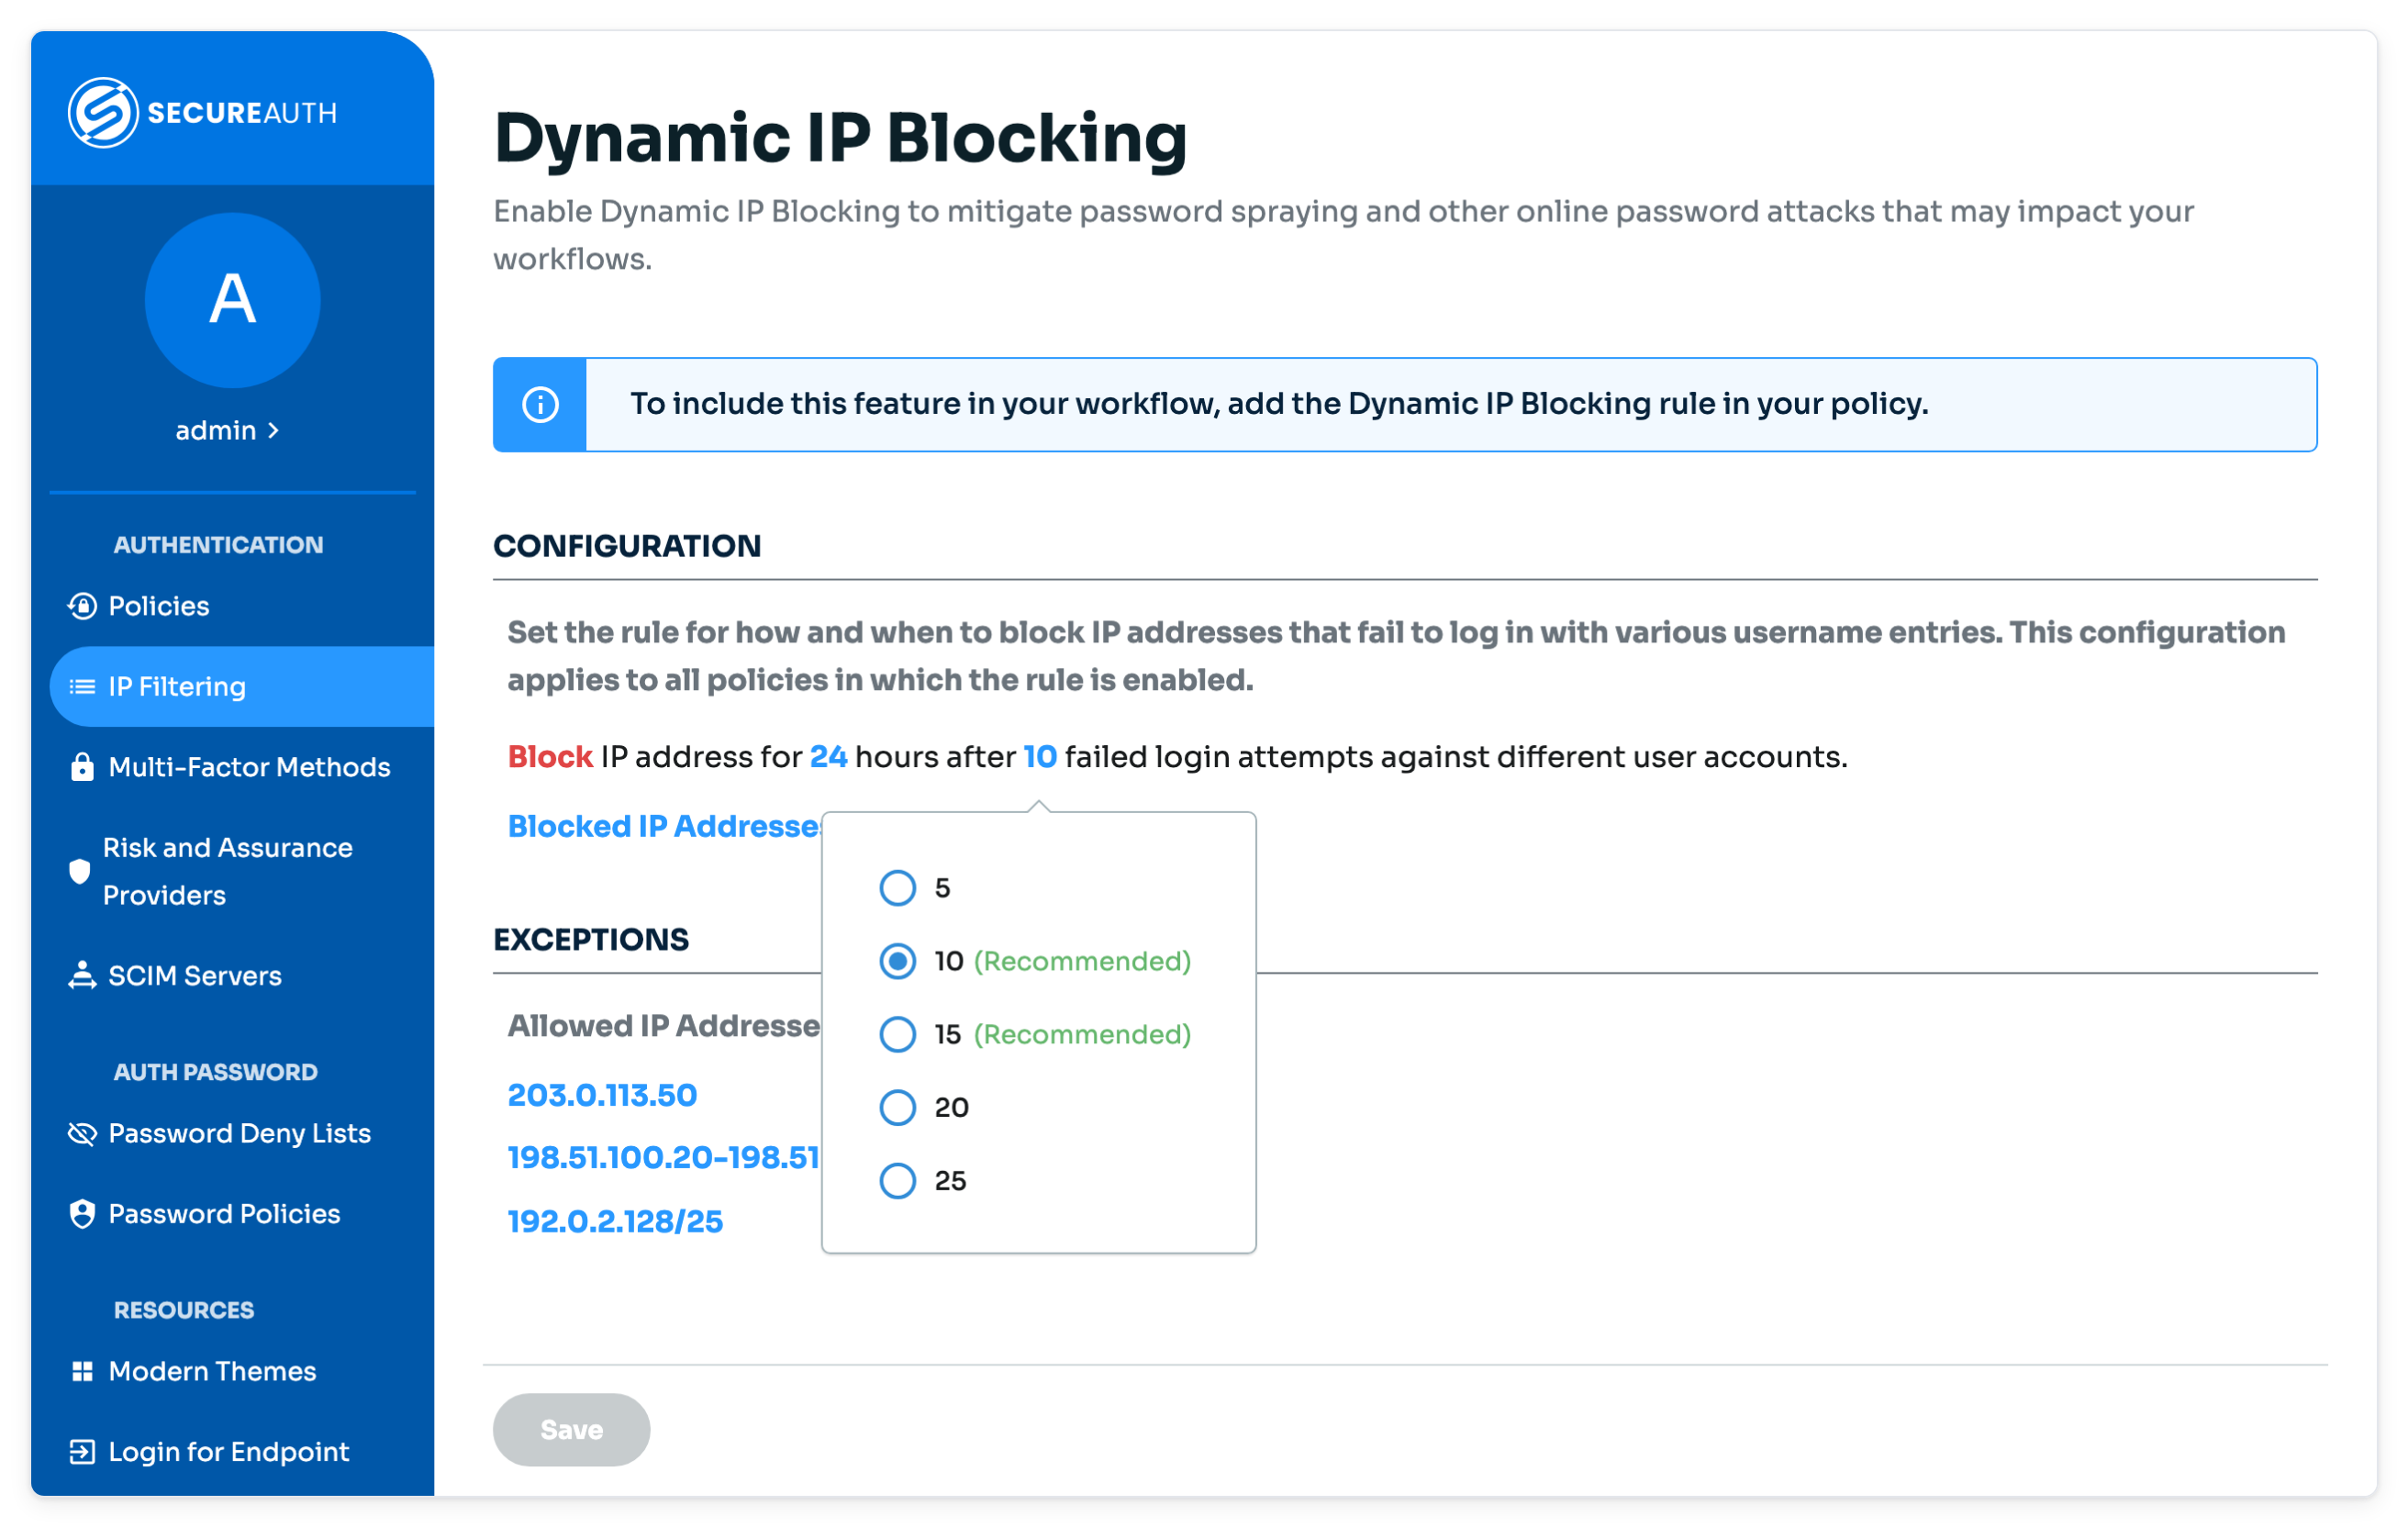
The numbers in the sentence that starts with Block are clickable links. Options are:
Length of time – 12, 24, 36, 48, or 72 hours
Number of failed login attempts – 5, 10, 15, 20, and 25
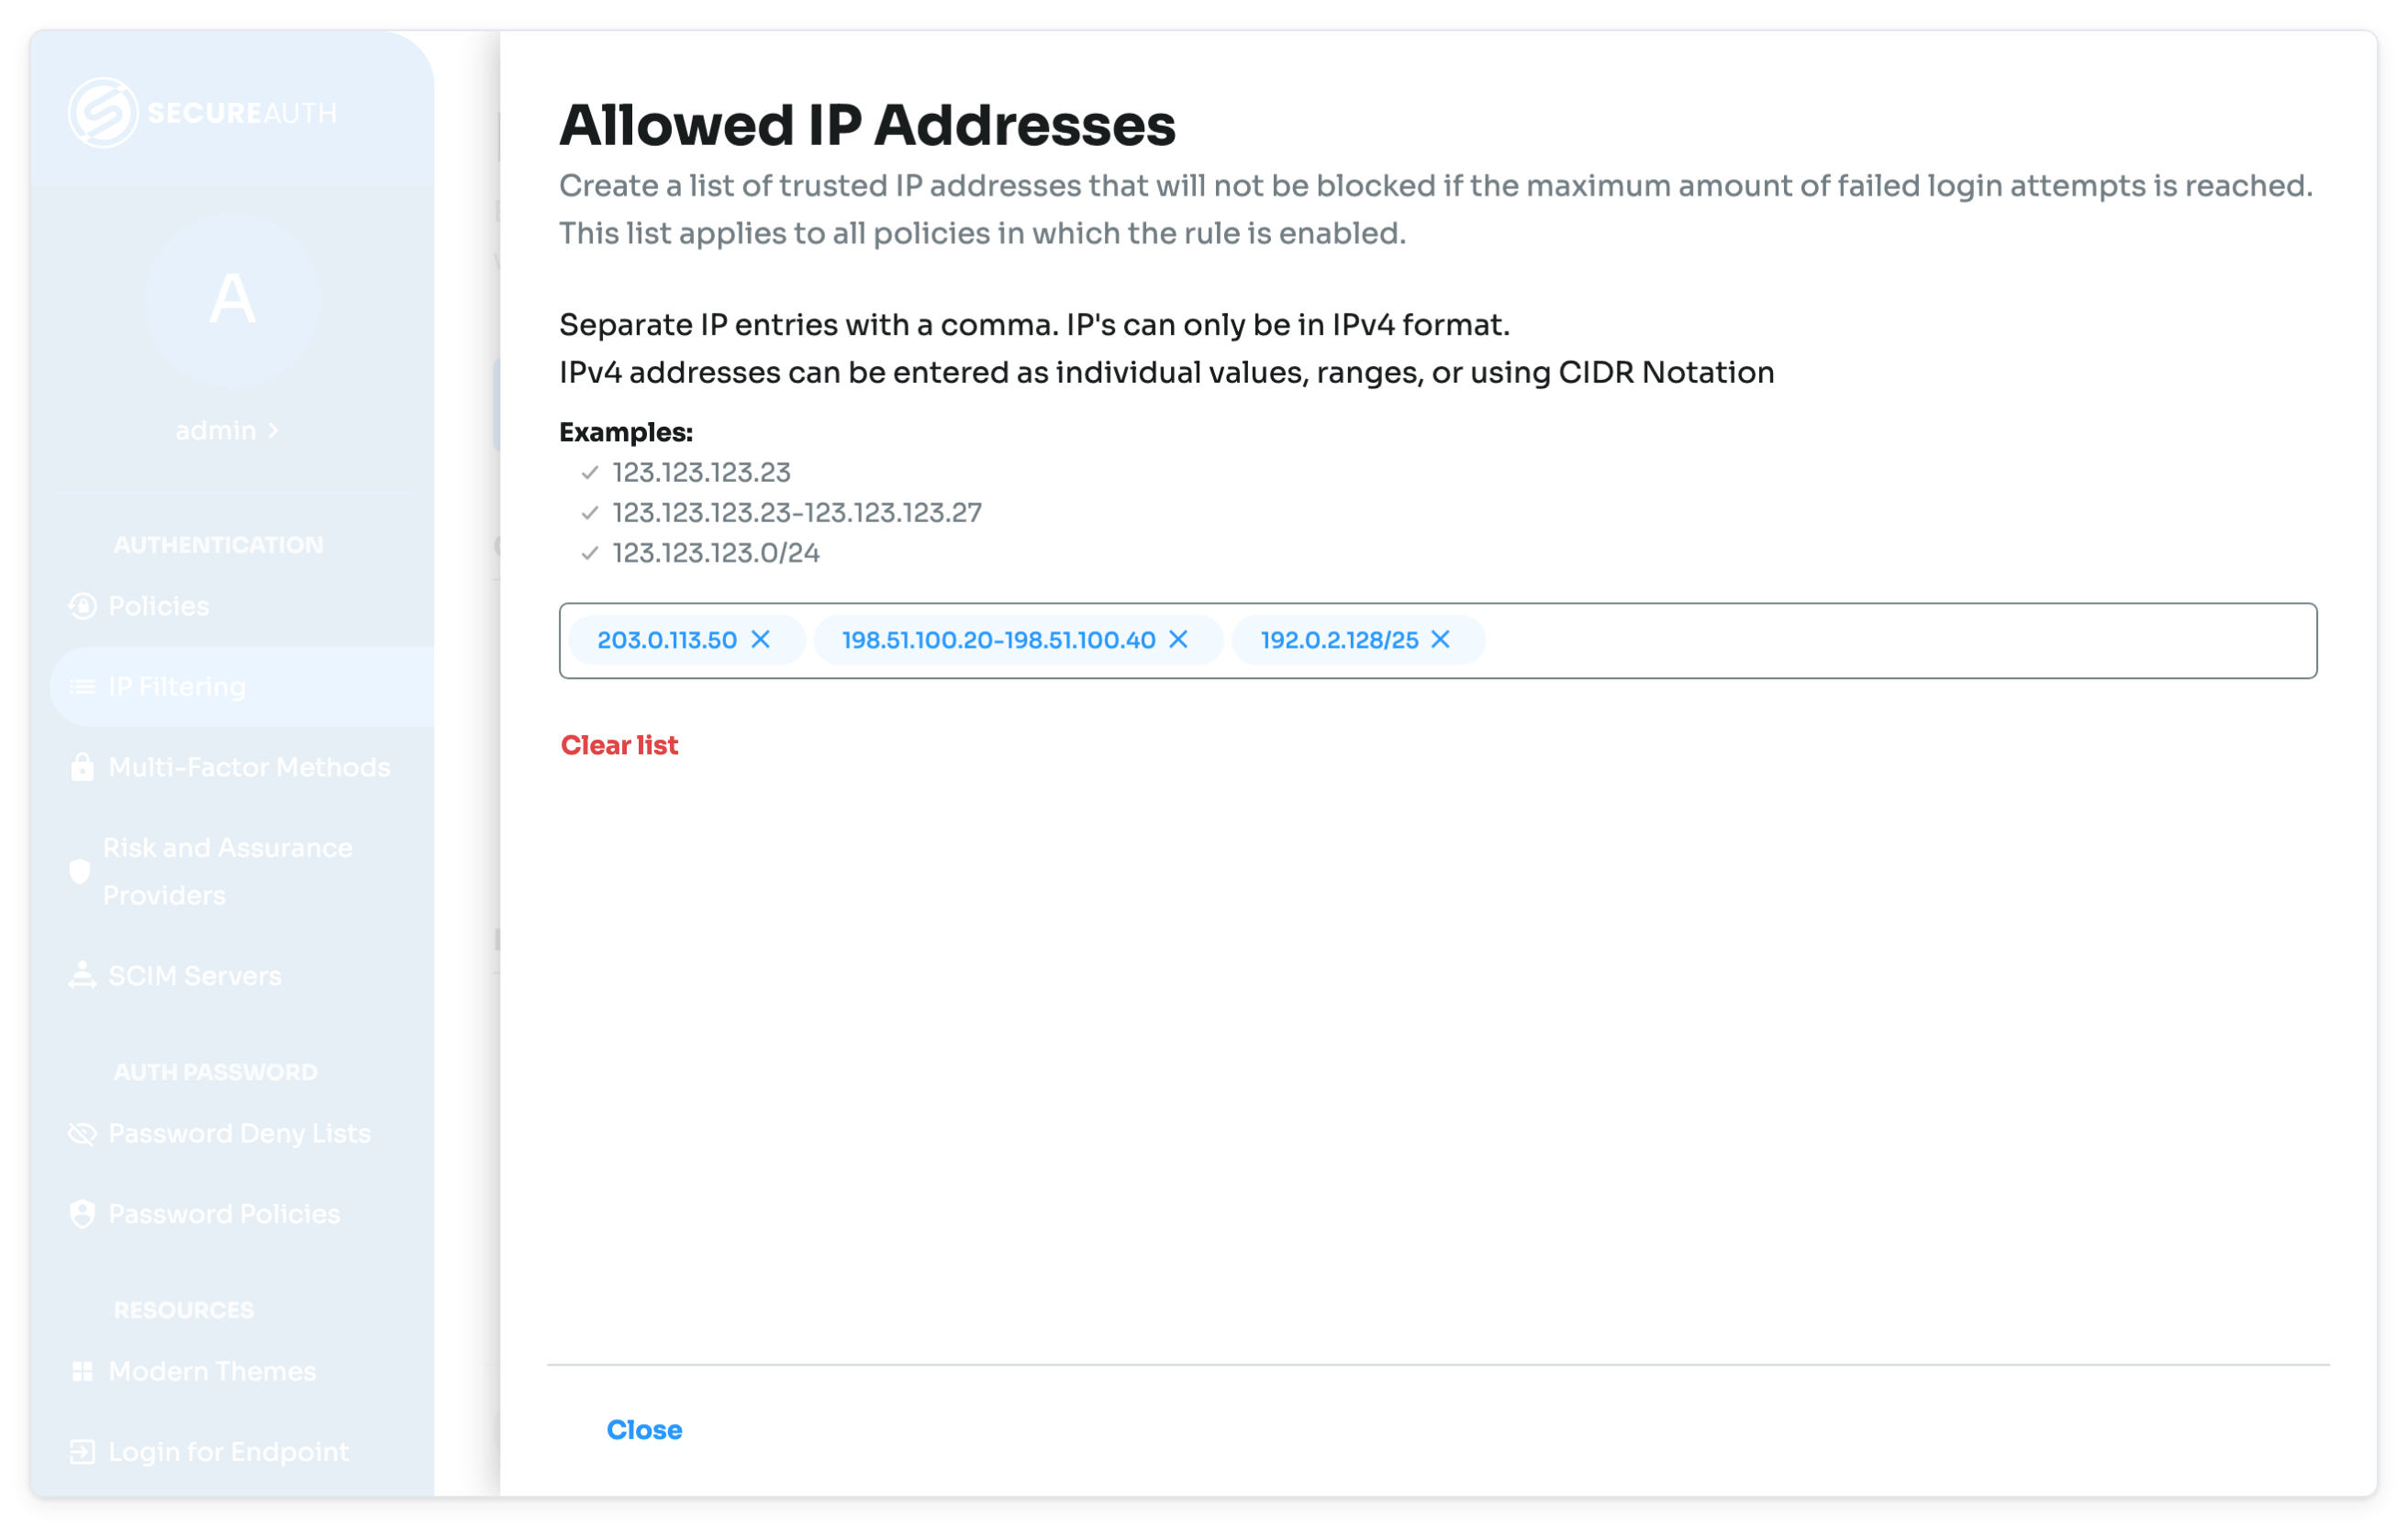
To allow trusted IP addresses, under Exceptions, click the Set IP addresses link. In the Allowed IP Addresses drawer, enter IP addresses separated by a comma, and then click Close.
IP addresses can only be in IPv4 format. The Identity Platform applies the trusted IP addresses in all policies that use the Dynamic IP Blocking rule.
You can enter each entry in one of these formats:
Individual address, for example
123.123.123.23Range, for example
123.123.123.23-123.123.123.27CIDR notation, for example
123.123.123.0/24
After you add allowed IP addresses, the link shows the list of addresses instead of Set IP addresses. Click the list to edit it. To remove all entries, click Clear list.
Save your changes.
To discard unsaved changes instead, click Cancel. The button shows only when you have unsaved changes.
Viewing and unblocking blocked IP addresses
You can see which IP addresses Dynamic IP Blocking is blocking now, and unblock a legitimate address before its block expires. For example, you might unblock a corporate VPN or shared office address caught by password spray detection.
Added in SecureAuth IdP release 26.4.0
In the left navigation of the Identity Platform, click IP Filtering.
Under Configuration, click Blocked IP Addresses: <count>, where the count is the number of addresses blocked now.
The Blocked IP Addresses drawer lists each blocked IP address and the date and time its block expires. Never expires means the block does not lift on its own. Unblock it here.
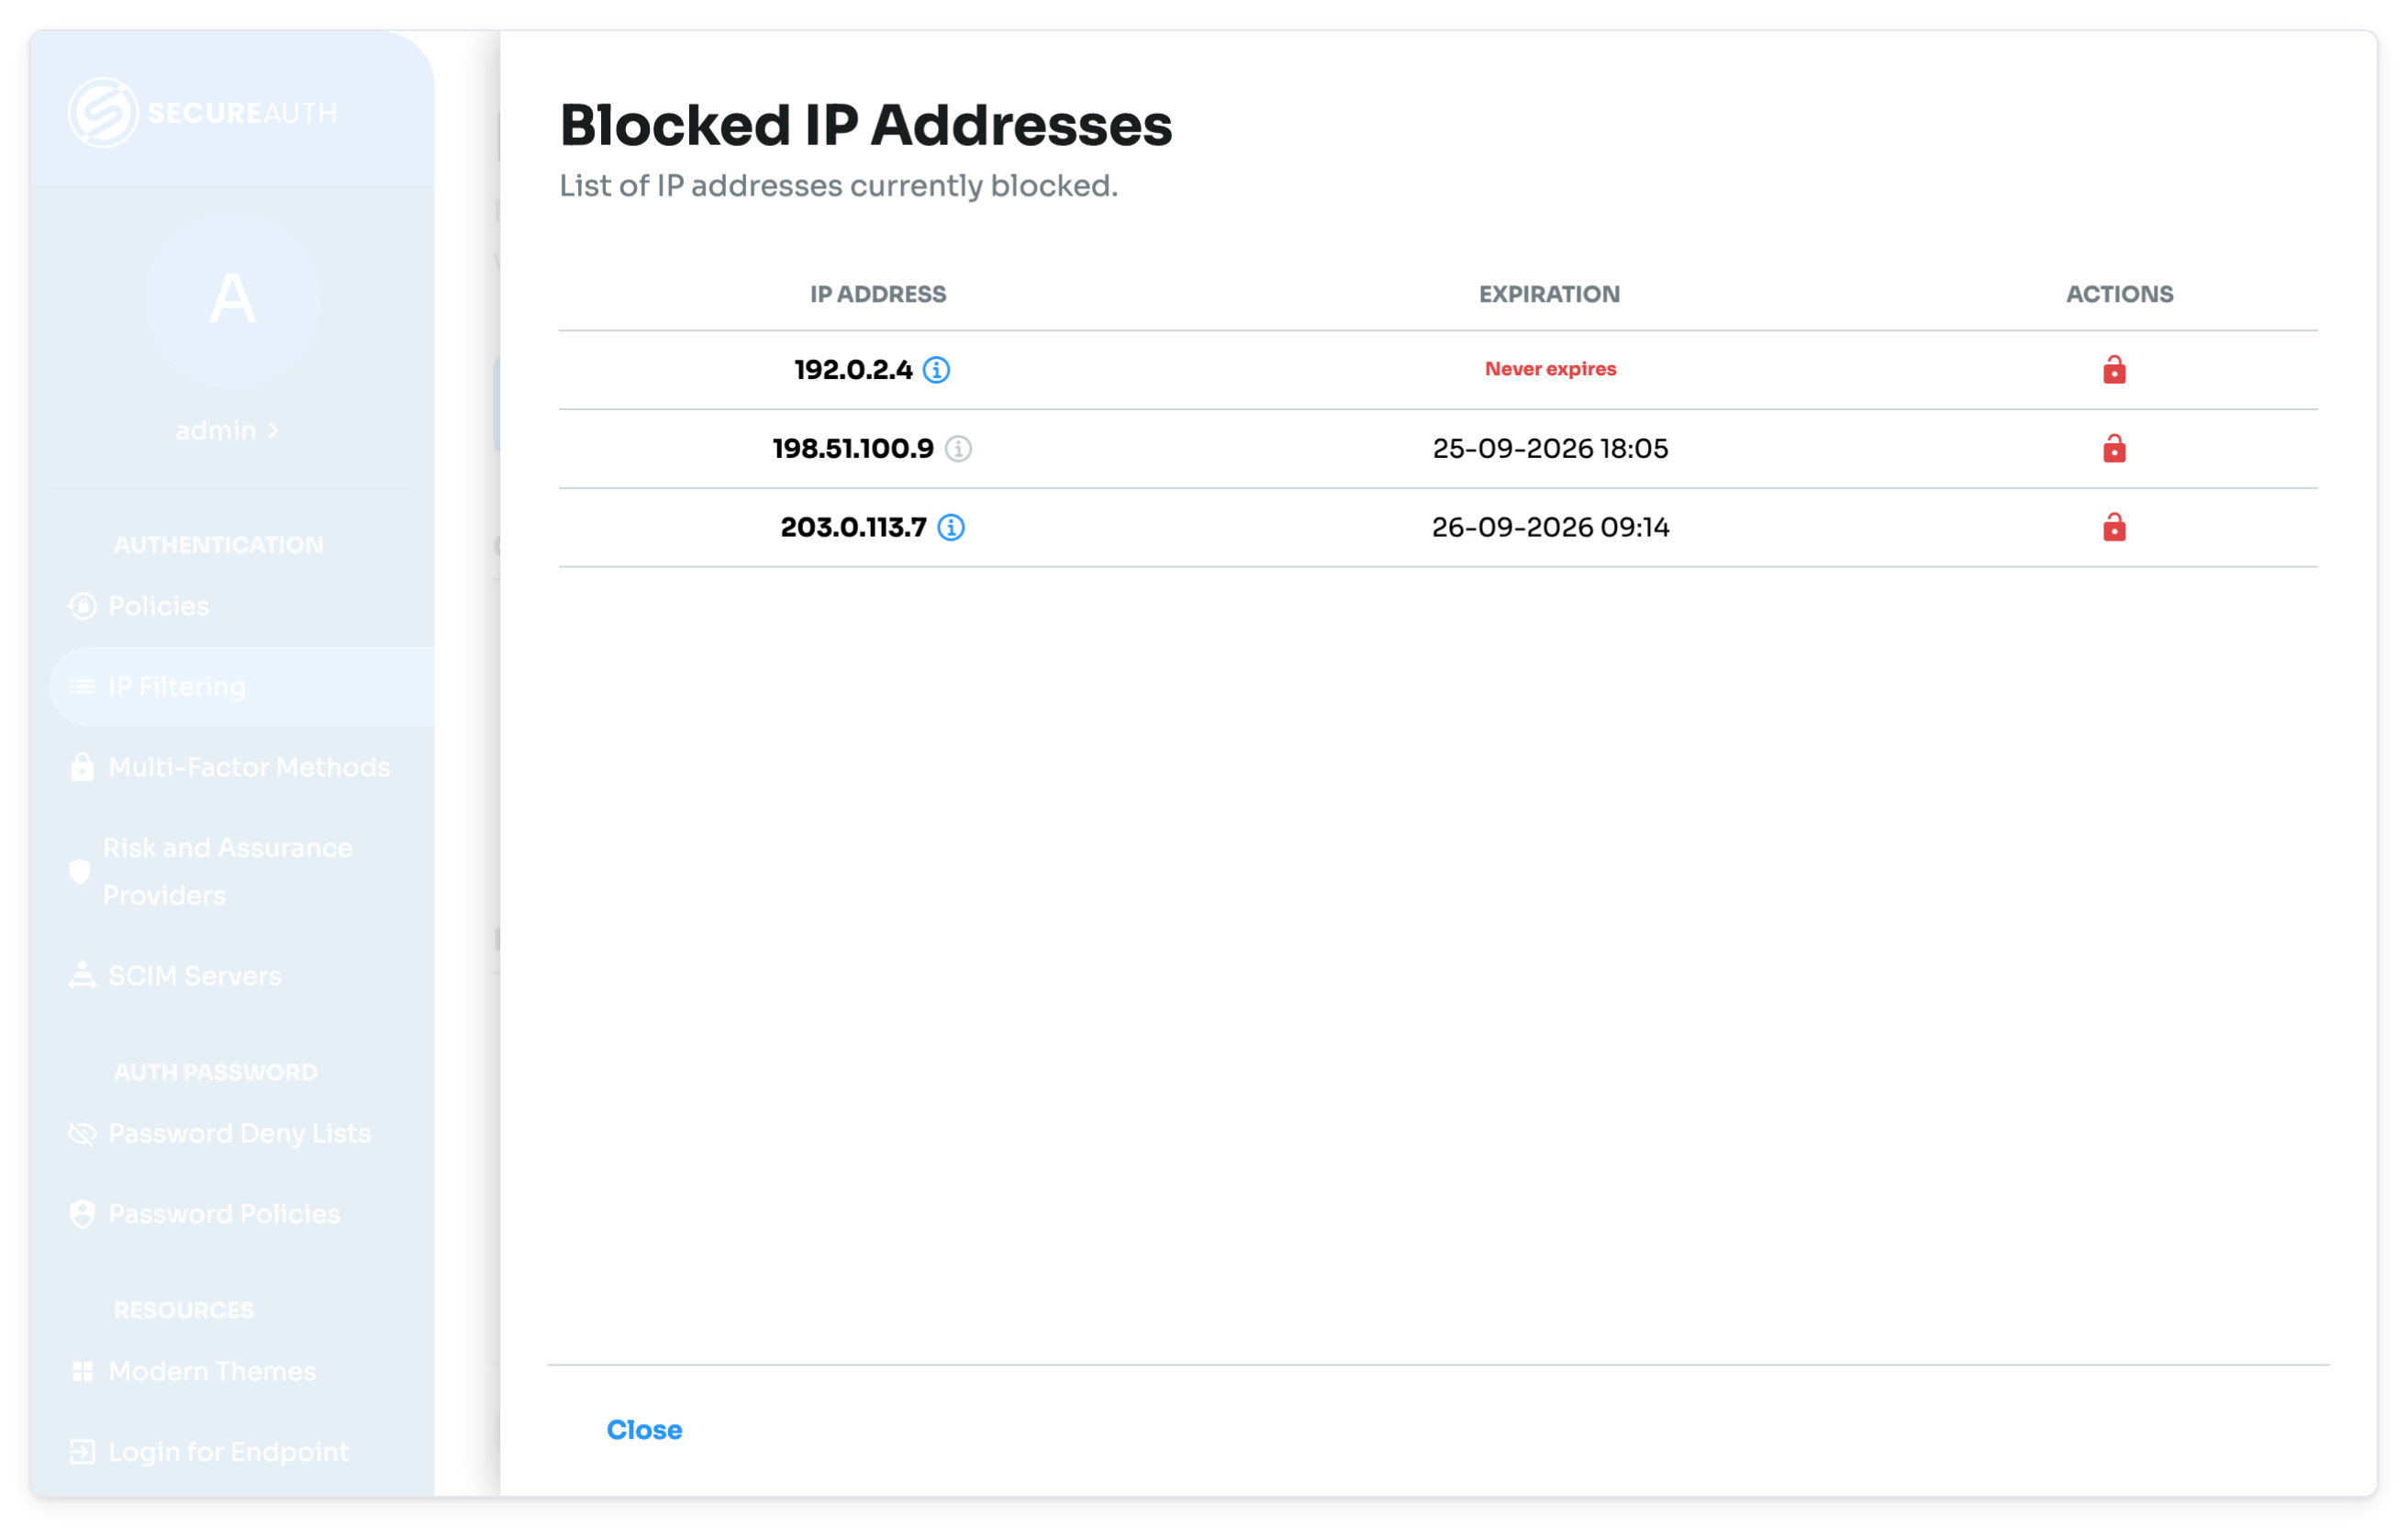
(Optional) To see why an address was blocked, click the info icon next to it.
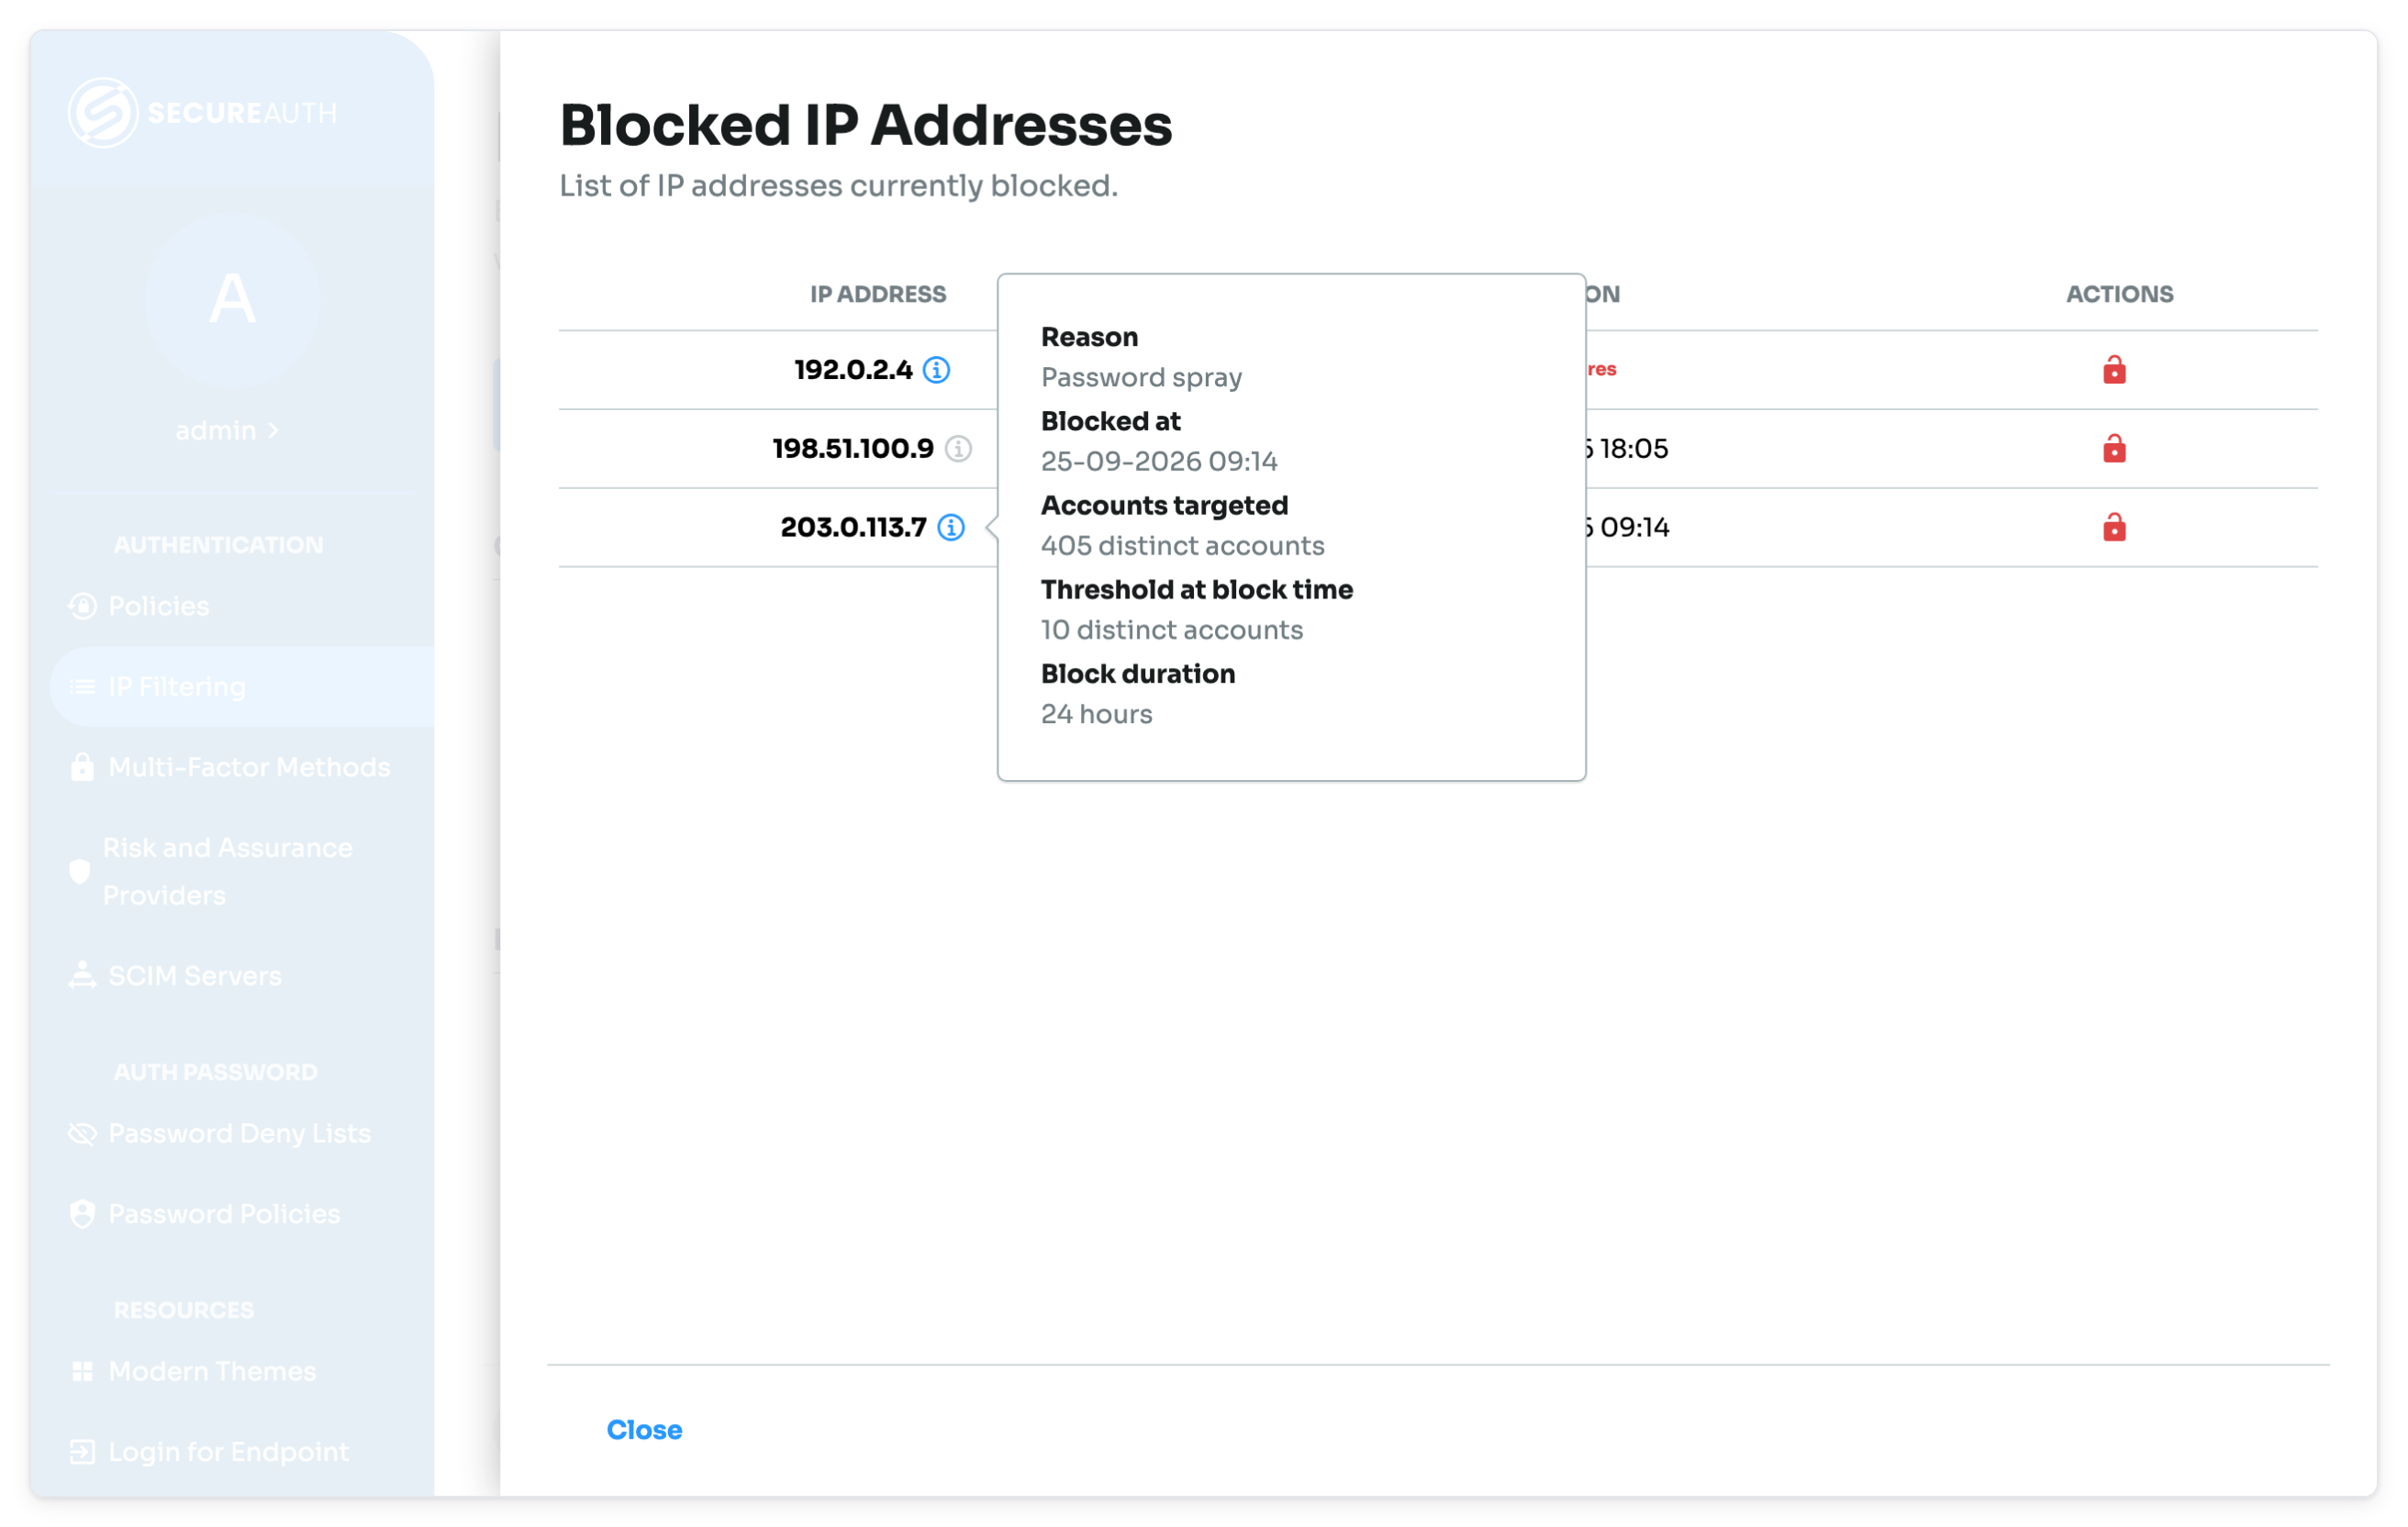
Detail
Description
Reason
Why the address was blocked, for example Password spray.
Blocked at
Date and time the block started.
Accounts targeted
Number of different user accounts that failed to log in from this address.
Threshold at block time
The number of failed login attempts setting when the block started.
Block duration
How long the block lasts.
Some older blocks have no details. The block still applies until it expires.
In the Actions column, click the unblock icon for the address.
In the Unblock IP Address dialog, optionally enter a Reason. The reason is recorded in the audit trail.
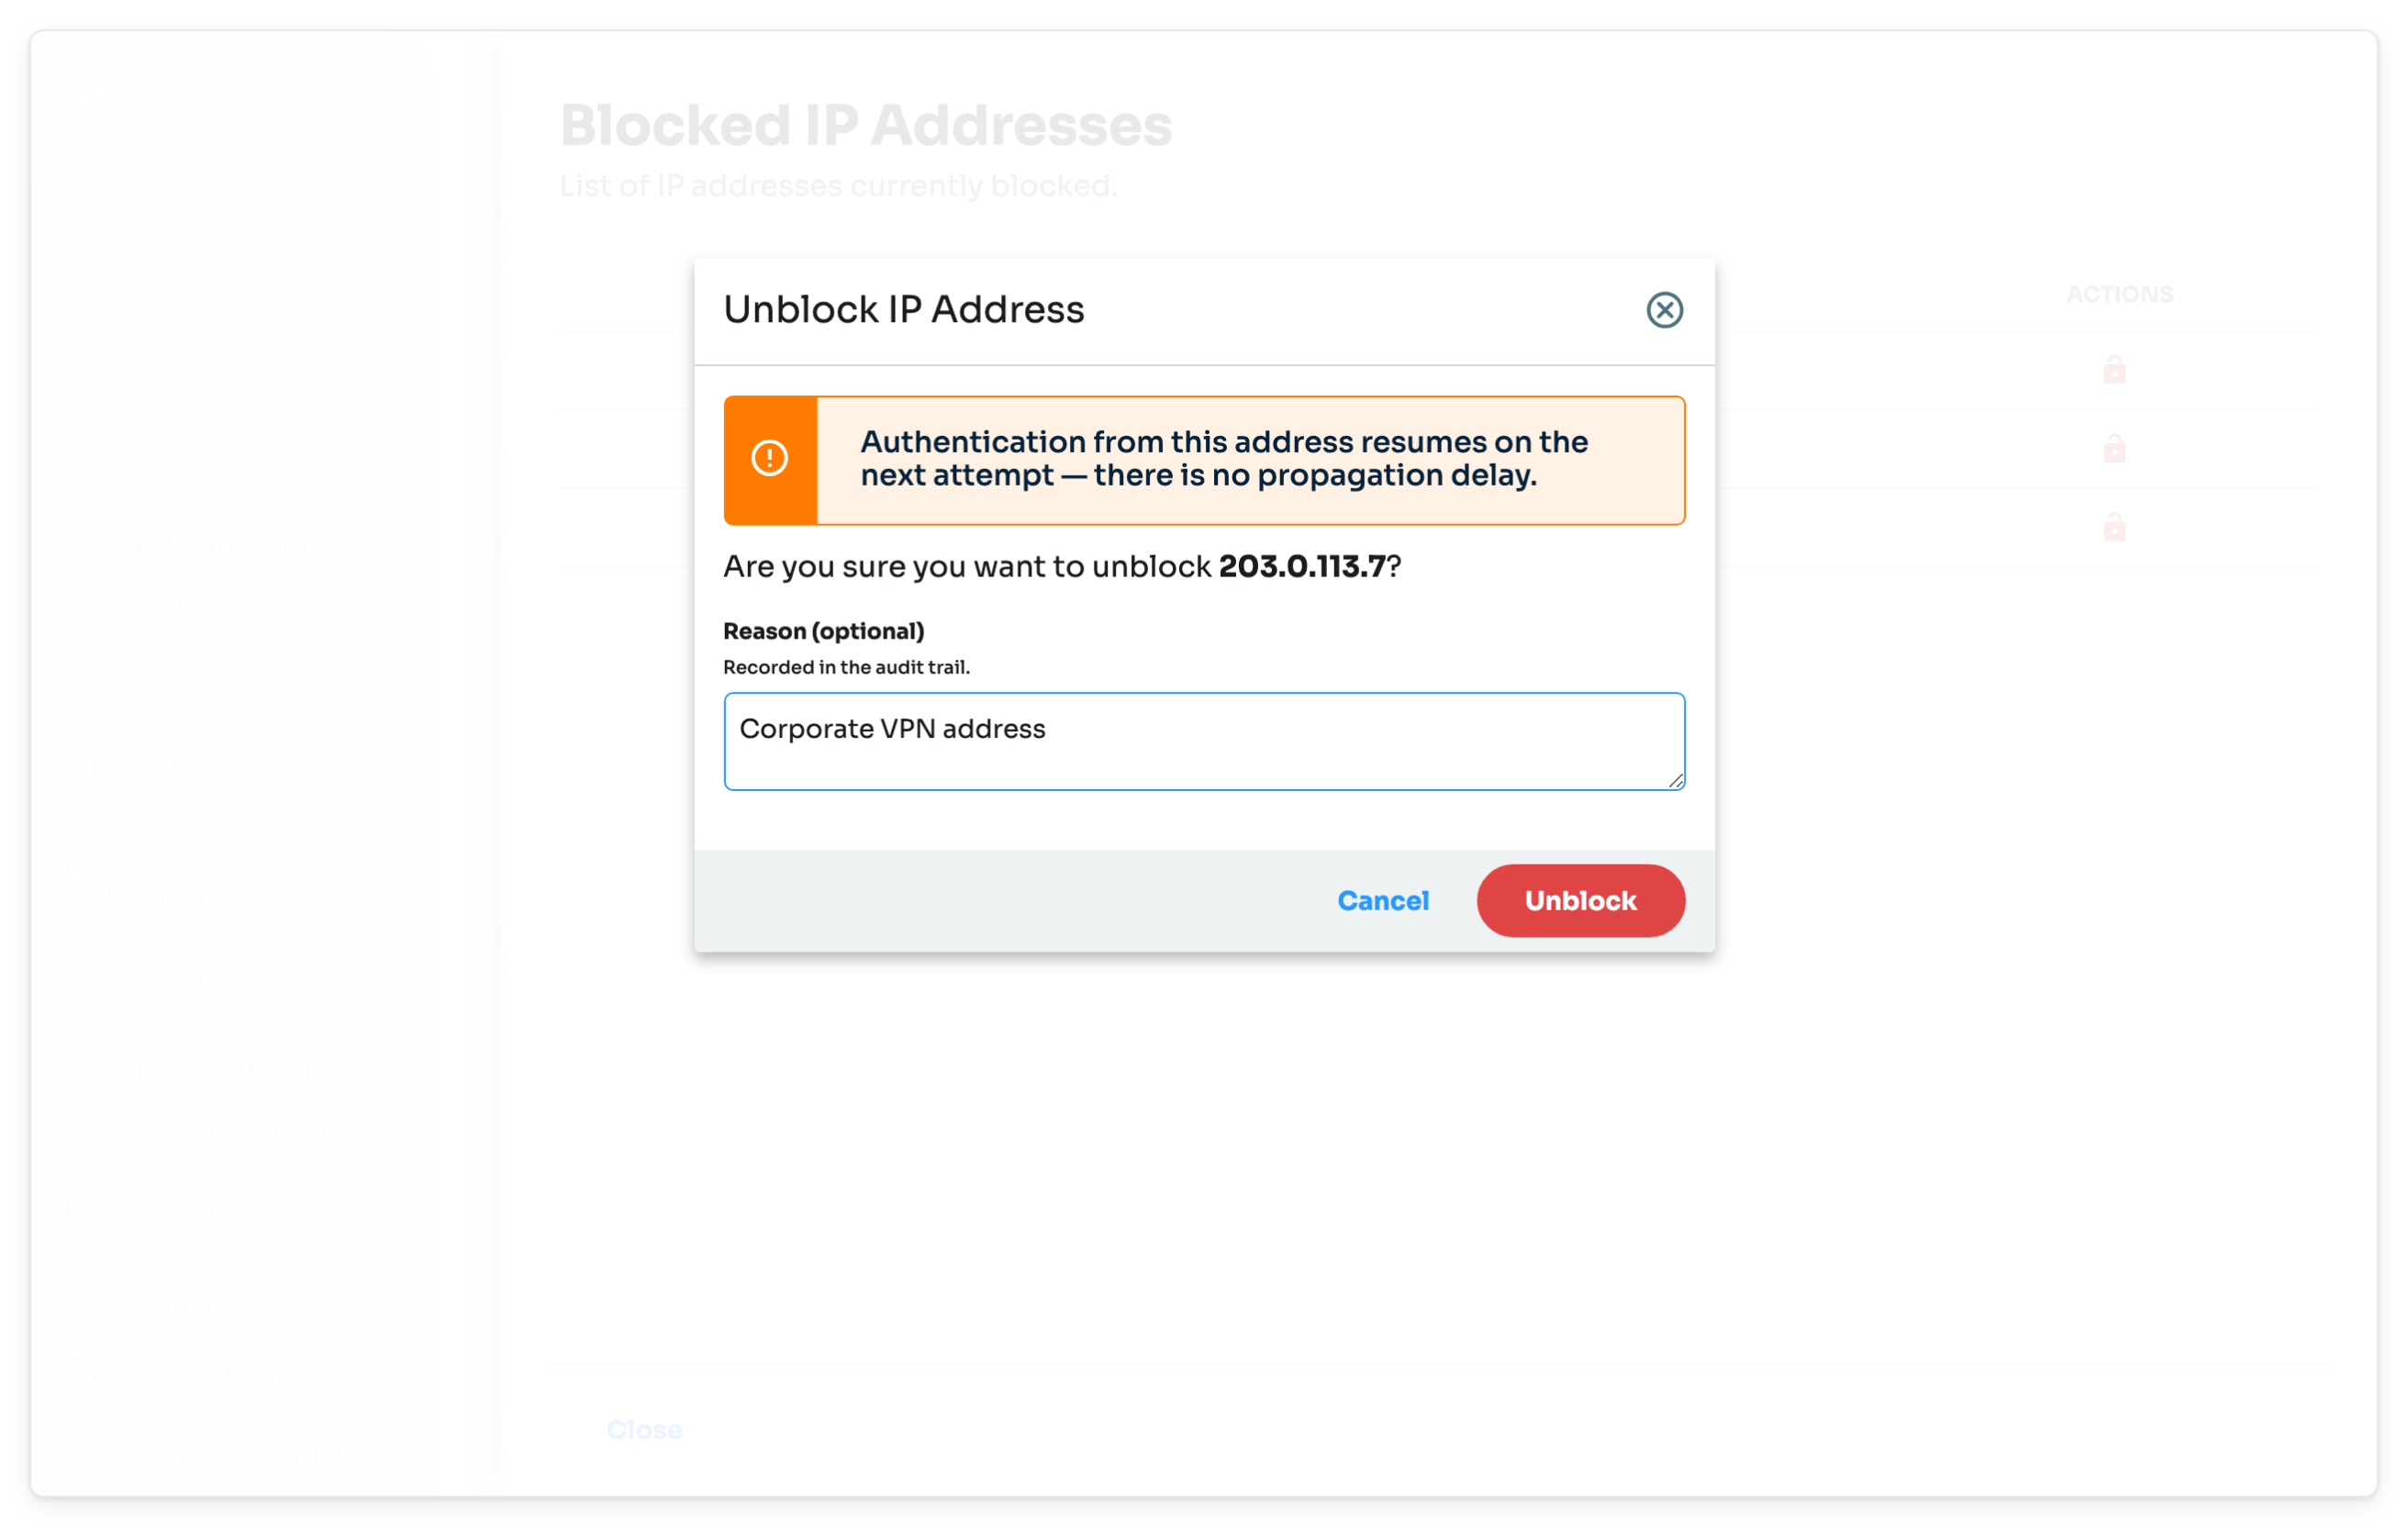
Click Unblock.
Users can log in from that address again on their next attempt.
Next steps
Open a policy and go to the Authentication Rules tab and add Dynamic IP Blocking as a new rule or condition.