Set up OneLogin for authentication
Learn how to configure OneLogin and SecureAuth to enable your users to sign in using OneLogin IDP and SAML.
Prerequisites
- SecureAuth access/account
- OneLogin access/account
Configure OneLogin
-
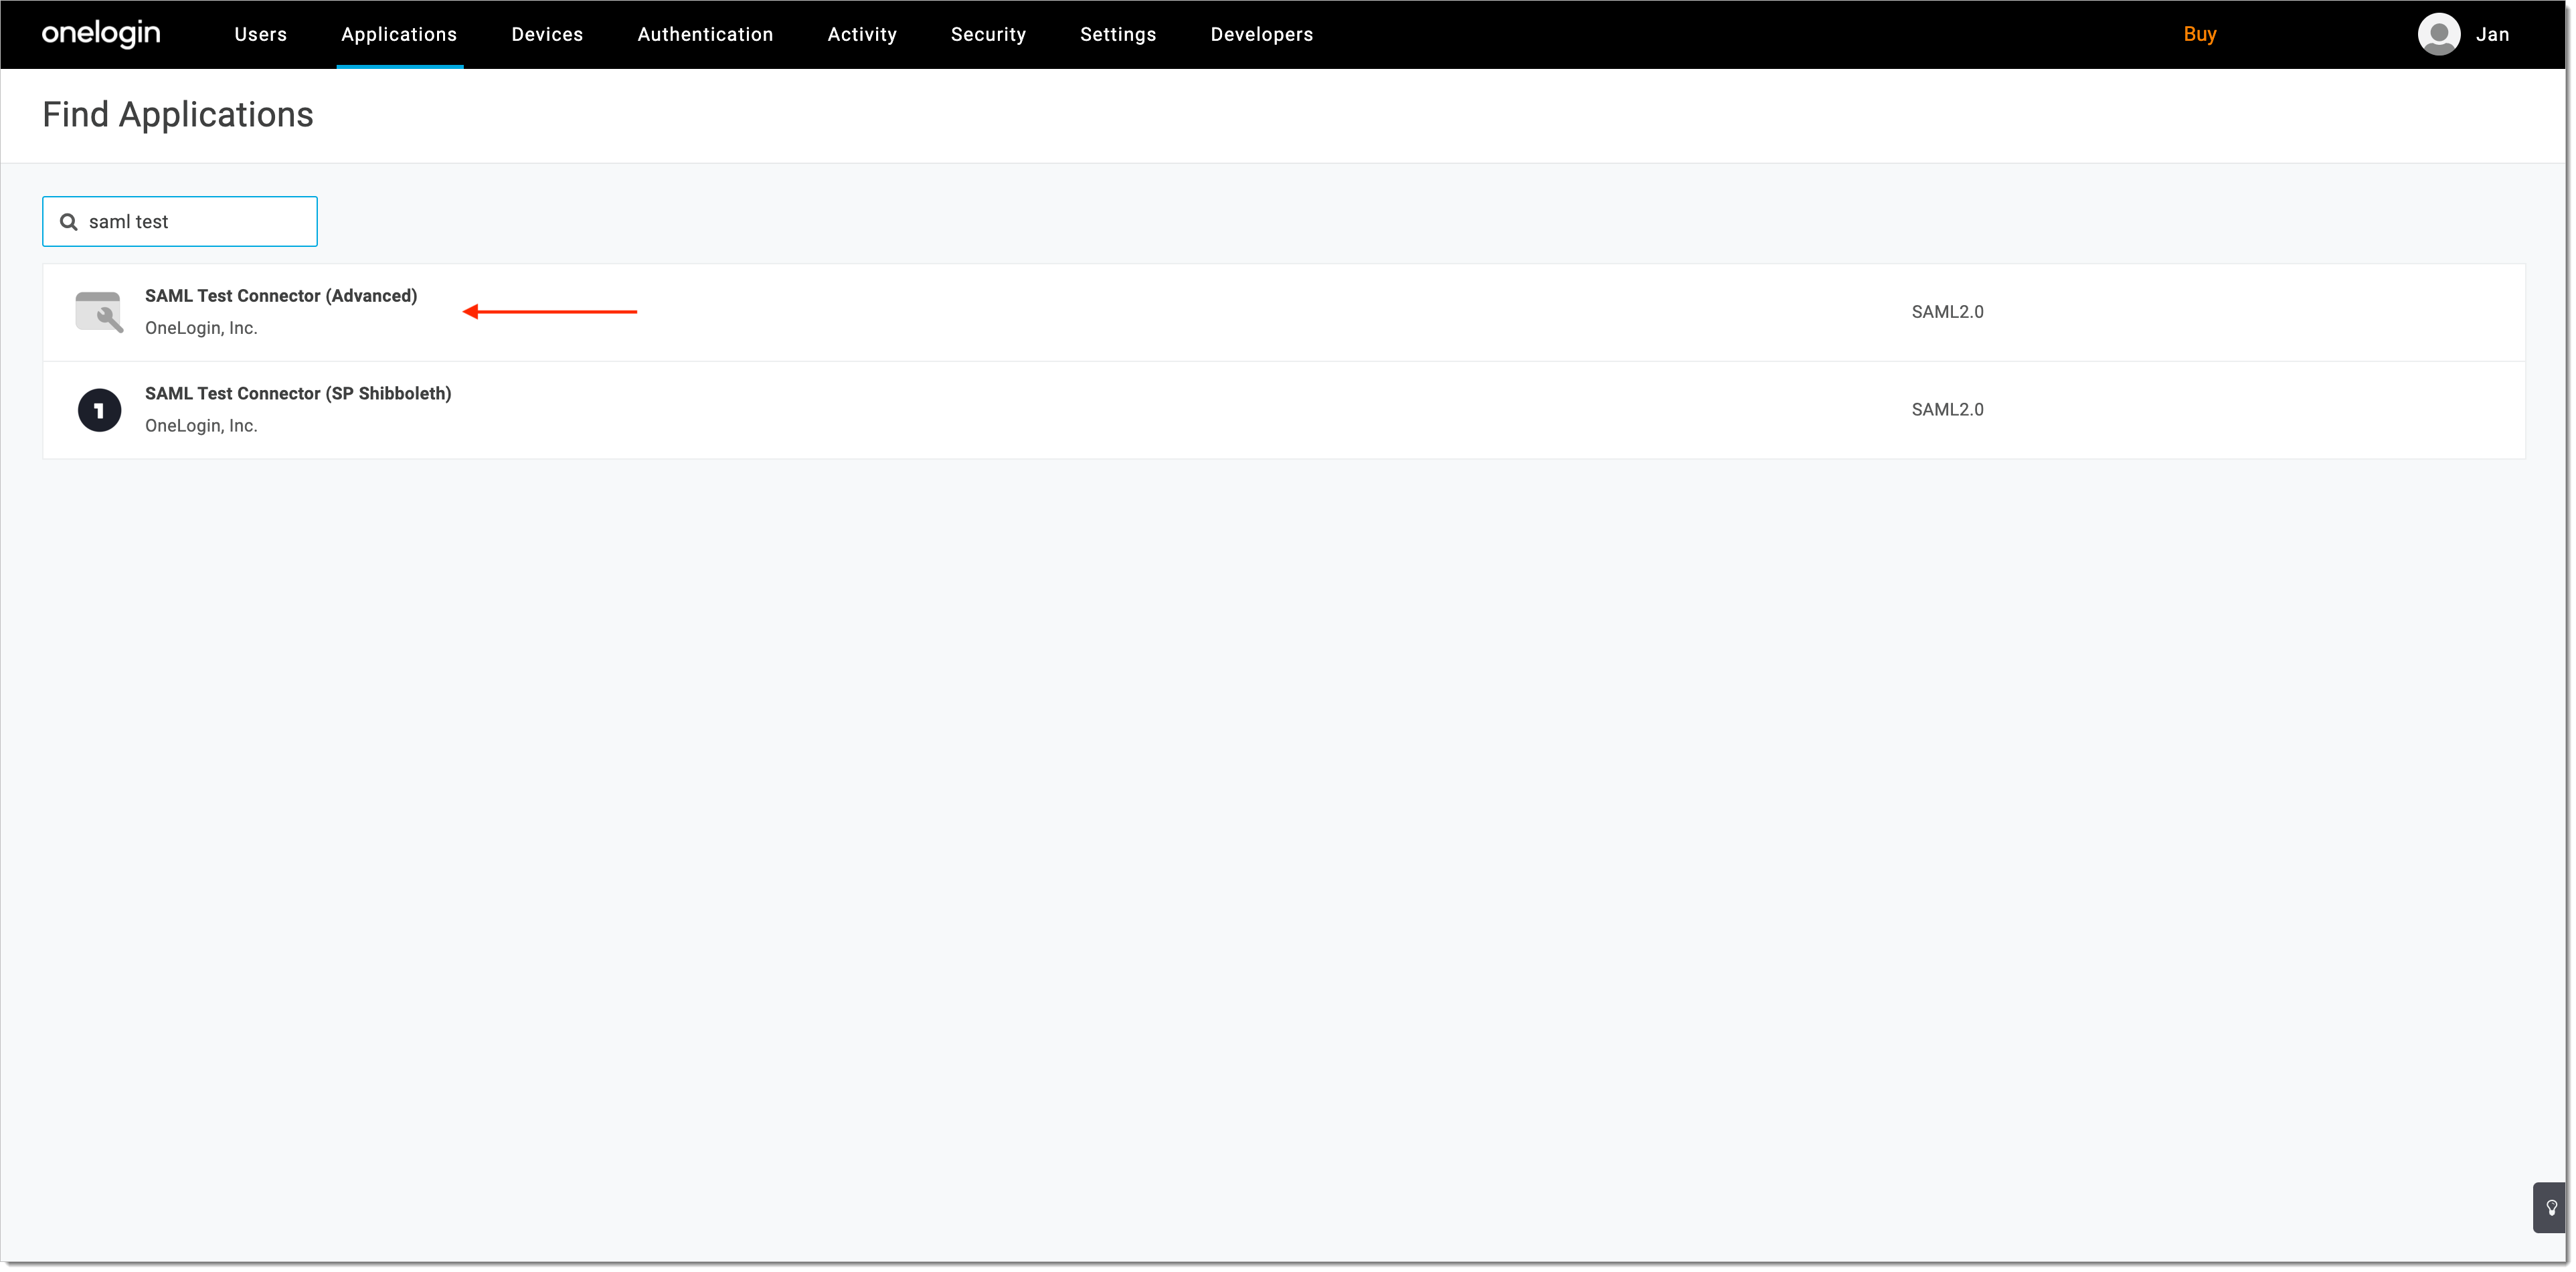
Create a new SAML application in OneLogin admin portal by selecting Add App.

-
In the Find Application view, select SAML Test Connector (Advanced).
-
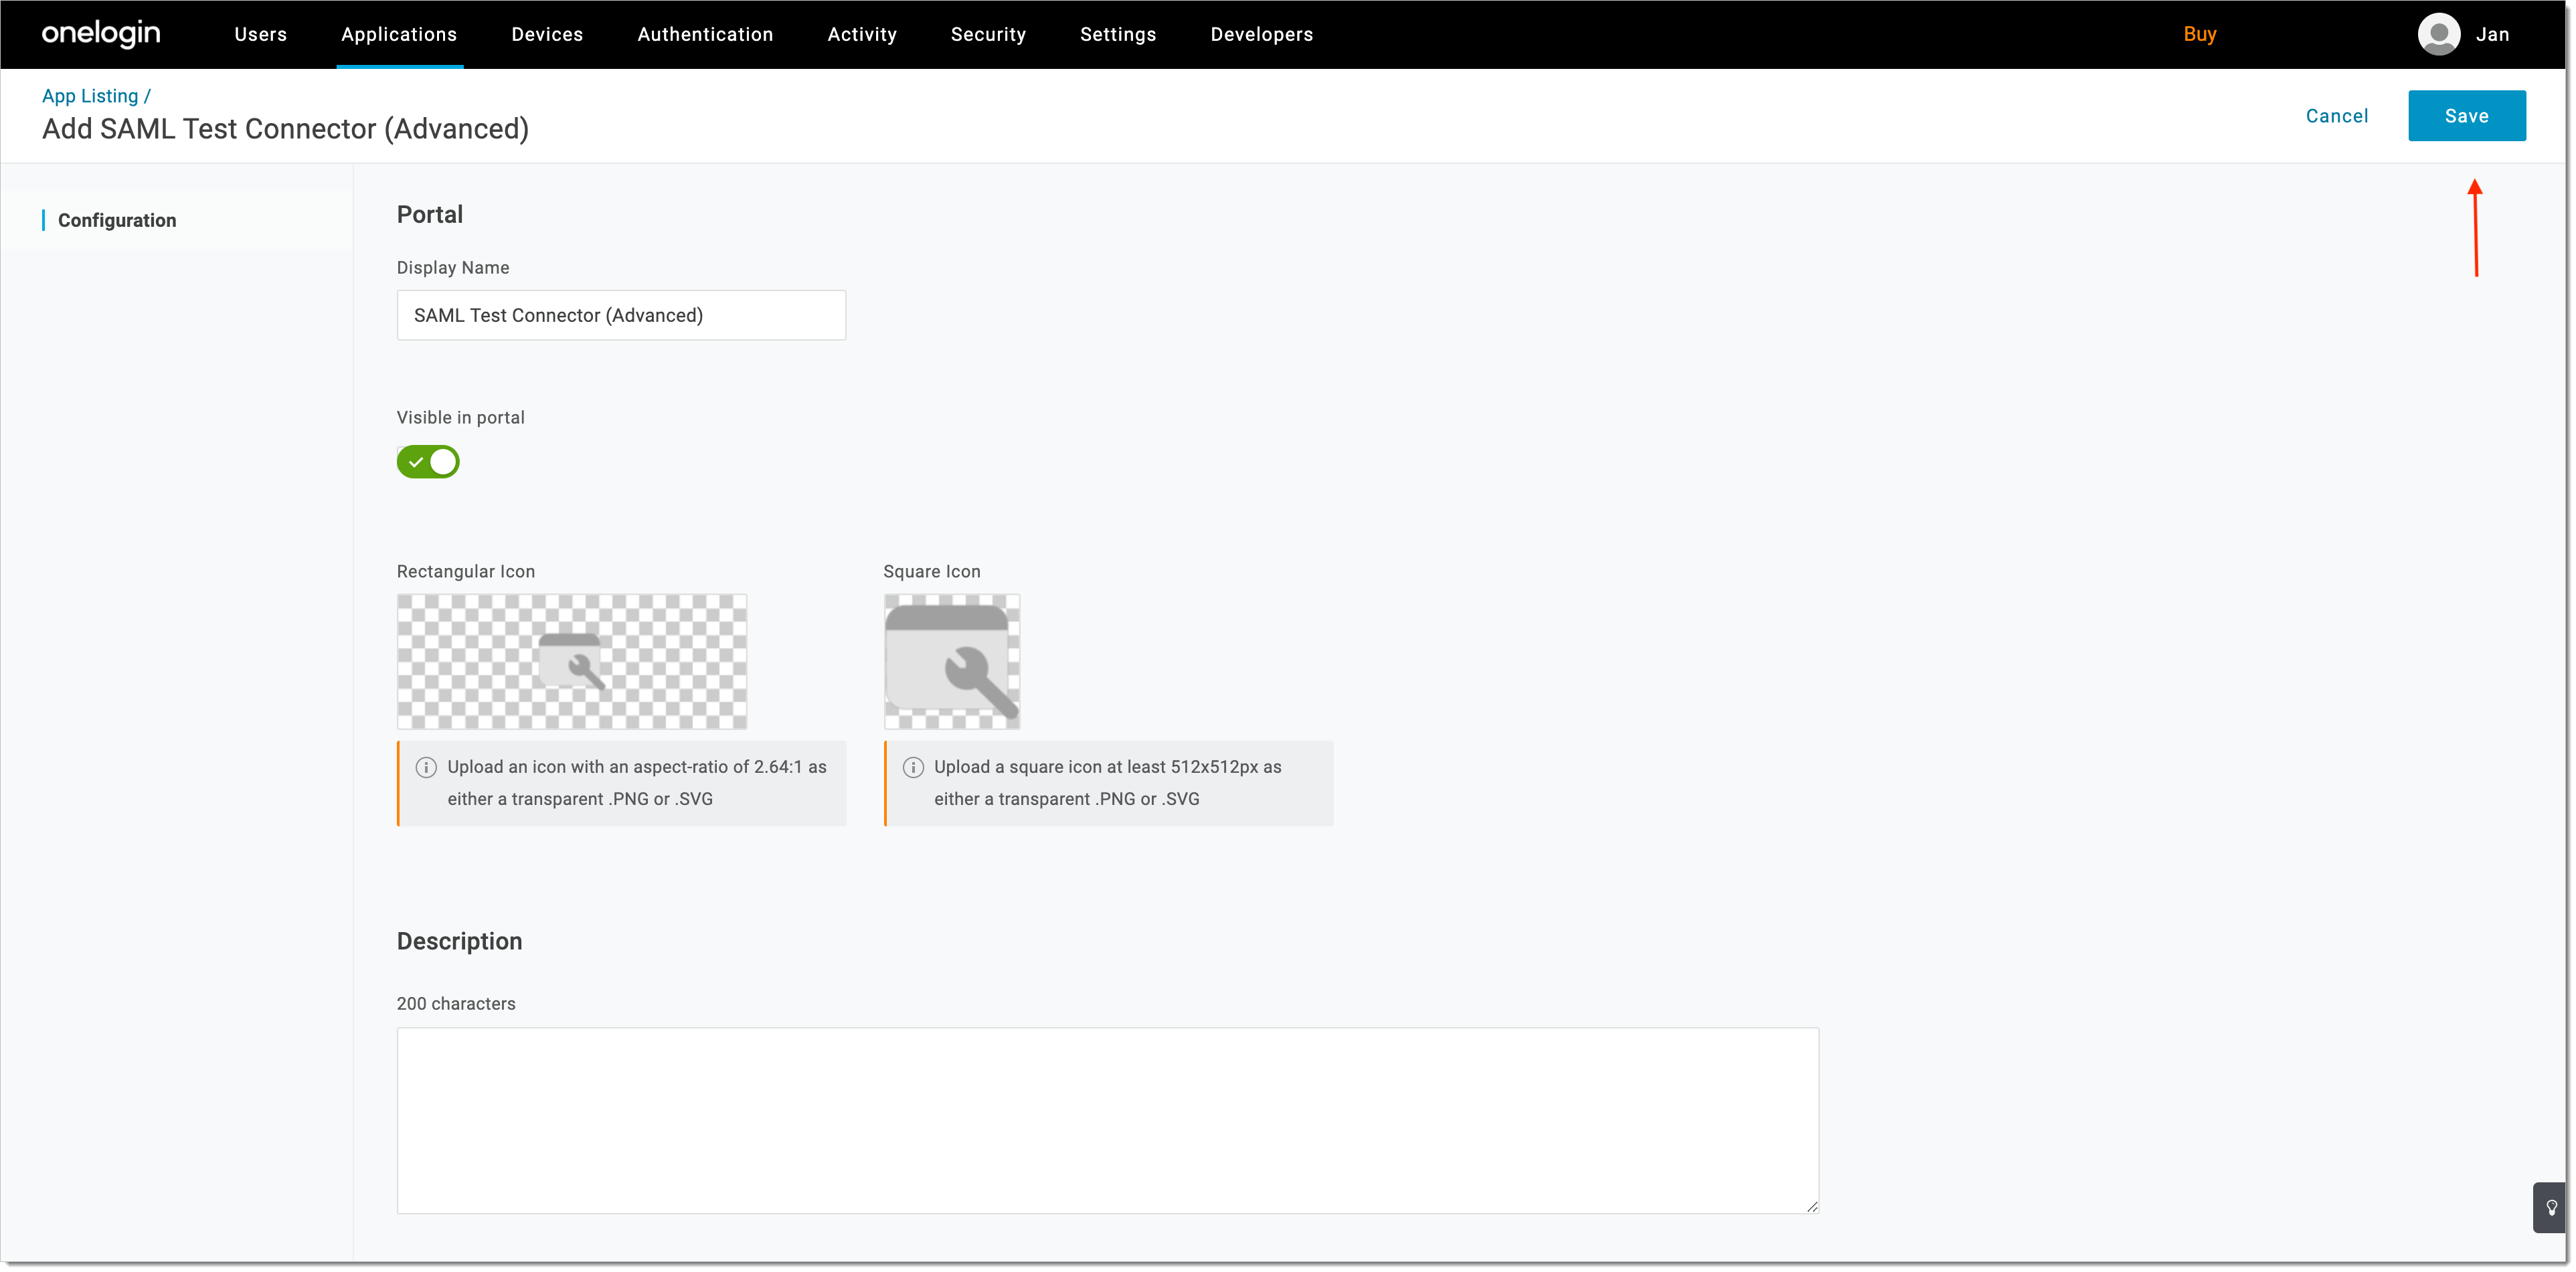
Save your new application.
-
Select SSO from the sidebar and copy/save the SAML 2.0 endpoint URL.

Configure SecureAuth
-
Log in to the SecureAuth admin portal.
-
Switch to the workspace that you want to integrate with OneLogin.
-
Add a SAML Identity Provider on the SecureAuth side.
-
Enter the copied SAML 2.0 endpoint URL as Sign in URL and select Save.
Check step 4 of Configure OneLogin for the relevant URL.
Enable Trust
To establish the trust between OneLogin and SecureAuth, you need to configure the SAML X509 certificate used for the verification of the SAML assertion.
-
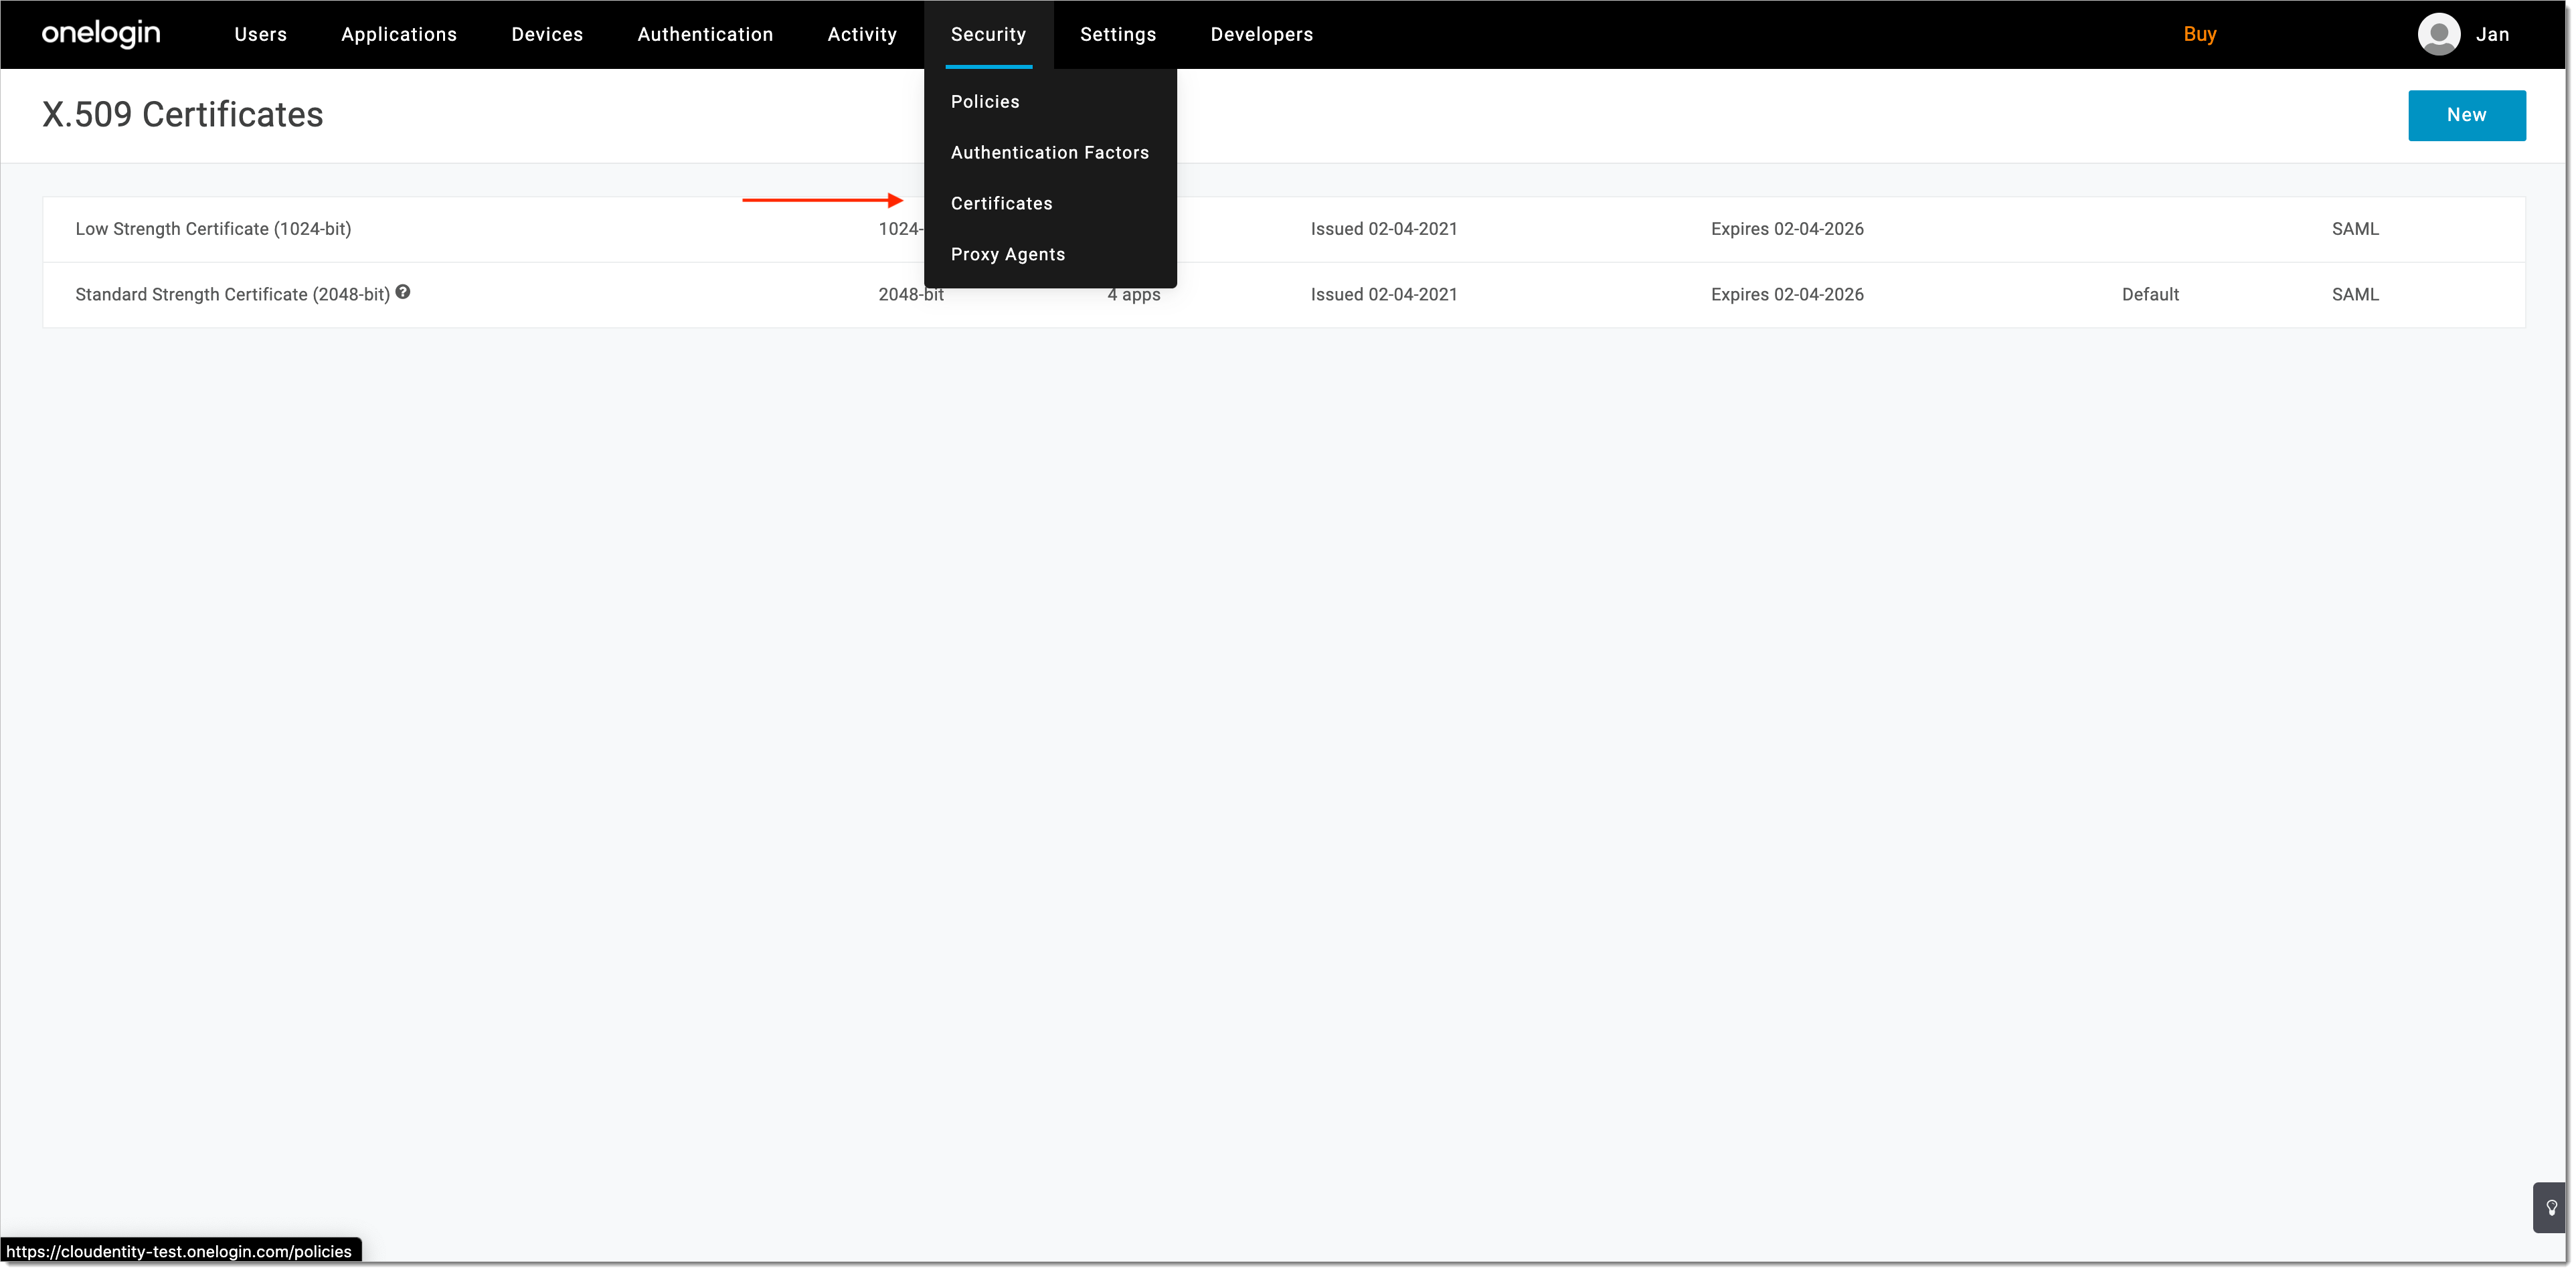
Go to OneLogin > Security > Certificates.
-
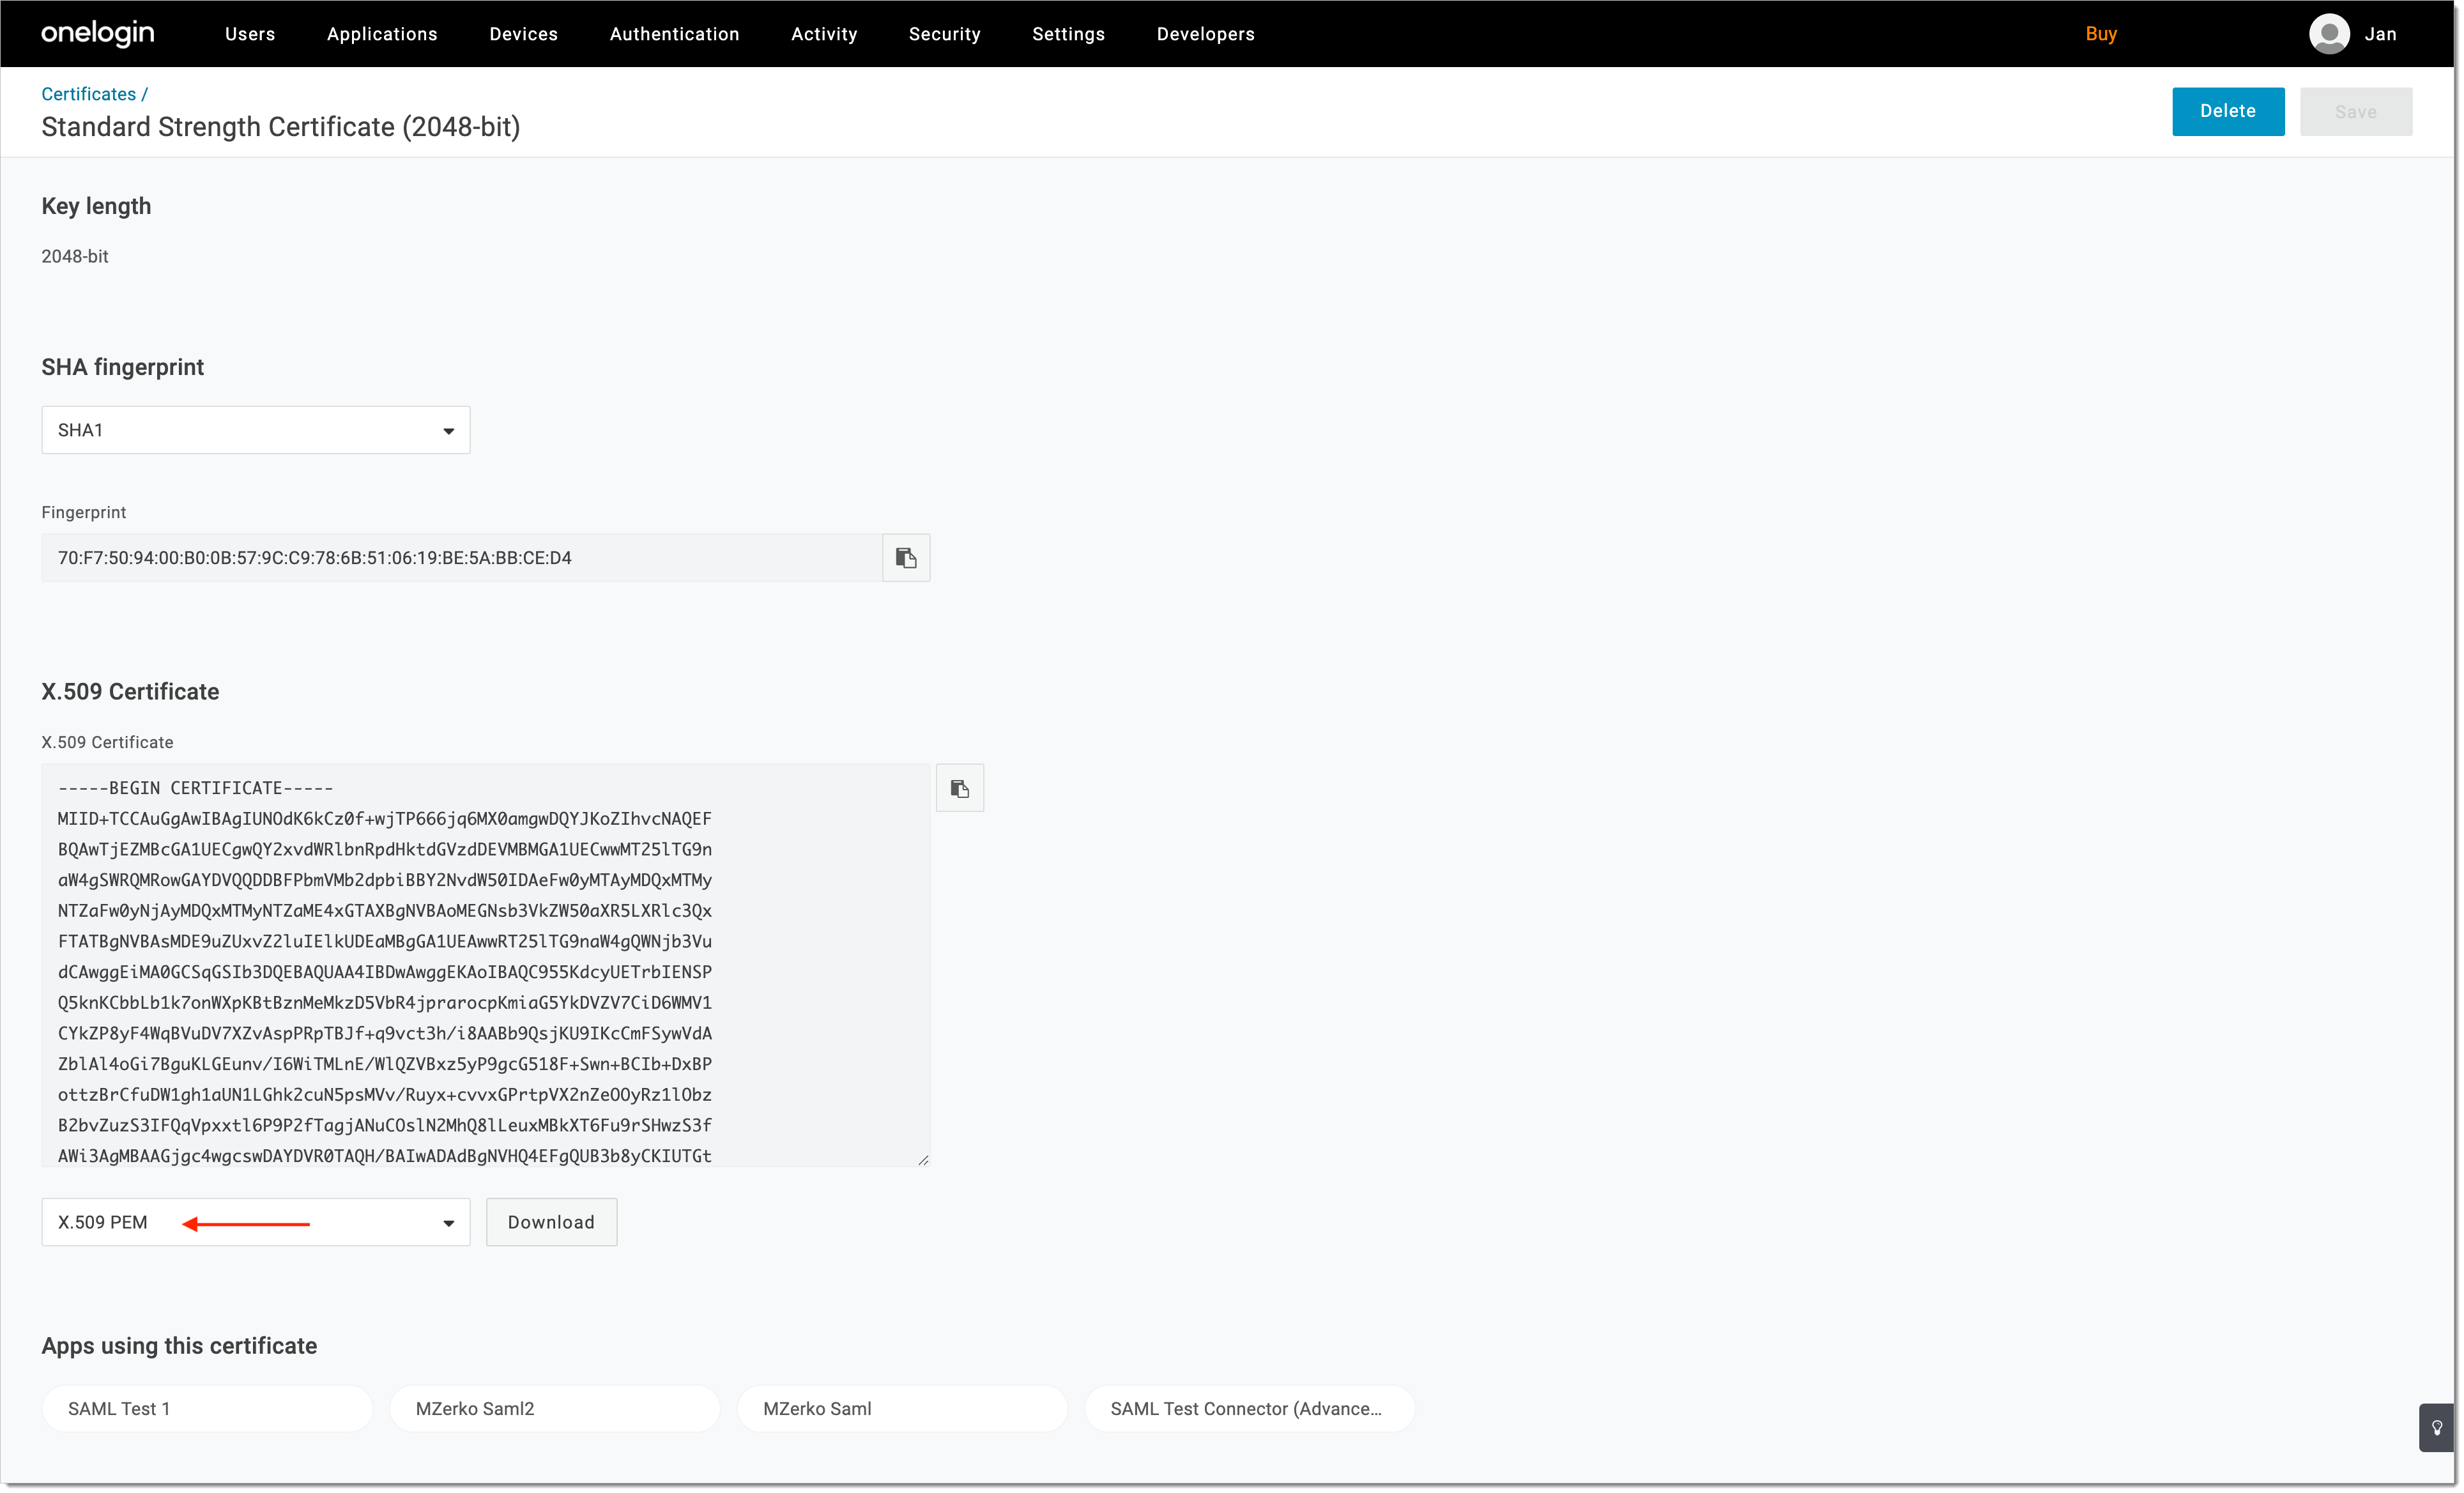
Select Standard Strength Certificate (2048-bit) and download it in the X.509 PEM format.
-
Go to SecureAuth and paste the value of the certificate under IDP certificate in the SAML IDP configuration view.
-
Set Name ID format as emailAddress.
-
Save the SAML IDP configuration.
-
Copy the value of the entity issuer attribute from the SAML IDP view.
-
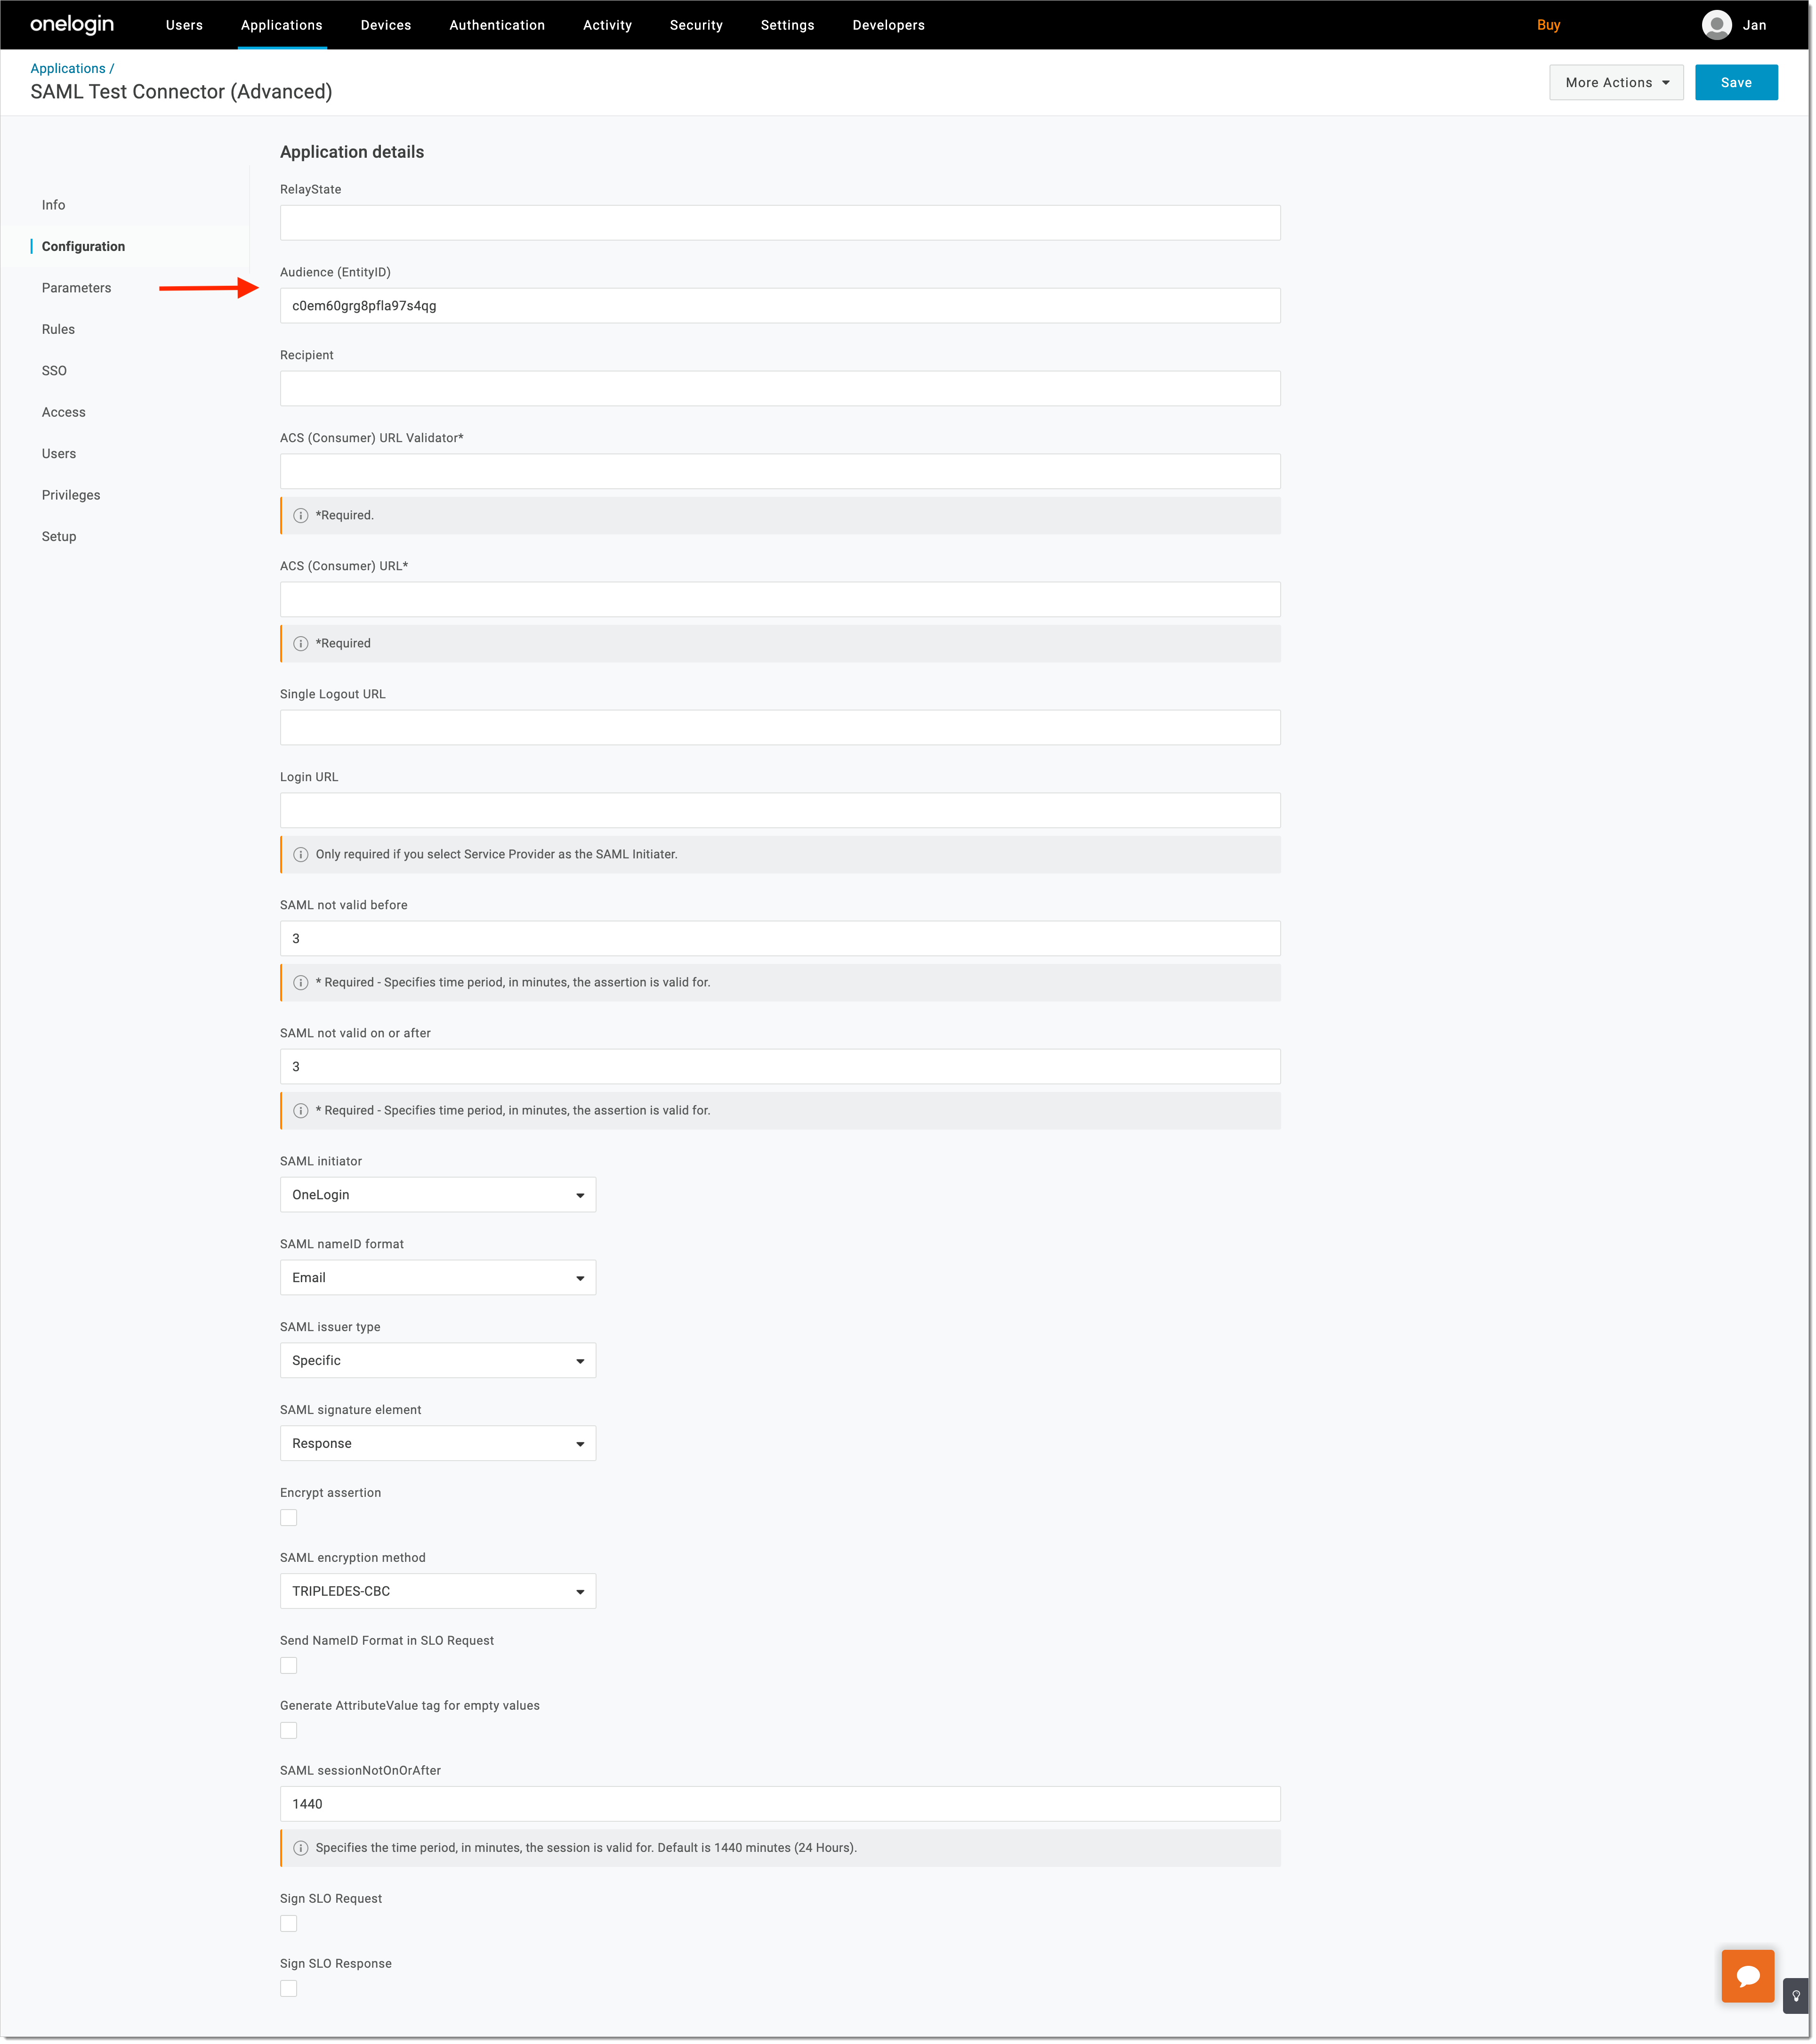
Go to OneLogin and navigate to the Configuration view of your SAML application. Enter the copied value of entity issuer attribute into the Audience (EntityID) field. Select Save.
-
Navigate to the Parameters view and configure at least one assertion parameter on top of NameID value.
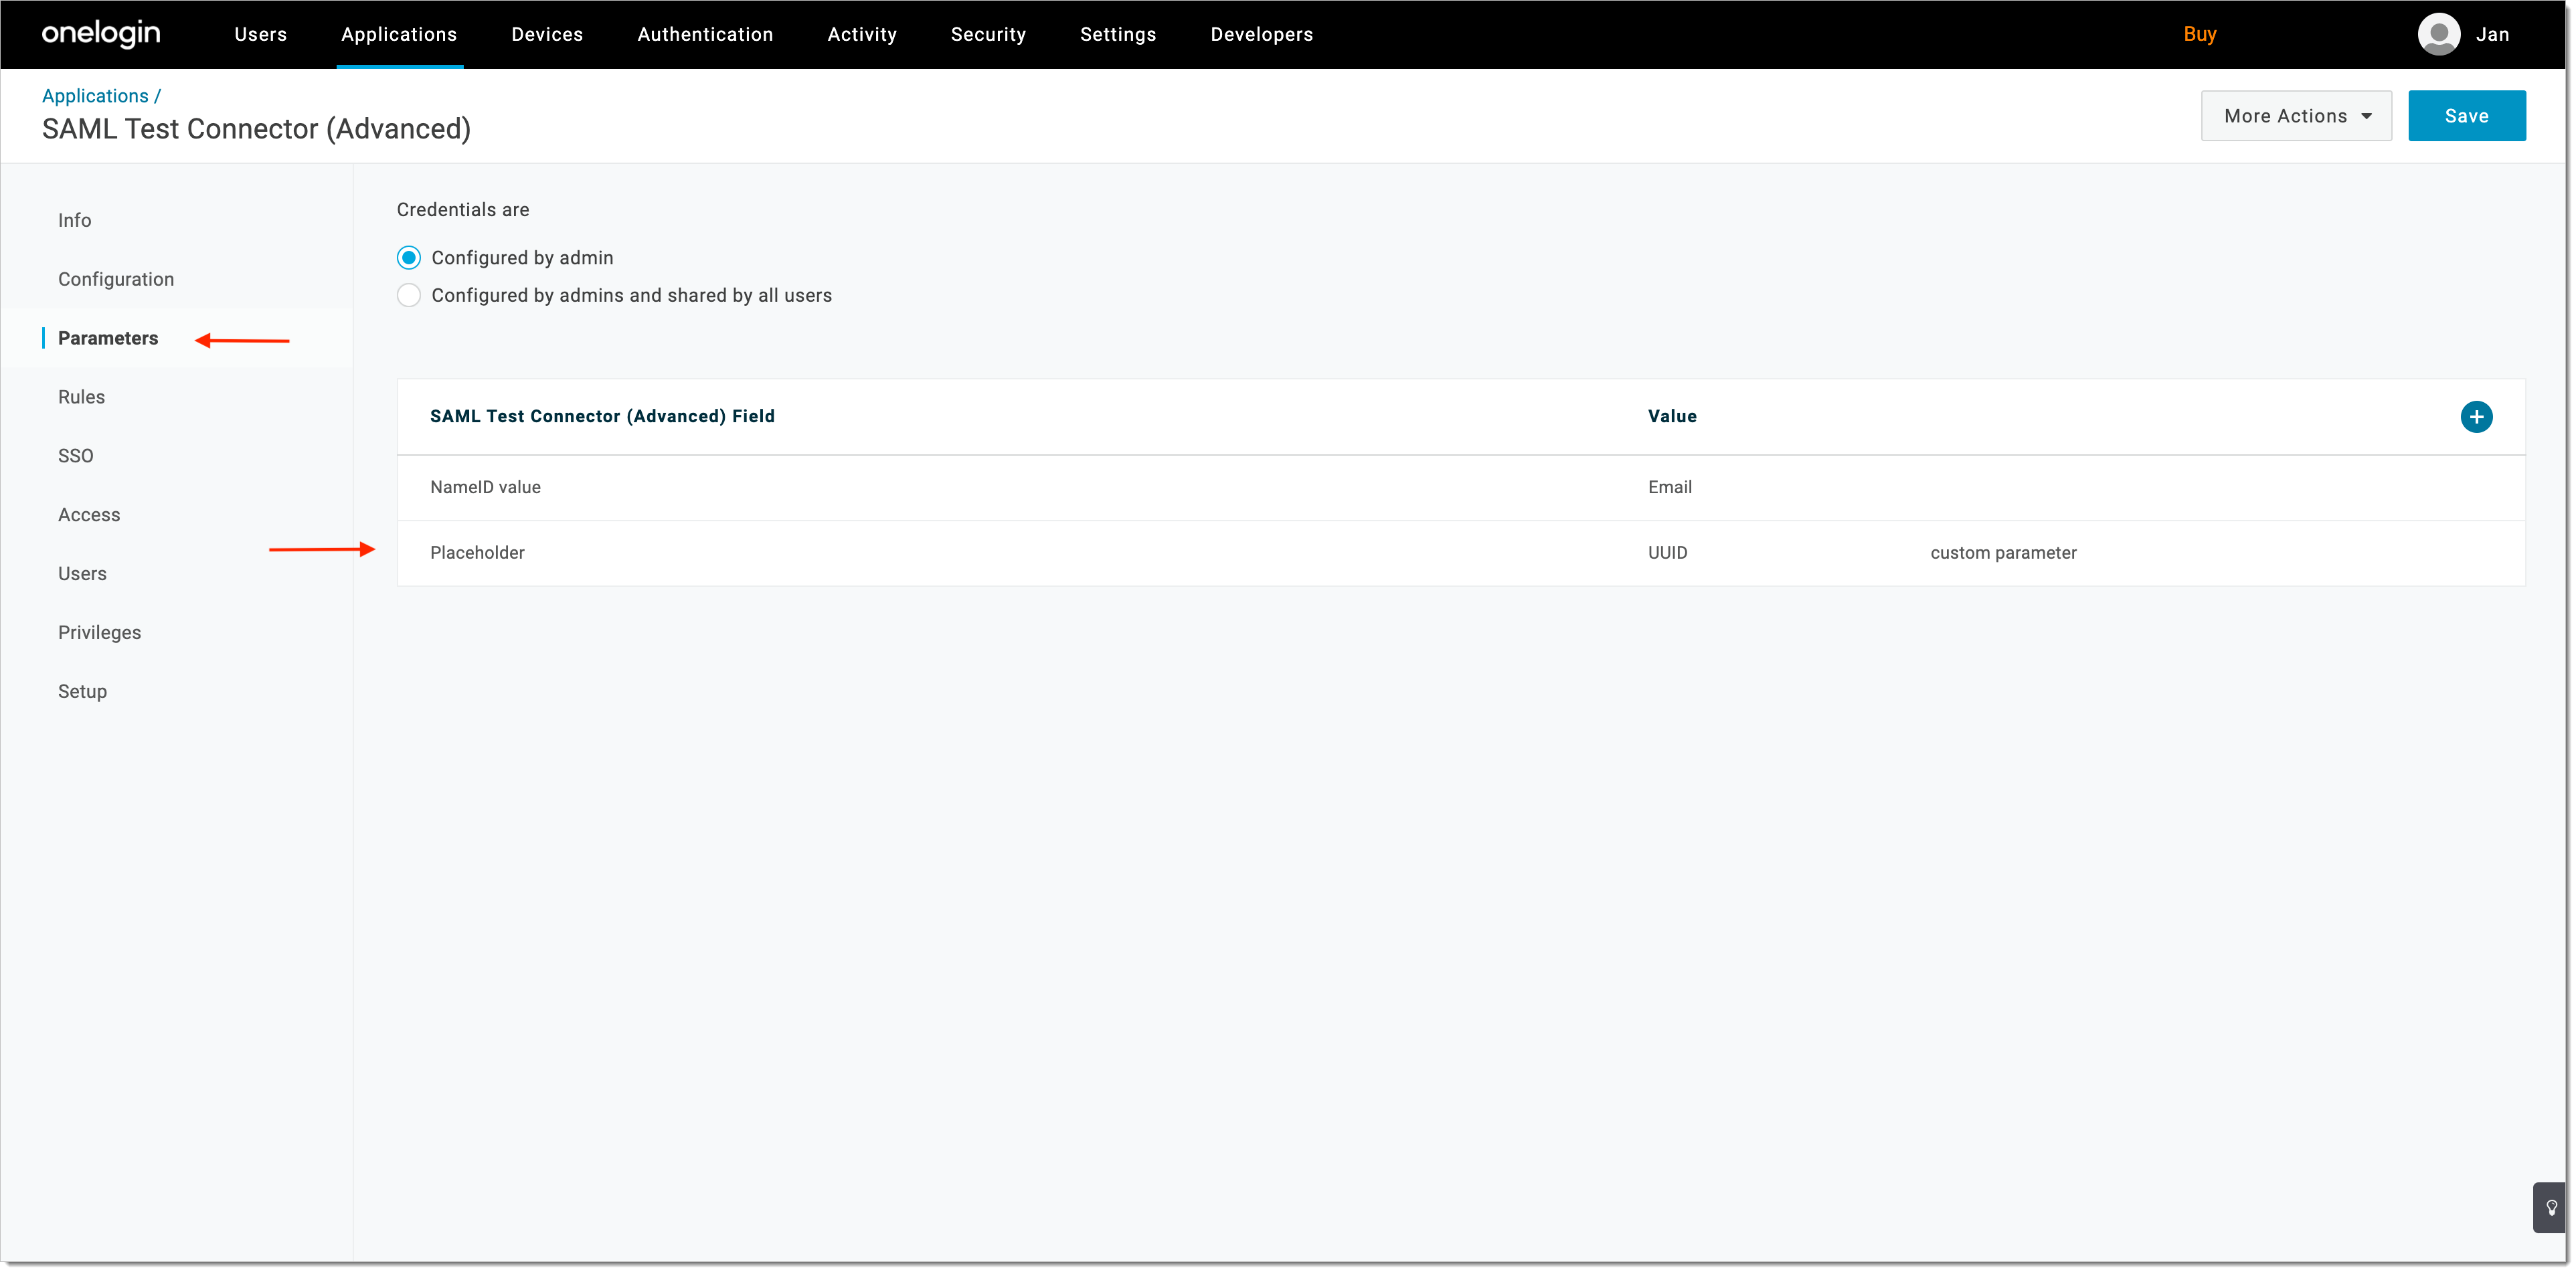
It is required to configure at least one assertion parameter to successfully complete the authentication flow.
Verify the Configuration
-
Open the SecureAuth user portal.
-
Select LOGIN TO DEMO APP.
-
Choose OneLogin IDP from the list of available identity providers.
-
Authenticate using your OneLogin credentials.
-
Review the consent page for data sharing between OneLogin and SecureAuth.
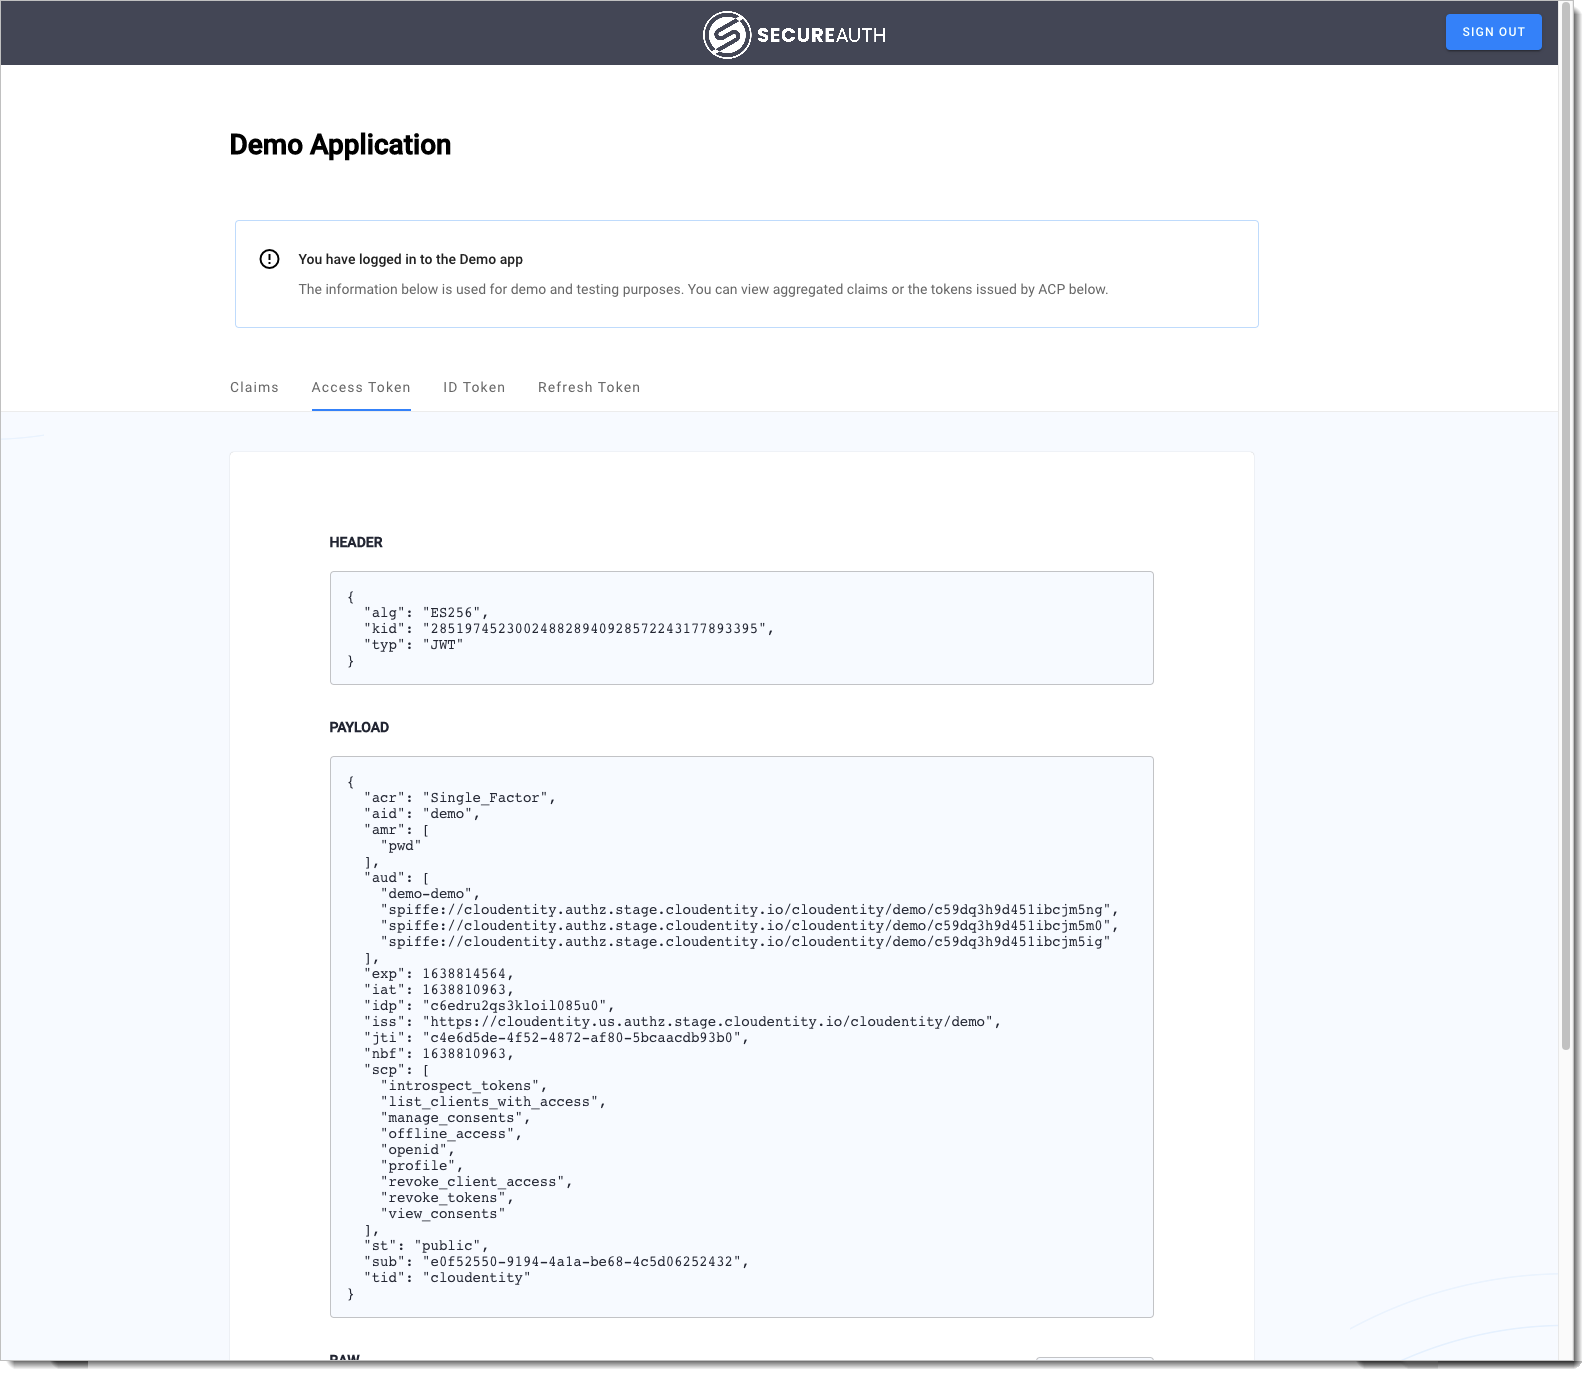
After successful authentication, you should be redirected back to SecureAuth.