McAfee MVISION ePO SAML integration
Acceptto™ SSO for McAfee MVision ePO enables strong authentication and secure access via SAML Single Sign-on. Acceptto's intelligent Multi-Factor Authentication (MFA) technology helps protect your user accounts and data from being compromised. This document will guide you through the configuration of McAfee MVision ePO to work with the Acceptto SSO Identity Provider service.
McAfee MVISION® is an endpoint and cloud security system used to protect your data and stop threats across your cloud infrastructure.
Prerequisites
An Acceptto account with a configured Identity Provider and LDAP Agent.
For more information, see the LDAP Agent deployment guide.
A user with administrative privileges for the Acceptto service.
An organization identifier provided by Acceptto (organization slug).
A user with administrative privileges for McAfee MVISION.
Configure McAfee MVISION ePO as a SAML Service Provider
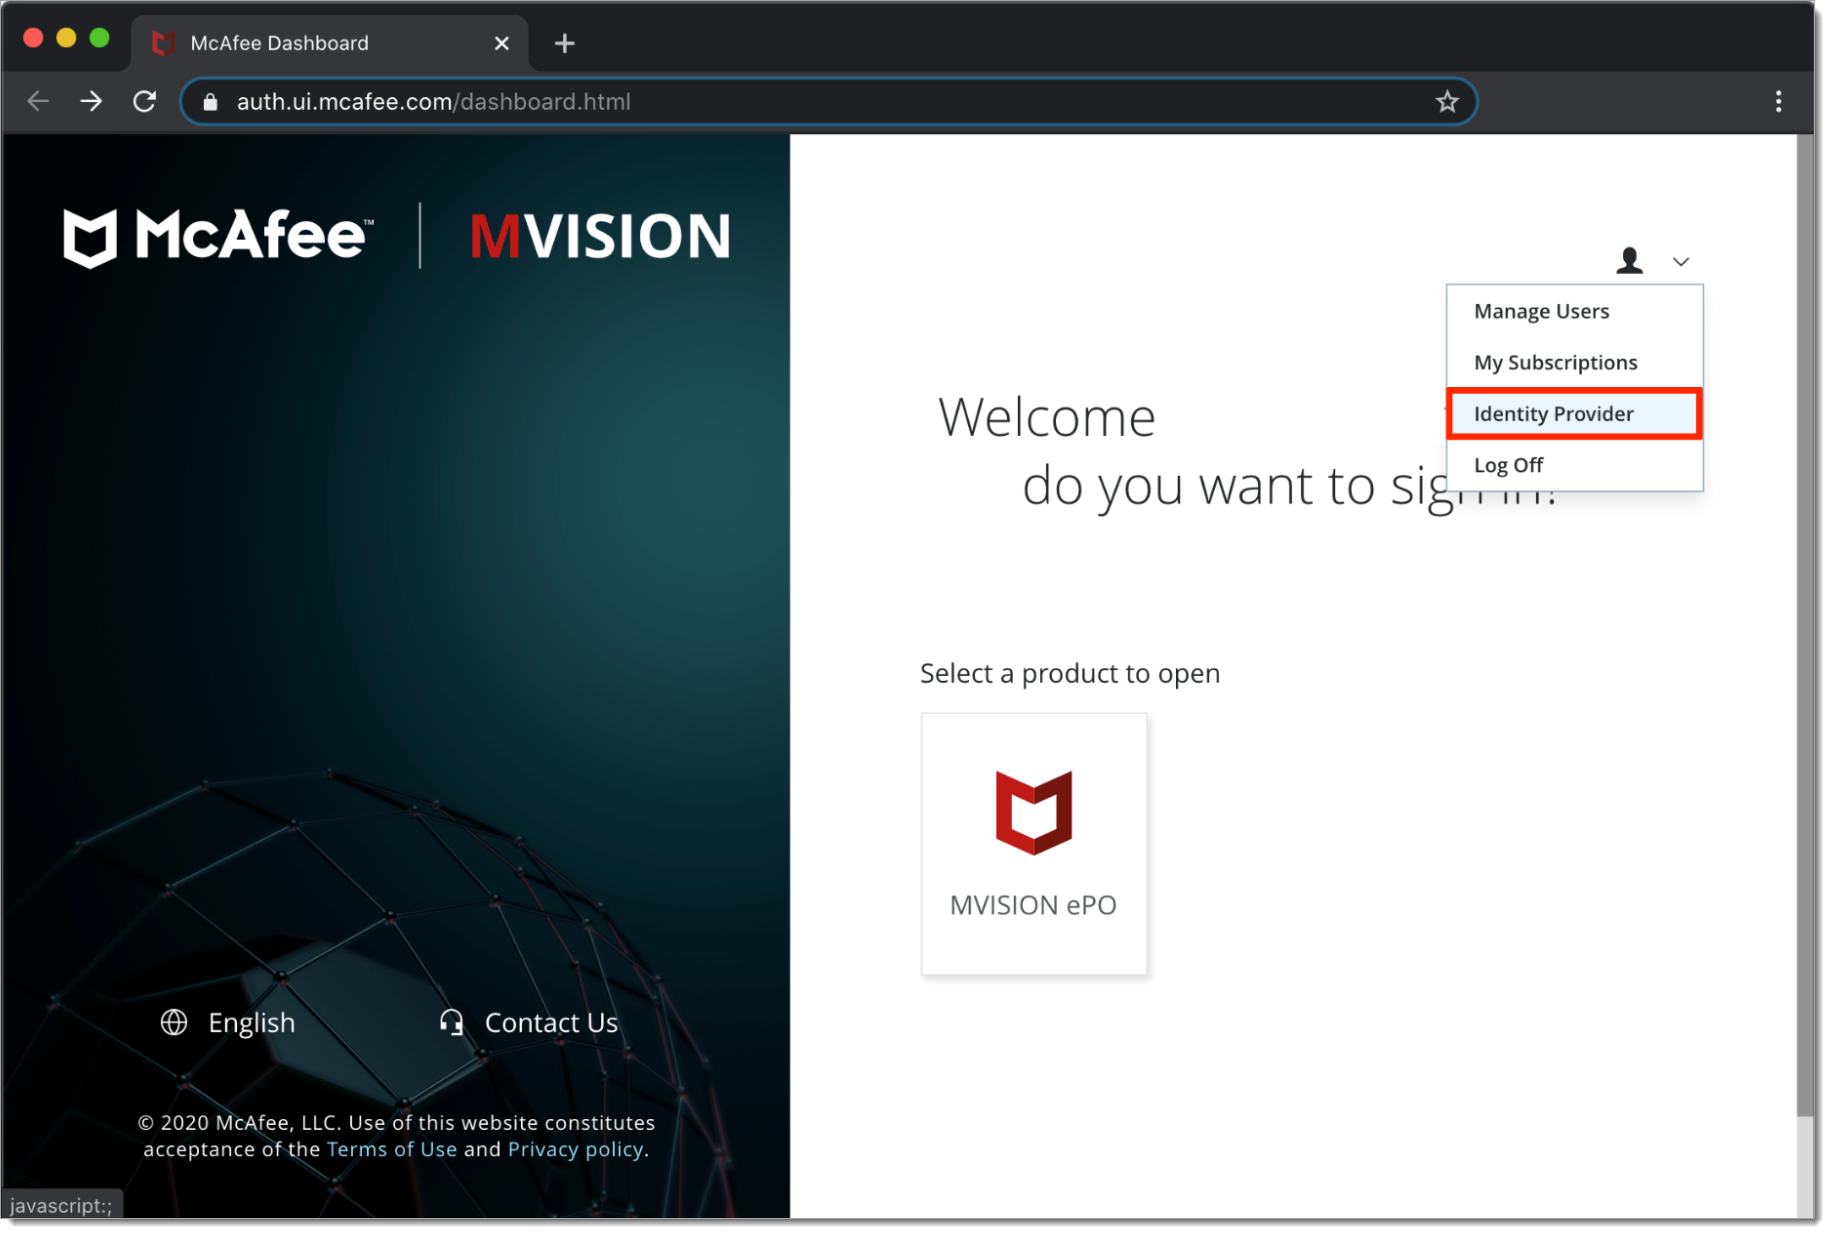
From the McAfee MVISION dashboard, go to the Identity Provider settings page.

Enter your Acceptto IdP information from the SAML metadata file. Go to
https://sso.acceptto.com/[organization identifier]/saml/download/metadatato download your metadata file.Issuer — Enter the Issuer/EntityID of your Acceptto tenant (e.g. https://sso.acceptto.com/EXAMPLE/saml).
Certificate - Download the Acceptto IdP certificate at https://sso.acceptto.com/[organization identifier]/saml/download/cert. Then, click Choose File to upload the certificate to MVISION.
Login URL — Enter the Acceptto Single Sign On URL. (e.g. https://sso.acceptto.com/EXAMPLE/saml/auth).
Request Binding — Select HTTP-REDIRECT.
From the User List, select the users that you want to exempt from SSO.
Click Save Changes.

After successfully saving the configuration, you can view the information in the Service Provider (MVISION) section. We will use this information to create McAfee application in the Acceptto cloud.

Acceptto SAML Configuration as Identity Provider (IdP)
Login to the Acceptto Dashboard with an administrative account and go to Applications.
Create a new application by selecting the Create New Application.

In the New Application form, enter the following values under the General tab.
Name - The application name displayed in the admin panel and application portal used for push notifications and audit logs. (e.g. McAfee MVISION)
Type - Select "SAML Service Provider" from the options
Out of Band Methods - Select the allowed methods for approving MFA requests
Message for MFA Requests - Enter the user-facing message for Push, SMS, and email MFA requests (optional)

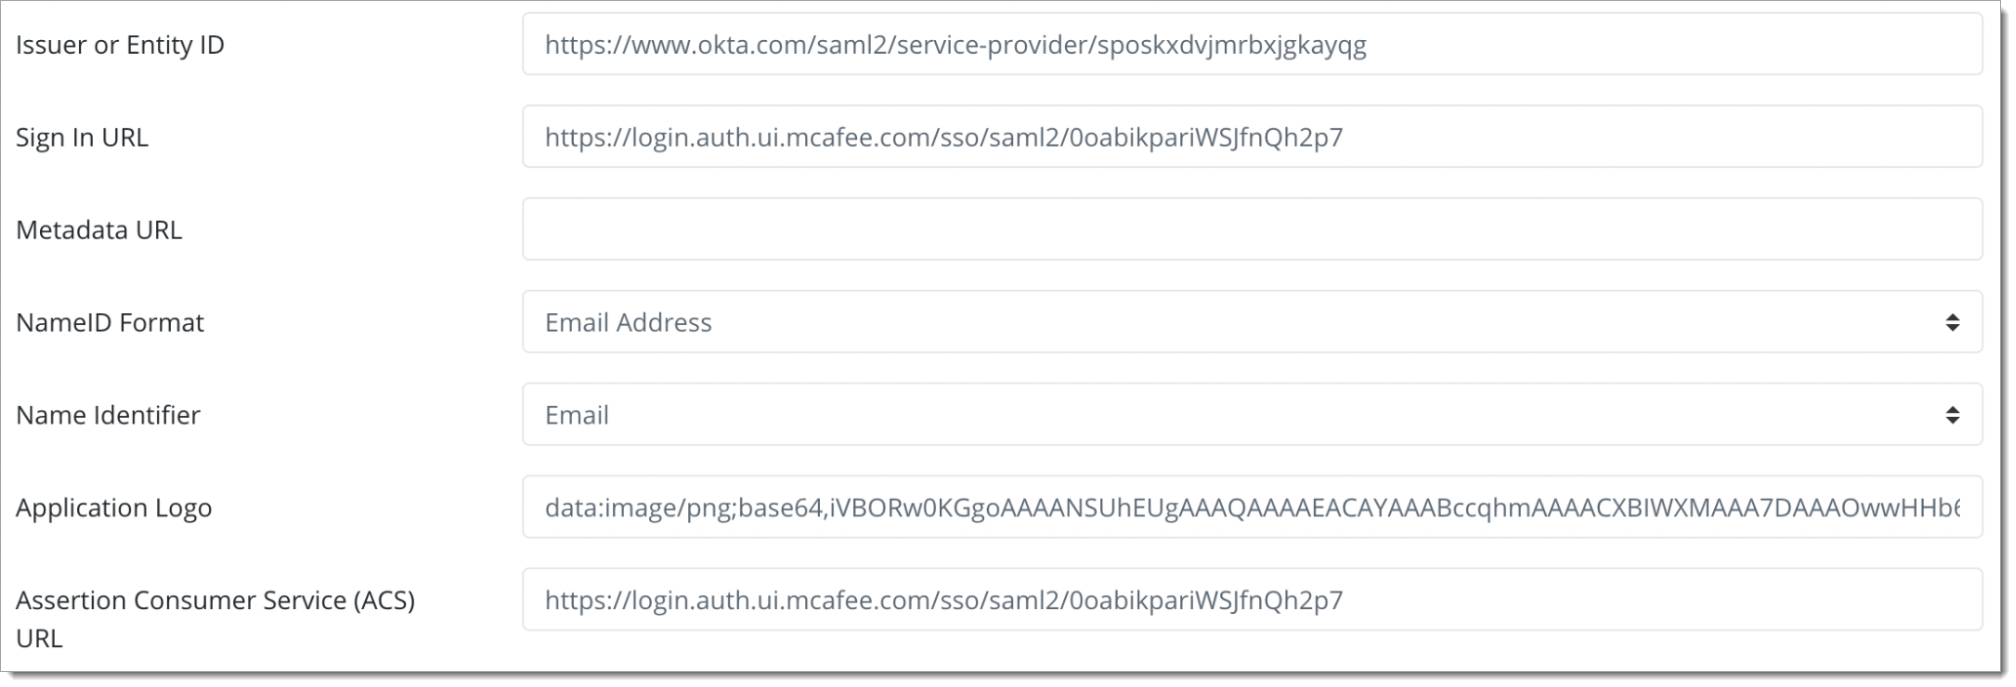
Under the SAML Service Provider Configuration tab, enter the following values:
Issuer or Entity ID– Enter the Audience value of McAfee Service Provider in the previous section.
Sign in URL - Enter the Assertion Consumer Service URL value of McAfee Service Provider in the previous section.
NameID Format - Select "Email address" from the dropdown menu.
Name Identifier - Select "Email" from the dropdown menu.
Assertion Consumer Service (ACS) URL - Enter the Assertion Consumer Service URL value of McAfee Service Provider in the previous section.

Click Add New Attribute Assertion button and create the three attributes as below table. These are mandatory if you want to enable the Just-in-time provisioning feature on OneLogin.
Friendly Name
Name
Value
Email
Email
email
Last Name
Last Name
sn
First Name
First Name
given_name

Click Save to create the Application.
NOTE: You must add users to your account and assign roles to allow them to access MVISION ePO using SSO.
Test your application integration
Go to your MVision instance by visiting the Sign in URL configured above.
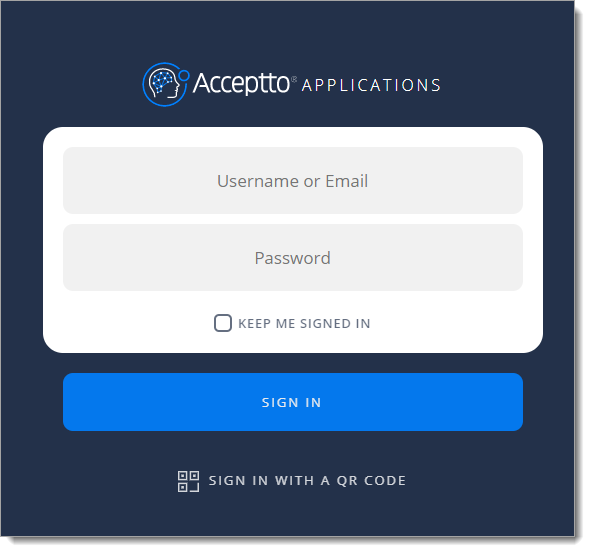
You will be redirected to the Acceptto SSO page.

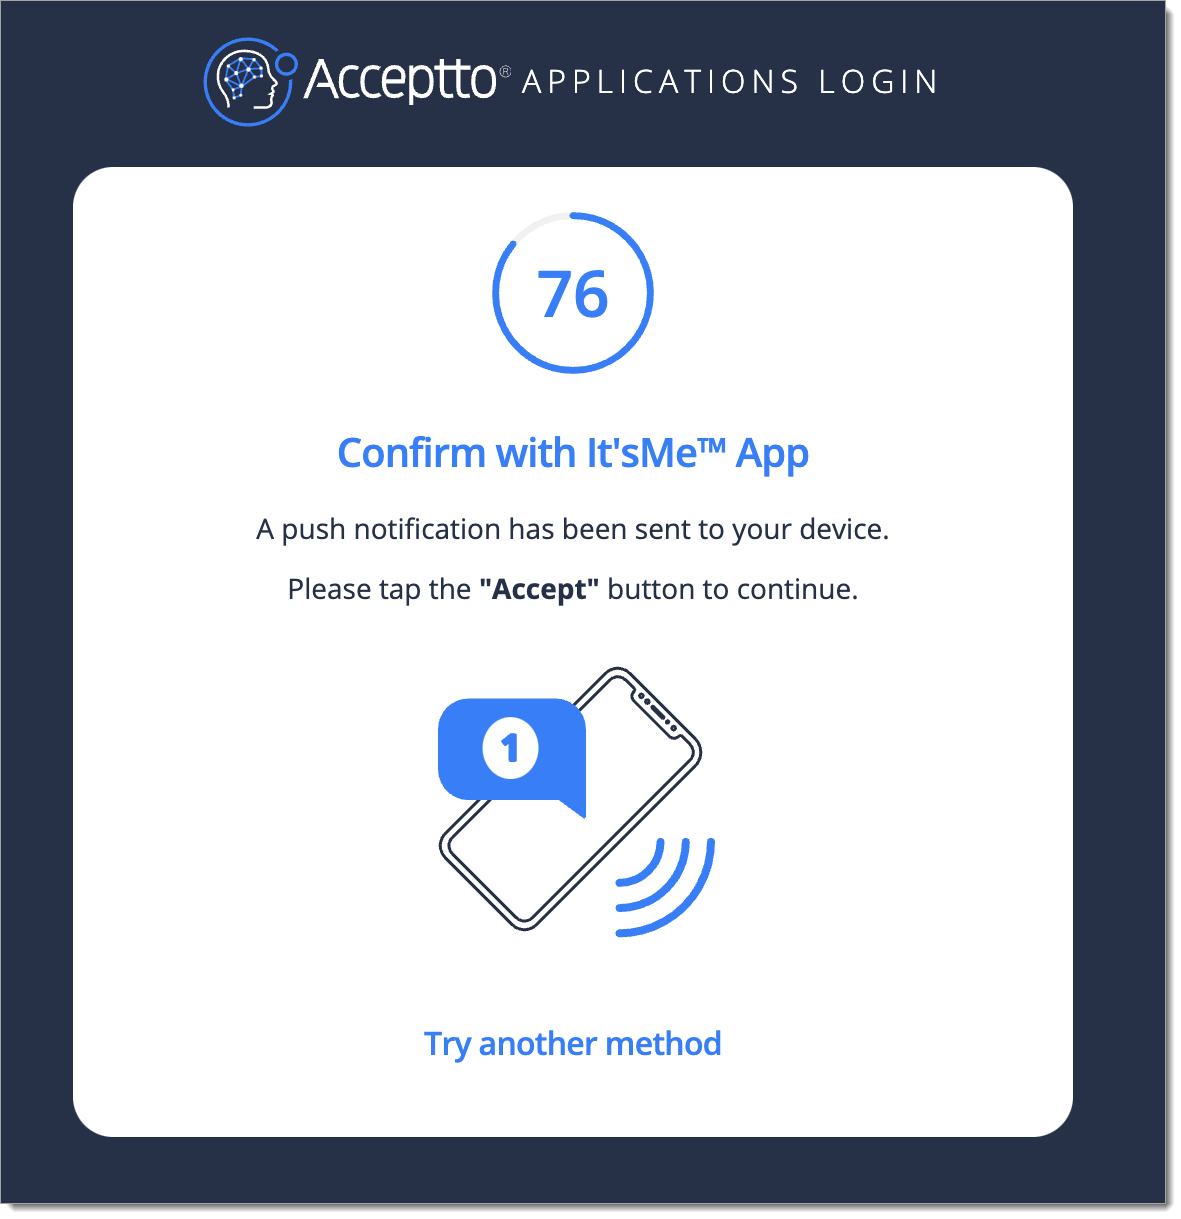
After successful authentication, you’ll see the Acceptto MFA options. Select your desired method. Next, pass the verification stage on your It'sMe mobile app.

Finally, you will be redirected to your MVISION portal.

Support
If you have questions or need assistance, contact SecureAuth Support.
Sales
Want to learn more about our MFA solutions? Contact our Professional Services for a demo today.
Disclaimer
All product names, trademarks, and registered trademarks are the property of their respective owners.
All company, product, and service names used in this document are for identification purposes only. The use of these names, trademarks, and brands do not constitute an endorsement by the SecureAuth Corporation.