Bulk upload hardware OATH tokens using CSV file
Use this configuration guide to bulk upload hardware OATH tokens using a CSV file in the SecureAuth® Identity Platform.
Prerequisites
Available in the following Identity Platform product releases:
Identity Platform release 24.04 or later (Optional serial number for TOTP tokens supported in 24.04 or later)
Identity Platform release 23.07 (Optional serial number for TOTP tokens supported in 23.07-1 or later)
Identity Platform release 22.12 (Optional serial number for TOTP tokens supported in 22.12-6 or later)
Identity Platform release 22.02 with hotfix 22.02-4 or later
Identity Platform release 21.04 with hotfix 21.04-10 or later
Identity Platform release 20.06 with hotfix 20.06-17 or later
Set up an application with a custom redirect to the CSV file upload page. See Identity Platform configuration
Definitions
- HOTP
HOTP is a counter-based one-time based passcode most commonly used by physical devices like YubiKeys.
- TOTP
TOTP is a time-based one-time passcode most commonly used by physical devices like HID tokens.
Hardware token CSV file
You will need to prepare a CSV file containing user profiles and hardware OATH token data.
- HOTP hardware tokens
To bulk upload HOTP hardware tokens, the CSV file format requires three HOTP data values.
Column name:
HotptokenHOTP data values:
{deviceName}|{oathSeed}|{counter}(each data value separated by a pipe | character)- TOTP hardware tokens
To bulk upload TOTP hardware tokens, the CSV file format requires one TOTP data value.
Column name:
TotptokenTOTP data value:
{oathSeed}Optionally, you can add the token serial number like this:
{oathSeed}|{serial#}(Available only in releases 22.12-6+, 23.07-1+, and 24.04+).
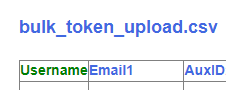
Example CSV format
The following screenshot is an example of the bulk upload file.
 |
Identity Platform configuration
To bulk upload hardware token data to the Identity Platform, you'll need to add an application for the CSV file upload page.
On the left side of the Identity Platform, click Internal Application Manager.
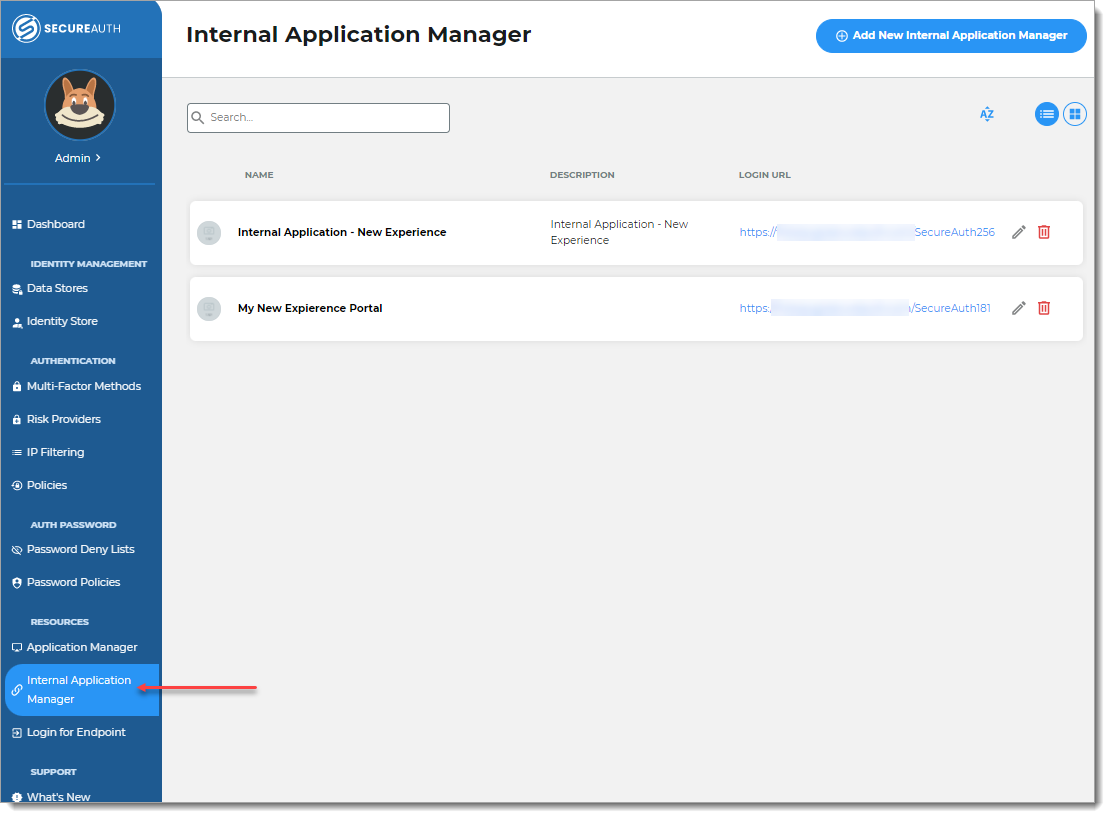
Click Add New Internal Application.
The New Internal Application page displays.
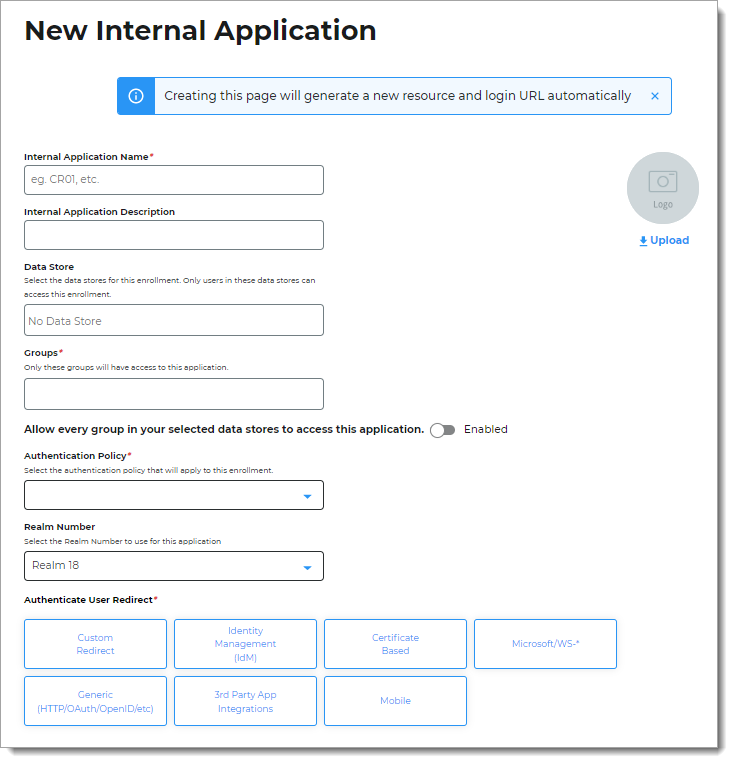
Set the following configurations:
Internal Application Name
Set the name of the CSV file upload page.
This name is shown on the page header and document title of the end user login pages.
Note
If you change this name, it will overwrite any value that is set on the Overview tab in Advanced Settings.
Internal Application Description
This is an internal description not shown to end users.
Data Store
Enter the data store to authenticate and allow user access to the CSV file upload page.
Groups
Use one of the following options:
Enable the slider (On) to allow access for all groups in the selected data store.
Disable the slider (Off) and enter specific groups allowed to access.
Authentication Policy
Select the login authentication policy for the CSV file upload page.
Realm Number
Select the Realm Number to use for the CSV file upload page.
Authenticate User Redirect
Select the Custom Redirect category.
Custom Redirect
Set to Custom Redirect.
Redirect To
Enter the name of the CSV file upload page:
customized/Template/CSVImport.aspx.Click Create Connection.
This creates the CSV file upload page with an attached user authentication policy.
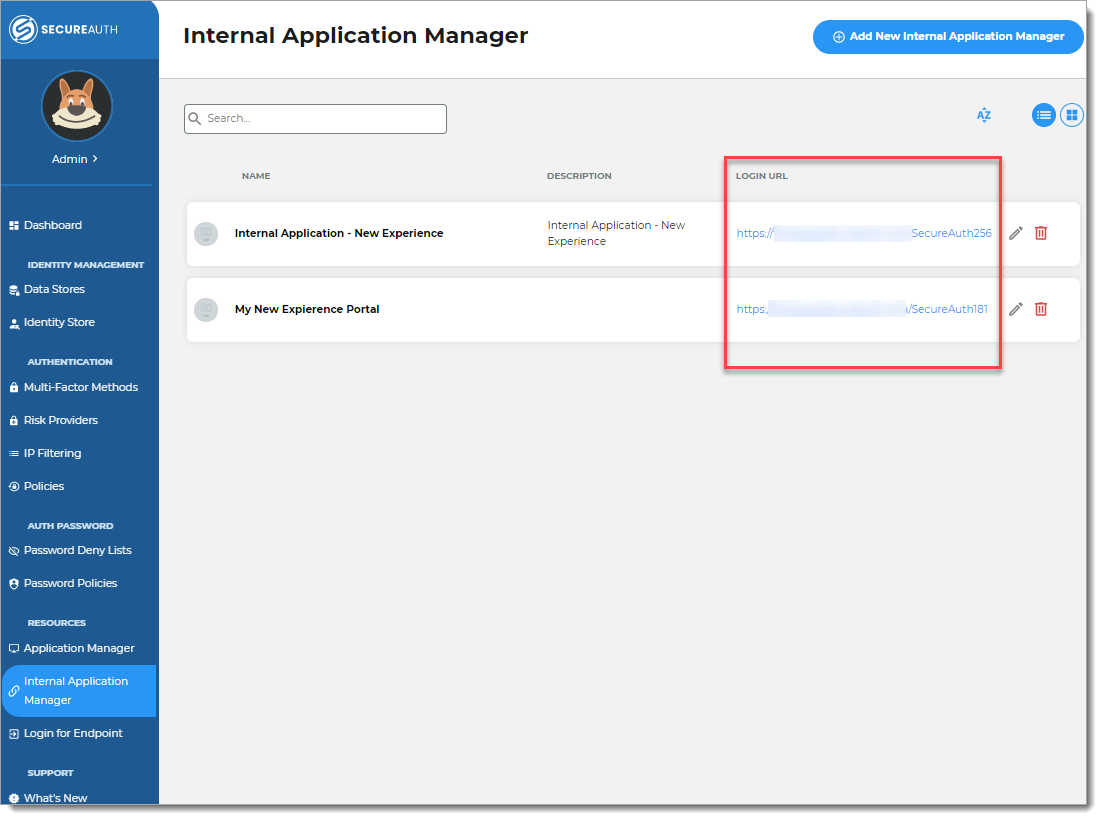
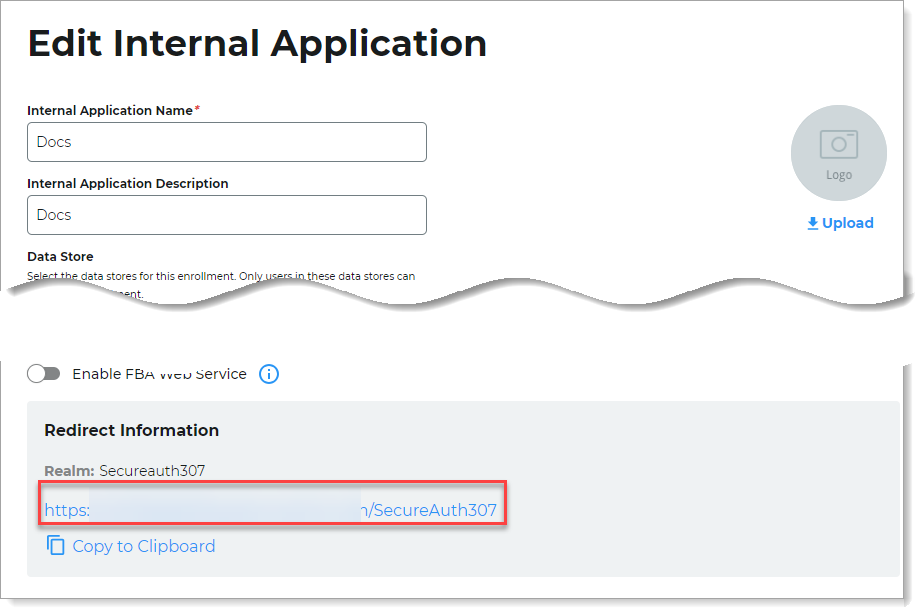
Use the login URL for your end users to access this CSV file upload page.
You can find this on the main Internal Application Manager page or when you edit the internal application in the Redirect Information section.
User experience
Log in to the Identity Platform application URL for the CSV file upload page.
This is the URL for the application you just created for the CSV file upload page.
For example,
https://secureauth.company.com/SecureAuth3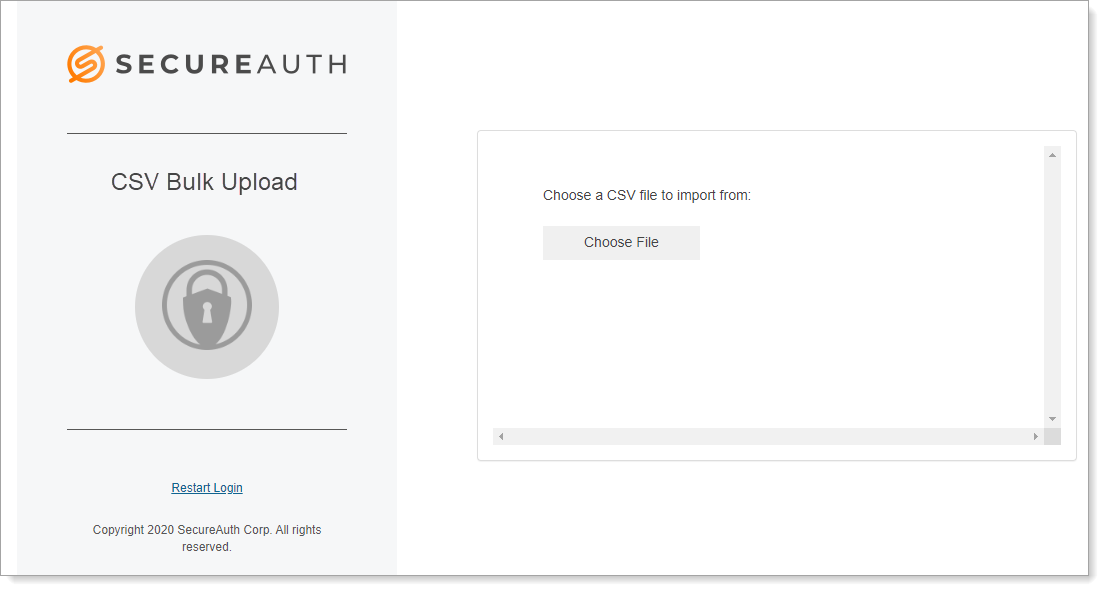
Click Choose File and browse to the CSV file you want to upload.
View results in the table that appears beneath the .CSV filename.
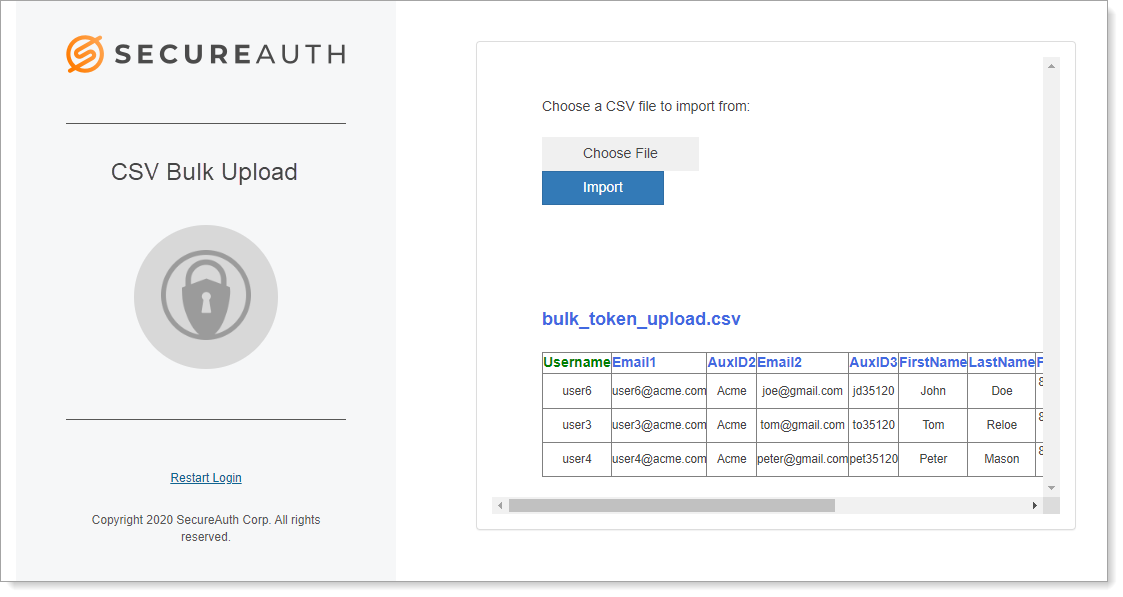
The first row of the .CSV file contains the column headers included in the profile string.
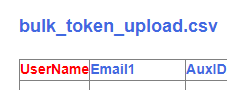
The color of the field name in this header indicates if the attribute is valid.
Blue or Green: valid
Red: invalid
Tip
If one or more columns is flagged with red text, verify the nomenclature to ensure the Profile Field is spelled correctly, with the same case-formatting applied
NOTE: If you need to make edits to the .CSV file, update the file and then repeat steps 2 and 3.
When you are ready to upload the .CSV file, click Import.
The status above the filename shows the number of new users successfully added, and the number of user accounts successfully updated.