Install SecureAuth RADIUS Server
Follow the steps in this guide to install SecureAuth® Identity Platform RADIUS server for the first time. For upgrade instructions, see Upgrade SecureAuth RADIUS Server.
For optimum performance in a large organization, consider installing or upgrading SecureAuth RADIUS separately from the Identity Platform server.
If you have any questions, contact SecureAuth Support.
Installation steps
Before installing SecureAuth RADIUS Server, ensure that you have installed or upgraded to a compatible version of SecureAuth Identity Platform.
Note
Do not install SecureAuth RADIUS server version 20.12 or later on a Windows Domain Controller.
Download the SecureAuth RADIUS Server installation file from the SecureAuth Product Downloads page.
Double-click the
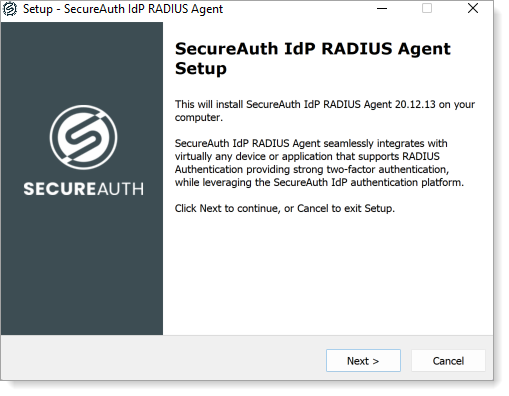
SecureAuth-IdP-RADIUS-Server-xx.xx.xx.exefile to start the install wizard.If you have not already logged in as an administrator, you will be prompted to do so.
Click Next to proceed.
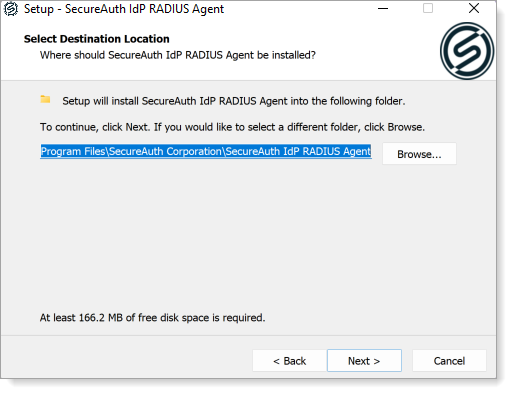
Select the folder where you want to install the RADIUS Agent.
Select the appropriate check boxes to enable quick access to the RADIUS Admin Console via a desktop icon or the Start menu selection:
Create a Desktop icon.
Create an entry in the Start Menu.
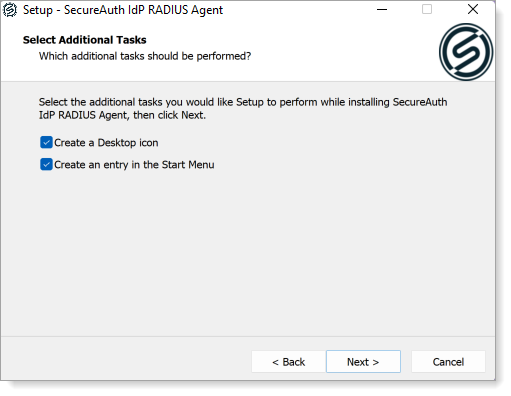
Click Next to review settings.
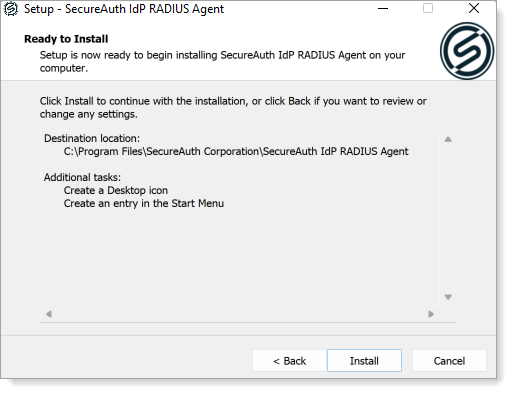
Review settings and do one of the following:
Click Back to make edits.
Click Install to begin installing the RADIUS service.
After the installation is complete, optionally select the files to start when the wizard closes:
View README.
Launch RADIUS Administration Console.
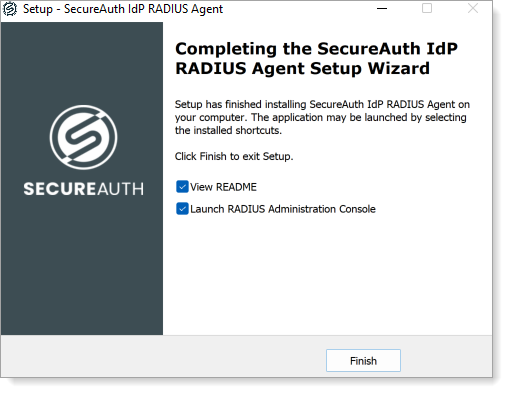
Click Finish to close the install wizard.
If either or both files were selected in the previous step, the requested files are displayed.