Configure SCIM provisioning for GitHub
Use this guide to configure SCIM provisioning for GitHub in SecureAuth® Identity Platform.
To learn more about how GitHub handles SCIM provisioning, see their documentation on managing SCIM.
Prerequisites
Identity Platform release 22.12 or later, cloud or hybrid deployment
Identity Platform application integrated with GitHub via SAML or OIDC.
For more information on integrating applications in the Identity Platform, see Application Manager overview.
GitHub administrator account
Step A: Enable SCIM in GitHub
In this section, you will enable SCIM provisioning in GitHub and obtain necessary information for Identity Platform configuration.
Log in to GitHub as an administrator.
Go to Developer Setting > GitHub Apps.
Click New GitHub App.
Enter a unique name for your application's GitHub App name.
For example, SecureAuth SCIM.
Enter any value for Homepage URL.
For example,
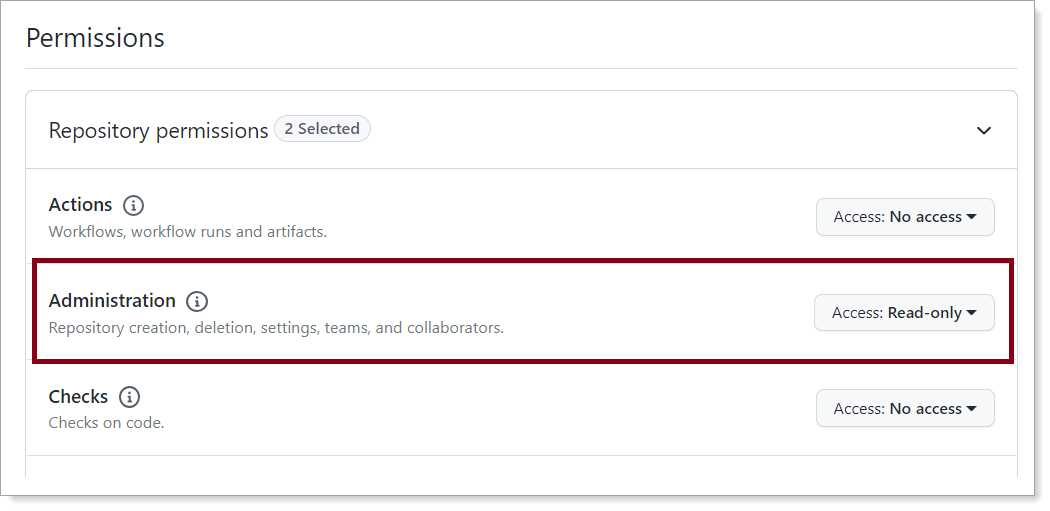
https://localhost.In the Repository permissions section, set Administration to Access: Read-only.
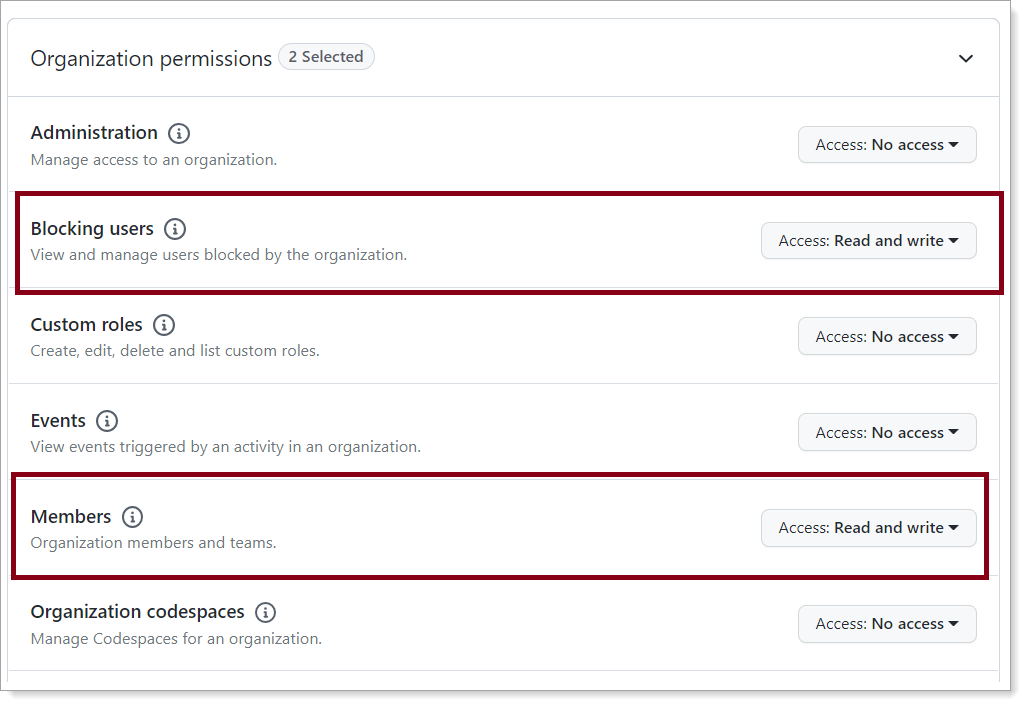
In the Organization permissions section, set the following:
Blocking users
Set to Access: Read and write.
Members
Set to Access: Read and write.
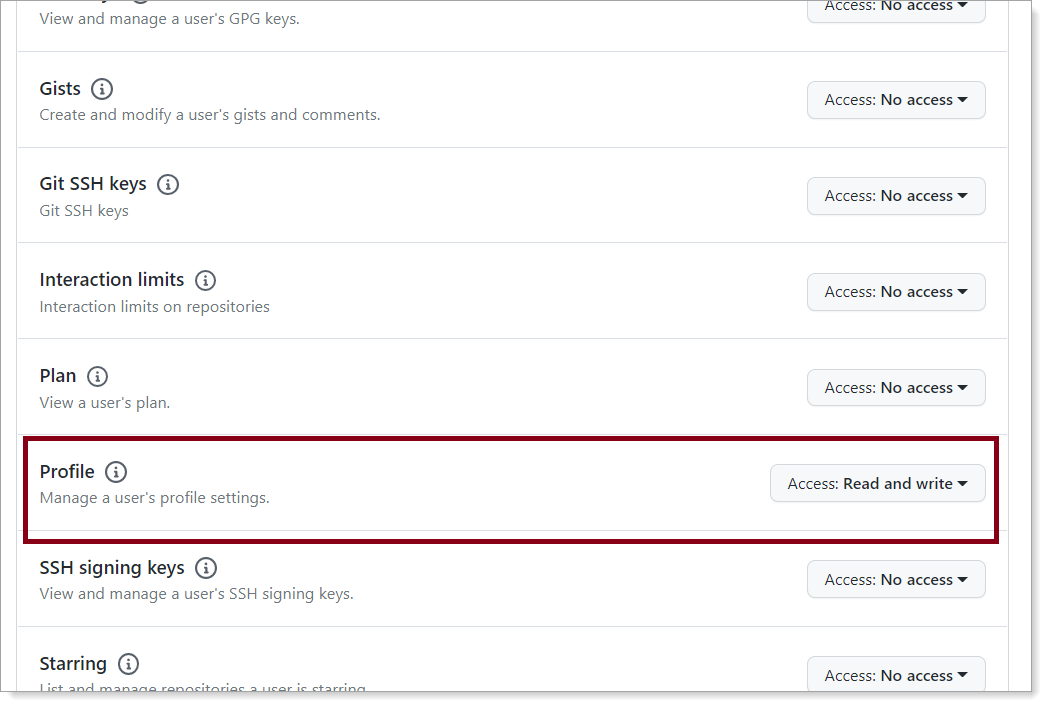
In the User permissions section, set Profile to Access: Read and write.
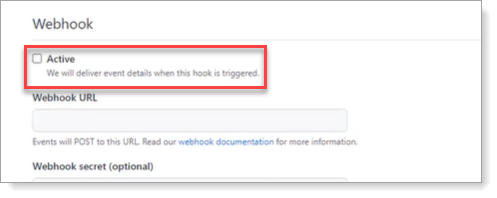
In the Webhook section, clear the Active check box.
Click Create GitHub App.
Details about your newly created application appears.
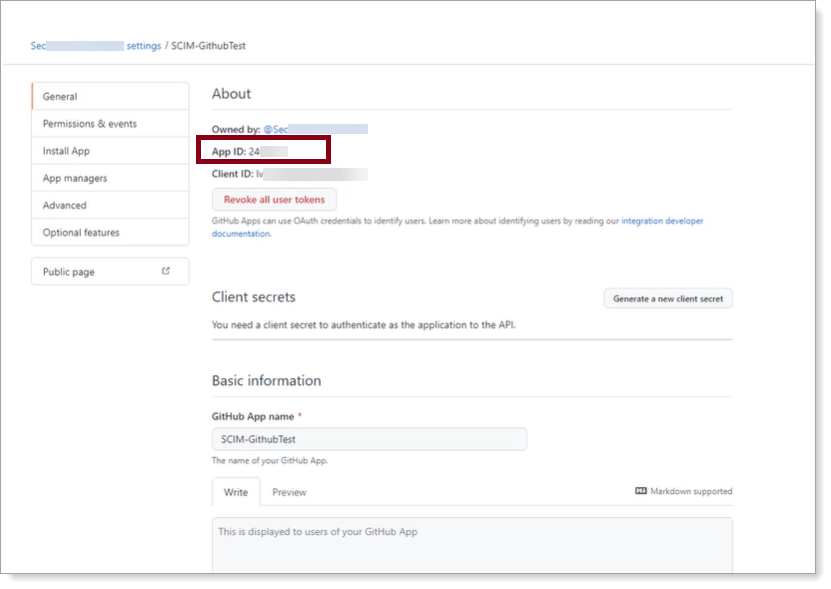
In the left menu, select the General tab.
In the About section, copy the App ID.
You will need this information for Identity Platform configuration.
In the Private keys section, click Generate a private key to download the metadata file.

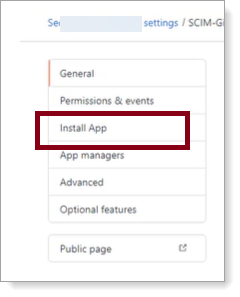
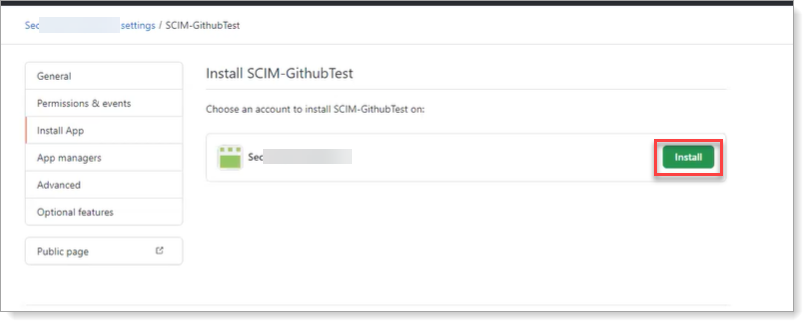
In the left menu, select the Install App tab.
Click Install next to the account to install your SCIM application on.
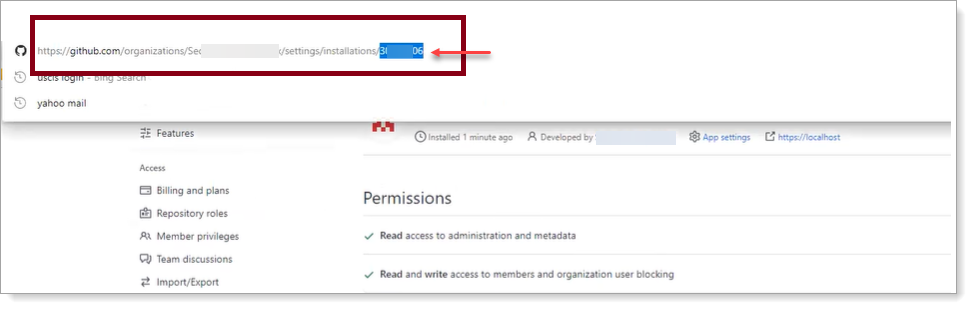
Go to Developer Setting > GitHub Apps > Edit.
Click Install App and click the gear icon.
Copy the Installation ID at the end of the browser URL
You will need this information for Identity Platform configuration.
Step B: Create SCIM server in Identity Platform
In this section, you will create a SCIM server in the Identity Platform and assign it to your integrated GitHub application.
On the left side of the Identity Platform, click SCIM Servers.
Click Add Server.

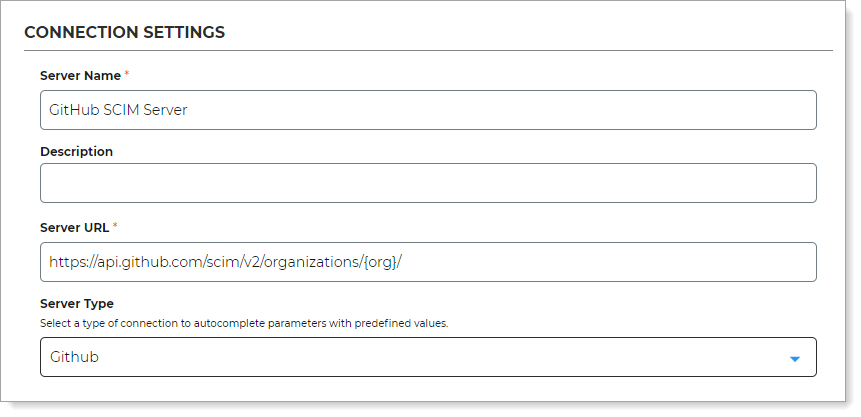
In the Connection Settings section, set the following:
Server Name
Enter a unique name.
For example, GitHub SCIM Server.
Description
Enter a description.
Server URL
Enter
https://api.github.com/scim/v2/organizations/{org}/, where{org}is your GitHub organization account name.For more information, see GitHub's documentation on their SCIM API.
Server Type
Select Github.
A notice appears that it will autocomplete and overwrite the authentication settings, SCIM attributes, and static attributes, based on the selected Server Type. Click Continue.
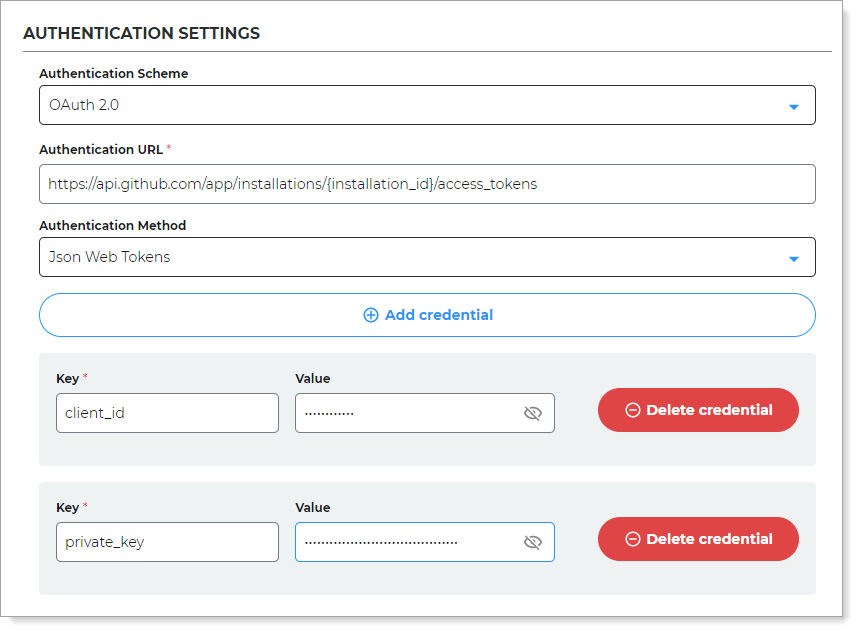
In the Authentication Settings section, set the following:
Authentication Scheme
Set to OAuth 2.0.
Authentication URL
Enter
https://api.github.com/app/installations/{installation_id}/access_tokens, where{installation_id}is the Installation ID copied from GitHub in the previous section.Authentication Method
Set to JSON Web Tokens
Credentials
client_id
Enter the App ID copied from GitHub in the previous section.
private_key
Enter the metadata downloaded from GitHub in the previous section. Do not include the header or footer text.
Click Create.
On the left side of the Identity Platform, click Application Manager.
Click the pencil icon next to the GitHub application you will assign SCIM to.
In the SCIM Server section, click the pencil icon.

Select the SCIM server to apply to this application.
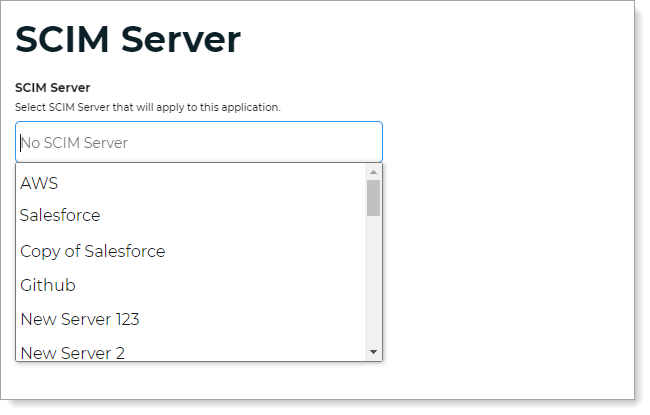
Click Update Settings.