Configure the Admin realm (SecureAuth0)
The admin realm, named SecureAuth0, in the Advanced Settings, manages SecureAuth Identity Platform appliance. To ensure appliance security, configure the SecureAuth0 realm first to enable remote access and to control access to the Web Admin.
You can set up SecureAuth0 for local access using Remote Desktop Protocol (RDP) or remote access through the Web Admin interface.
To configure SecureAuth0 realm for remote access, it requires the following:
Data store integration in the Identity Platform
Have at least one or more multi-factor methods configured for multi-factor authentication (MFA)
Overview tab
On the Overview tab, set a description for the admin realm and the email sender settings.
In the Identity Platform, go to the Advanced Settings and from the home page, click Admin Realm.
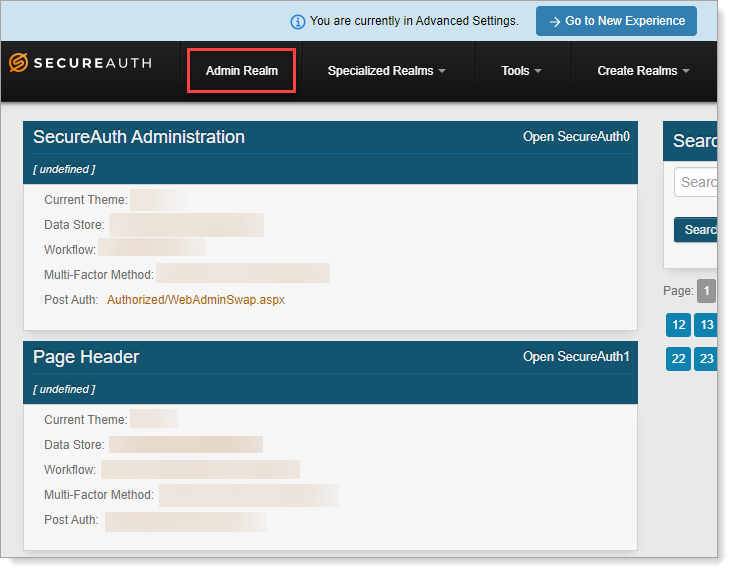
Select the Overview tab for the SecureAuth0 realm.

In the Details section, the realm name is set as SecureAuth0. Optionally, enter a Realm Description.
Save your changes.
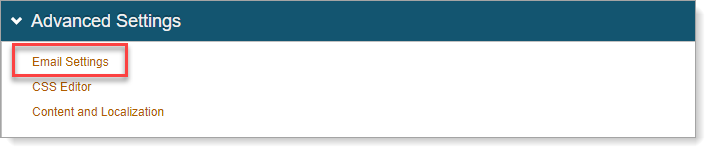
Scroll down to the Advanced Settings section and click Email Settings.
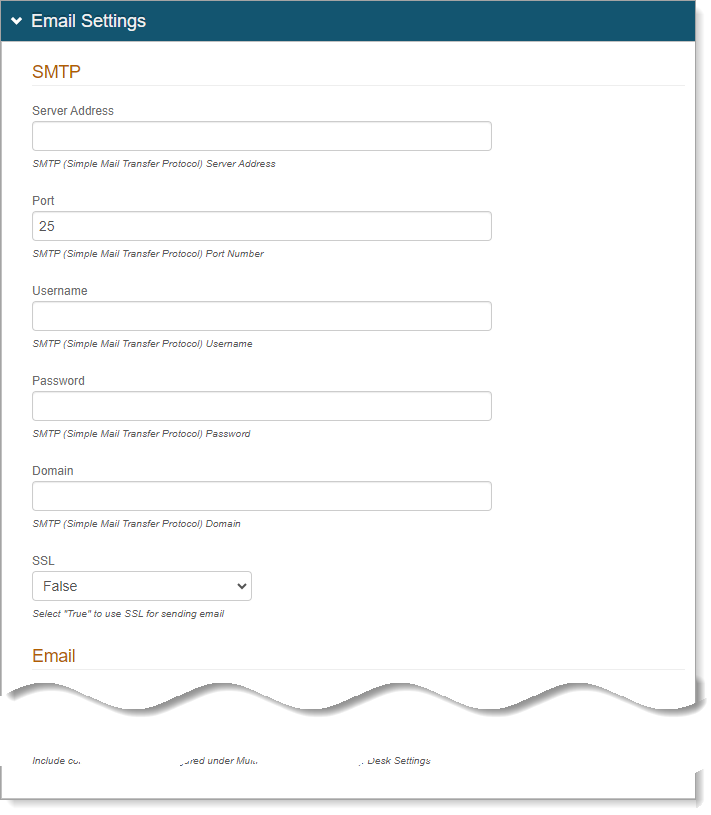
In the Emails Settings section for SMTP, set the following configurations.
Server Address
Enter the email server address that the Identity Platform will use to send emails.
Port
Port 25 is set by default, change this if needed.
Username, Password, Domain
Set the username, password, and domain, as required by the SMTP Relay.
SSL
Set to True if sending emails through a Secure Socket Layer (SSL).
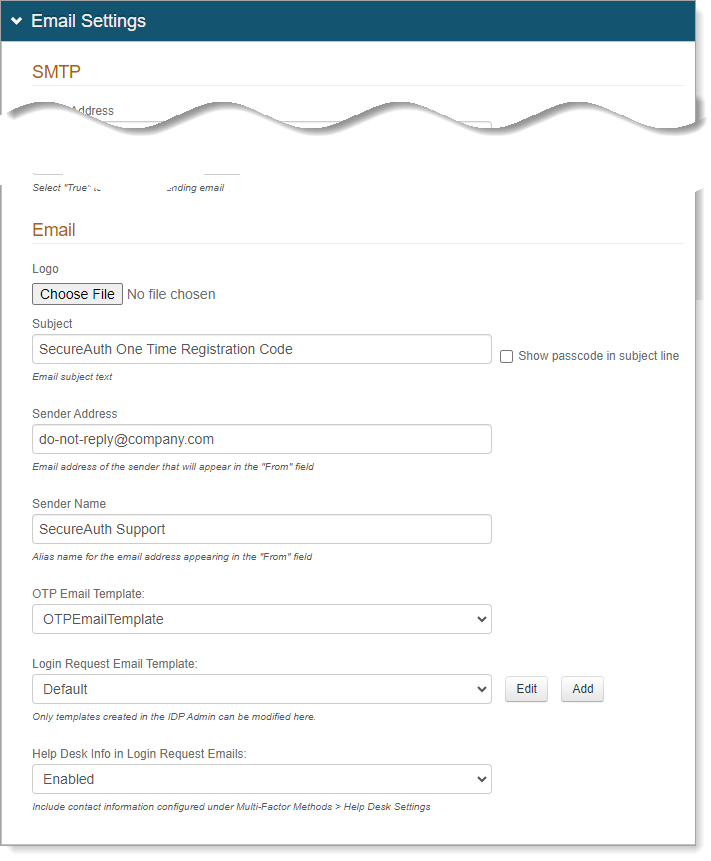
In the Emails Settings section for Email, set the following configurations.
The Identity Platform can notify users by email when they enroll a security key or request a one-time passcode.
Logo
Optional. You can upload a logo to use in emails sent from the Identity Platform.
Subject
Provide a subject line for emails sent from the Identity Platform.
Sender Address
Enter the sender address for emails sent from the Identity Platform.
Sender Name
Enter the sender name for emails sent from the Identity Platform.
OTP Email Template
Select an email template from the list.
Save your changes.
Workflow tab
As a security best practice, you'll want to enforce full authentication requirements for each login attempt to the SecureAuth0 admin realm.
Note
Below are some suggestions, but it's up to the customer to choose the right settings for their own use. These recommendations do not constitute a guarantee of remote security.
Select the Workflow tab for the SecureAuth0 realm.
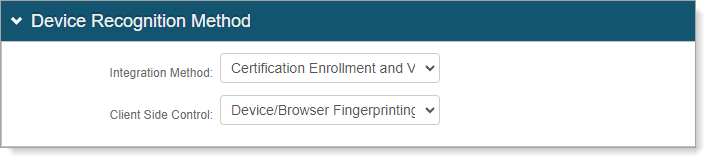
In the Device Recognition Method section, set the following configurations.
Integration Method
Set to Certification Enrollment and Validation.
Client Side Control
Set to Device/Browser Fingerprinting.
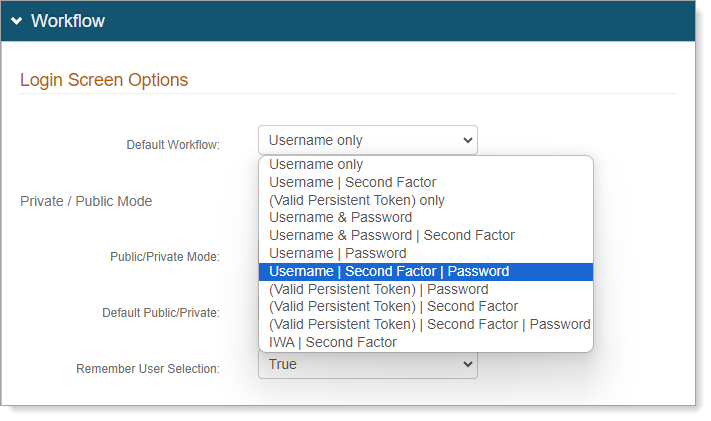
Scroll down to the Workflow section, and set the following configurations.
Default Workflow
Set to Username | Second Factor | Password.
Public/Private Mode
Set to Public Mode Only.
In this mode, the user must authenticate for every login attempt.
Save your changes.
Multi-Factor Methods tab
You will need to configure Multi-Factor Methods in this section to use MFA for remote access.
Select the Multi-Factor Methods tab for the SecureAuth0 realm.
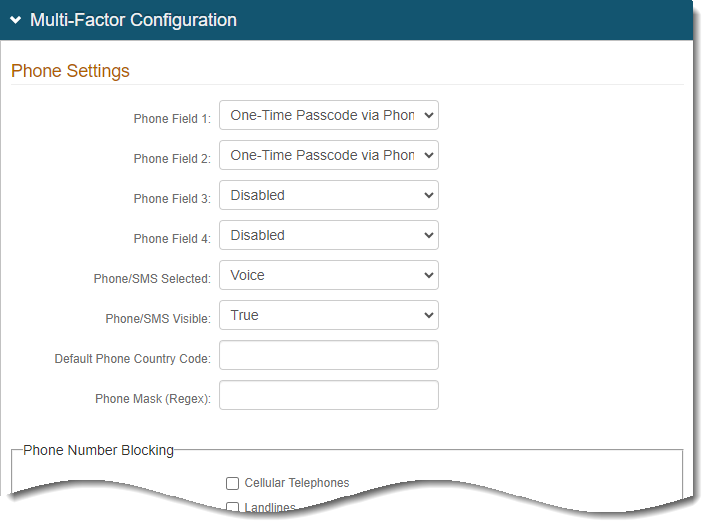
In the Multi-Factor Configuration section, set at least one authentication method.
Note: Earlier, on the Workflow tab, we set the login Default Workflow to use Username | Second Factor | Password. So, you need to define the MFA method to use for "Second Factor".
For more detail about Multi-Factor Methods configurations in the Advanced Settings, see Multi-Factor Methods configuration.
Save your changes.
Post Authentication tab
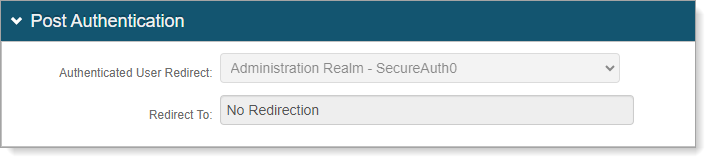
Select the Post Authentication tab for the SecureAuth0 realm.
Verify that the Authenticated User Redirect is set to Administration Realm - SecureAuth0.
Optional. Configure token and cookie settings for the SecureAuth0 realm. Click the View and Configure FormsAuth keys / SSO token link.
To learn more, see Configure token or cookie settings.

Save your changes.
Logs tab
Applies to on-prem deployments. For cloud deployments, contact SecureAuth Support.
On the Logs tab, you can enable or disable audit, error, and debug logs for the SecureAuth0 admin realm.
Select the Logs tab for the SecureAuth0 realm.
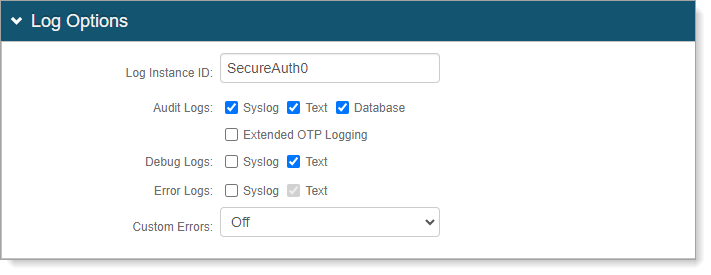
In the Log Options section, you can set the following configurations.
Log Instance ID
Leave the realm name as SecureAuth0 or provide another name.
Audit Logs
Debug Logs
Error Logs
Select the check boxes for the logs you want to enable - Syslog, Text, or Database.
If you select Syslog, the Syslog section appears for more configurations.
If you select Database, the Log Database section appears for more configurations.
Custom Errors
If you set this to On or Remote Only, it redirects the user to a distinct page when a custom error occurs.
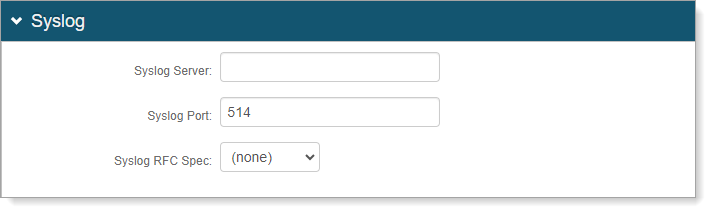
If you enable Syslog logging, set the following configurations.
Syslog Server
Provide the FQDN or IP address of the Syslog server.
Syslog Port
Set the port number for the Syslog server.
Syslog RFC Spec
Set the RFC spec. Options are:
None
RFC3164. Then, set a Spec Format:
None Specified. Normal RFC3164 formatting for use in most implementations.
LEEF (Log Event Extended Format). For use only with IBM Security QRadar SIEM.
CEF (Comment Event Format). For use only with HP ArcSight SIEM.
RFC5424. Then, provide a Private Enterprise Number (PEN).
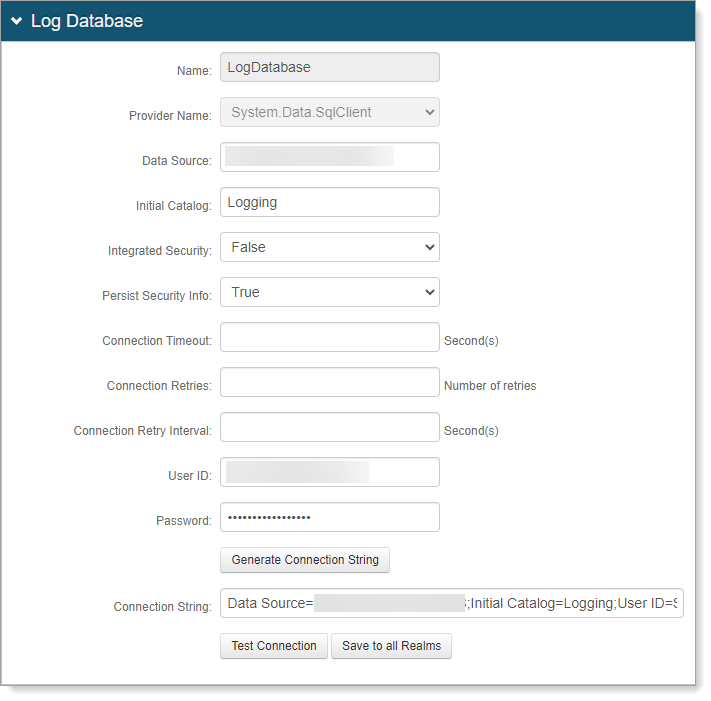
If you enable Database logging, set the following configurations.
Data Source
Provide the FQDN or IP address of the database.
Initial Catalog
Provide the Database Name.
Integrated Security
To include the webpage ID in the connection string, set this to True.
Persist Security Info
To allow access to username and password information, set to True.
User ID
Provide the user ID for the database.
Password
Provide the password associated with the user ID of the database.
Connection String
Click Generate Connection String to auto-populate this field based on the information provided in the previous fields.
Test Connection
Click Test Connection to make sure the connection is successful.
Save to all Realms
To use the database logging settings for all other realms, click this button.
Save your changes.