Agent Access
Add, order and edit the rules that decide which agents may call which tools and models.
In the console: Controls › Agent Access
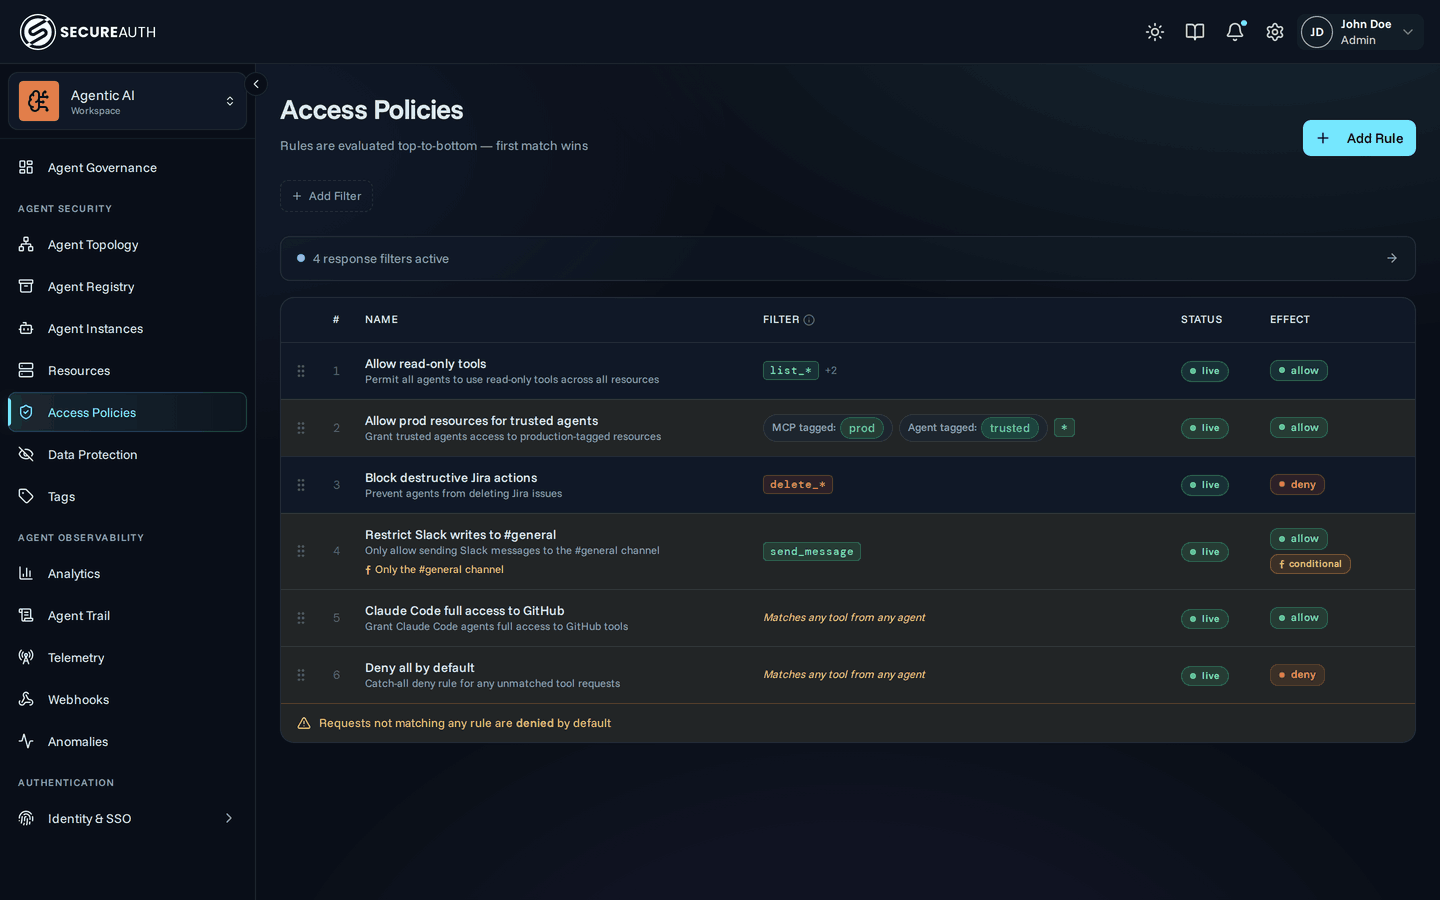
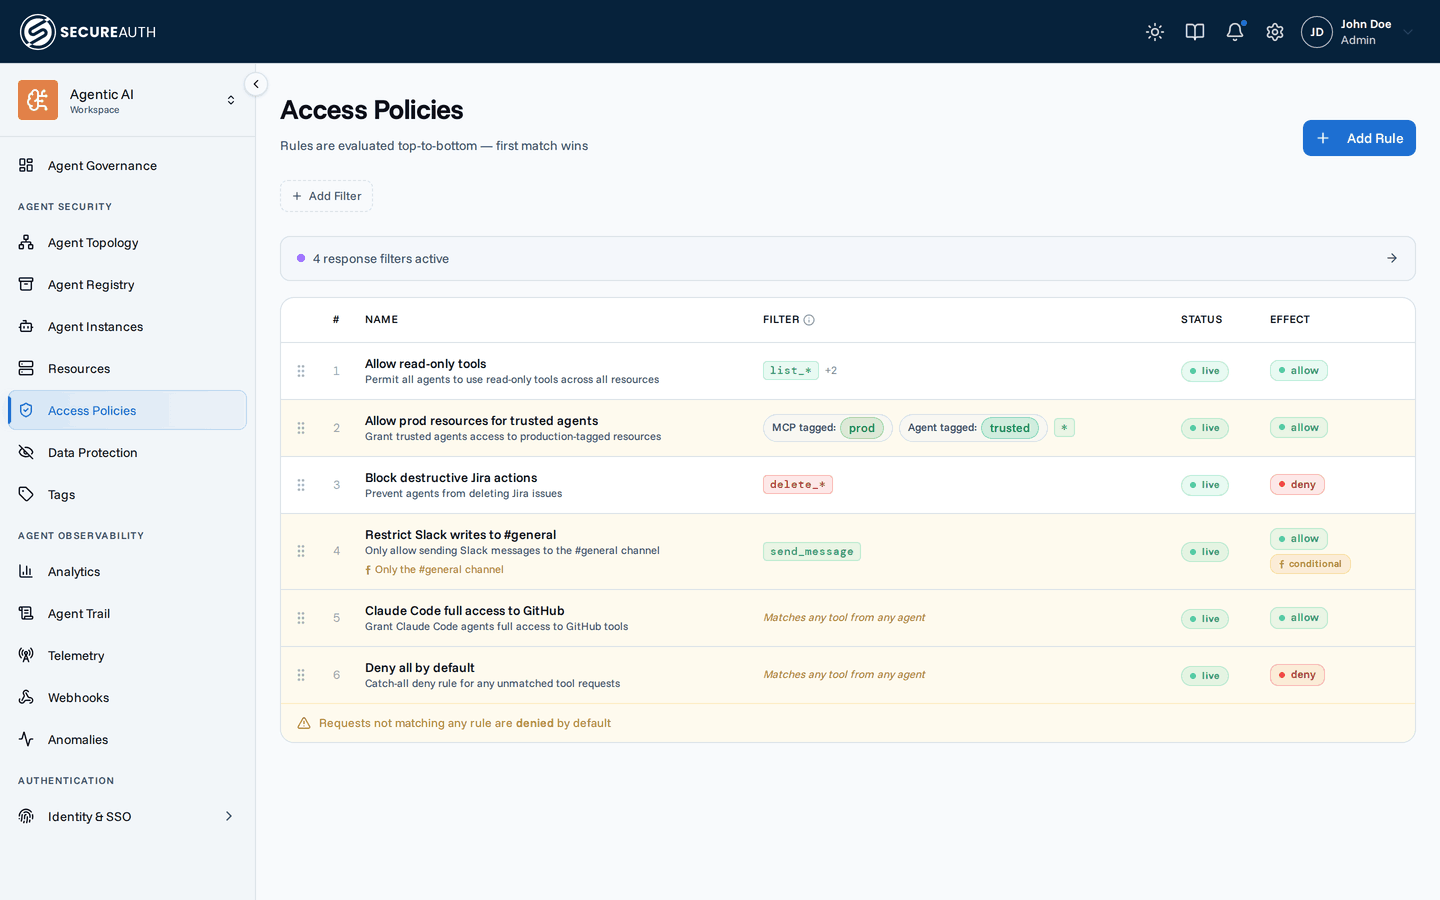
Agent Access lists your access rules in the order the gateway evaluates them, top to bottom, where the first match wins. Use it when you add a rule, change what a rule matches, or check why a call was allowed or denied.
Tool calls and Model calls
When the AI gateway is turned on for your organization, the screen has two tabs: Tool calls for rules on MCP tool calls, and Model calls for rules on model calls. Without it, the screen shows tool call rules only, with no tabs.
Each tab lists its rules in a table:
| Column | Shows |
|---|---|
| (handle) | A drag handle to move the rule up or down the list |
| # | The rule's position in evaluation order |
| Name | The rule name, its description, and its condition when it has one |
| Filter | What the rule matches. On Tool calls: MCPs, agents, or tools. On Model calls: agents, users, providers, or models |
| Status | Draft (saved, not enforced), Active (enforced), or Disabled (paused) |
| Effect | What happens to a matching call, plus a conditional badge when the rule has a condition |
A footer under the table reminds you that calls matching no rule are denied by default. An active rule that has a condition, or that matches every tool for everyone, has a highlighted row.
On Tool calls, a strip above the table shows how many response filters are active and links to Data Protection. It appears only when at least one filter is active and you can view Data Protection.
Filters
The filter bar narrows the list to rules that apply to one User, one Group, or one Agent kind (Autonomous or User-bound). On Model calls you can also filter by Provider. Each filter takes one value at a time.
Empty state
With no rules, the tab shows No rules configured (or No model rules yet on Model calls) and an Add your first rule button. With filters that match nothing, it shows No rules match these filters.
Actions
- Add Rule – opens the rule editor. On Model calls it opens the model rule editor.
- Edit (row menu, or click the row) – opens the rule in the same editor.
- Add rule above / Add rule below (row menu) – opens the editor with the new rule placed next to that row.
- Delete (row menu) – asks you to confirm in a Delete rule dialog. You can't undo it.
- Drag handle – drag a row by its handle to change where it sits in evaluation order.
The tool rule editor has a name field, a status picker, a position picker, and a sentence you build from pickers: the effect (Allow, Deny, or Require approval for, when approvals are turned on), then the agents, users, groups, MCPs, tools, and labels it matches. You can add a condition, written in CEL, and the Impact preview panel shows which tools and agents the rule covers and which rules it overlaps. Save with Create or Save.
The model rule editor (Add model rule / Edit model rule) works the same way, with Allow or Deny only, and matches agents, users, groups, model providers, and model names.
Permissions
- To see the screen, you need
view_policies. - To add, edit, reorder, or delete a rule, you need
manage_policies. Without it, rows are read-only and the Add Rule button and row menu are hidden. - The Model calls tab needs the
llm_gatewayfeature flag. - The Require approval for effect needs the
require_approvalfeature flag.
Related
- Agent Access concepts – how rules are matched and evaluated
- Create a policy – write your first rule step by step
- CEL condition reference – the condition language for rule conditions