Install SessionGuardian Desktop
You can deploy SessionGuardian Desktop to end-user devices either automatically or manually. The recommended method is automated deployment, which can be done using Windows Group Policy or a software distribution tool like Microsoft SCCM, Microsoft Intune, or Ivanti Endpoint Manager.
Note
You only need to perform the installation steps outlined below when installing SessionGuardian Desktop software for the first time or after a previous version was fully uninstalled.
After the software is installed successfully, you can manage future installations or updates through the SessionGuardian Admin Console.
Installation methods
Decide which installation method to use for SessionGuardian Desktop: either automatic deployment via Group Policy or distribution tools, or a silent installation without user input.
Automated installation
You can deploy SessionGuardian Desktop software automatically using several methods:
Manual installation
You can manually install the SessionGuardian Desktop software using the installer (.msi) file.
Note
To manually install the SessionGuardian Desktop Software, you need a Windows account with administrator privileges.
If the administrator account is the same as the account running the software, you must complete an additional step to enable SessionGuardian monitoring for that user account.
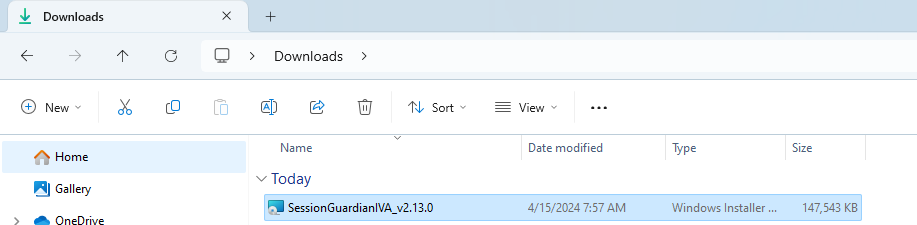
Go to the folder where the SessionGuardian Desktop SW Installer was downloaded.
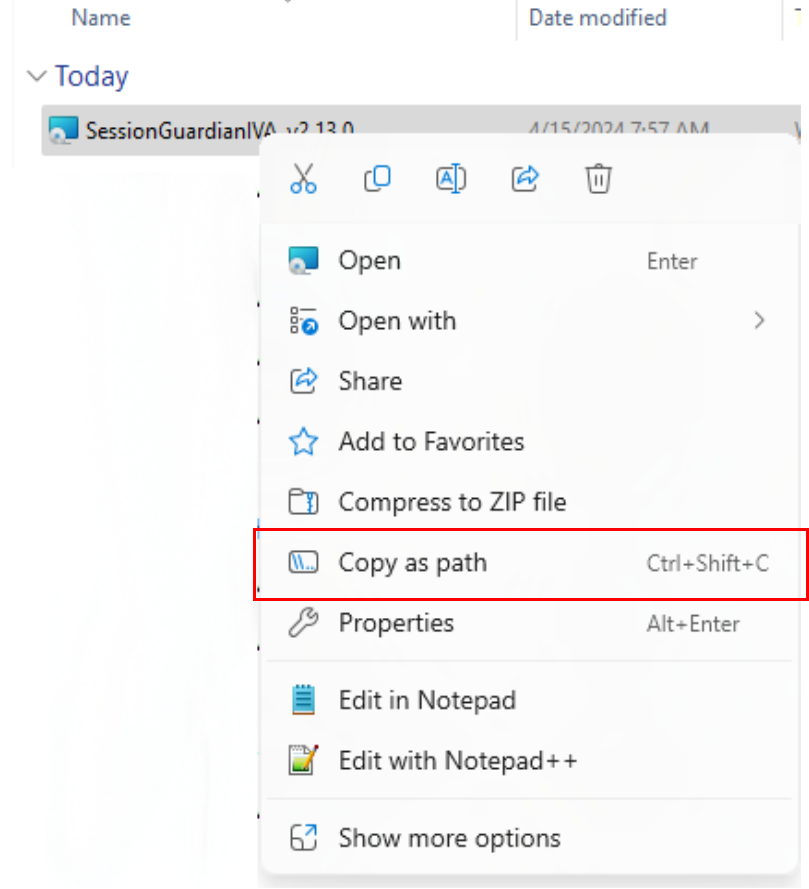
Right-click the installer file and select Copy as path.
Open a command prompt as an Administrator.
If you used the current Windows account to install the software, modify the configuration file.
Go to the installation directory. For example,
C:\Program Files (x86)\SessionGuardian Enterprise\SGE.IVA)Open
SGE.IVA.BAService.exe.configTip
You need to run Notepad as an administrator.
Change
<add key="ignoreAdminAccount" value="true" />to<add key="ignoreAdminAccount" value="false" />. For example: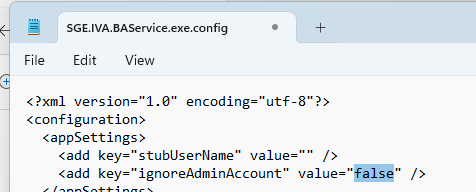
Save and close the file.
Restart your computer to complete the installation process.