Register profile photo
If SessionGuardian has not already registered a profile photo for you, and mobile photo registration is enabled for your profile, you will be prompted to take a profile photo the first time you click on the user invitation and begin the registration process.
Invitation to activate
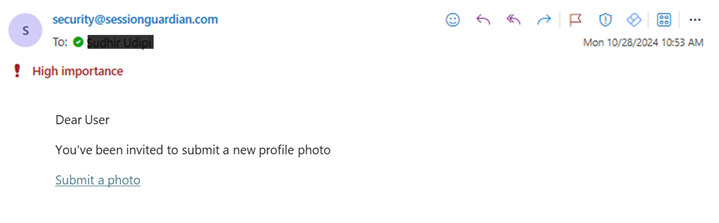
Check your email for the invitation from SessionGuardian, which contains a link to begin registering and activating your SessionGuardian Desktop account.
Note
The email typically comes from security@sessionguardian.com with the subject SessionGuardian Enterprise: Photo Registration Request.
If the onboarding team has notified you that the invitation has been sent, but you cannot find it, please check your spam or junk mail folder.
Click the link to launch the registration process in your default browser.
Click Begin Registration.
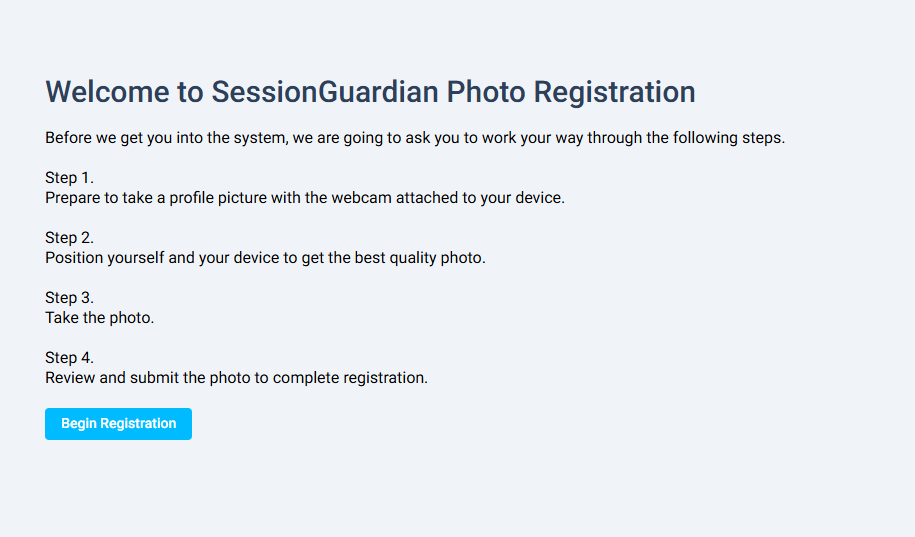
Follow the instructions on each screen until the Photo Registration page appears.
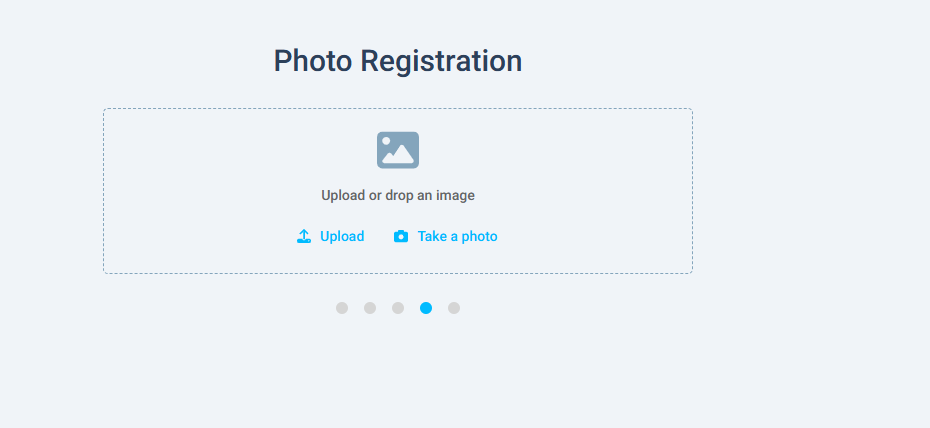
Click Take a Photo.
If prompted for permission for the SessionGuardian registration site to use your camera, click Allow.
If prompted to select which webcam to use, choose the one that:
Has the highest resolution
Is positioned ideally in your computer setup, preferably at the center of your field of view, and above or on top of your display(s).
Tip
If you have more than one webcam and the camera selection menu doesn't appear, refresh the browser and return to the Photo Registration page. Follow the steps below:
Click the arrow to expand the camera selection list.
Select the higher-quality webcam (usually the external one).
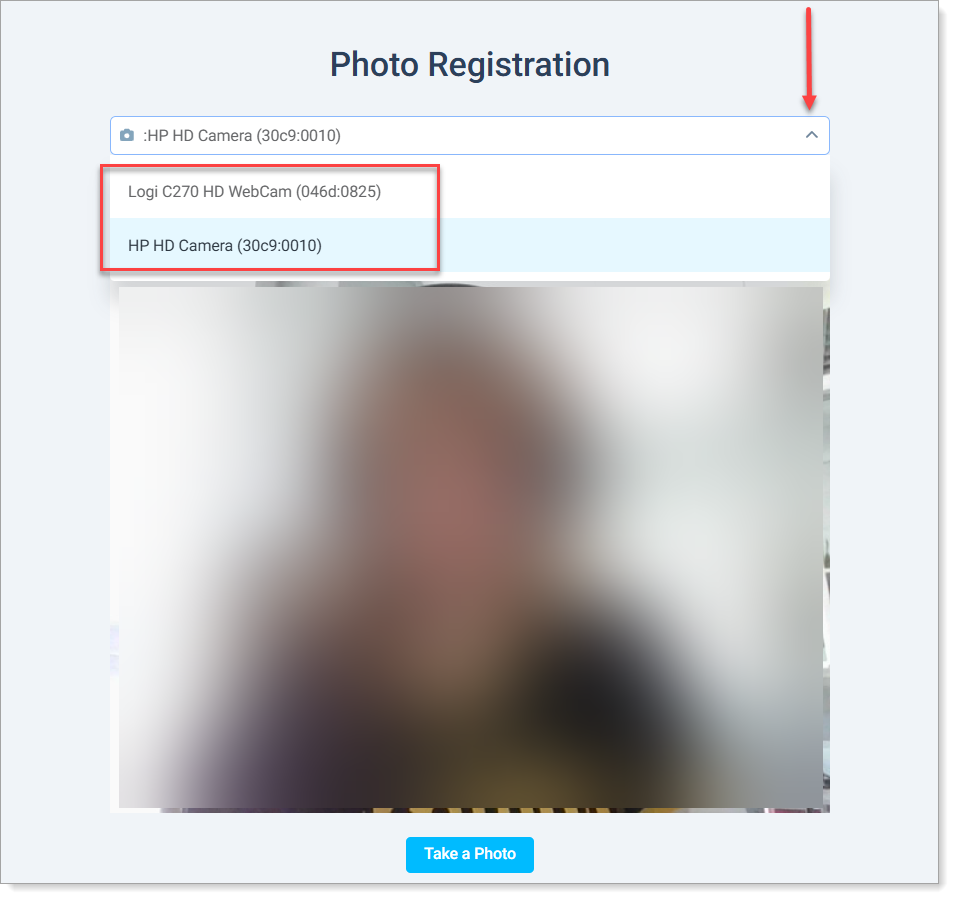
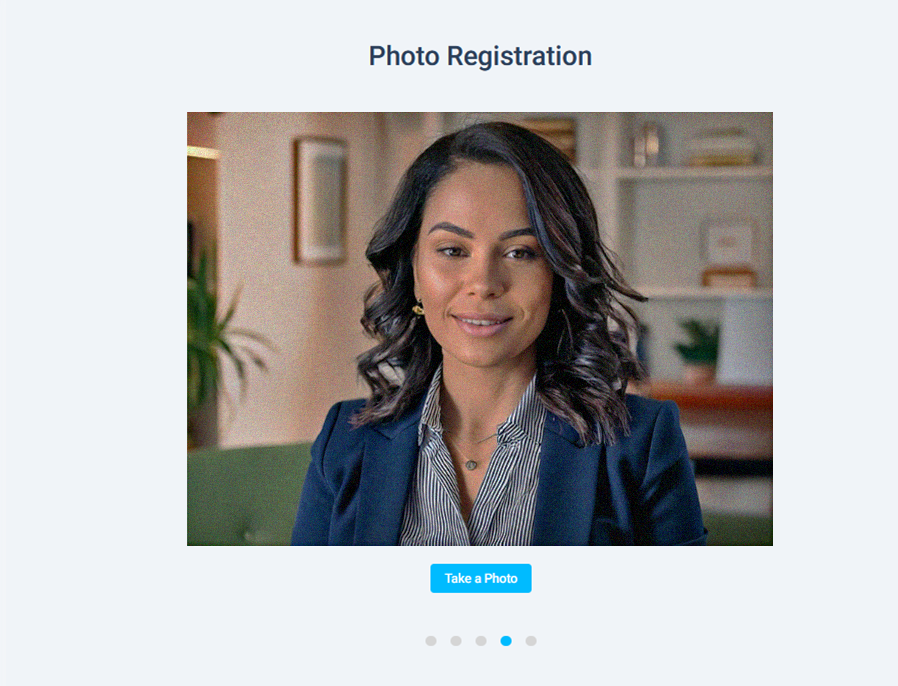
Face in the screenshot is blurred for privacy reasons.
Once the site gains access to your camera, it will display a live preview.
Position yourself in front of the webcam so your face is centered in the preview window. Adjust your distance from the webcam to fill as much of the window as possible with your face.
Tip
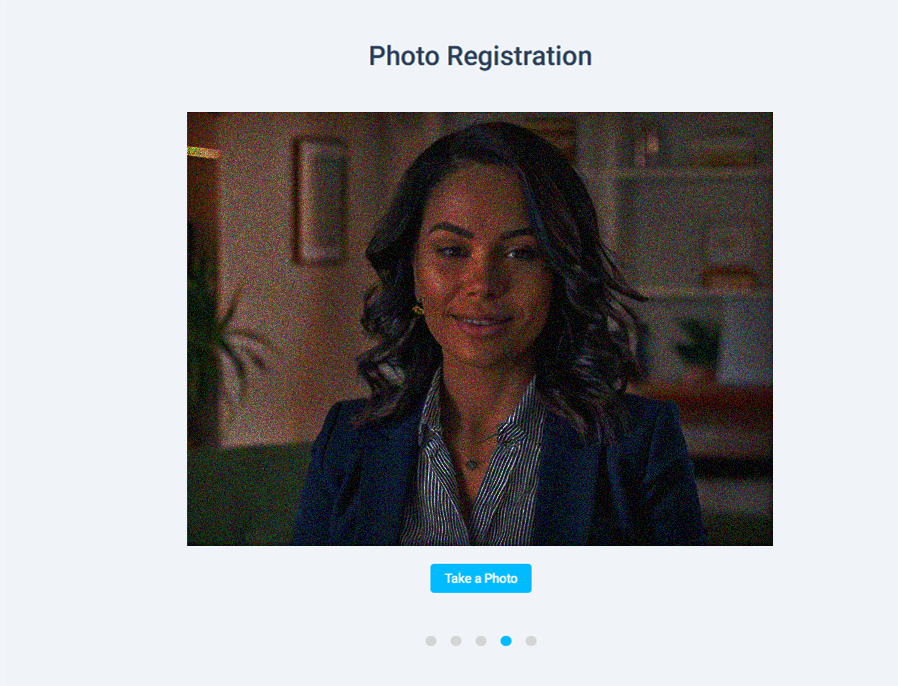
In order to get the best quality selfie photo, ensure that there is adequate lighting in the room.
Insufficient lighting will cause the resulting photo to appear dark and grainy, as shown below.
Click Take Photo.
The page will display the photo you just took. Do one of the following:
Click Confirm to submit the photo for use by SessionGuardian to perform facial recognition and authentication.
Click Retake to try again.
You will have one last chance to review and edit the photo. You can make any of the following edits:
Remove – Click this icon to delete the photo and return to the Photo Registration page.
Upload – Click this icon to upload a high-quality photo of yourself.
Take a photo – Click this icon to return to the photo submission screen.
Crop – Click this icon to crop the photo so your face fills most of the image.
Optional. Crop your photo if you were not seated close enough to the webcam to capture a close-up of your face.
Click any of the grey boxes to resize the crop selection around your face. The areas outside the selection will be removed once you click crop.
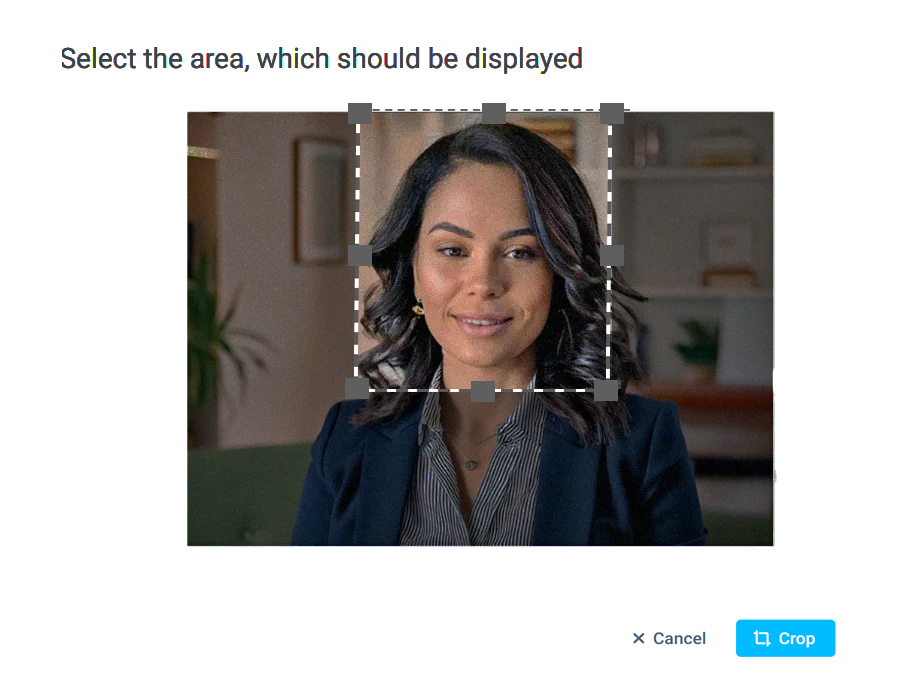
Click Crop.
Click Submit to submit the photo to SessionGuardian.