SessionGuardian Windows VDI onboarding (continuous face verification)
This guide walks you through installing and registering SessionGuardian on your local Windows workstation. You'll install the SessionGuardian VDI application and Amazon WorkSpaces to prepare for secure remote access. This setup uses face verification for authentication.
Step 1 – Install required applications
Download and install the following applications.
SessionGuardian VDI for Windows
Install SessionGuardian VDI software only on your physical Windows device, not on a virtual desktop.
Click SG VDI for Windows to start the download.
Result: The
SessionGuardian.msiinstaller file downloads to your default Downloads folder.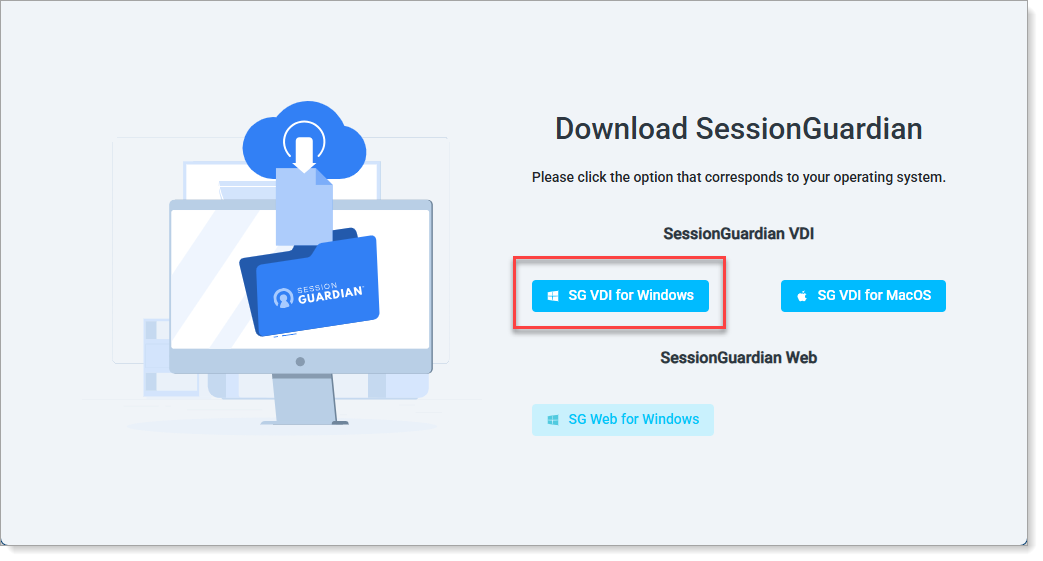
Select SG VDI for Windows
Double-click the downloaded
.msifile to start the installation.Follow the installation prompts:
If you’ve used SessionGuardian before on this device, select the Delete existing user data check box, then click Next.
Otherwise, click Next.
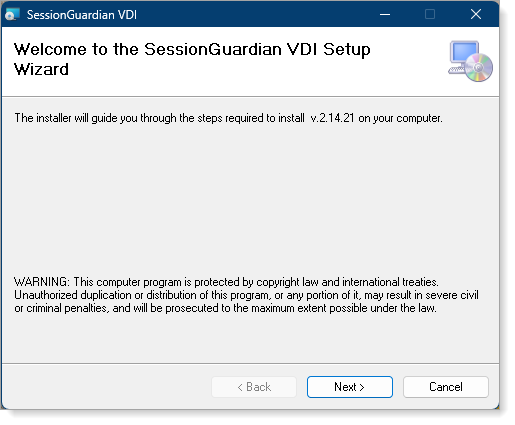
Start installer
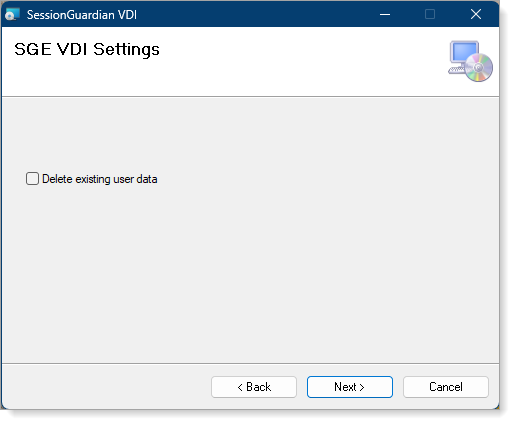
Select Delete existing user data if re-installing
After installation, close the SessionGuardian VDI application.
Amazon WorkSpaces (AWS)
Download the Amazon WorkSpaces client for Windows.
Locate the downloaded file and double-click it to install.
After installation, close the Amazon WorkSpaces application.
Caution
Close both applications on your local workstation after installation to ensure a clean activation process.
Step 2 – Set up your SecureAuth account
SessionGuardian uses a project-based onboarding process. You will receive an onboarding email with instructions specific to your project and access requirements.
Open your onboarding email and click the link to access the SecureAuth Support account.
See the SecureAuth Support Portal instructions for SessionGuardian for detailed steps on:
Selecting the correct SessionGuardian request type for Registration/Activation link
Submitting the form for project onboarding
Once you receive the project invitation email, click the link labeled "link" to set up your project password.
Result: A secure form opens for password creation.
Create and confirm your project password following the password requirements shown on screen.
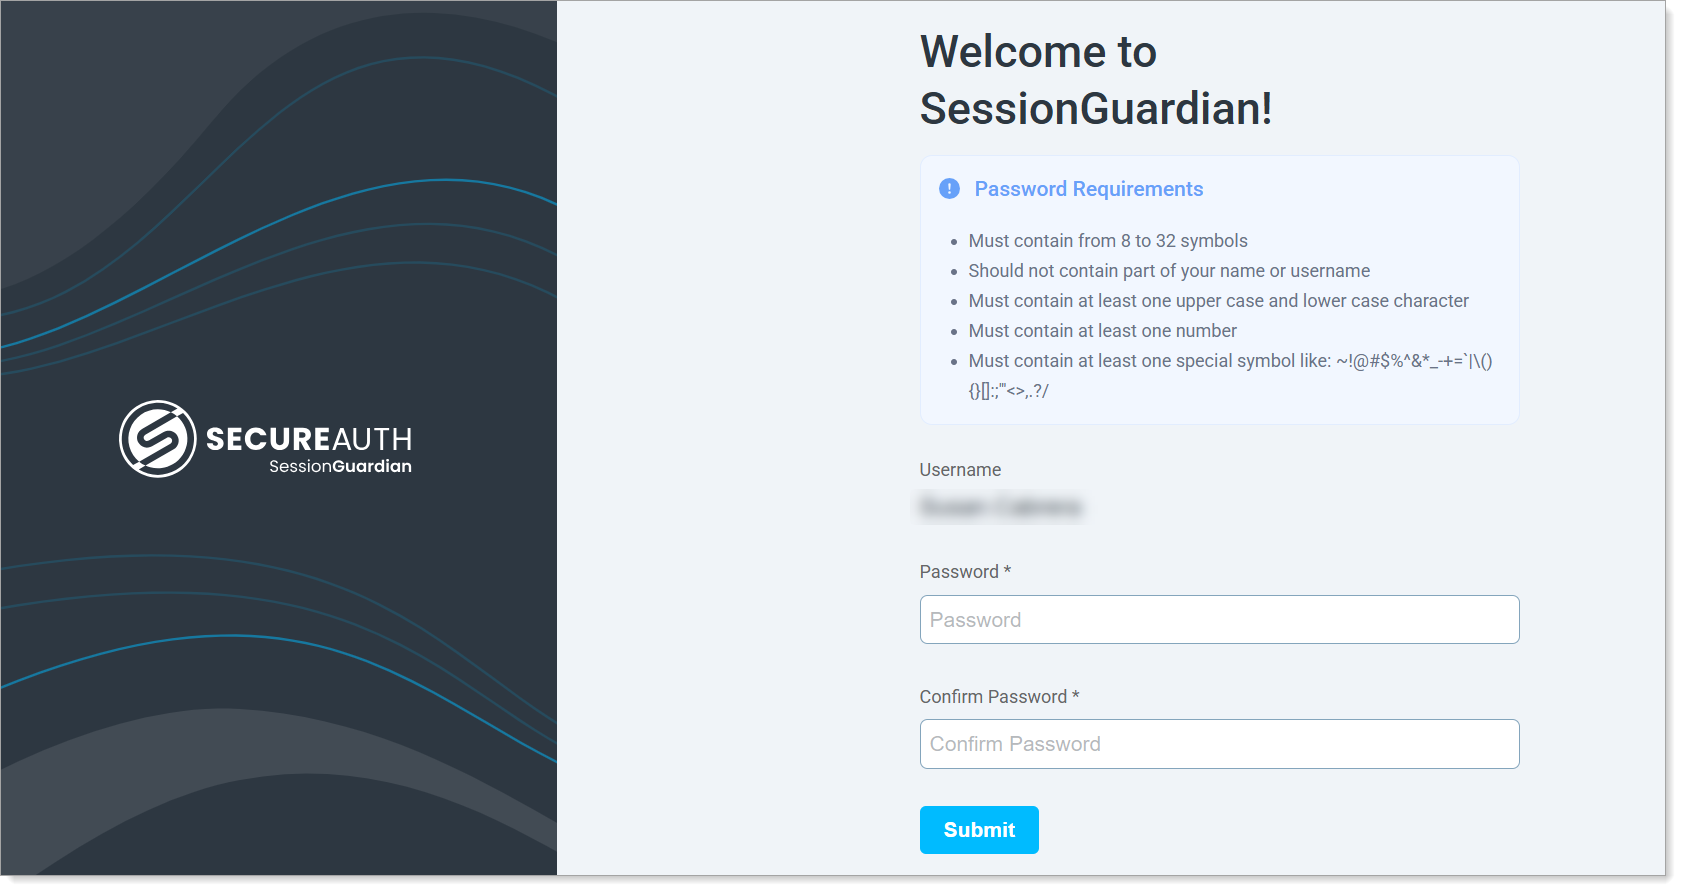
Set project password
Step 3 – Register and capture your profile photo
Click Begin Registration.
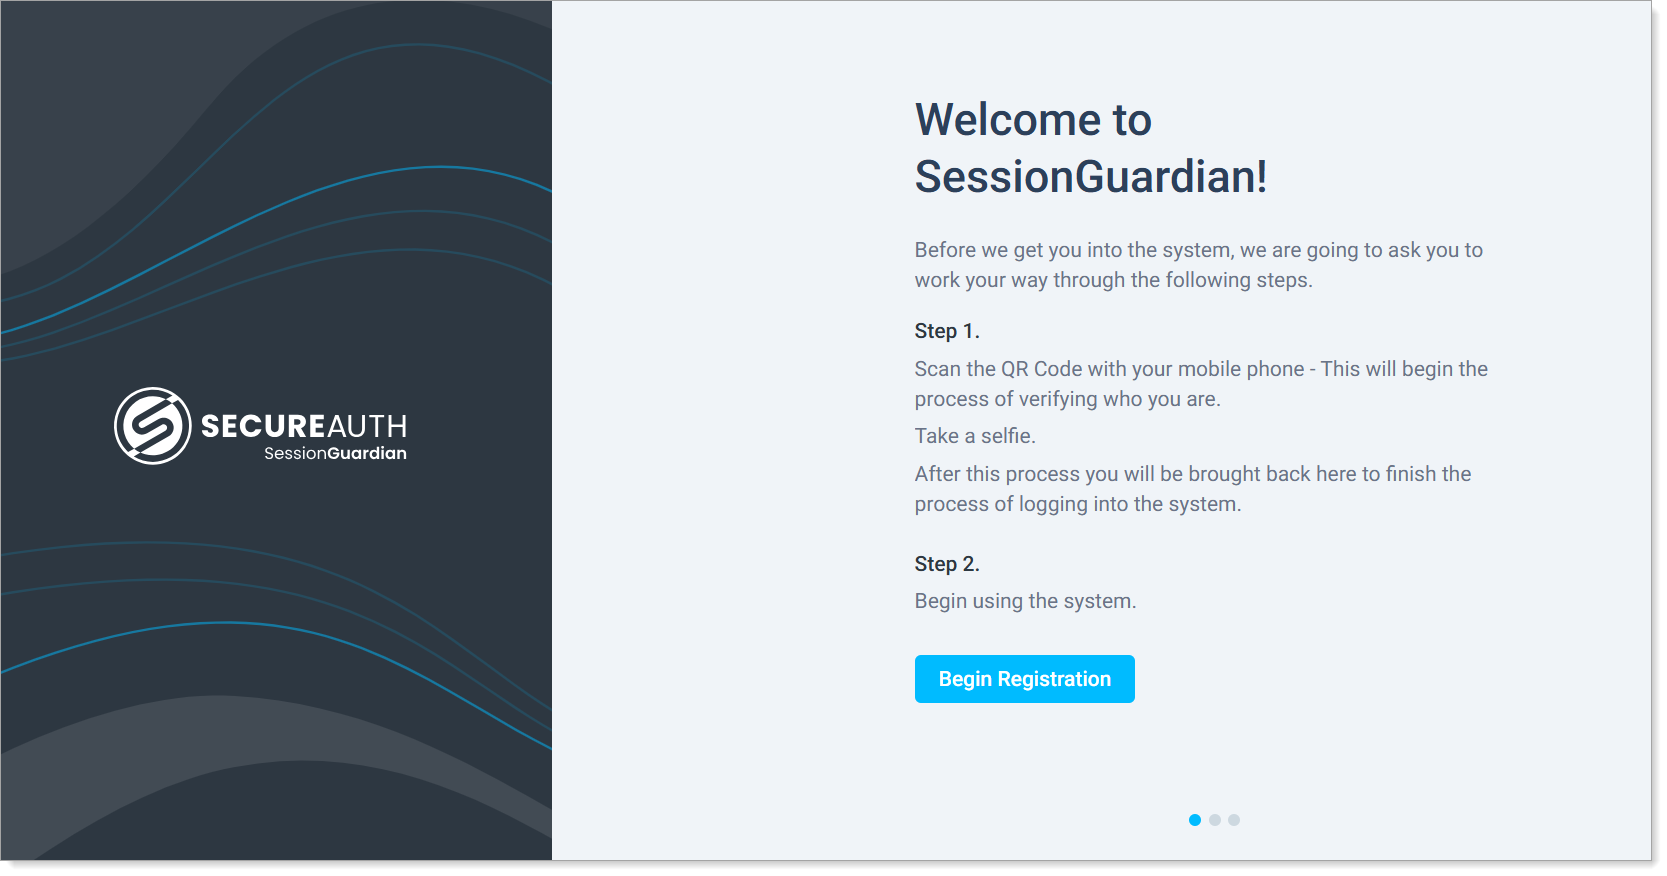
Begin registration
Scan the QR code on your computer screen with your mobile phone (see example screenshot below) and follow the prompts to take a profile picture.

Scan QR code for mobile registration
On the Activate Account page, click Launch SessionGuardian VDI.
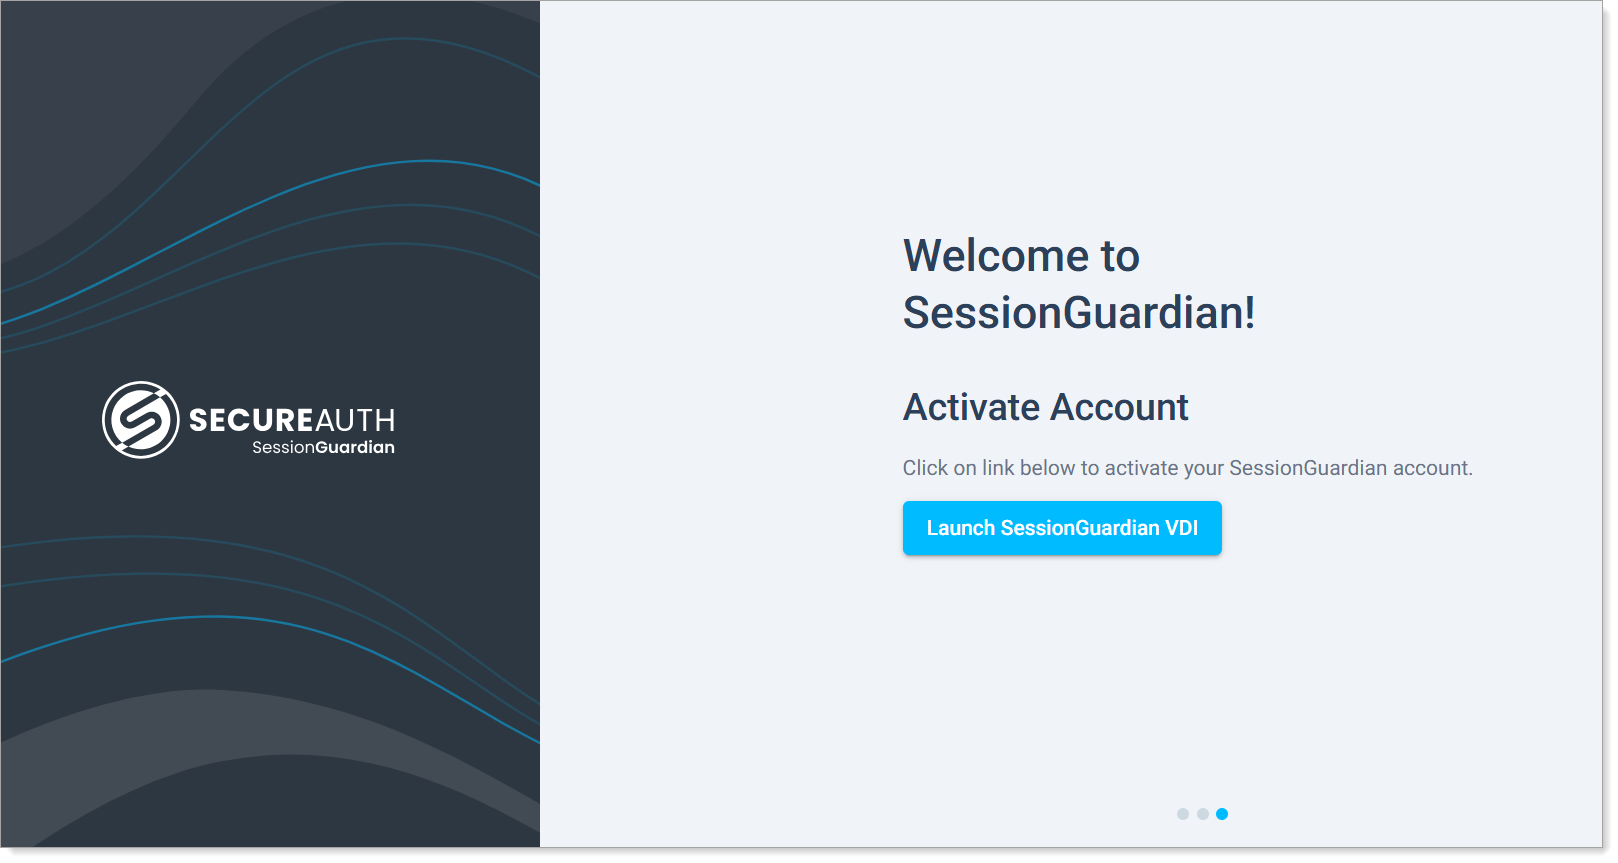
Launch SessionGuardian VDI
Result: Successful activation will bring you to the Welcome screen with a Security Status of "Successful".
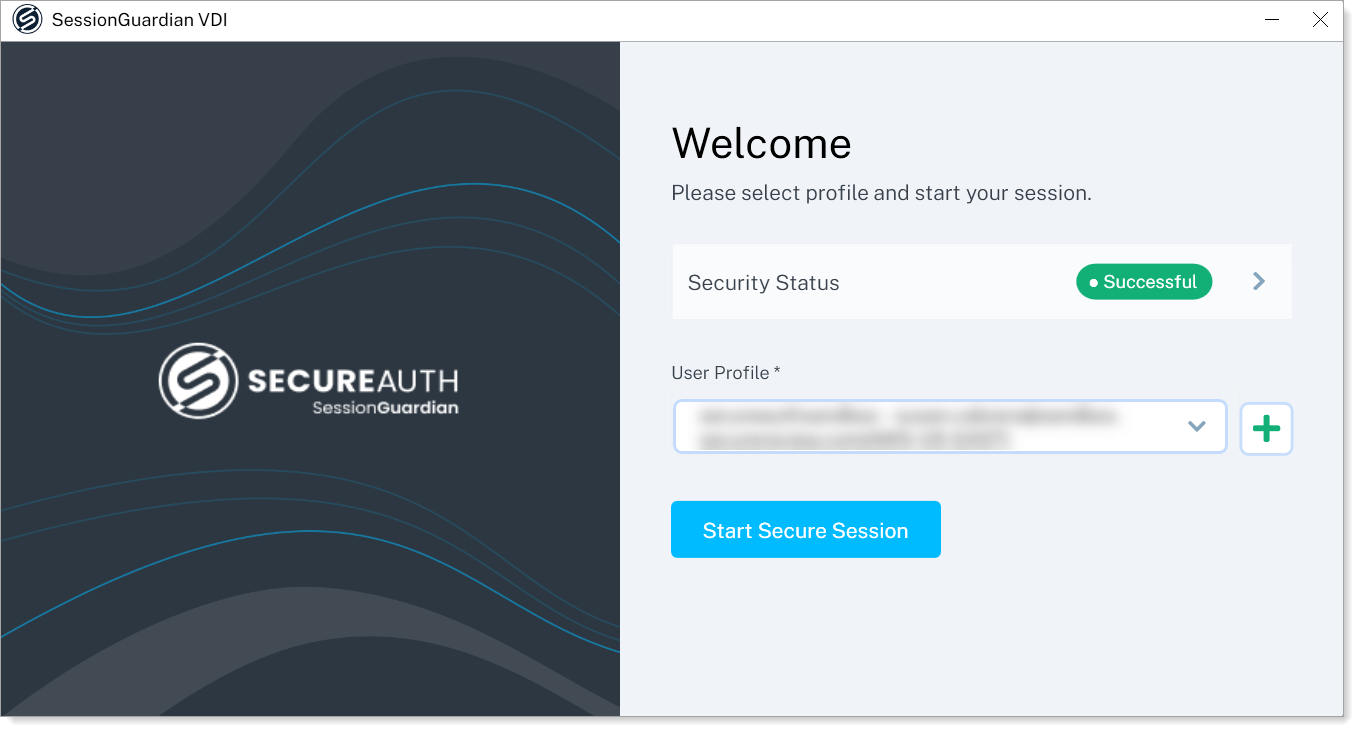
Welcome screen
In the User Profile field, confirm or select your User Principal Name (UPN) for your project, if not already auto-populated.
You can click in the list to view and select another UPN, if needed.
Click Start Secure Session.
Step 4 – Connect to Amazon WorkSpaces
After registration, the Amazon WorkSpaces login window opens.
Your username is auto-populated; enter your project password that you created earlier.
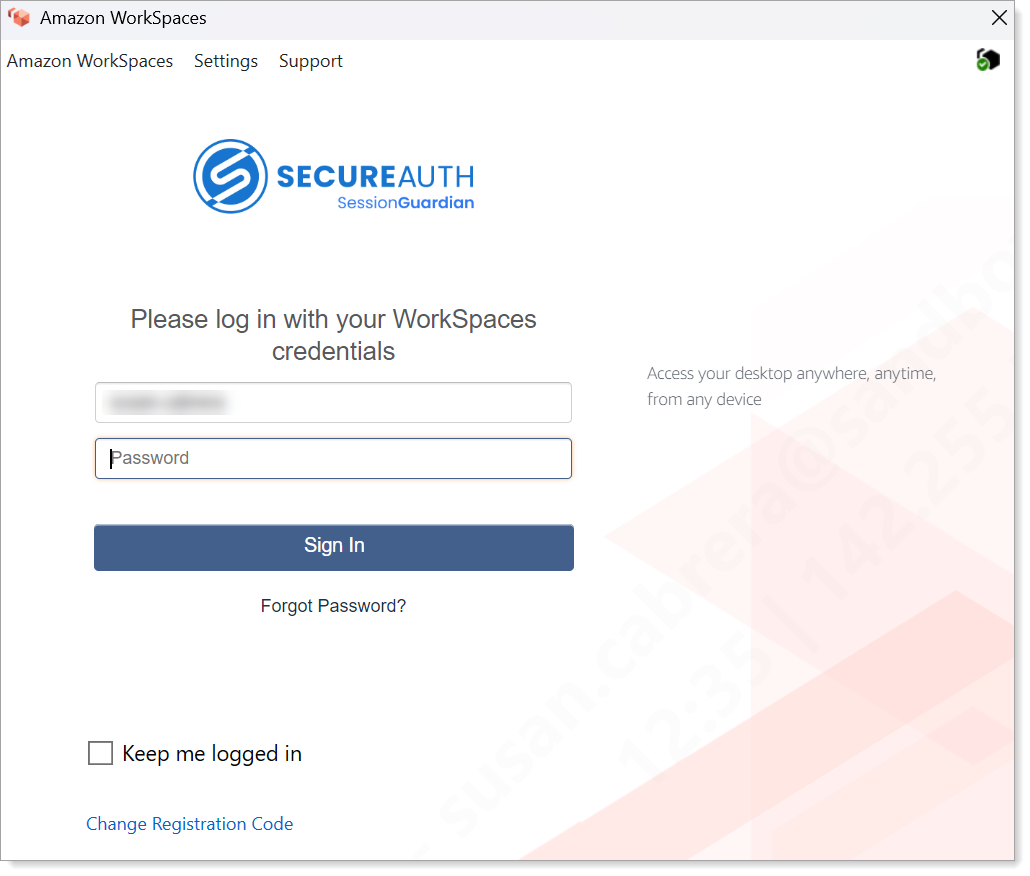
Amazon WorkSpaces login window
Click Sign In to access your virtual workspace.
Result: You are now connected to your Amazon WorkSpaces session.
End your Amazon WorkSpaces session
When you finish your work, follow both steps to fully close your Amazon WorkSpaces session and secure session.
In the Amazon WorkSpaces virtual desktop window, click the X in the upper-right corner to close the virtual desktop session.
Result: An End Session dialog box appears. Click Yes to confirm.
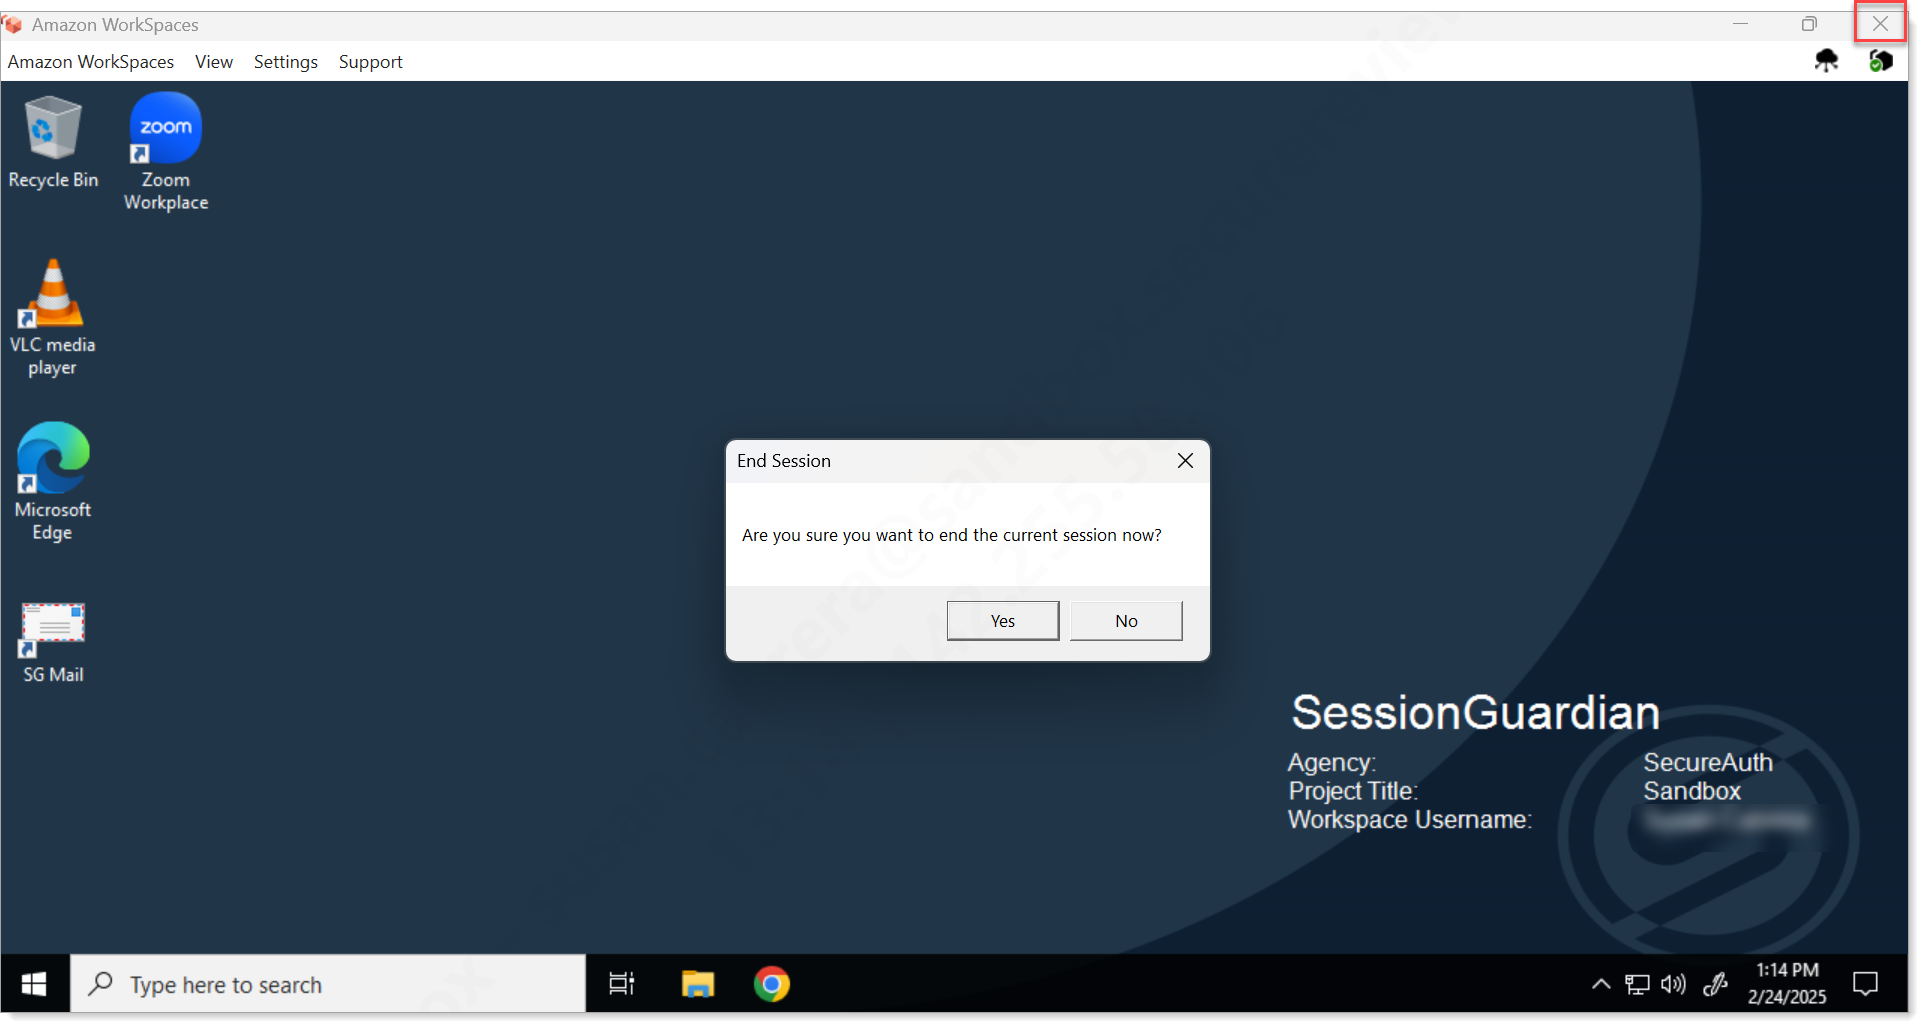
Close Amazon Workspace. Click X to close and then confirm
After the desktop window closes, the login screen appears. Click the X in the upper-right corner to close this window.
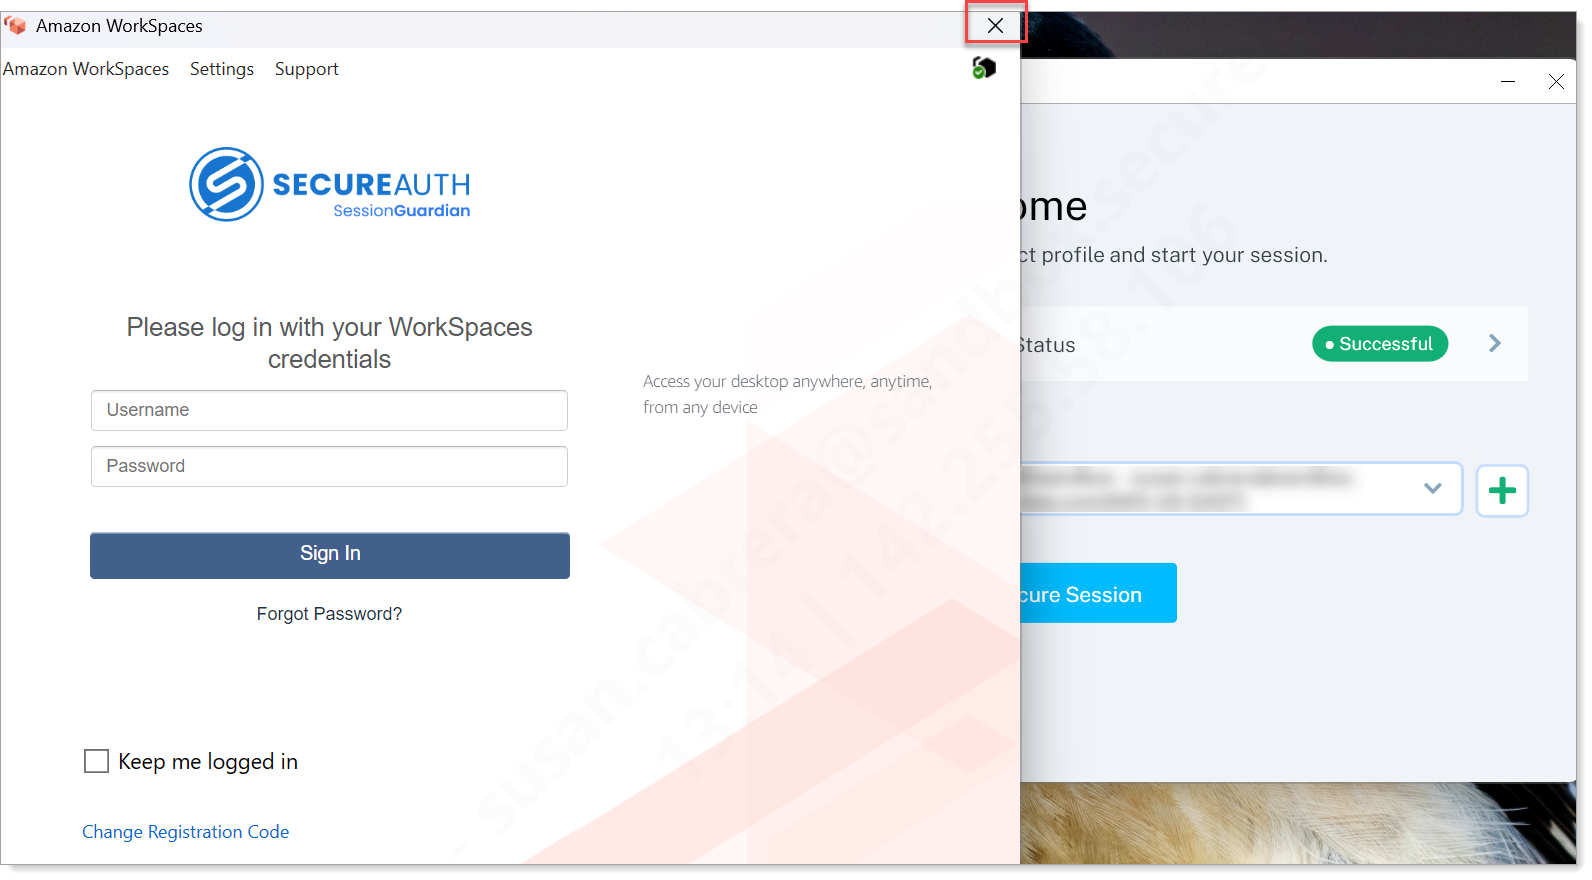
Close SessionGuardian. Click X to close and then Stop Secure Session.
Result: The SessionGuardian dialog appears. Click Stop Secure Session.
How to start a secure session
Use these steps to manually launch a secure session if one is not already active.
Open the SessionGuardian VDI application from your desktop or taskbar.

Click SessionGuardian VDI icon to start secure session
Verify your user profile and click Start Secure Session.

Click Start Secure Session.
When the Amazon WorkSpaces login window appears, confirm your username and enter your project password.
Amazon WorkSpaces login window
Result: After you enter and submit your AWS password, the system begins preparing or verifying your profile. A secure session begins, and you're connected to your vritual workspace.