Create user profile
The Users page displays all user profiles and allows you to create, manage, or delete profiles. You can:
Create users individually
Import users in bulk using a CSV file or a ZIP archive (with user photos)
Export user profiles in bulk as a CSV file
Creating a user profile involves entering user details, assigning resource access, and optionally configuring security settings.
Add a user profile
In the Admin Console, click Users.
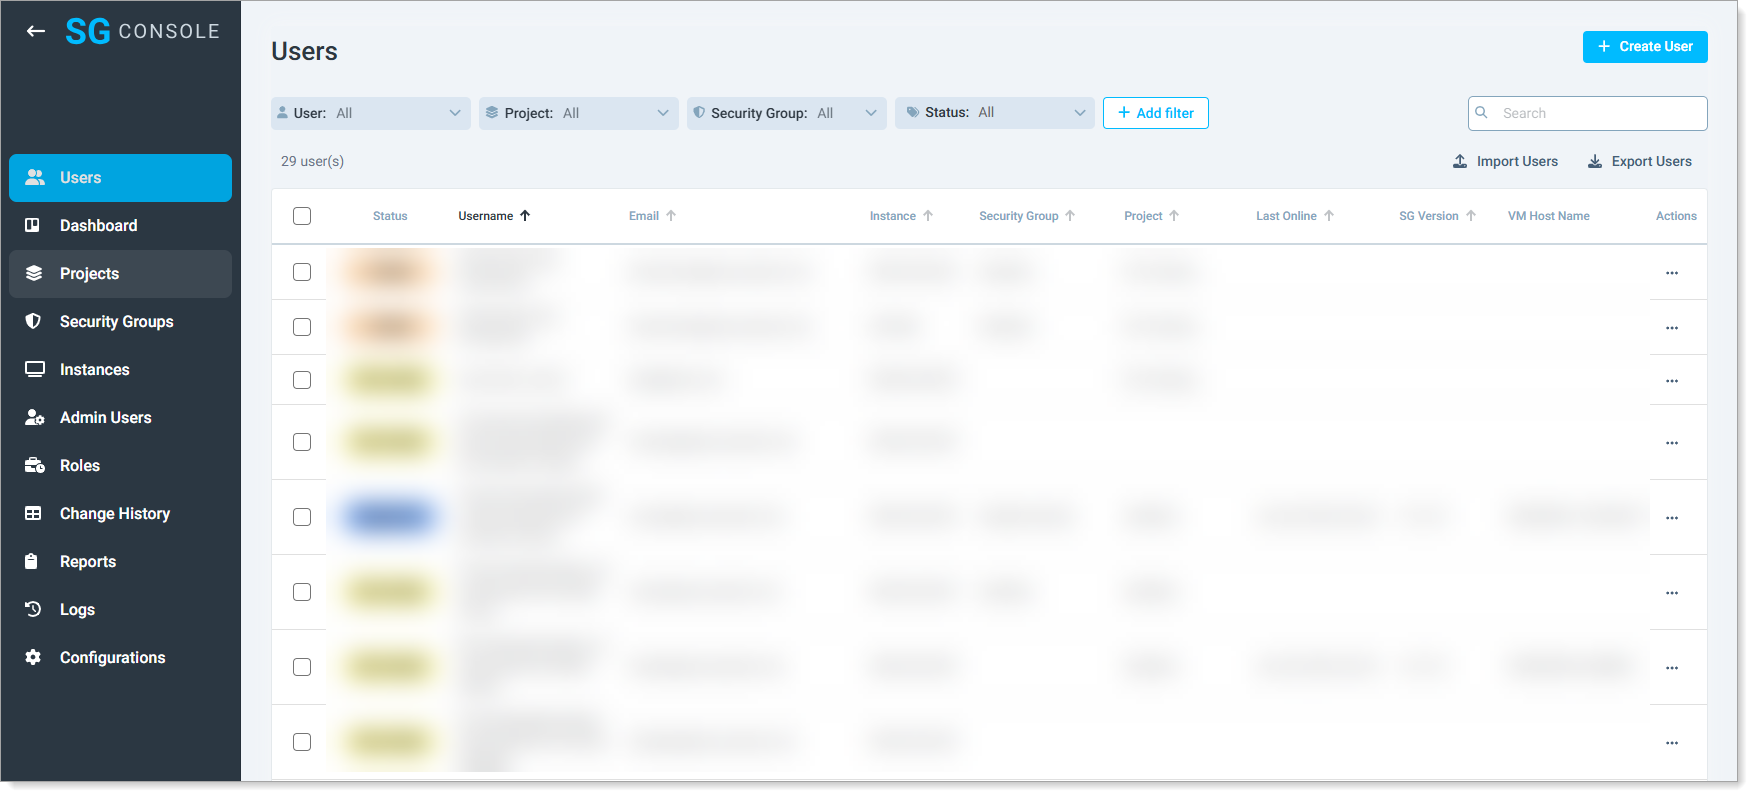
In the top-right corner, click Create User.
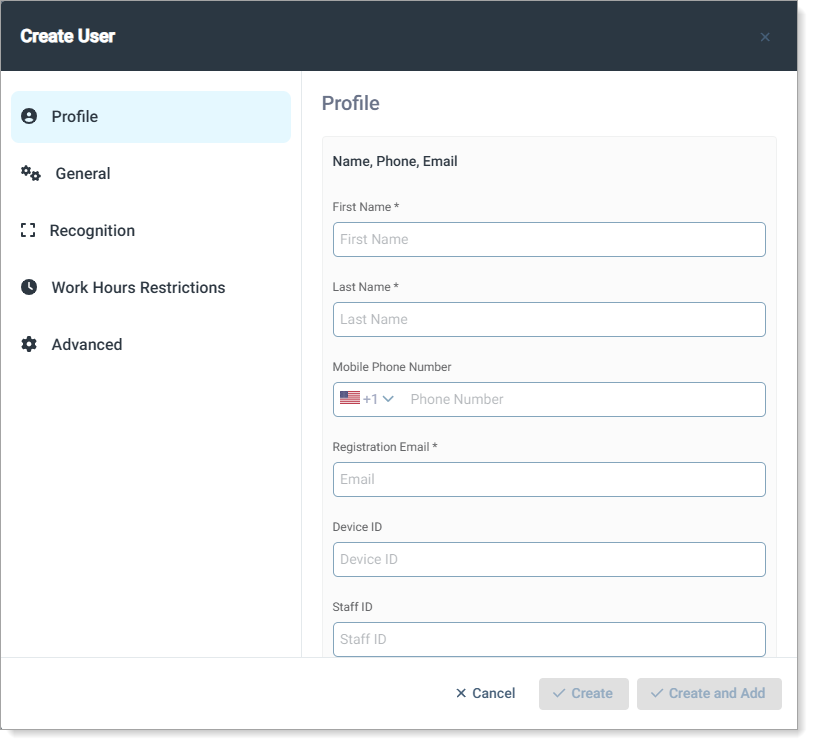
in the Profile section, enter the required details.
First Name
Enter the user's first name.
Last Name
Enter the user's last name.
Mobile Phone Number
Enter a number to send an activation token via SMS.
Email
Enter an email address to send the registration invite.
Device ID
Optional. Enter the device ID or computer name for automated activation of SG Desktop.
Staff ID
Optional. Enter an employee ID or similar identifier.
Username
Enter the username for authentication.
It does not have to be the user's email address.
Instance
Select the resource the user will access.
An instance is the VDI environment, Windows desktop, or web application for the user profile.
To learn more, see Create instances
Project
Optional. Assign a project to group similar user profiles.
A project can represent departments, teams, or specific initiatives to help organize and track user access.
To learn more, see Create projects
Security Group
Optional. Assign a security group to apply preset security settings.
Security groups help enforce access controls, authentication methods, and device restrictions for specific user roles or departments
To learn more, see Manage Security Groups