Configure SMTP with OAuth2 for Microsoft 365
Configure SecureAuth to send emails through Microsoft 365 using OAuth2 authentication instead of basic authentication. This method provides enhanced security and meets modern authentication requirements.
Prerequisites
Available in the following Identity Platform product releases:
Identity Platform release 24.04 with update 24.4.5 or later
Identity Platform release 23.07 with hotfix 23.07-13 or later
Identity Platform releaes 22.12 with hotfix 22.12-14 or later
Identity Platform release 21.04 with hotfix 21.04-16 or later
Microsoft 365 tenant administrator access
Azure Portal administrative permissions
PowerShell with ExchangeOnlineManagement module
SecureAuth administrator access
Register application in Azure Portal
Create and configure an Azure Active Directory application for SMTP authentication.
Open the Azure Portal.
Go to App registrations.
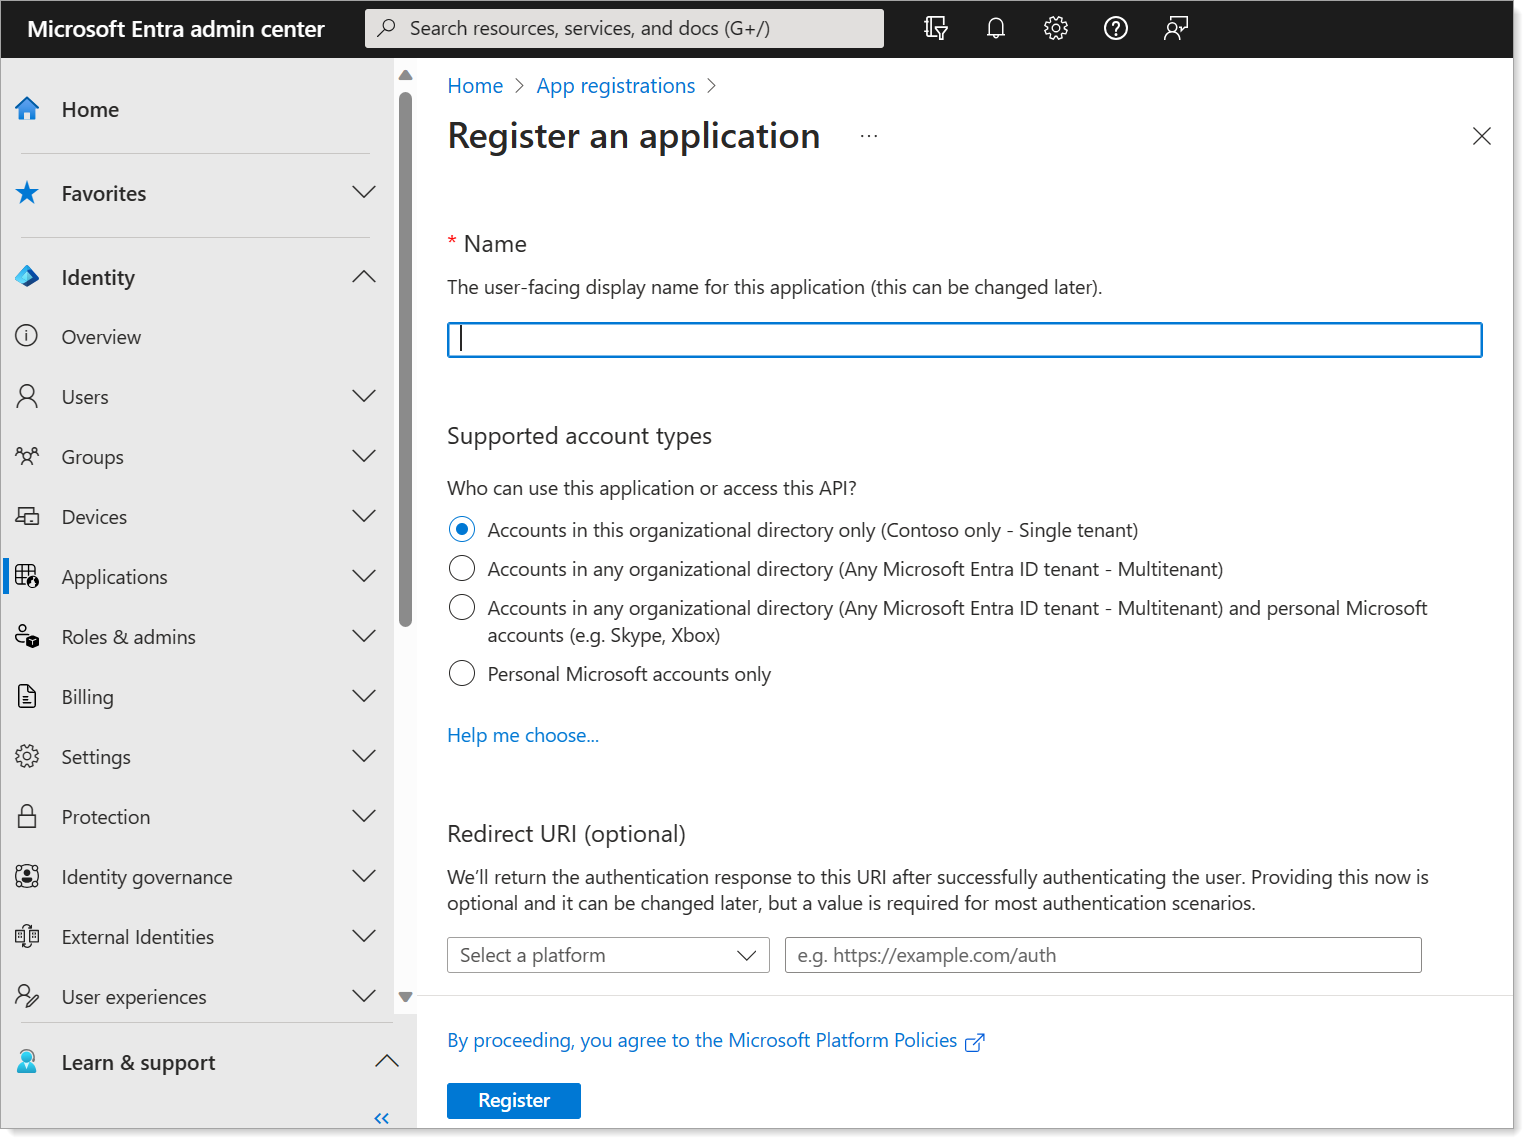
Click New registration.
Configure the application settings:
Name – Enter a descriptive name (example: "SMTP Mailer application")
Supported account types – Select Accounts in this organizational directory only
Redirect URI – Leave blank
Click Register.
Record these values from the Overview page:
Application (client) ID
Directory (tenant) ID
Create client secret
Generate a client secret for application authentication.
In your application, go to Certificates & secrets.
Click New client secret.
Add a description and set the expiration period.
Click Add.
Copy the secret value immediately and store it securely.
Warning
The secret value displays only once. You cannot retrieve it later.
Assign API permissions
Grant the application permission to send emails through Microsoft 365.
Go to API permissions.
Click Add a permission > APIs my organization uses.
Search for and select Office 365 Exchange Online.
Choose Application permissions.
Add these permissions:
SMTP.SendAsApp

Mail.Send
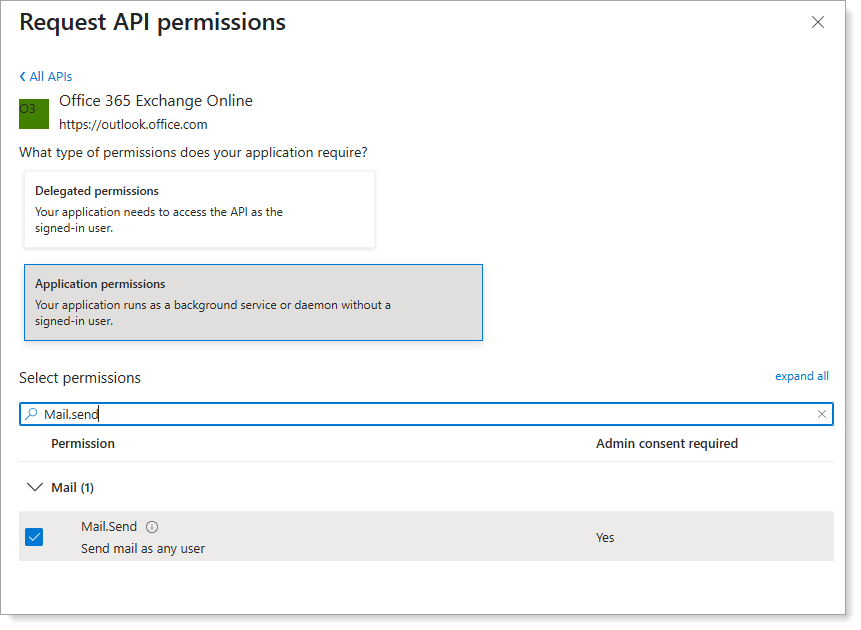
Click Add permissions.
Click Grant admin consent to approve the permissions.
Register service principal in Exchange Online
Register the application's service principal in Exchange Online and configure mailbox permissions.
Install and connect to Exchange Online PowerShell
Install the Exchange Online Management module:
Install-Module -Name ExchangeOnlineManagement
Import the module:
Import-module ExchangeOnlineManagement
Connect to your tenant (replace
tenantIdwith your Directory tenant ID):Connect-ExchangeOnline -Organization <tenantId>
Register the service principal
Register the service principal using the
New-ServicePrincipalcmdlet:New-ServicePrincipal -AppId <APPLICATION_ID> -ObjectId <OBJECT_ID> [-Organization <ORGANIZATION_ID>]
Find the correct Object ID:
In Azure Portal, go to Enterprise applications.
Find your application in the list.
Copy the Object ID (that begins with "6d" from the Overview page.
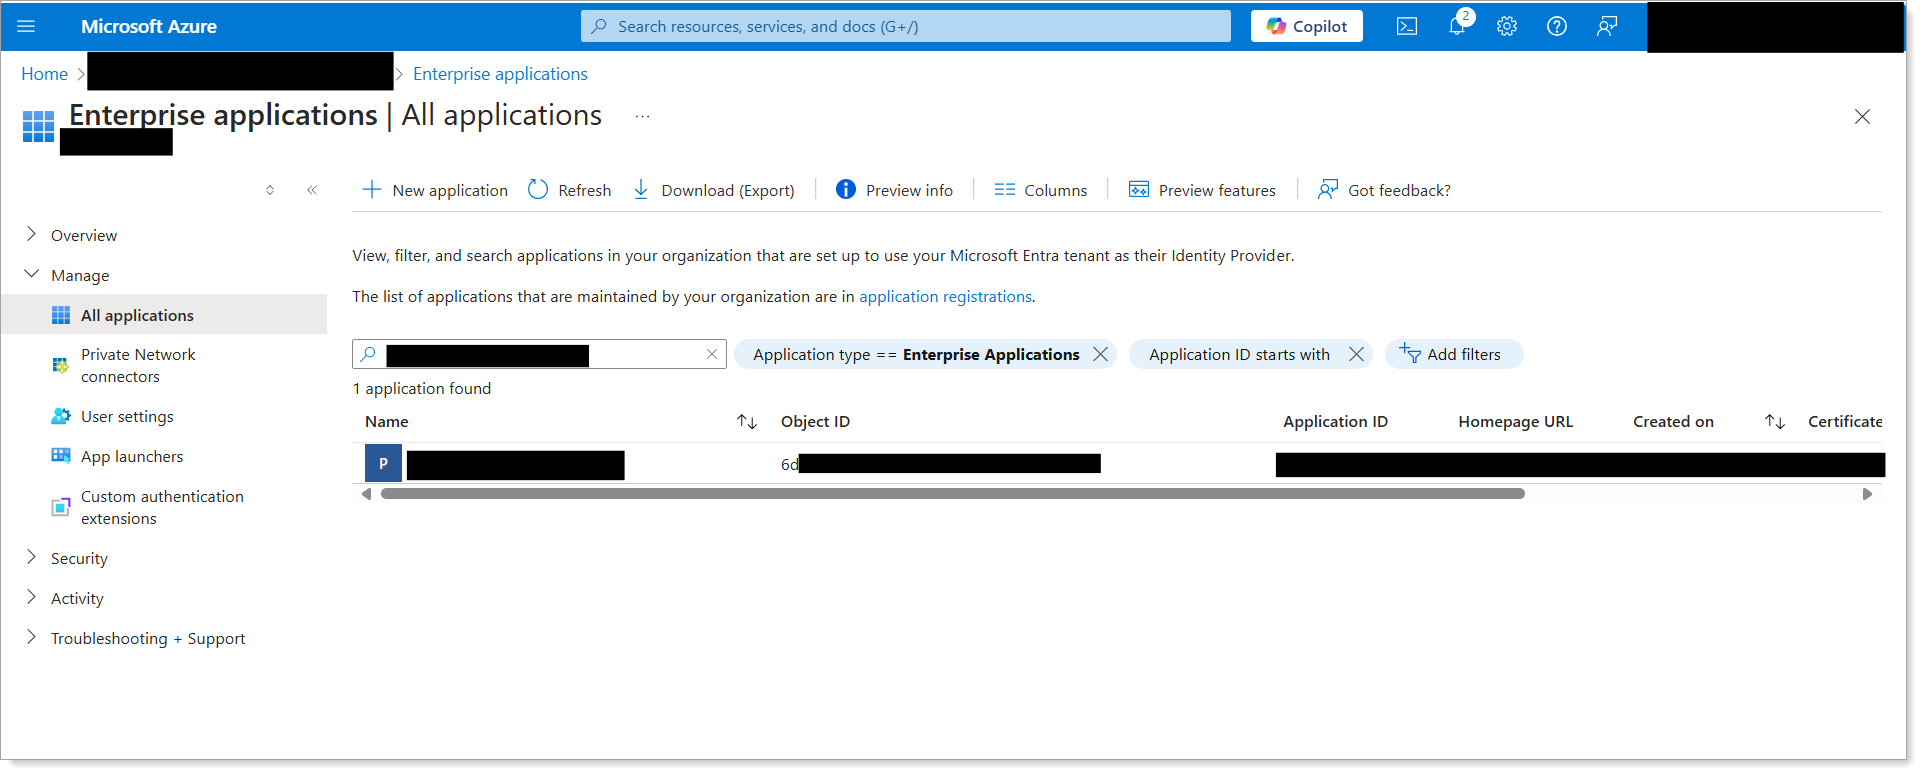
Important
Use the Object ID from the Enterprise Application, not from App Registrations. Using the wrong Object ID causes authentication failure.
Verify the registration:
Get-ServicePrincipal | fl
Configure mailbox permissions
Grant the service principal access to specific mailboxes using the
Add-MailboxPermissioncmdlet:Add-MailboxPermission -Identity "user@yourdomain.com" -User <SERVICE_PRINCIPAL_ID> -AccessRights FullAccess
Repeat for each mailbox that needs to send emails through the application.
Configure Identity Platform email settings
Update the SecureAuth Identity Platform to use OAuth2 authentication for email sending.
Log in to the Identity Platform as an administrator.
Go to the Overview tab > Advanced Settings section > click Email Settings.
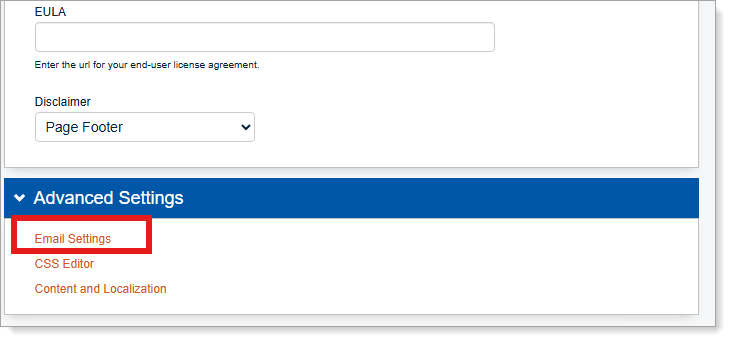
Set Use modern SMTP Authentication to True.
Result: A new SMTP section appears.

Configure the SMTP settings:
Setting
Value
SMTP Client Server
smtp.office365.com
Port
587
Application (client) ID
Your application ID from Azure Portal
Client Secret
Your client secret value
Directory (tenant) ID
Your tenant ID from Azure Portal
Authorized from Address
Email address configured in Exchange Online permissions
Save your changes.
Test the configuration
Verify that email sending works correctly with the OAuth2 configuration.
Trigger a test email from SecureAuth (such as a password reset or MFA notification).
Check that the email arrives at the intended recipient.
Monitor SecureAuth logs for any authentication errors.
Troubleshooting
- Authentication fails
Verify you used the correct Object ID from Enterprise Applications, not App Registrations.
Check that admin consent was granted for the API permissions.
- Permission denied errors
Confirm the service principal has FullAccess permissions to the sender mailbox.
Verify the "Authorized From Address" matches the configured mailbox.
- Connection timeout
Check network connectivity to smtp.office365.com on port 587.
Verify firewall rules allow outbound SMTP traffic.