How to set up Aux ID for cloud storage
In SecureAuth® Identity Platform data store configurations, you can store values in Aux IDs to the cloud profile database.
For example, you can allow an end user to enter an alternate email address on the Self-service Account Update page. Instead of storing this value in your data store, you can store this value in an Aux ID to the cloud profile database.
Applies to
Identity Platform release 24.04 or later, cloud deployments
Discussion
It is important to note that you cannot use the same cloud storage Aux ID from different data stores. For example you cannot have:
Data store A sends employee ID in Aux ID 1 AND
Data store B sends street address in Aux ID 1
Result: Both sets of data in Aux ID 1 will overwrite each other.
Solution
In this configuration example, we will store the alternate email address in an Aux ID to the cloud profile database. To do this, we're going to do the following:
Data store configuration for cloud Aux ID
Self-service Account Update page configuration to use this cloud Aux ID
In the Data Stores list, click Actions > View Properties.
The data store Properties page displays.
For an Aux ID, like Aux ID 5, select the Use Cloud Storage check box, and type a Description.
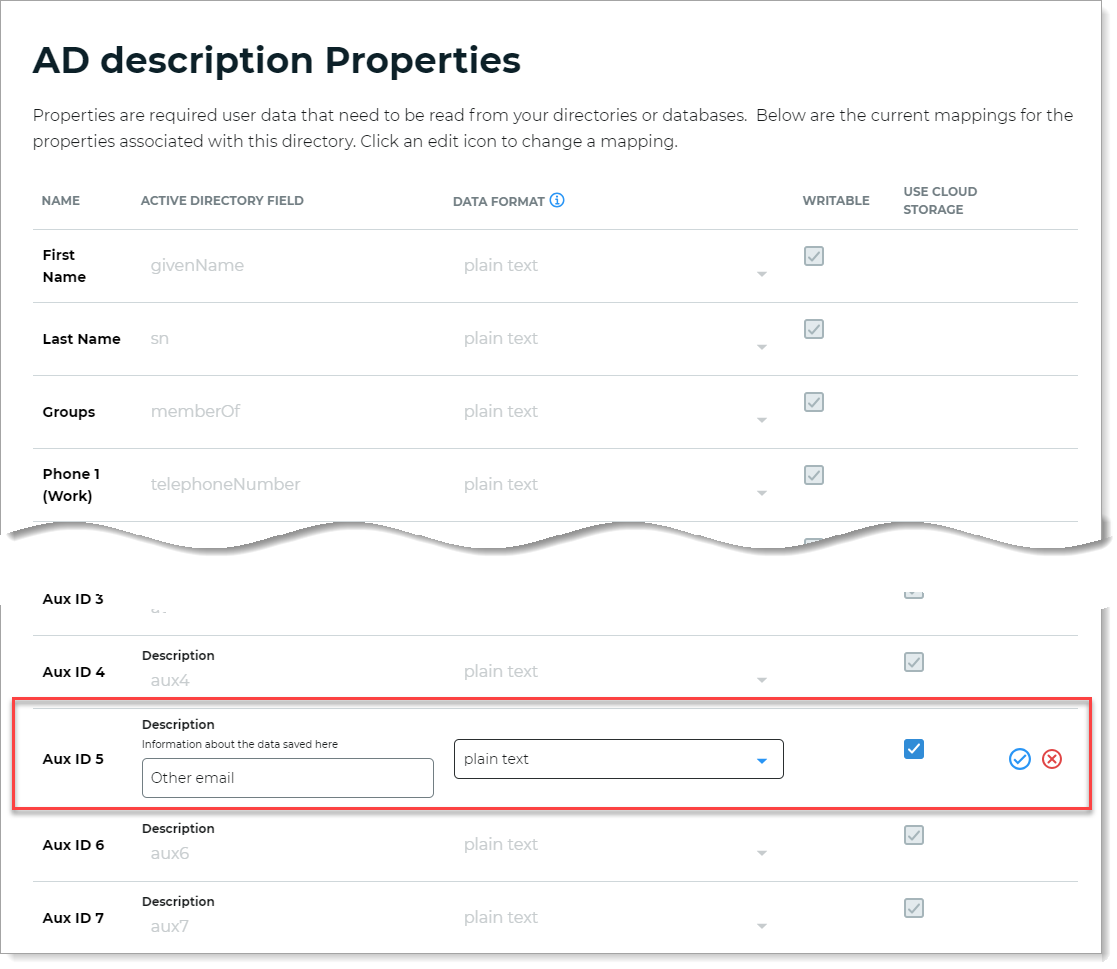
Save your changes.
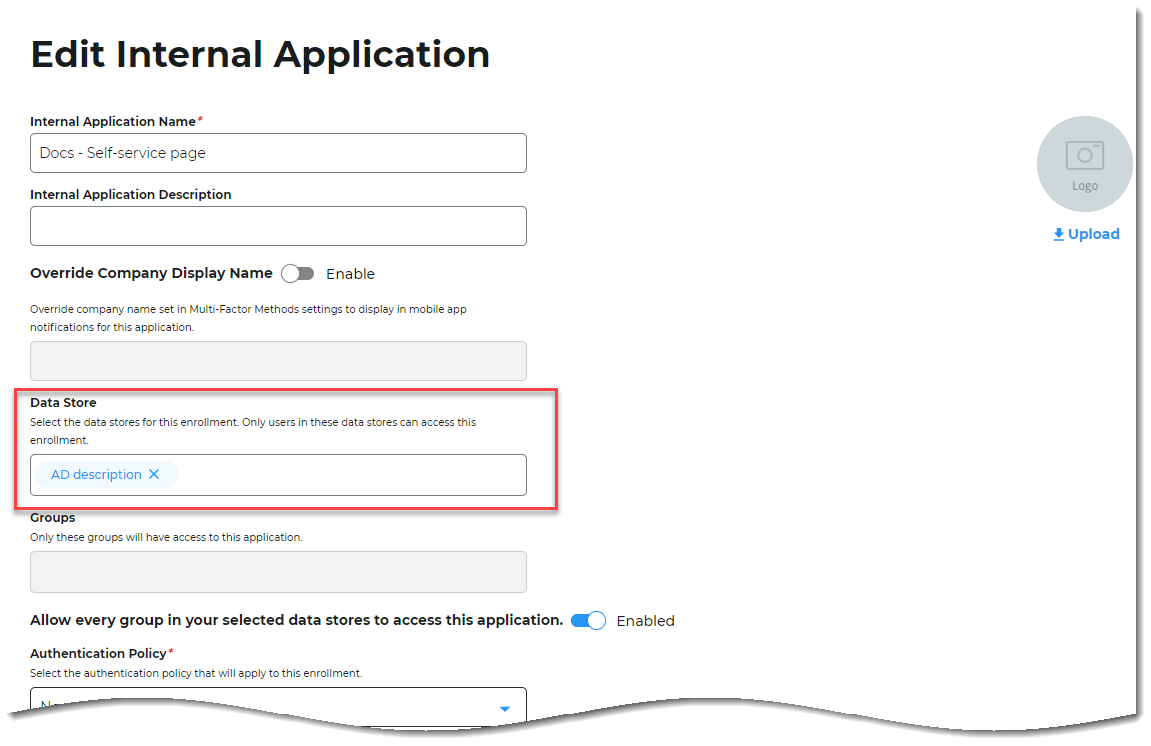
In the Self-Service page configuration, make sure to include the data store that has Aux ID set up for cloud storage.
Go to the Advanced Settings for the Self-service Account Update page.
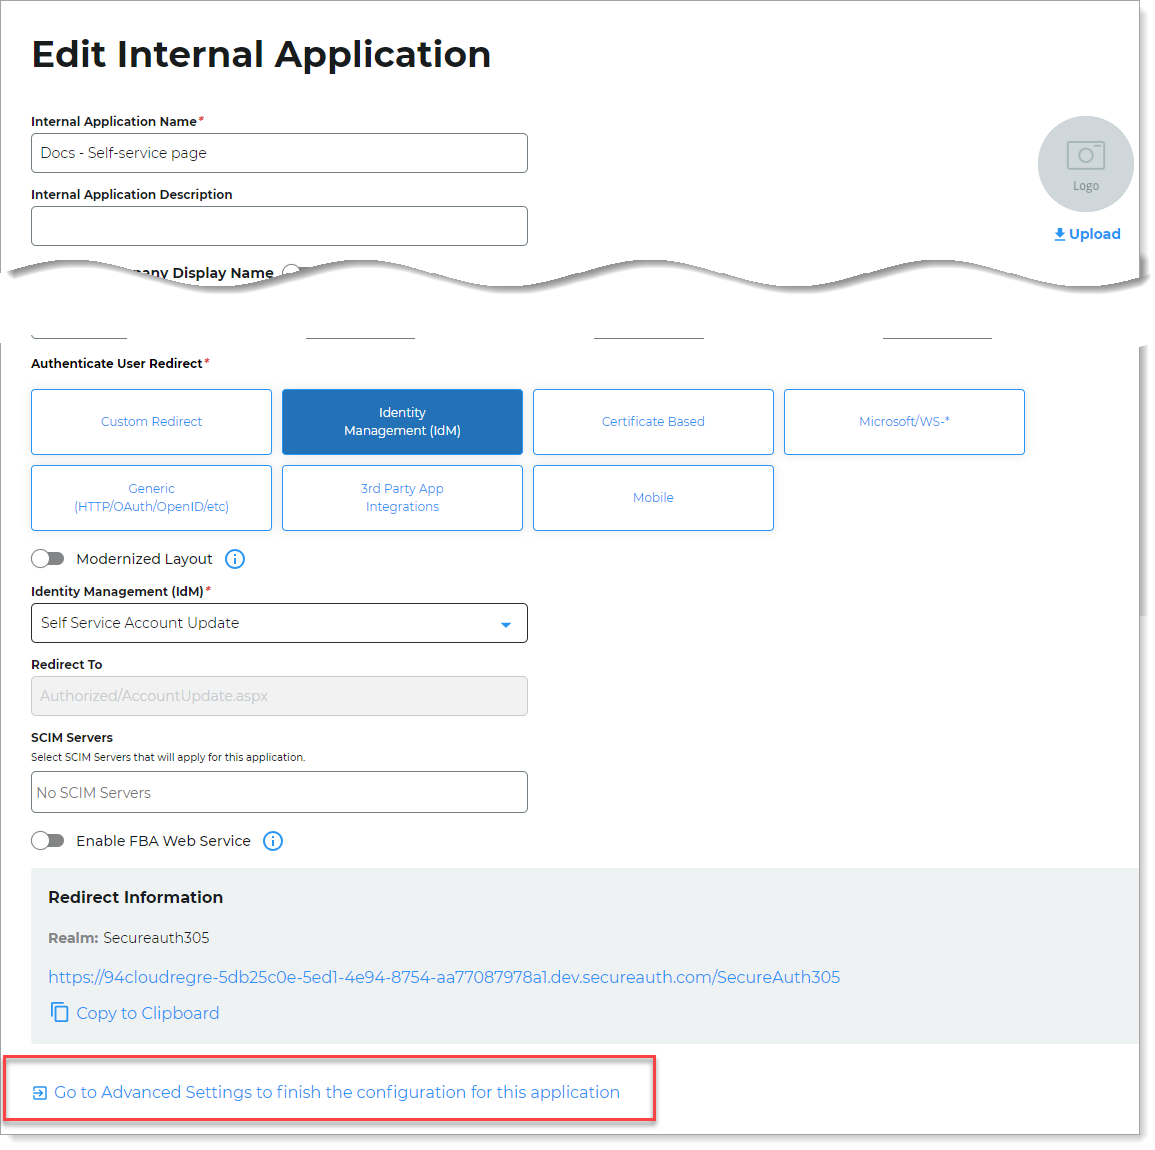
In the Identity Management section, click the Configure self service page link.

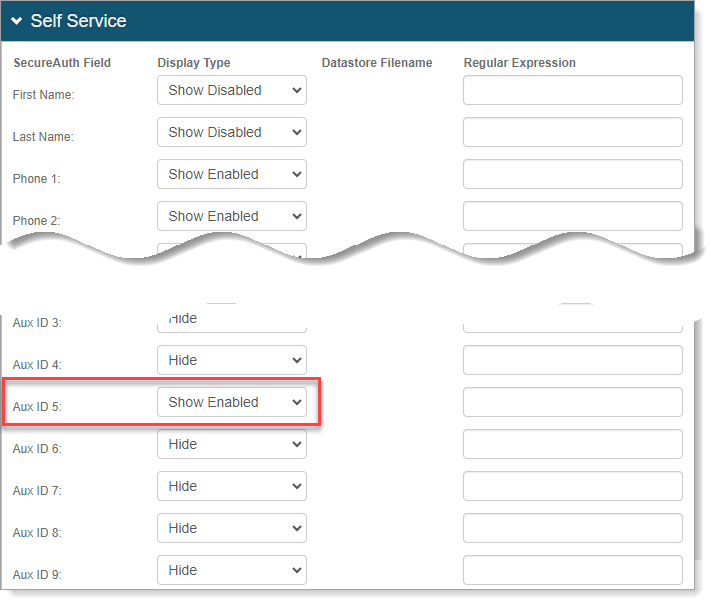
Set the Aux ID 5 field to Show Enabled.
This will display the Aux ID 5 field on the Self-service page for the end user.
To change the field name display to something other than Aux ID 5, use the Content and Localization > Verbiage Editor for this application realm.
This is on the Overview tab in the Advanced Settings.
For example, edit the resource field for
accountupdate_labelauxid5.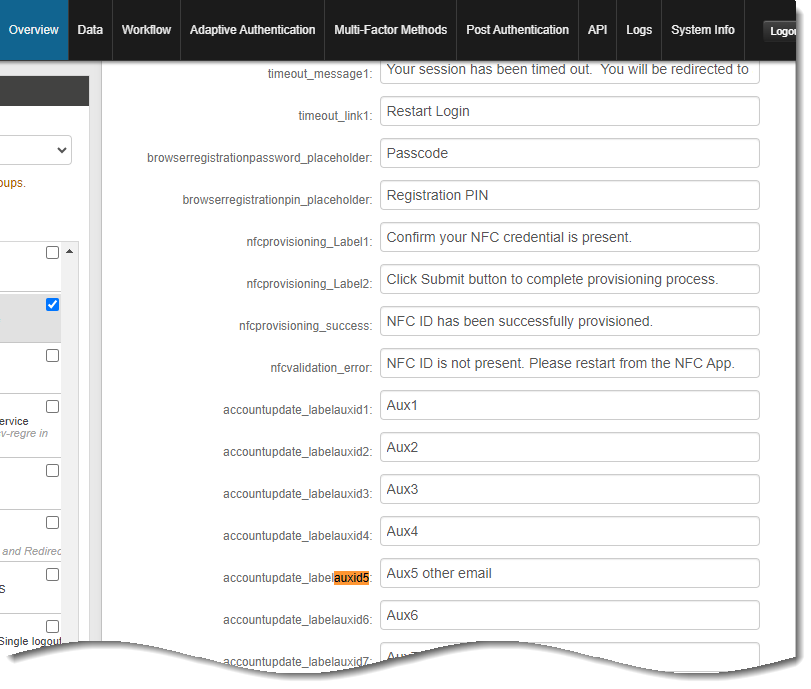
Save your changes.
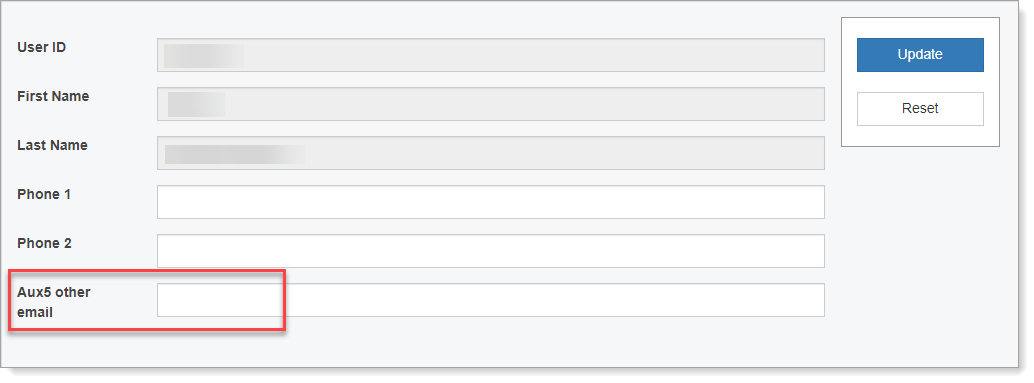
End user experience
In the end user experience, when they access the Self-service page, they will see the designated Aux ID field to enter an email address.
 |