User Account page configuration
The Identity Management (IdM) tool contains the User Account page function to allow end users to manage their user account information.
As an administrator, you can customize the User Account page by configuring what fields to show or make editable for end users. You can configure user profile fields, authentication devices, and session history.
When the end user logs in to the User Account page, they will see a customized page similar to the following screenshot.
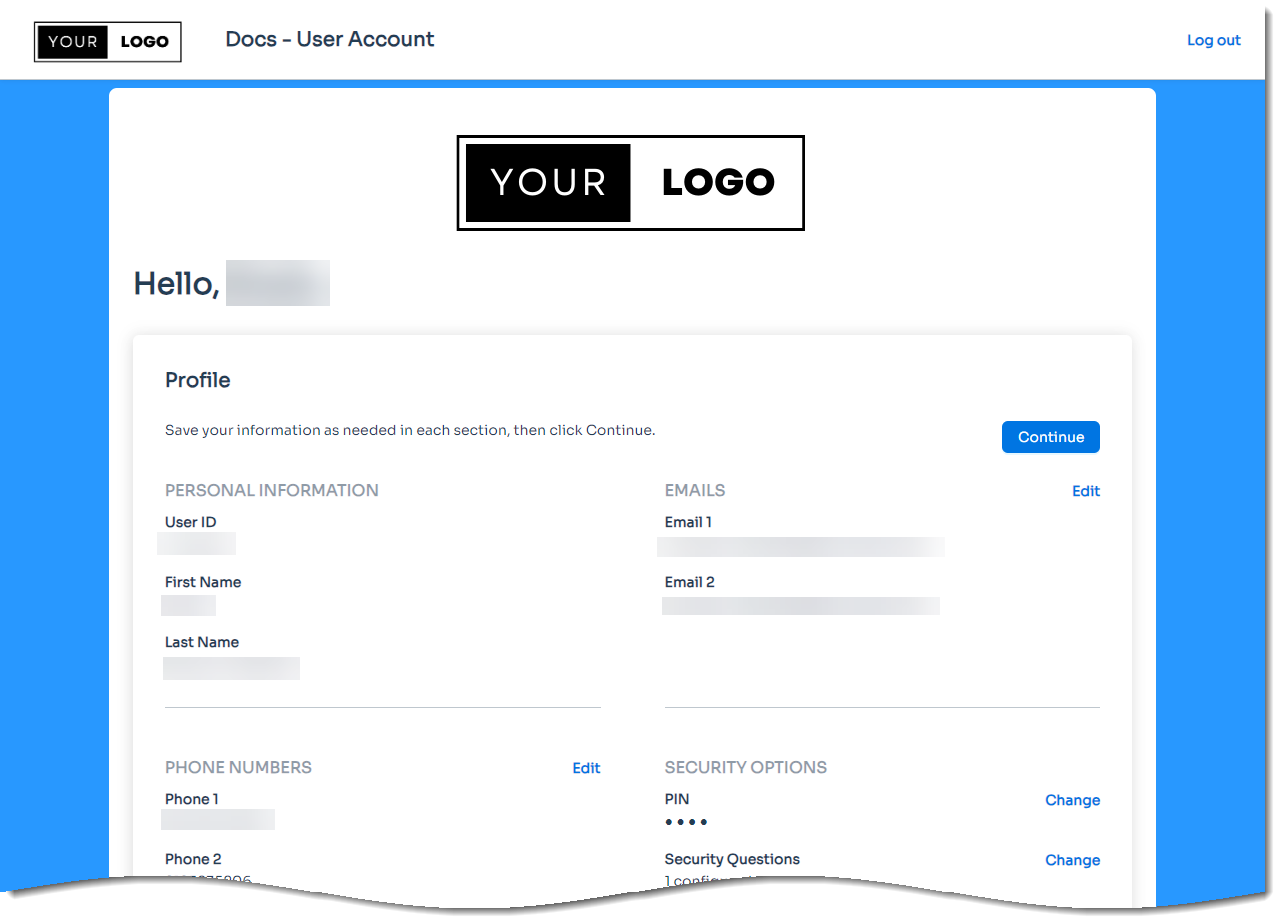 |
Example of User Account page
Prerequisites
SecureAuth® Identity Platform release 24.04 with update 24.4.3 or later
Data store added to the Identity Platform
Data store with service account write privileges to add and change user information
Configured user authentication policy
Add User Account page
Use the Internal Application Manager to add and configure the User Account page.
On the left side of the Identity Platform, click Internal Application Manager.
Click Add New Internal Application.
The New Internal Application page displays.
Set the following configurations:
Internal Application Name
Set the name of the User Account page.
This name is shown on the page header and document title of the end user login pages.
Note
If you change this name, it will overwrite any value that is set on the Overview tab in Advanced Settings.
Internal Application Description
This is an internal description not shown to end users.
Override Company Display Name
Enable / ON – Change the default company name that is set in the Multi-Factor Methods > Authentication Apps settings.
The company name entered in this field will display in mobile app notifications only for this application.
OFF – Do not override. Display the company name set globally in the Multi-Factor Methods > Authentication Apps settings.
Identity Source
Enter the data store to authenticate and allow user access to the User Account page.
Groups
Use one of the following options:
Slider in the On position (enabled): Allow users from every group in your selected data stores access to the User Account page.
Slider in the Off position (disabled): Enter the specific groups who are allowed access to the User Account page.
Authentication Policy
Select the user authentication policy for the User Account page.
Realm Number
Select the Realm Number to use for this application.
Authenticate User Redirect
Select the Identity Management (IdM) category.
Modernized Layout
Move the slider to ON.
Identity Management (IdM)
Select User Account.
Redirect To
This field is automatically populated by the selection of User Account as an internal application.
This is the page the end user lands on after login.
In the User Account Page Configuration section, set a Modern Theme for this page.
To learn more about themes, see Customize a Modern Theme. If your selected theme contains Content and Localization settings, you can customize field labels like (User ID, Email, or Phone) and add translations for supported languages.
Click Create Connection.
Result: This creates a new User Account application.
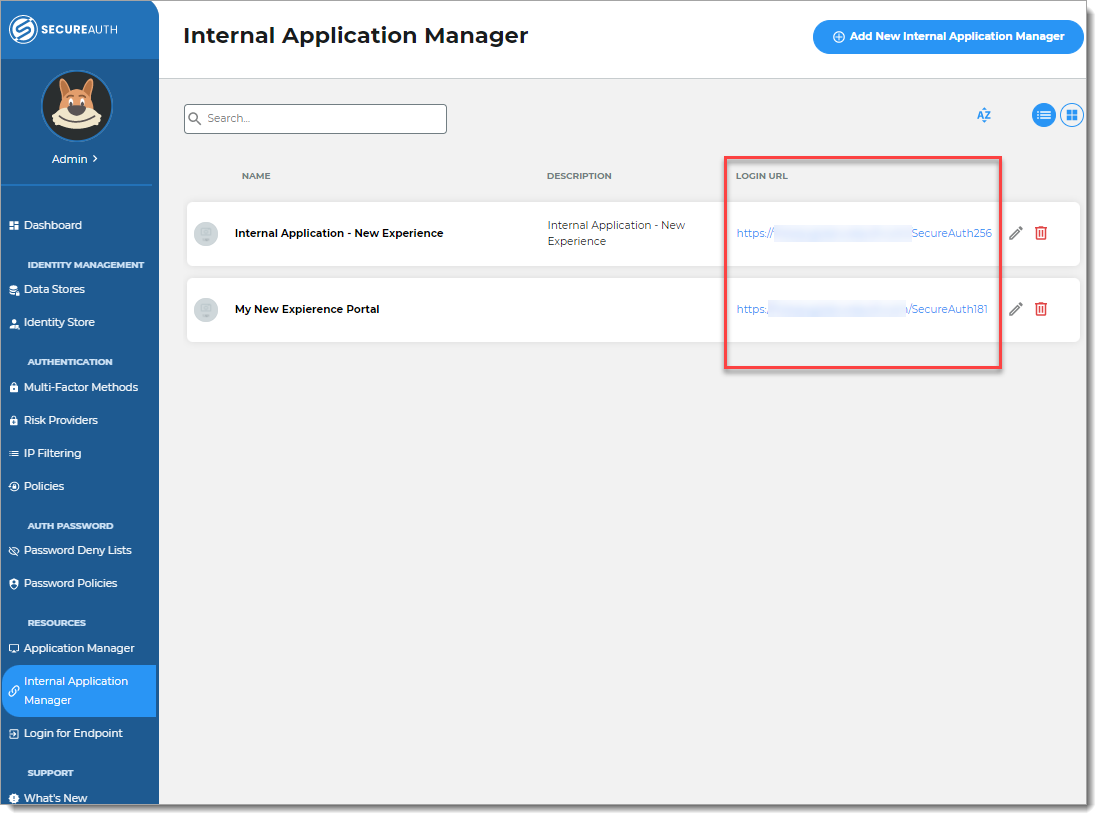
Copy the login URL for your end users to access the User Account page.
You'll need this information to share with your end users.
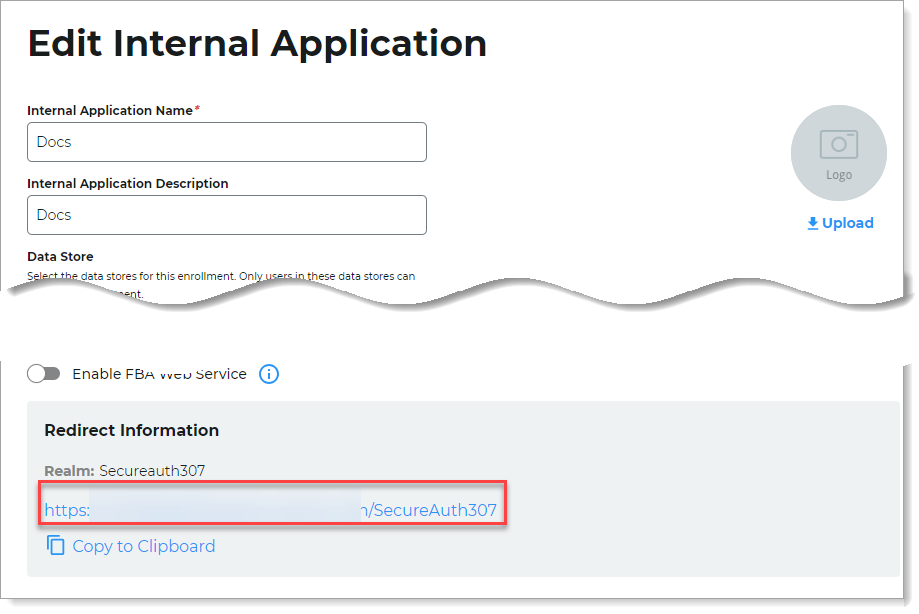
You can find this on the main Internal Application Manager page or when you edit the User Account page in the Redirect Information section.
Next, configure the profile, authentication devices, and session history in User Account page sections.
User Account page sections
Enable and configure what to display and enable for your end users on the User Account page. This includes, but is not limited to profile fields, allowed authentication devices and types, and session history. See the following topics: