Citrix StoreFront integration
This guide explains how to integrate Citrix StoreFront™ with SecureAuth CIAM using SAML for single sign-on (SSO) and multi-factor authentication (MFA). The integration streamlines user authentication, enabling Citrix users to securely access the platform through SecureAuth CIAM as an Identity Provider (IdP).
Get Citrix StoreFront information
Gathering Citrix StoreFront details, such as the VirtualPath and Service Provider information, provides the essential data needed to configure the integration with SecureAuth CIAM. These details define how Citrix StoreFront communicates with the Identity Provider (IdP).
On the Citrix StoreFront server, open an elevated PowerShell and run the following command to load Citrix modules:
asnp citrix*

After loading the modules, run this command to locate your Citrix StoreFront VirtualPath value:
Get-STFStoreService | Out-String -Stream | Select-String "VirtualPath"
Use the following commands to fetch the Service Provider information.
Replace
/Citrix/Storewith the VirtualPath value you obtained earlier.$storeVirtualPath = "/Citrix/Store" $auth = Get-STFAuthenticationService -Store (Get-STFStoreService -VirtualPath $storeVirtualPath) $spId = $auth.AuthenticationSettings["samlForms"].SamlSettings.ServiceProvider.Uri.AbsoluteUri $acs = New-Object System.Uri $auth.Routing.HostbaseUrl, ($auth.VirtualPath + "/SamlForms/AssertionConsumerService") $md = New-Object System.Uri $auth.Routing.HostbaseUrl, ($auth.VirtualPath + "/SamlForms/ServiceProvider/Metadata") $samlTest = New-Object System.Uri $auth.Routing.HostbaseUrl, ($auth.VirtualPath + "/SamlTest") Write-Host "SAML Service Provider information: Service Provider ID: $spId Assertion Consumer Service: $acs Metadata: $md Test Page: $samlTest"
Result: Note the metatdata URL in the following command output. You will use this in the next steps.
SAML Service Provider information:
Service Provider ID: https://StoreFront.example.com/Citrix/StoreAuth
Assertion Consumer Service: https://StoreFront.example.com/Citrix/StoreAuth/SamlForms/AssertionConsumerService
Metadata: https://StoreFront.example.com/Citrix/StoreAuth/SamlForms/ServiceProvider/Metadata
Test Page: https://StoreFront.example.com/Citrix/StoreAuth/SamlTest
SecureAuth CIAM configuration
Setting up SecureAuth CIAM as the Identity Provider (IdP) establishes it as the central authority for authenticating Citrix StoreFront users. This configuration ensures that user credentials and authentication flows are managed through SecureAuth CIAM, enhancing security and user management.
Log in to your SecureAuth CIAM tenant with an admin account.
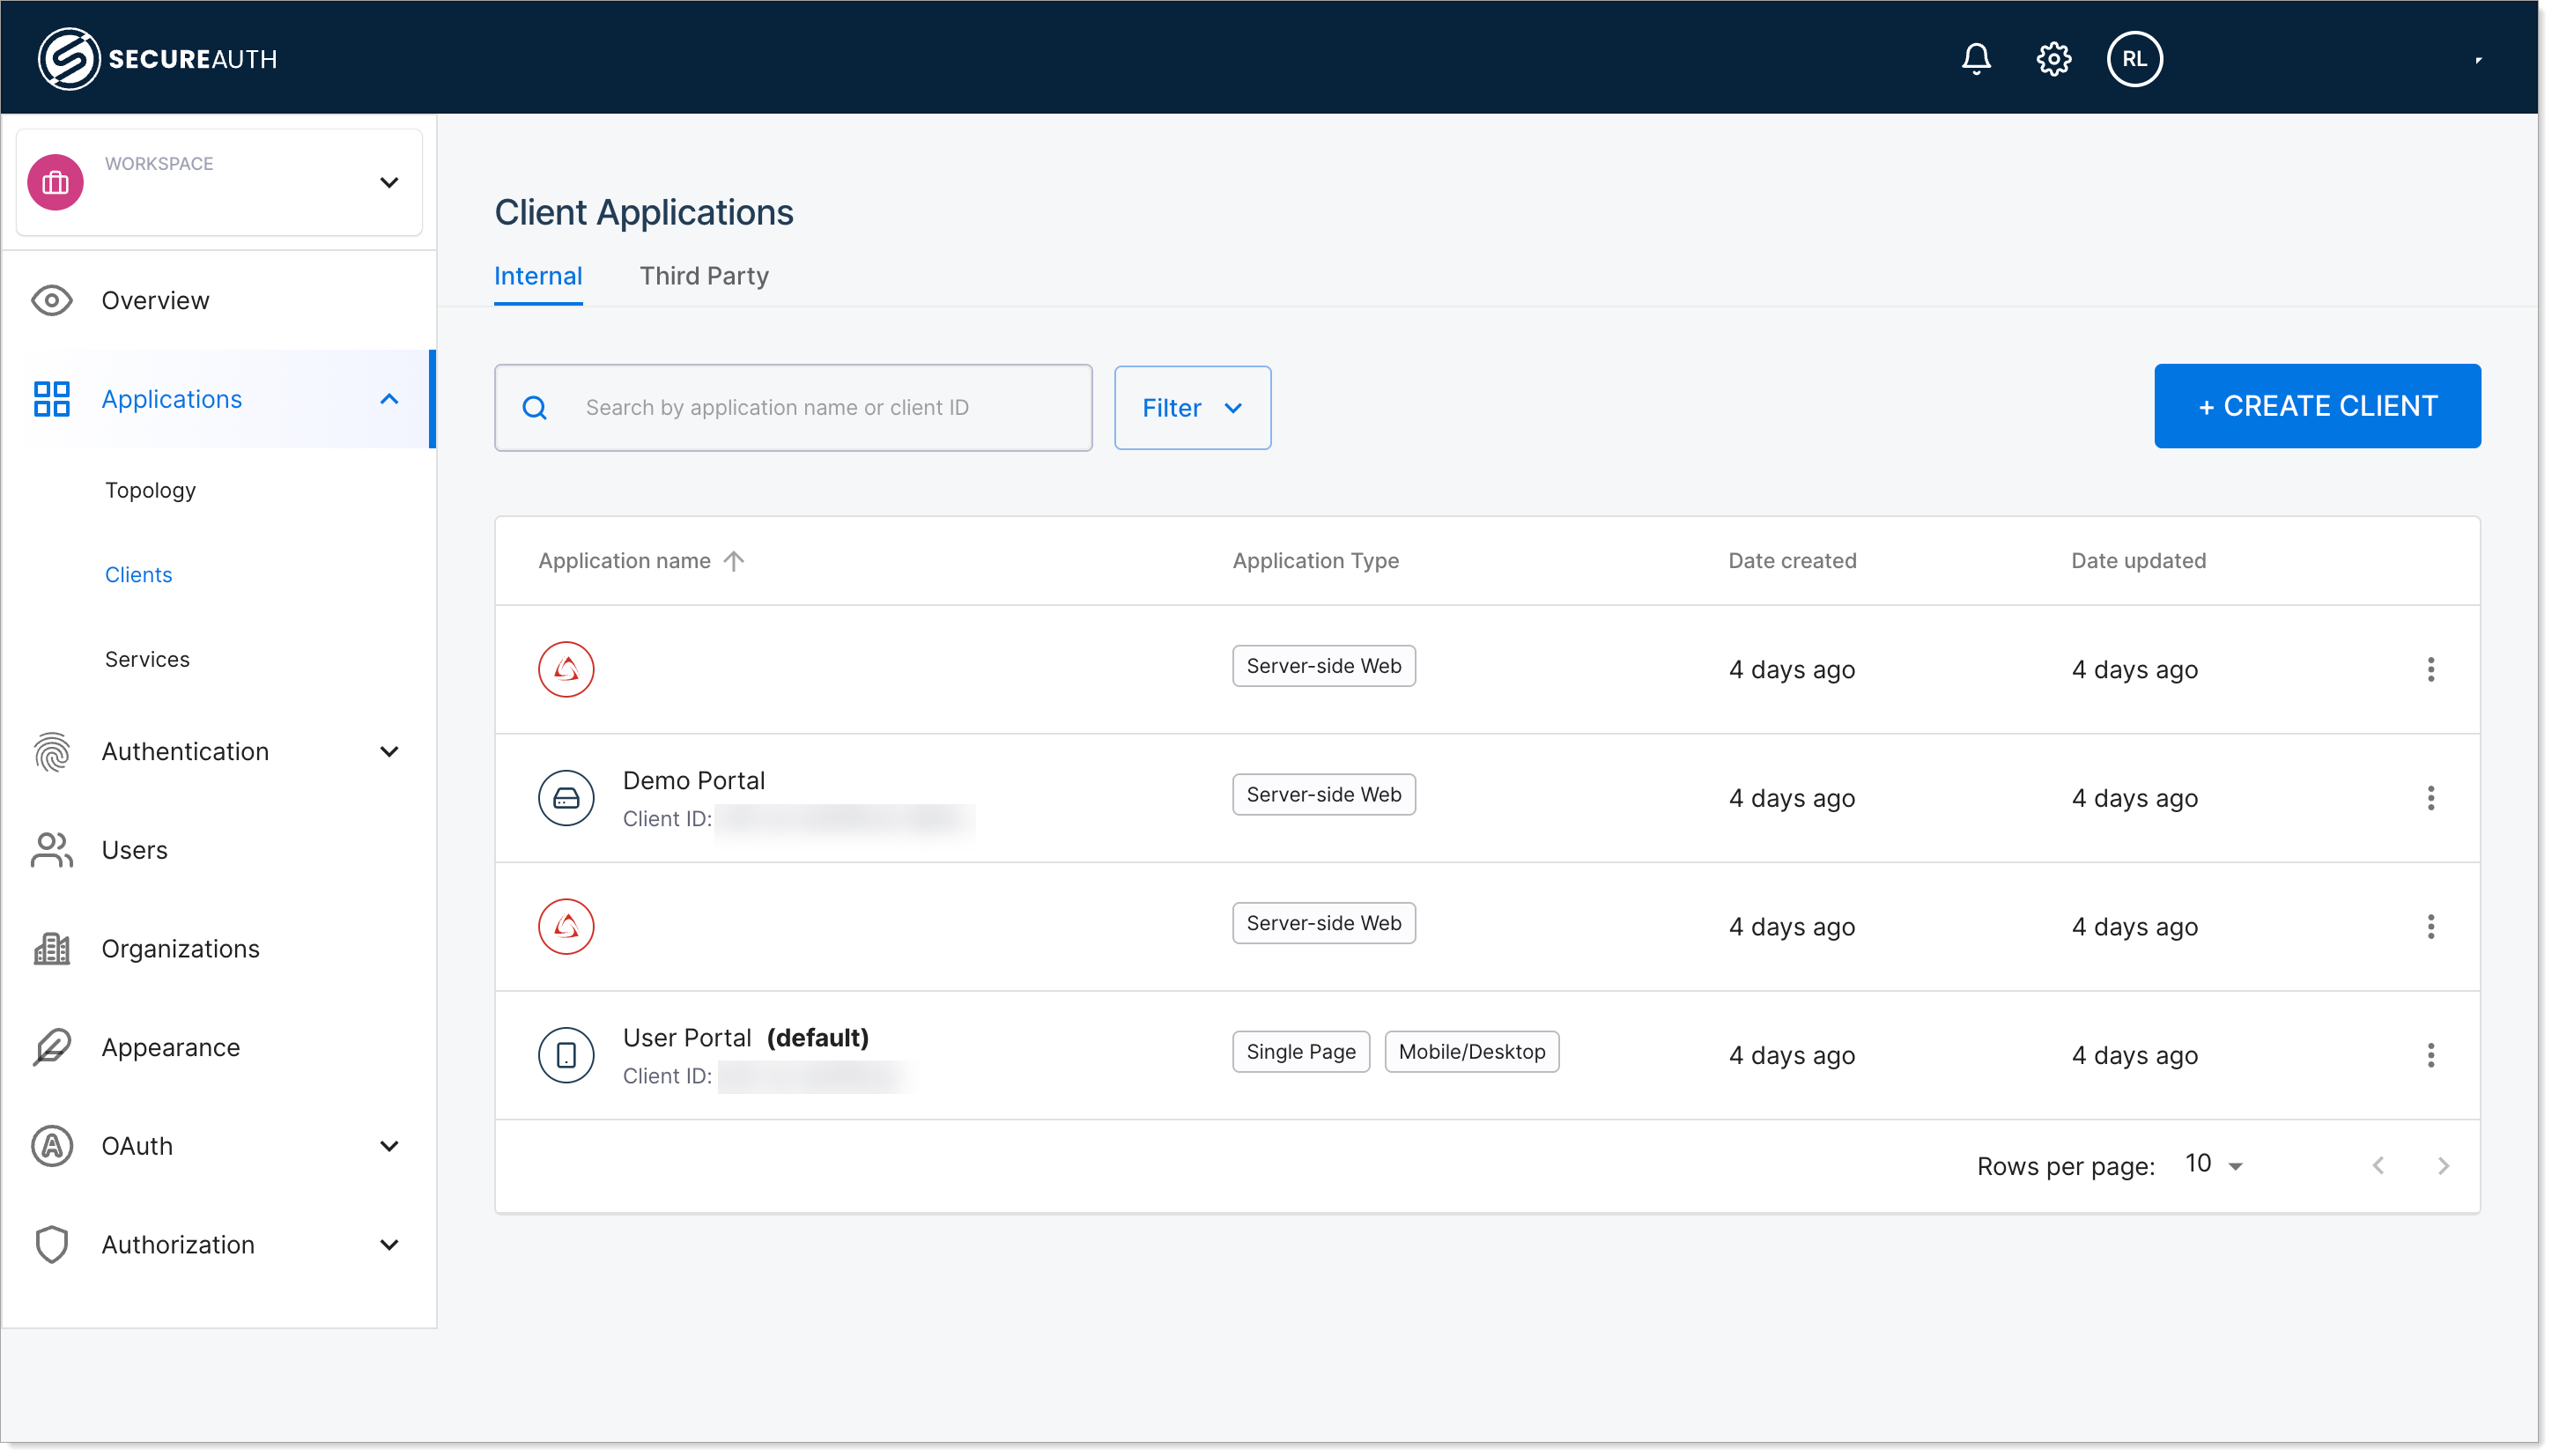
In your workspace or organization, select Applications > Clients > Create client.
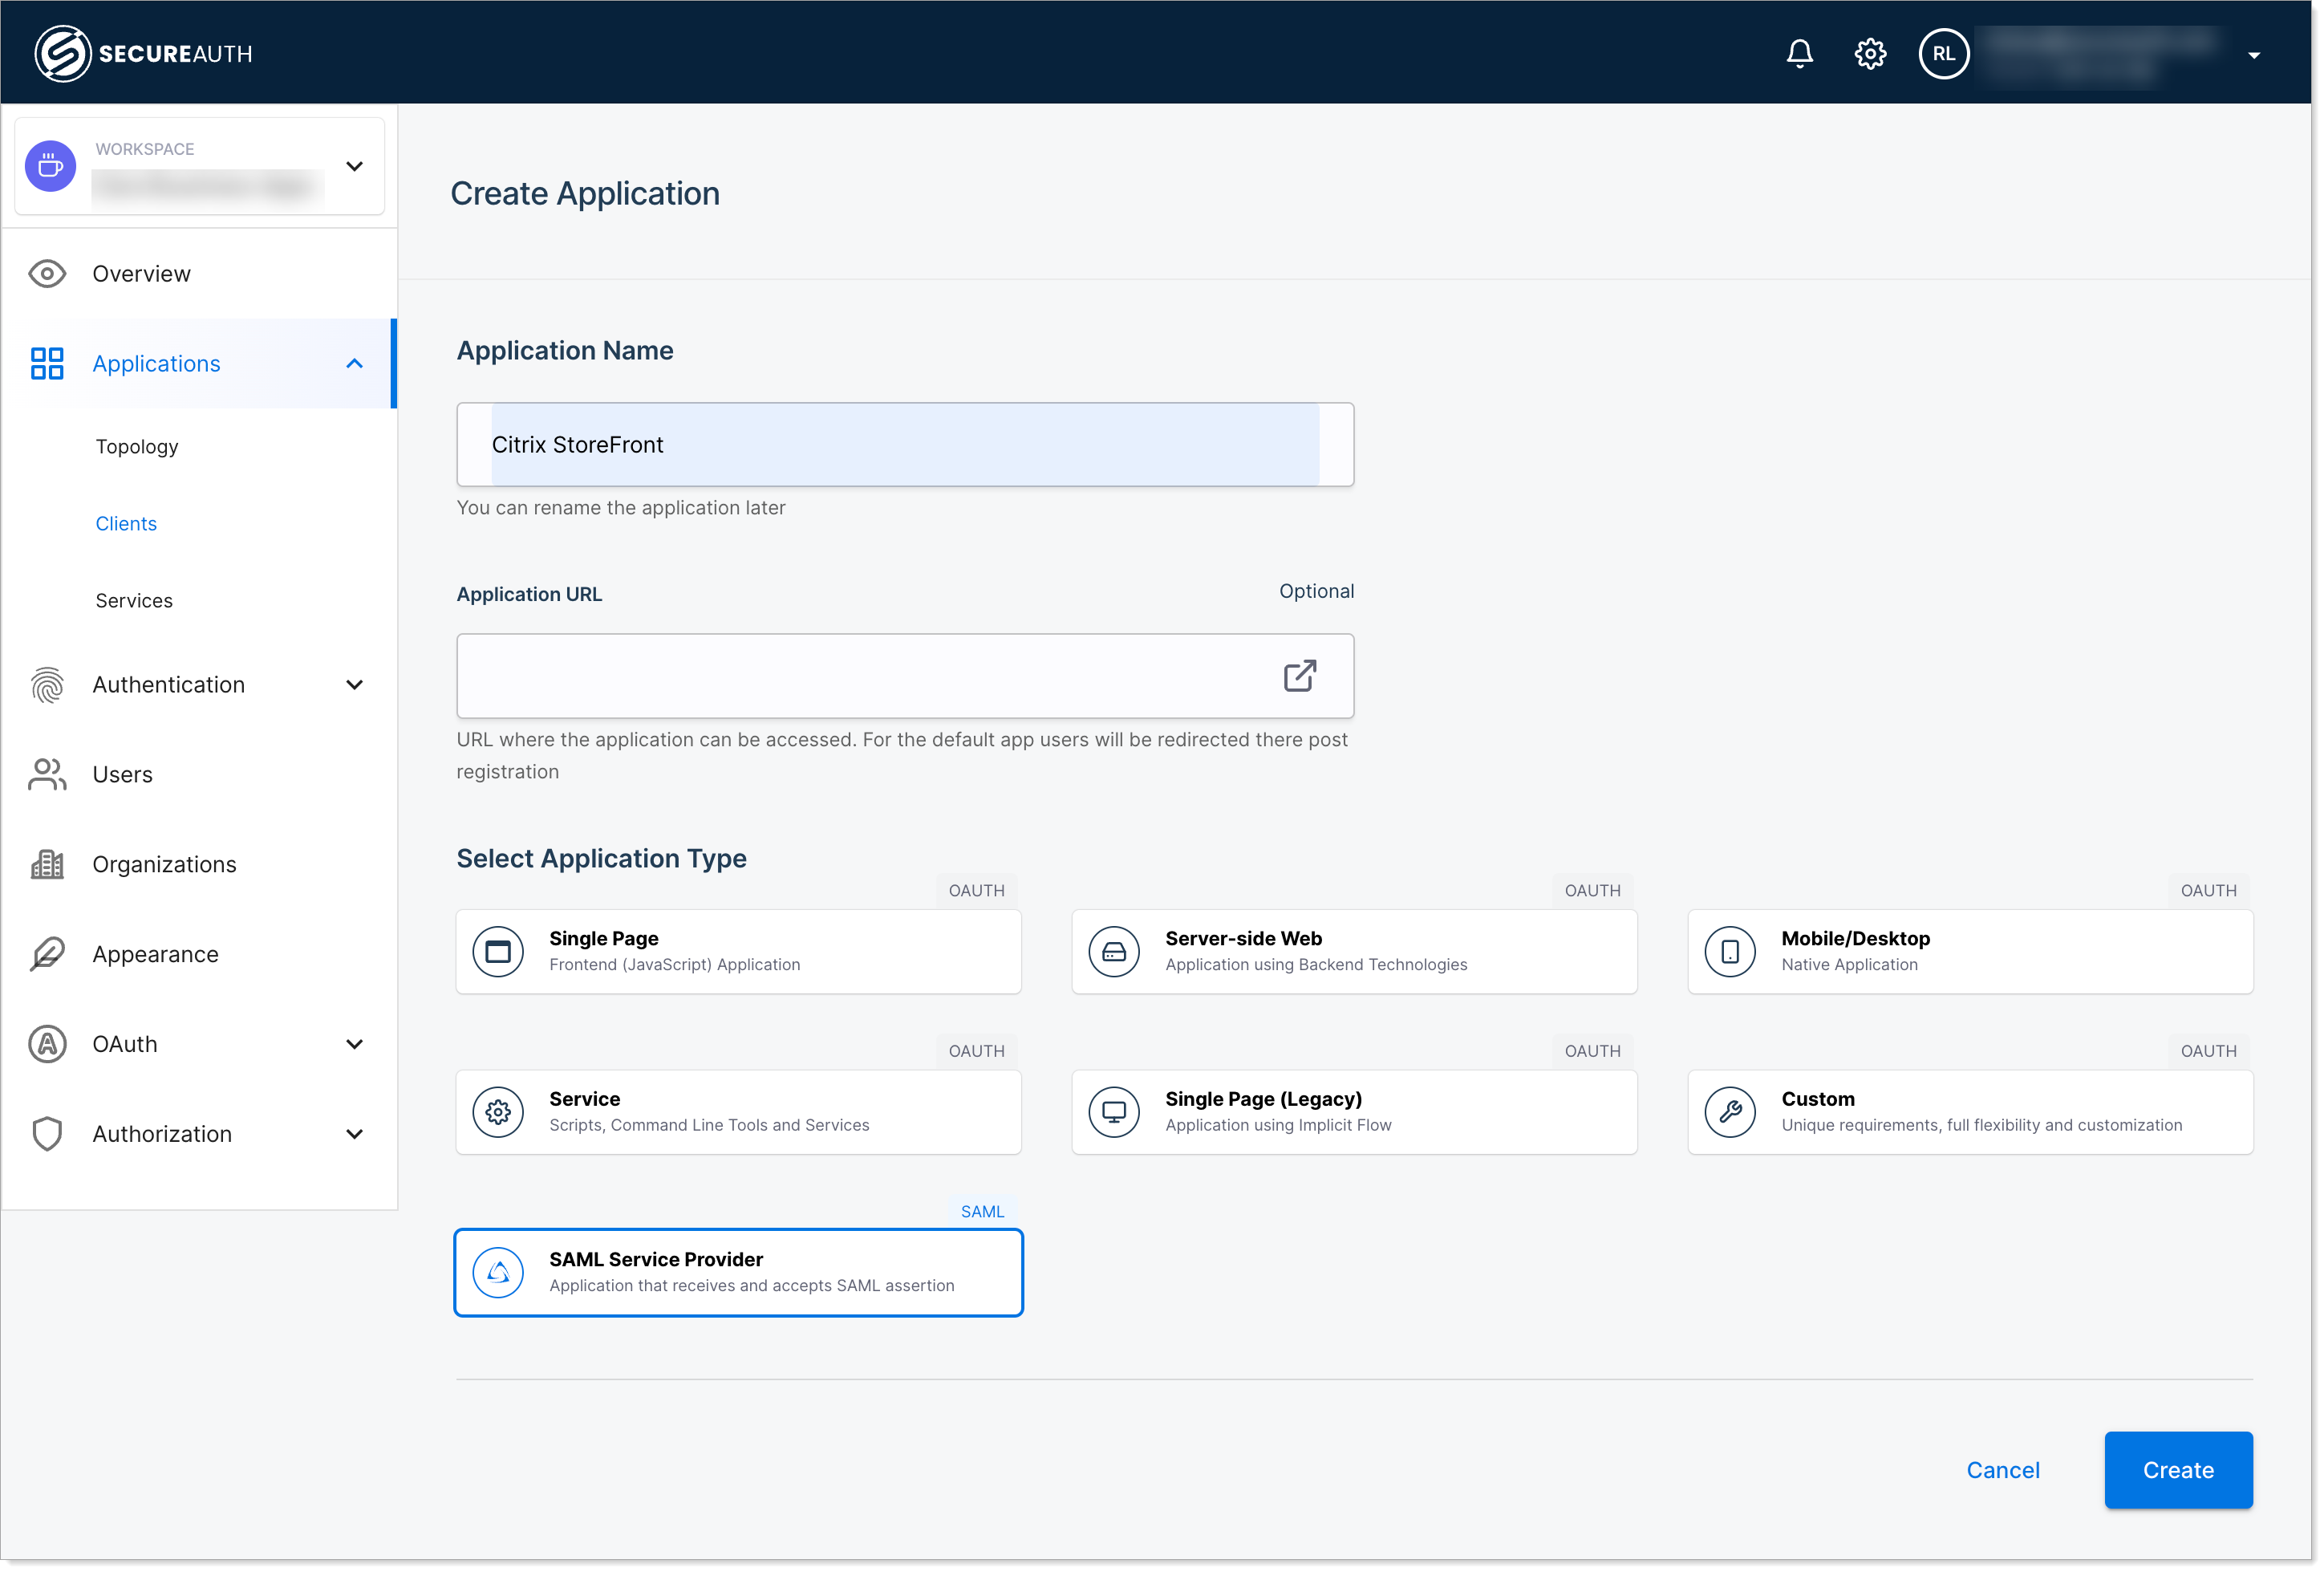
Provde a name for your application, select SAML Service Provider, and click Create.
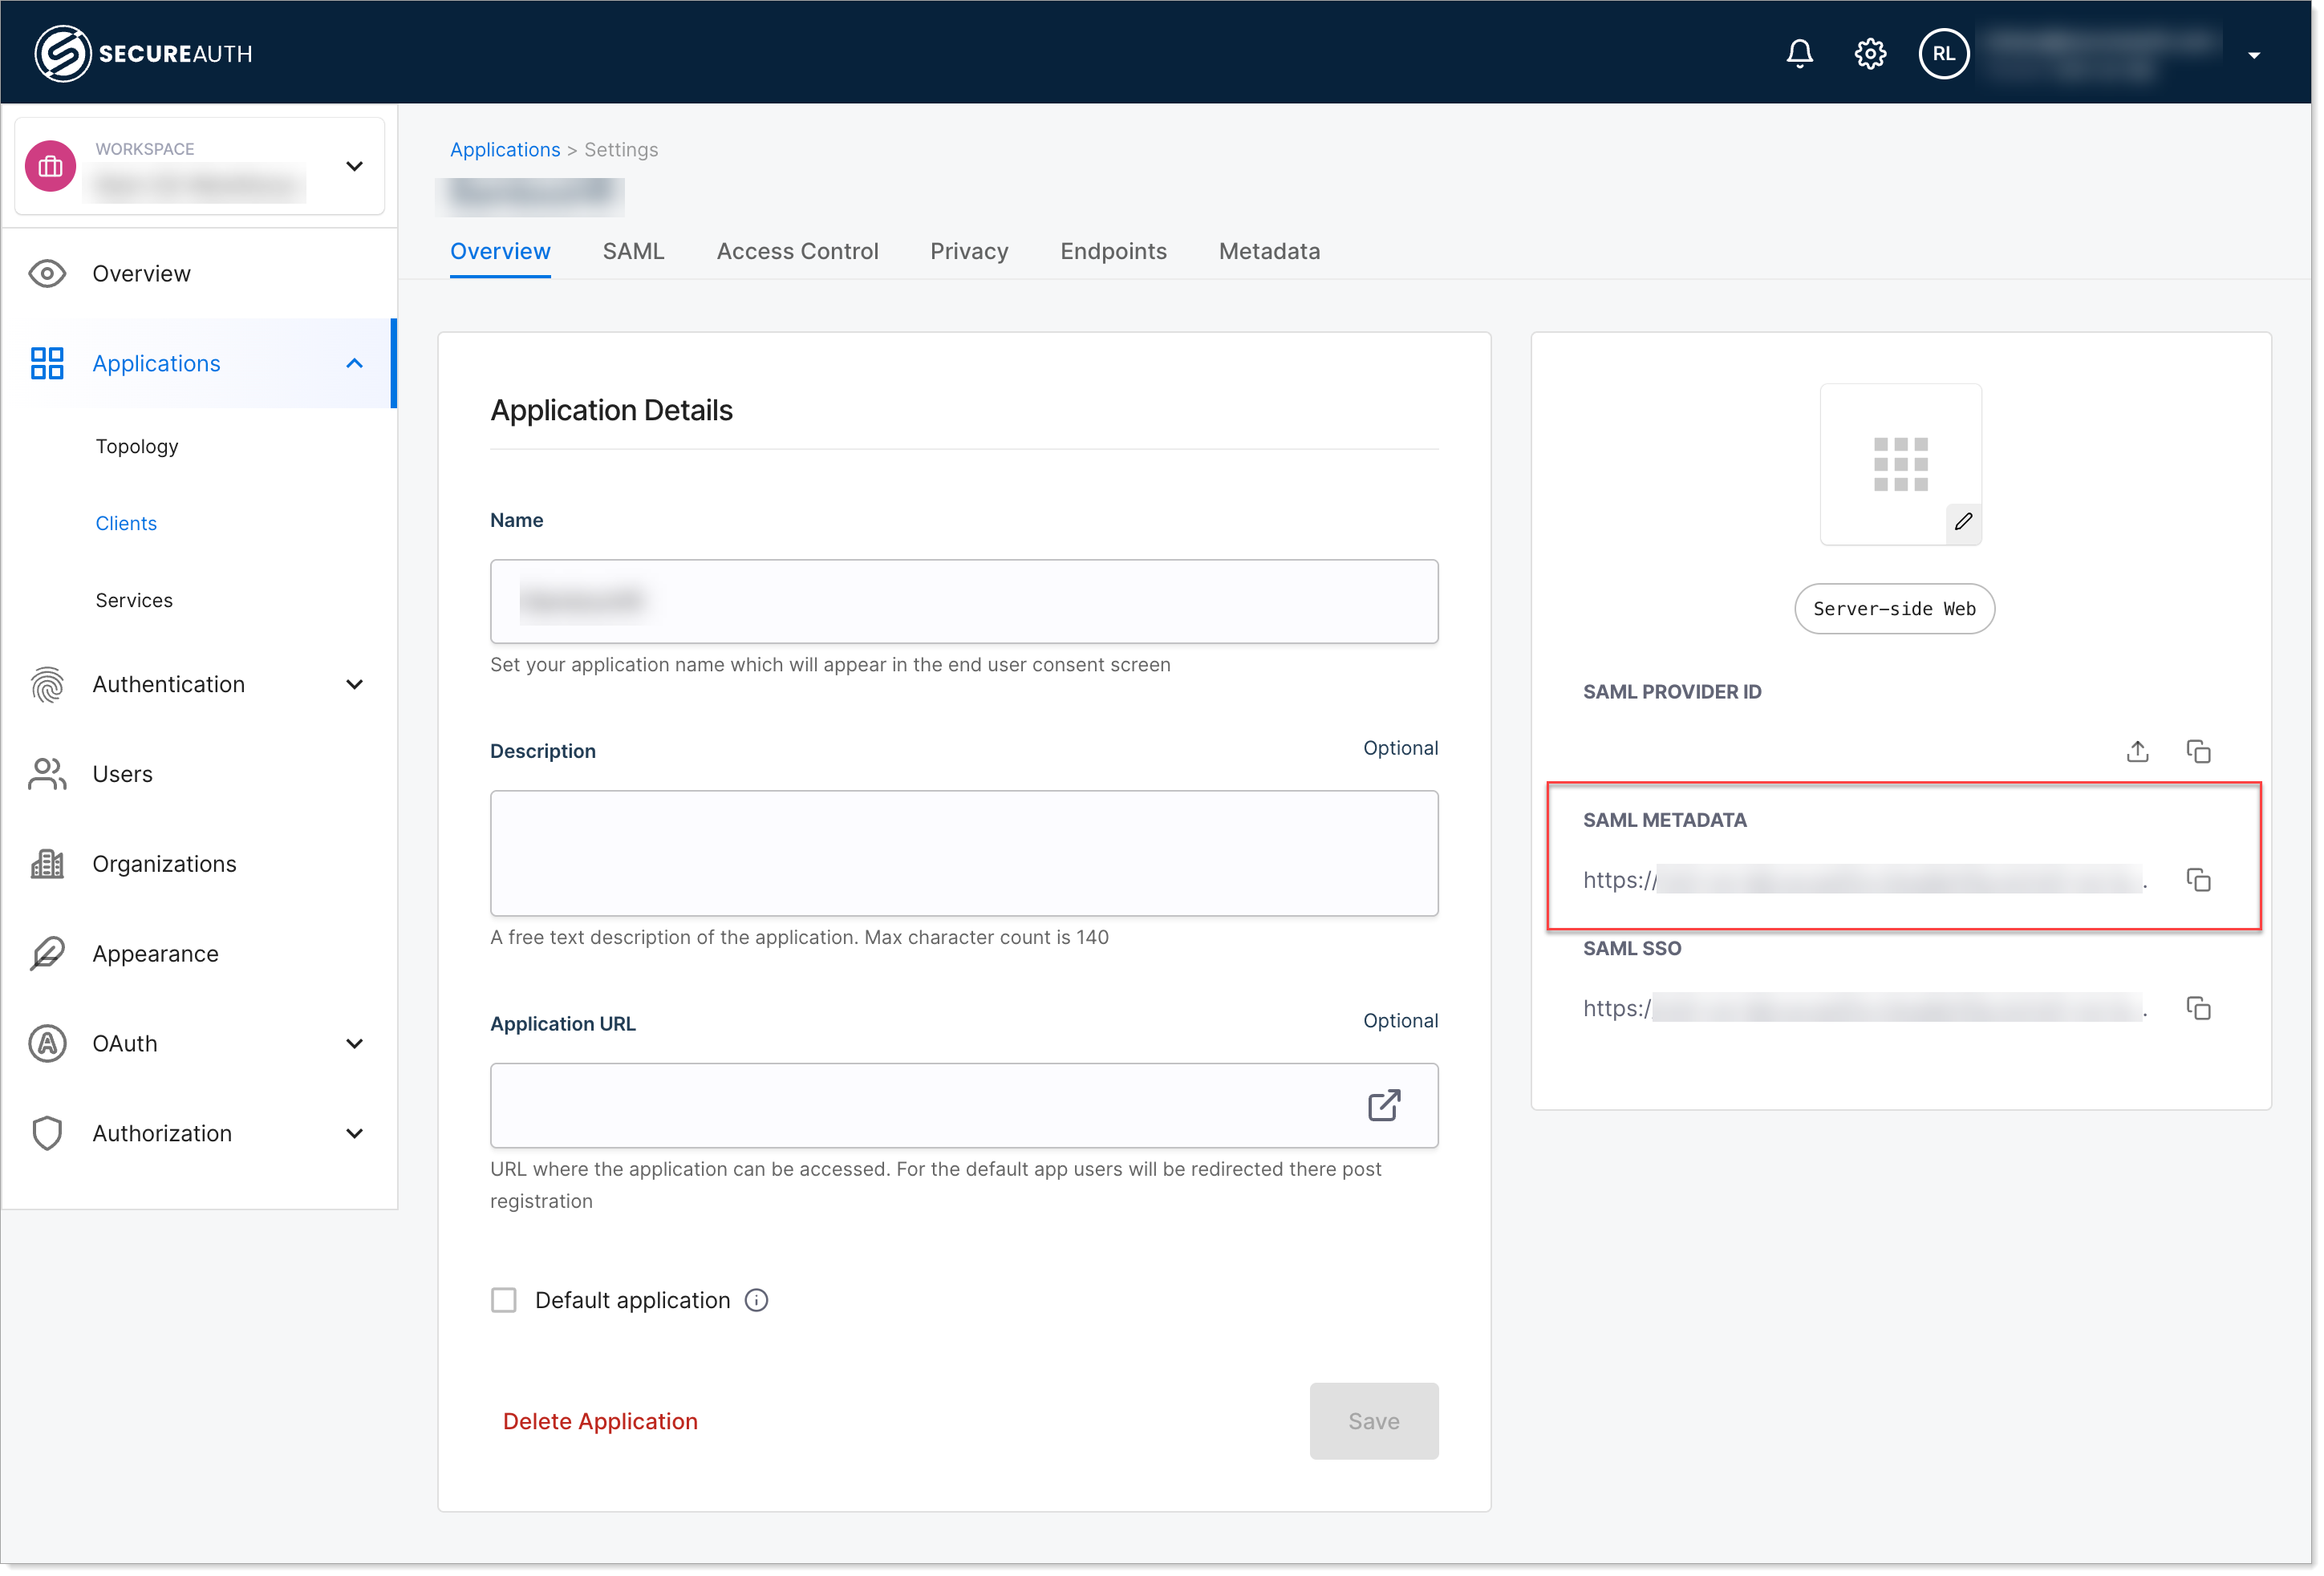
Copy the SAML Metadata URL and download it as a file.
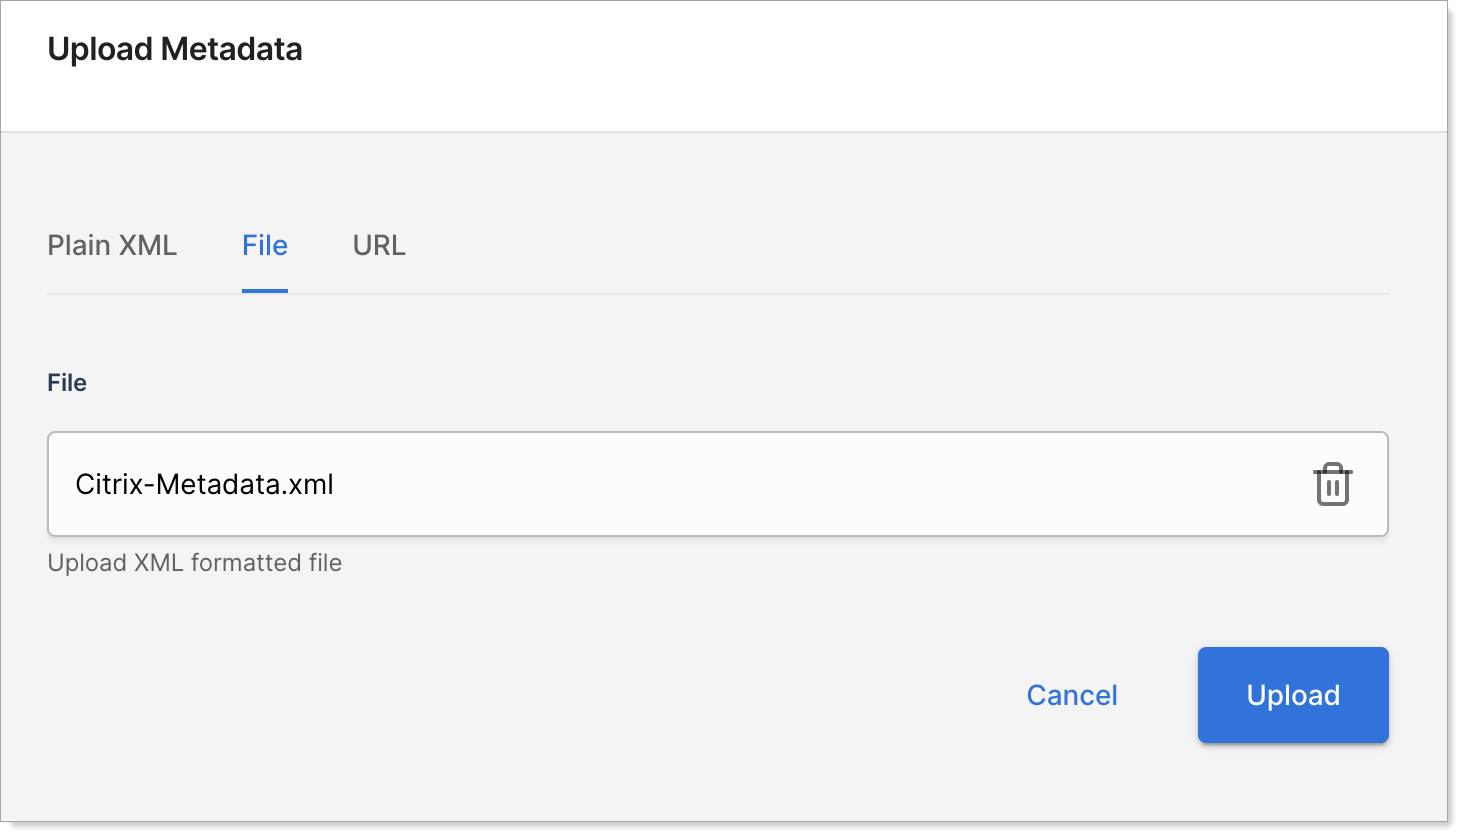
Select the SAML tab, click Upload, and provide your Citrix StoreFront metadata as a Plain XML, File, or URL, and click Upload.
Go to OAuth > Tokens > Subject Identifier. In the SAML section, set the Subject Name ID to mail.
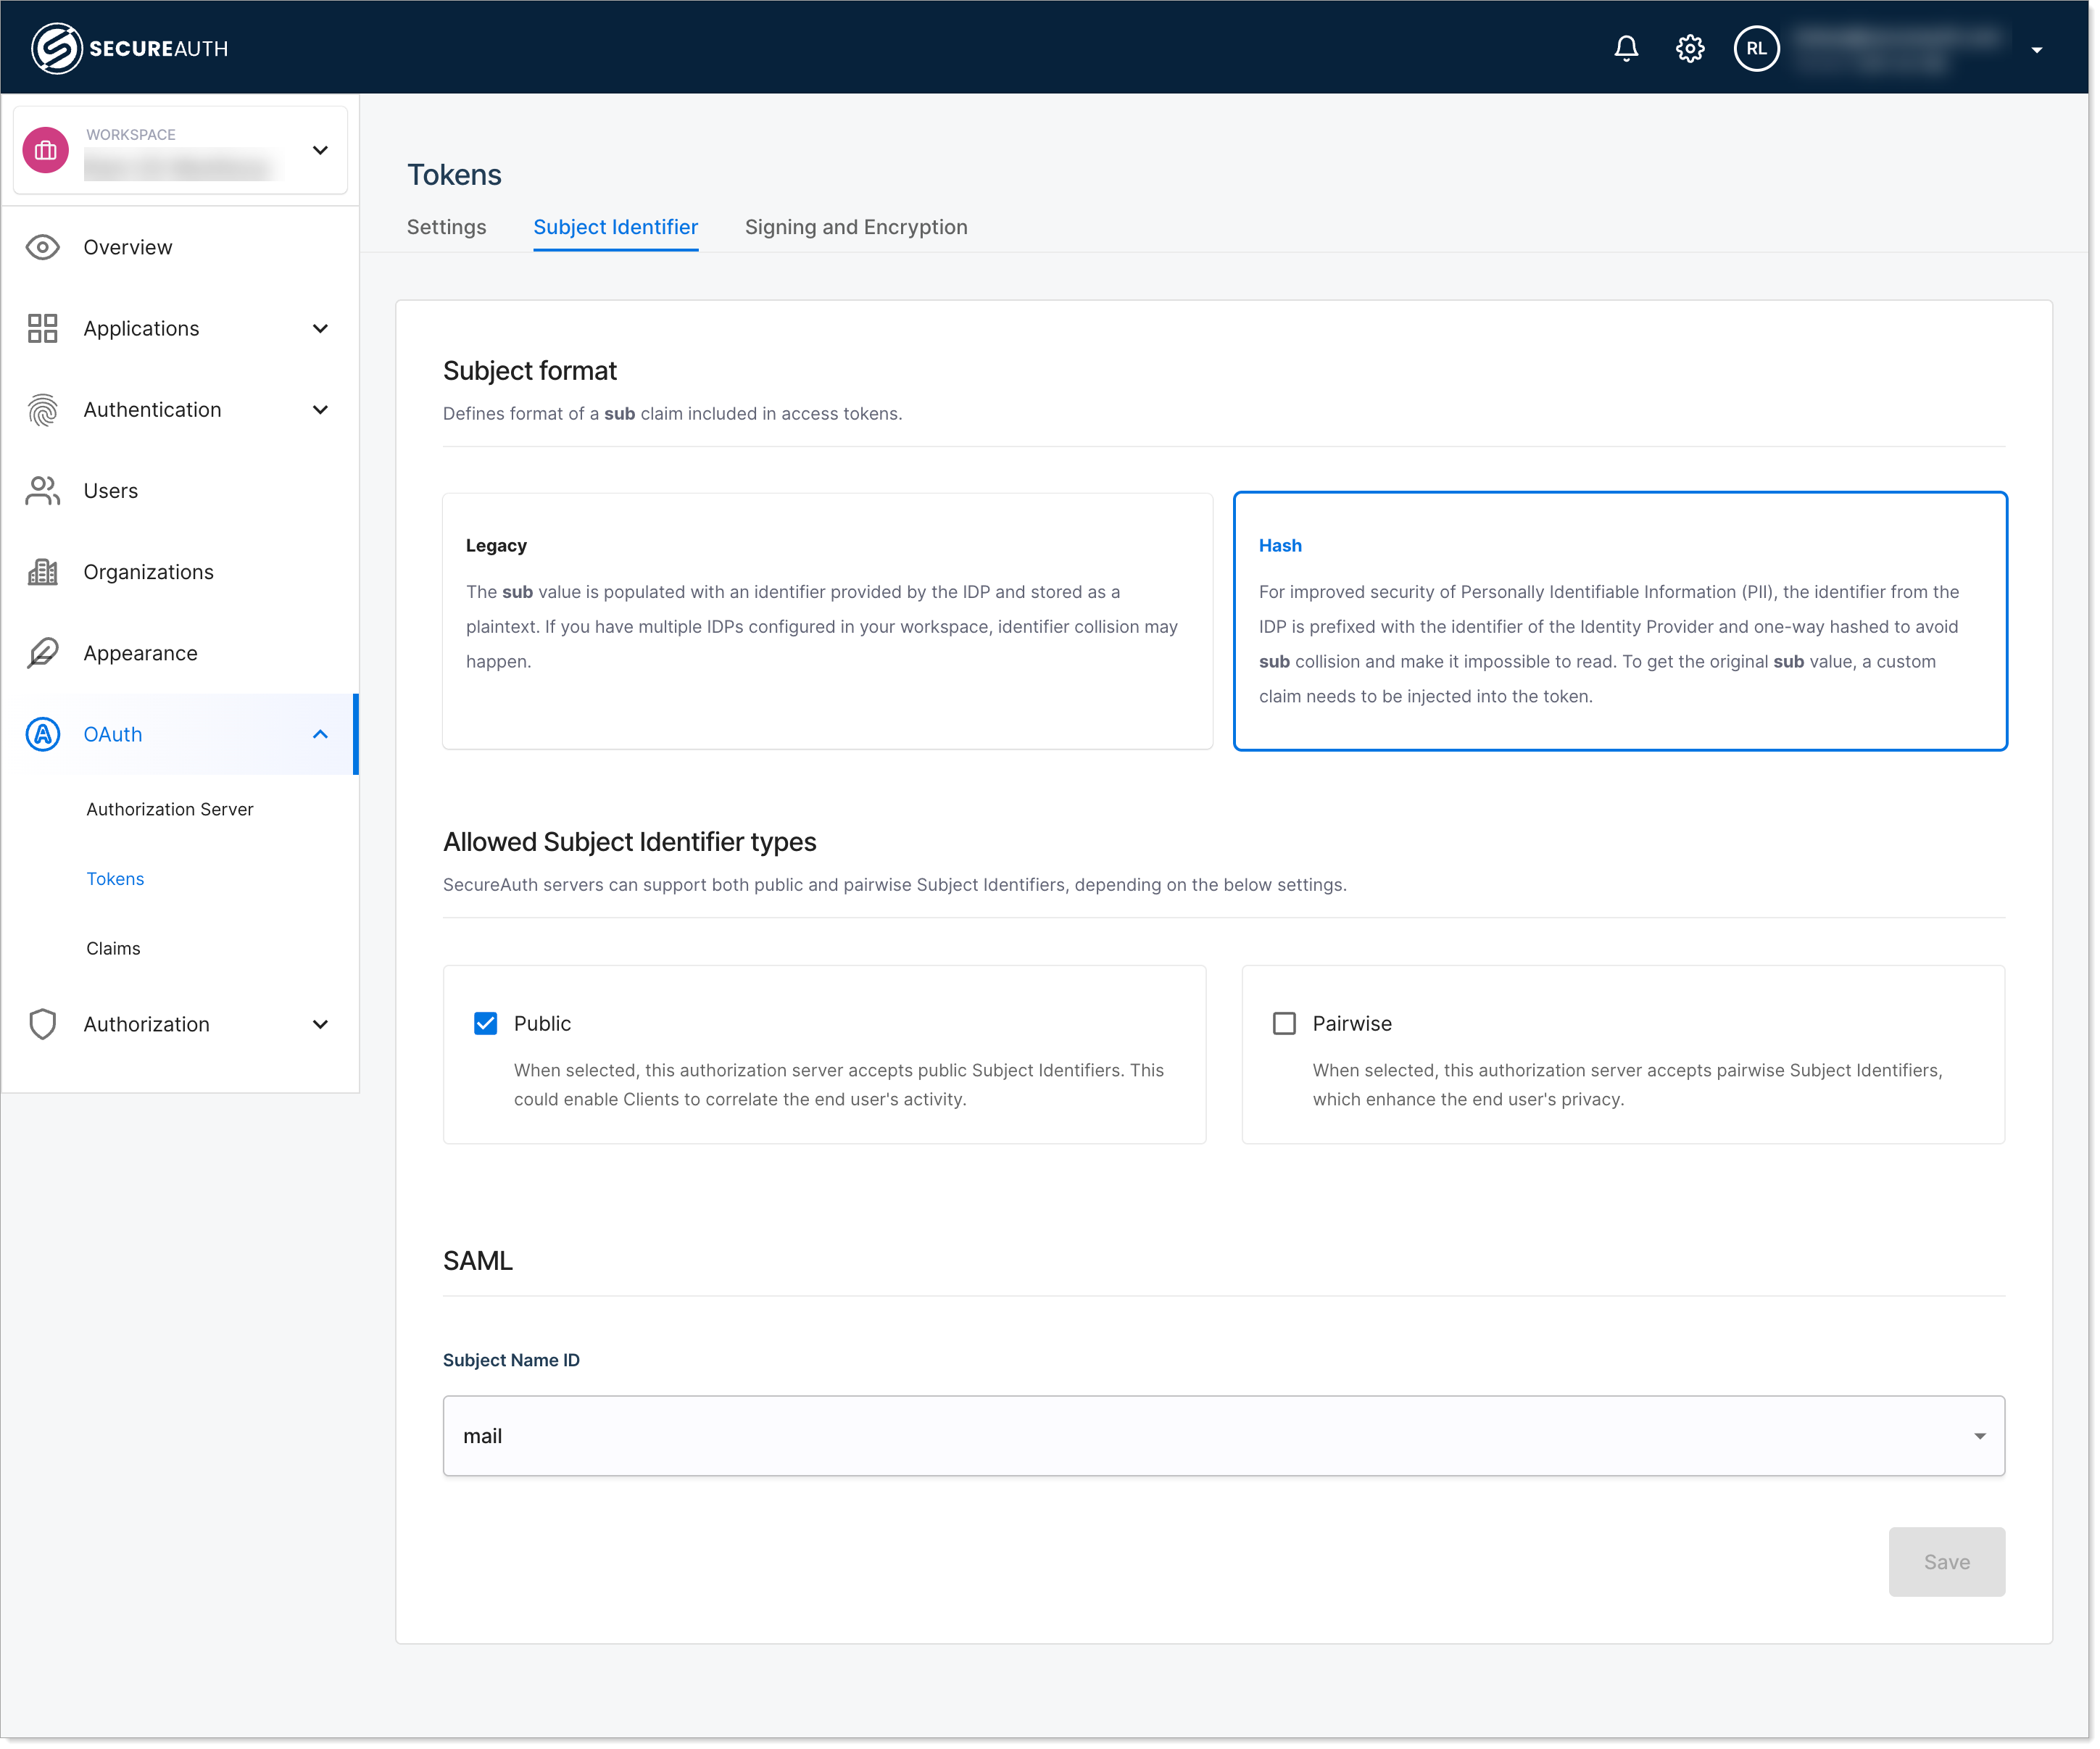
Save your changes.
Citrix StoreFront configuration
Enabling SAML Authentication in Citrix StoreFront and updating its configuration with the SecureAuth CIAM metadata connects Citrix StoreFront to the IdP. This step completes the integration, allowing Citrix StoreFront to accept SAML-based authentication requests and responses.
In the Citrix StoreFront console, under Manage Authentication Methods, enable SAML Authentication.
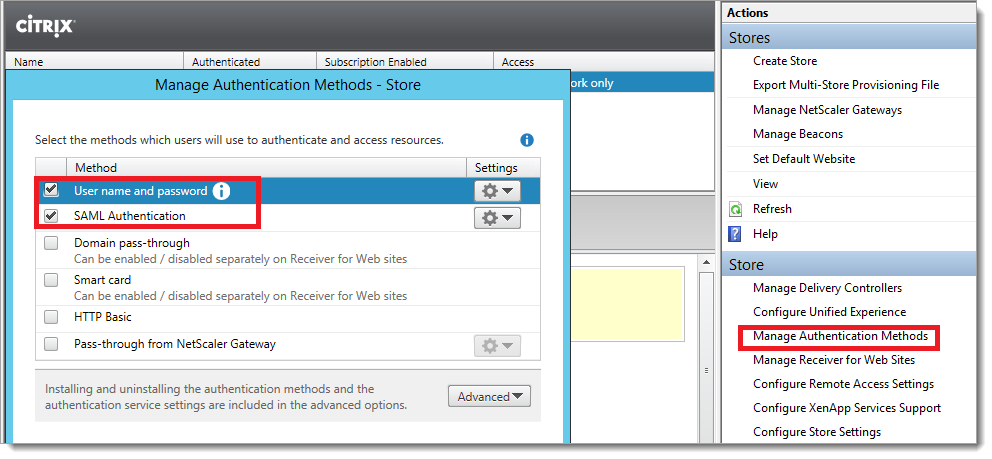
On the Citrix StoreFront server, open an elevated PowerShell and run the following commands.
Remember to replace
/Citrix/Storewith the VirtualPath value you obtained earlier.Get-Module "Citrix.StoreFront*" -ListAvailable | Import-Module $StoreVirtualPath = "/Citrix/Store" $store = Get-STFStoreService -VirtualPath $StoreVirtualPath $auth = Get-STFAuthenticationService -StoreService $store Update-STFSamlIdPFromMetadata -AuthenticationService $auth -FilePath "File path of the metadata file you downloaded from SecureAuth CIAM”
Test your integration
Open your Citrix StoreFront URL.
Ensure the page redirects to the SecureAuth CIAM authentication page.
Complete authentication.
Result: You should land on the Citrix StoreFront home page.