Set up OneLogin for Authentication
Instructions on configuring SecureAuthSecureAuth with OneLogin as an identity provider using the SAML federation
Prerequisites
SecureAuth access/account
OneLogin access/account
Configure OneLogin
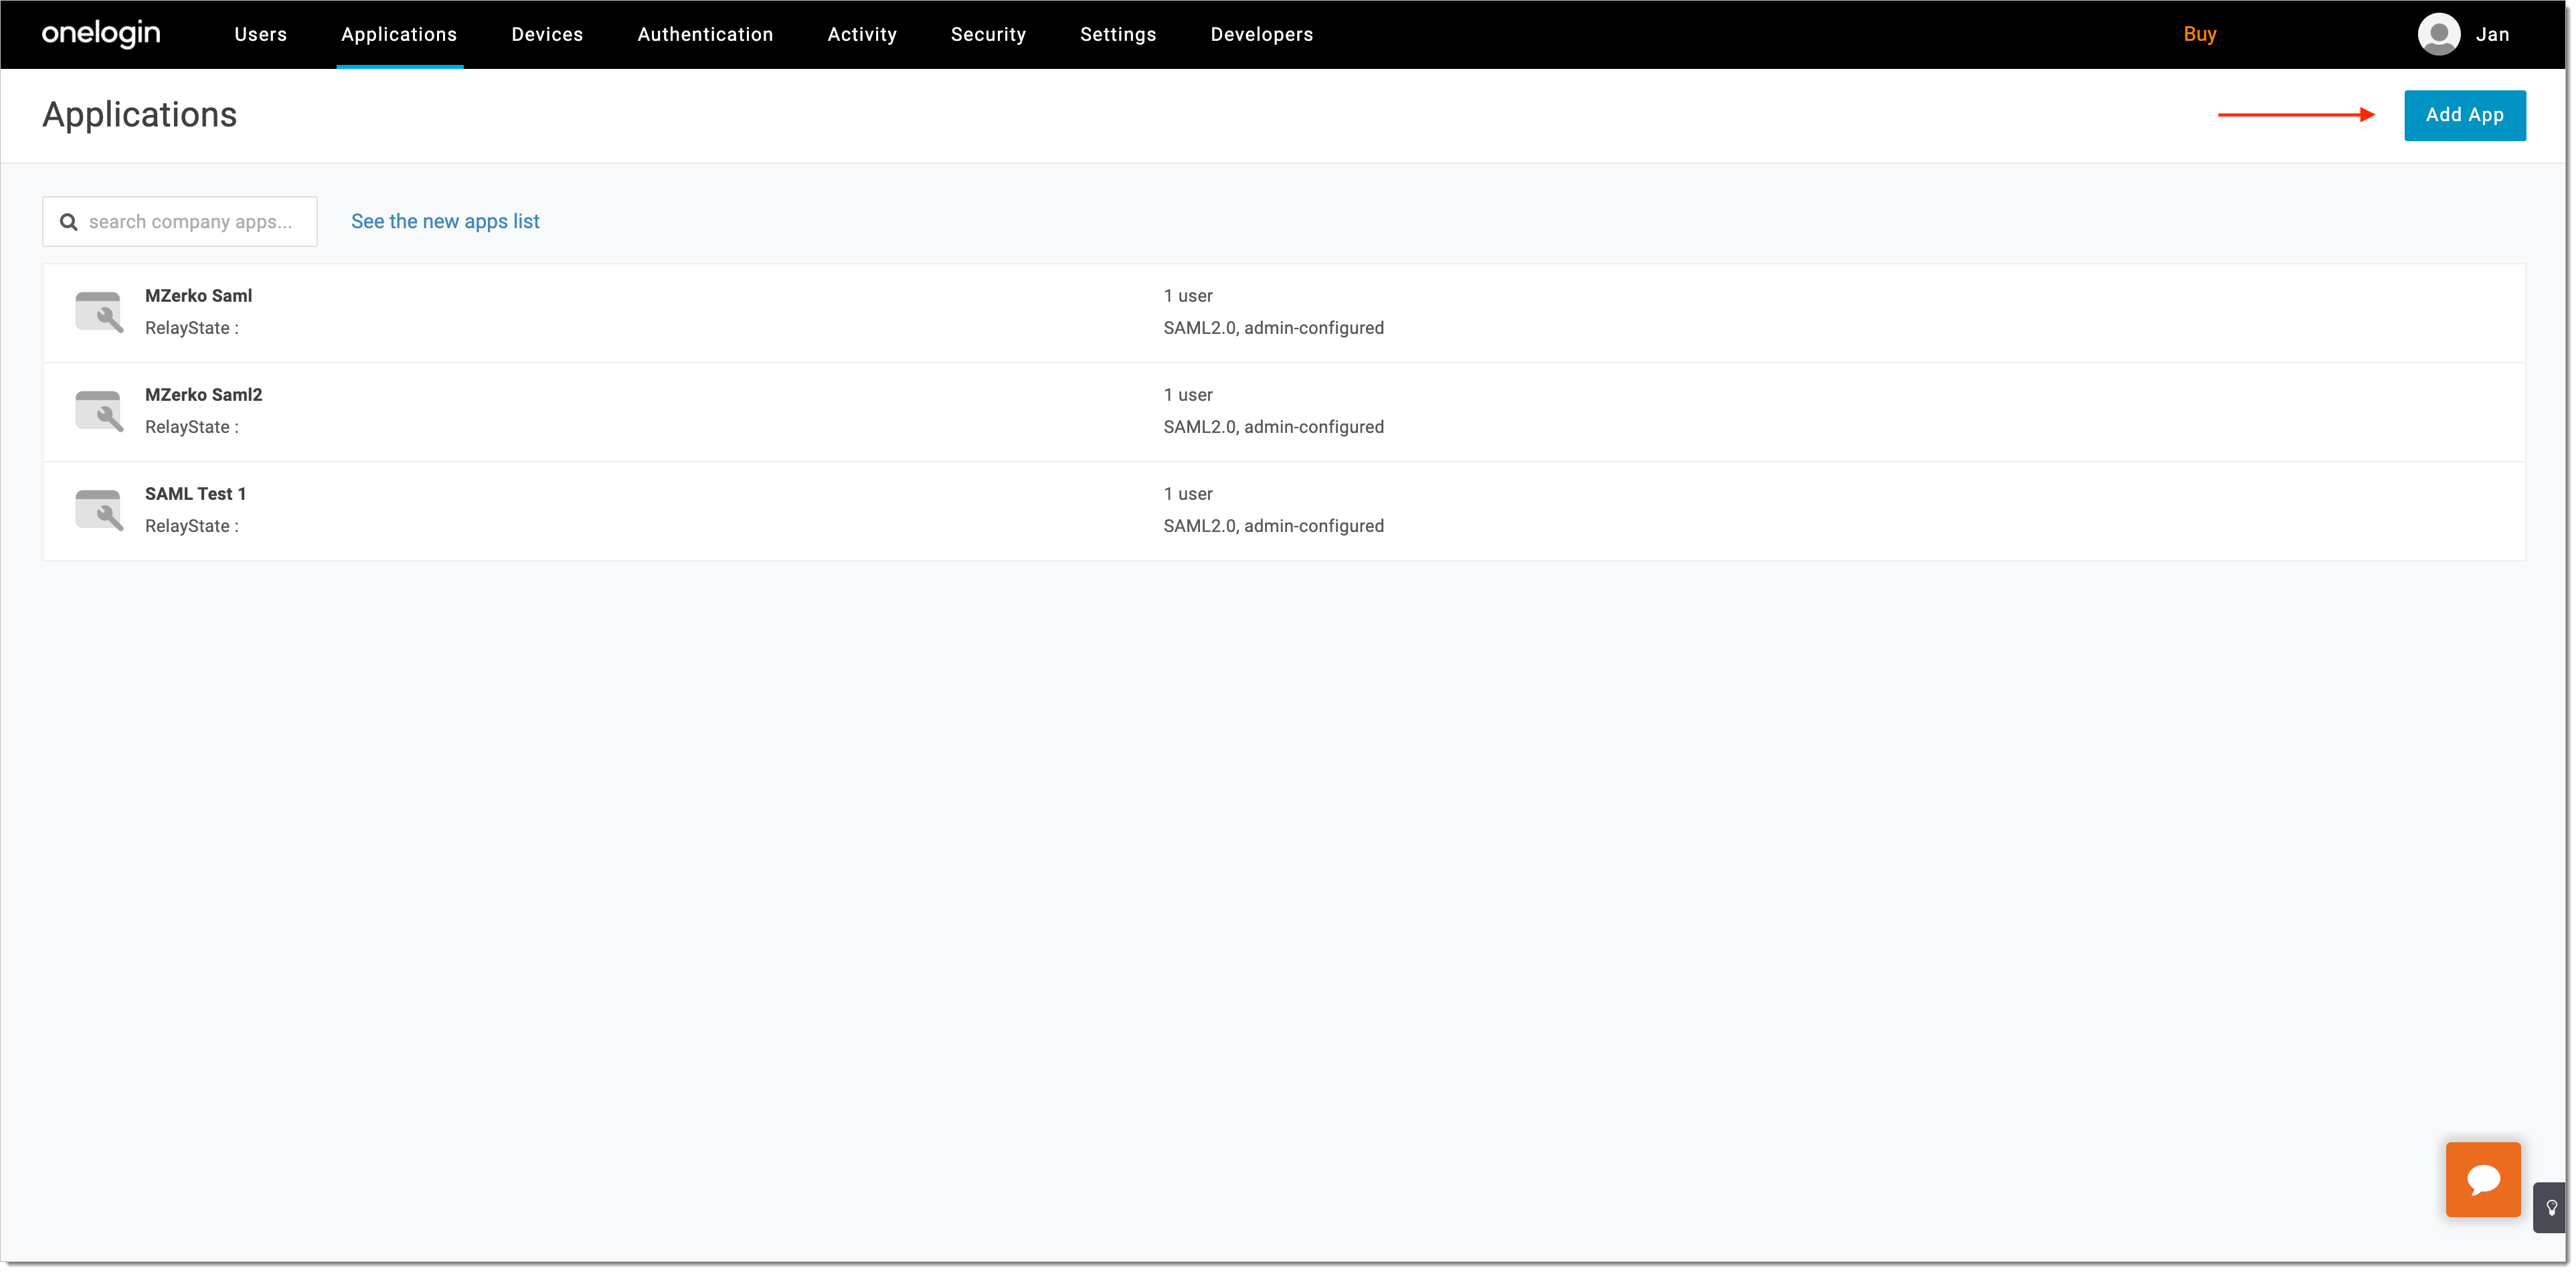
Create a new SAML application in OneLogin admin portal by selecting Add App.
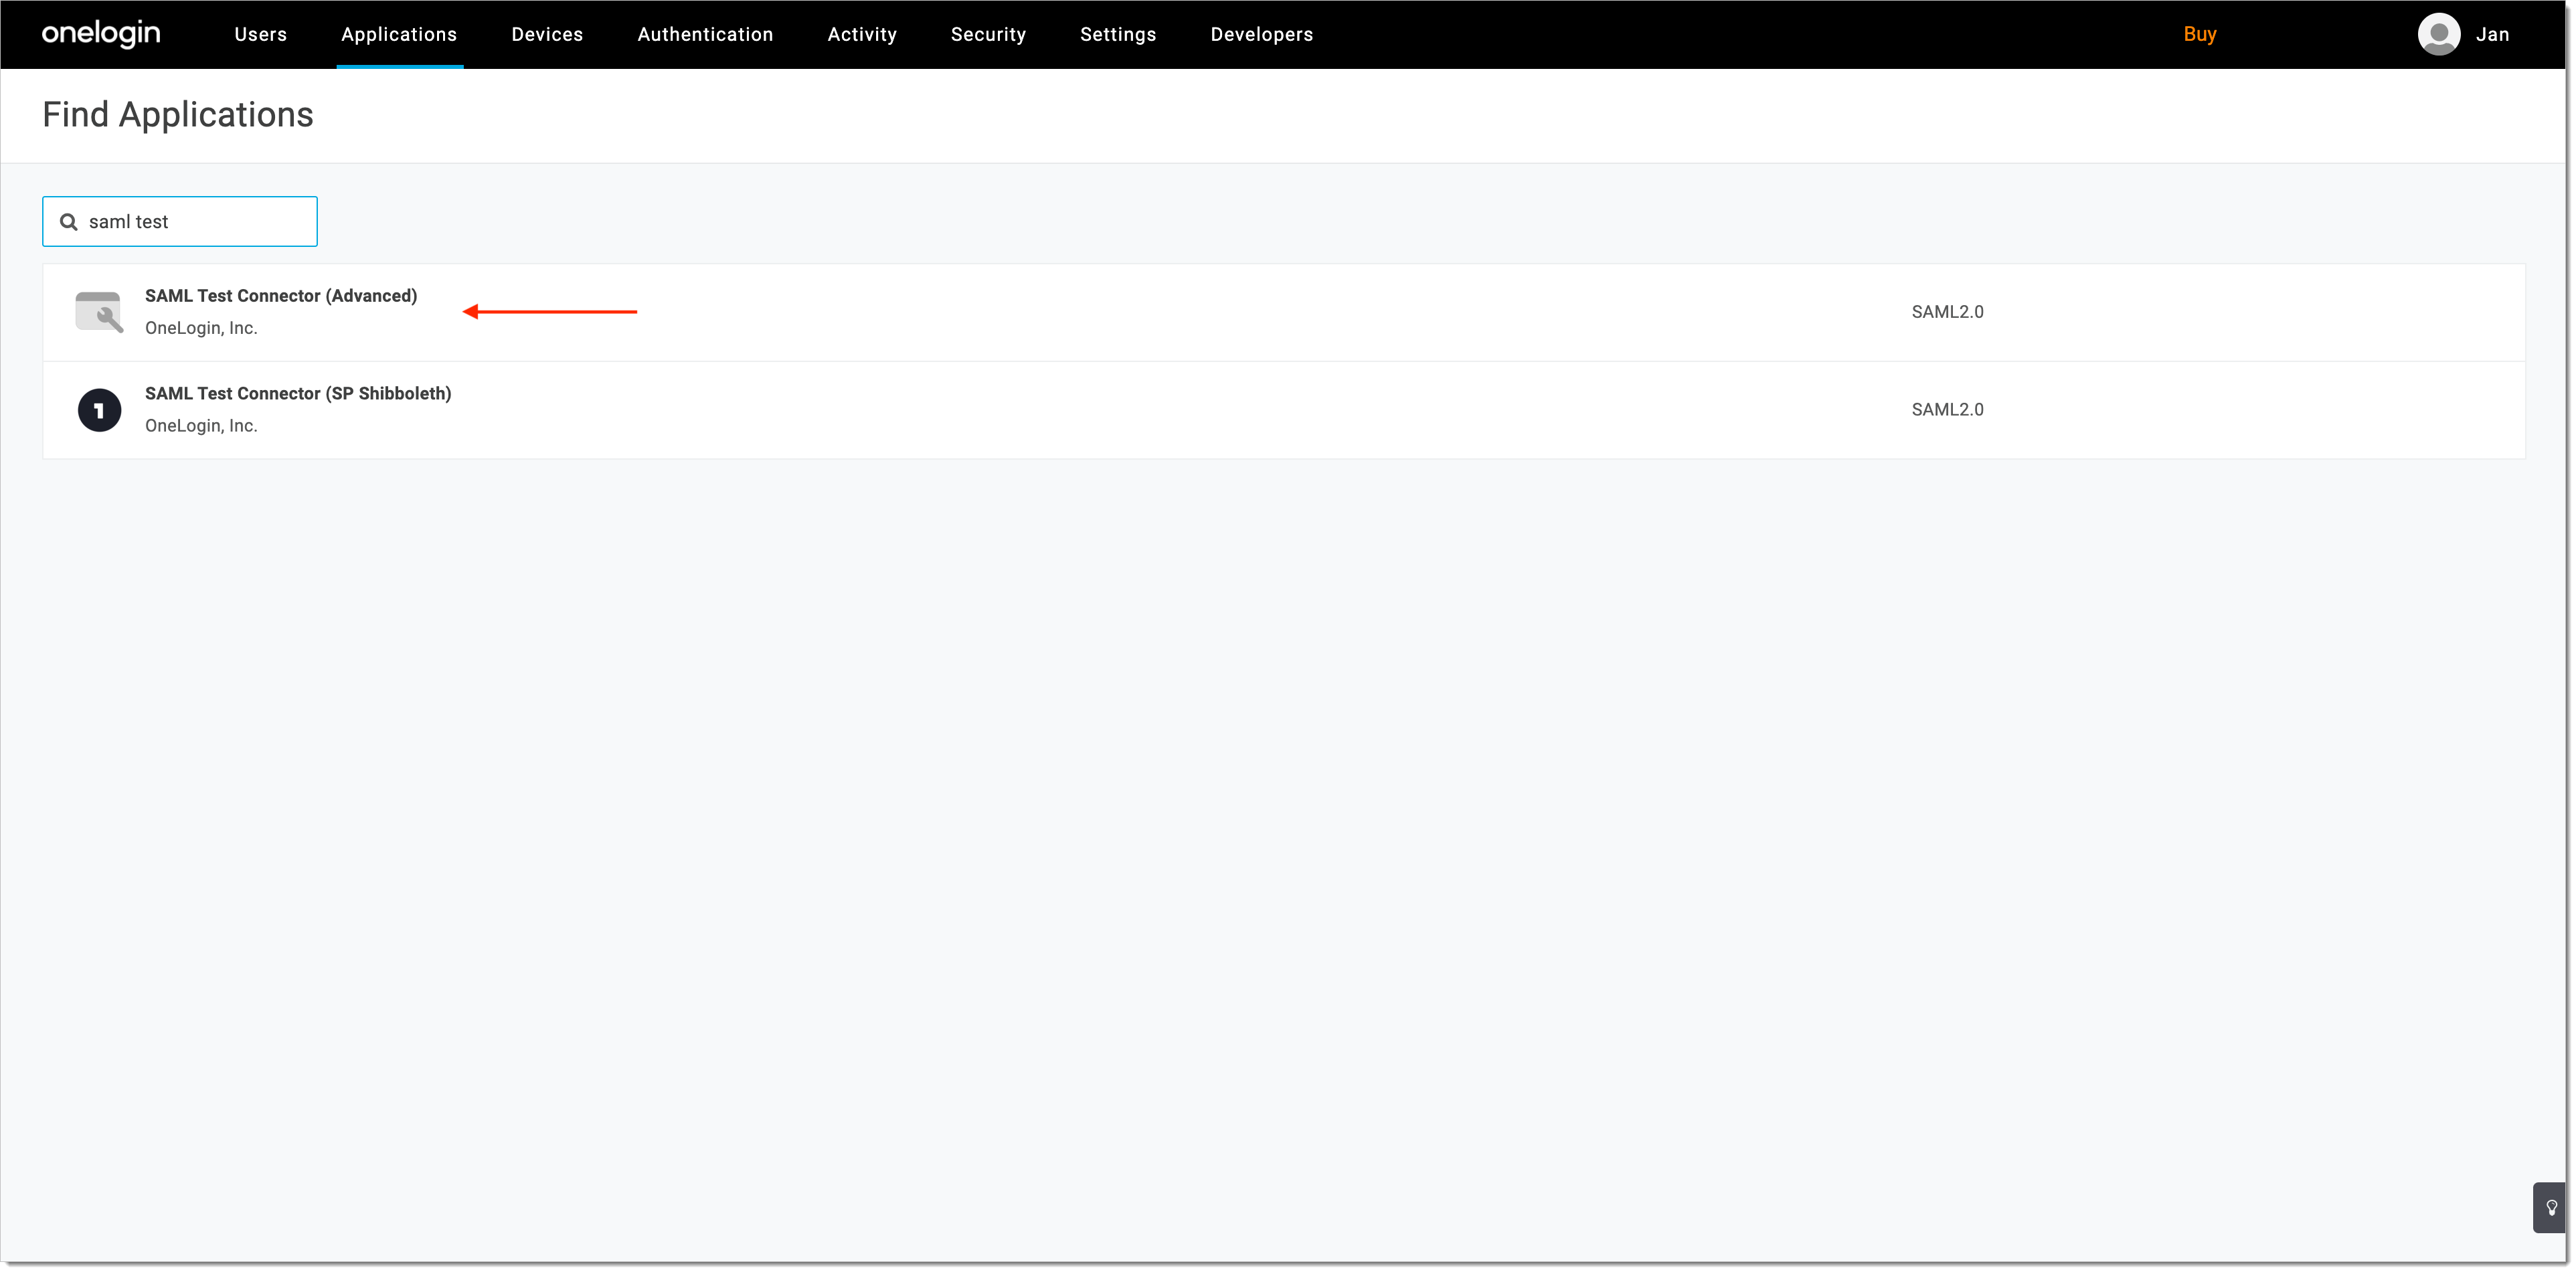
In the Find Application view, select SAML Test Connector (Advanced).
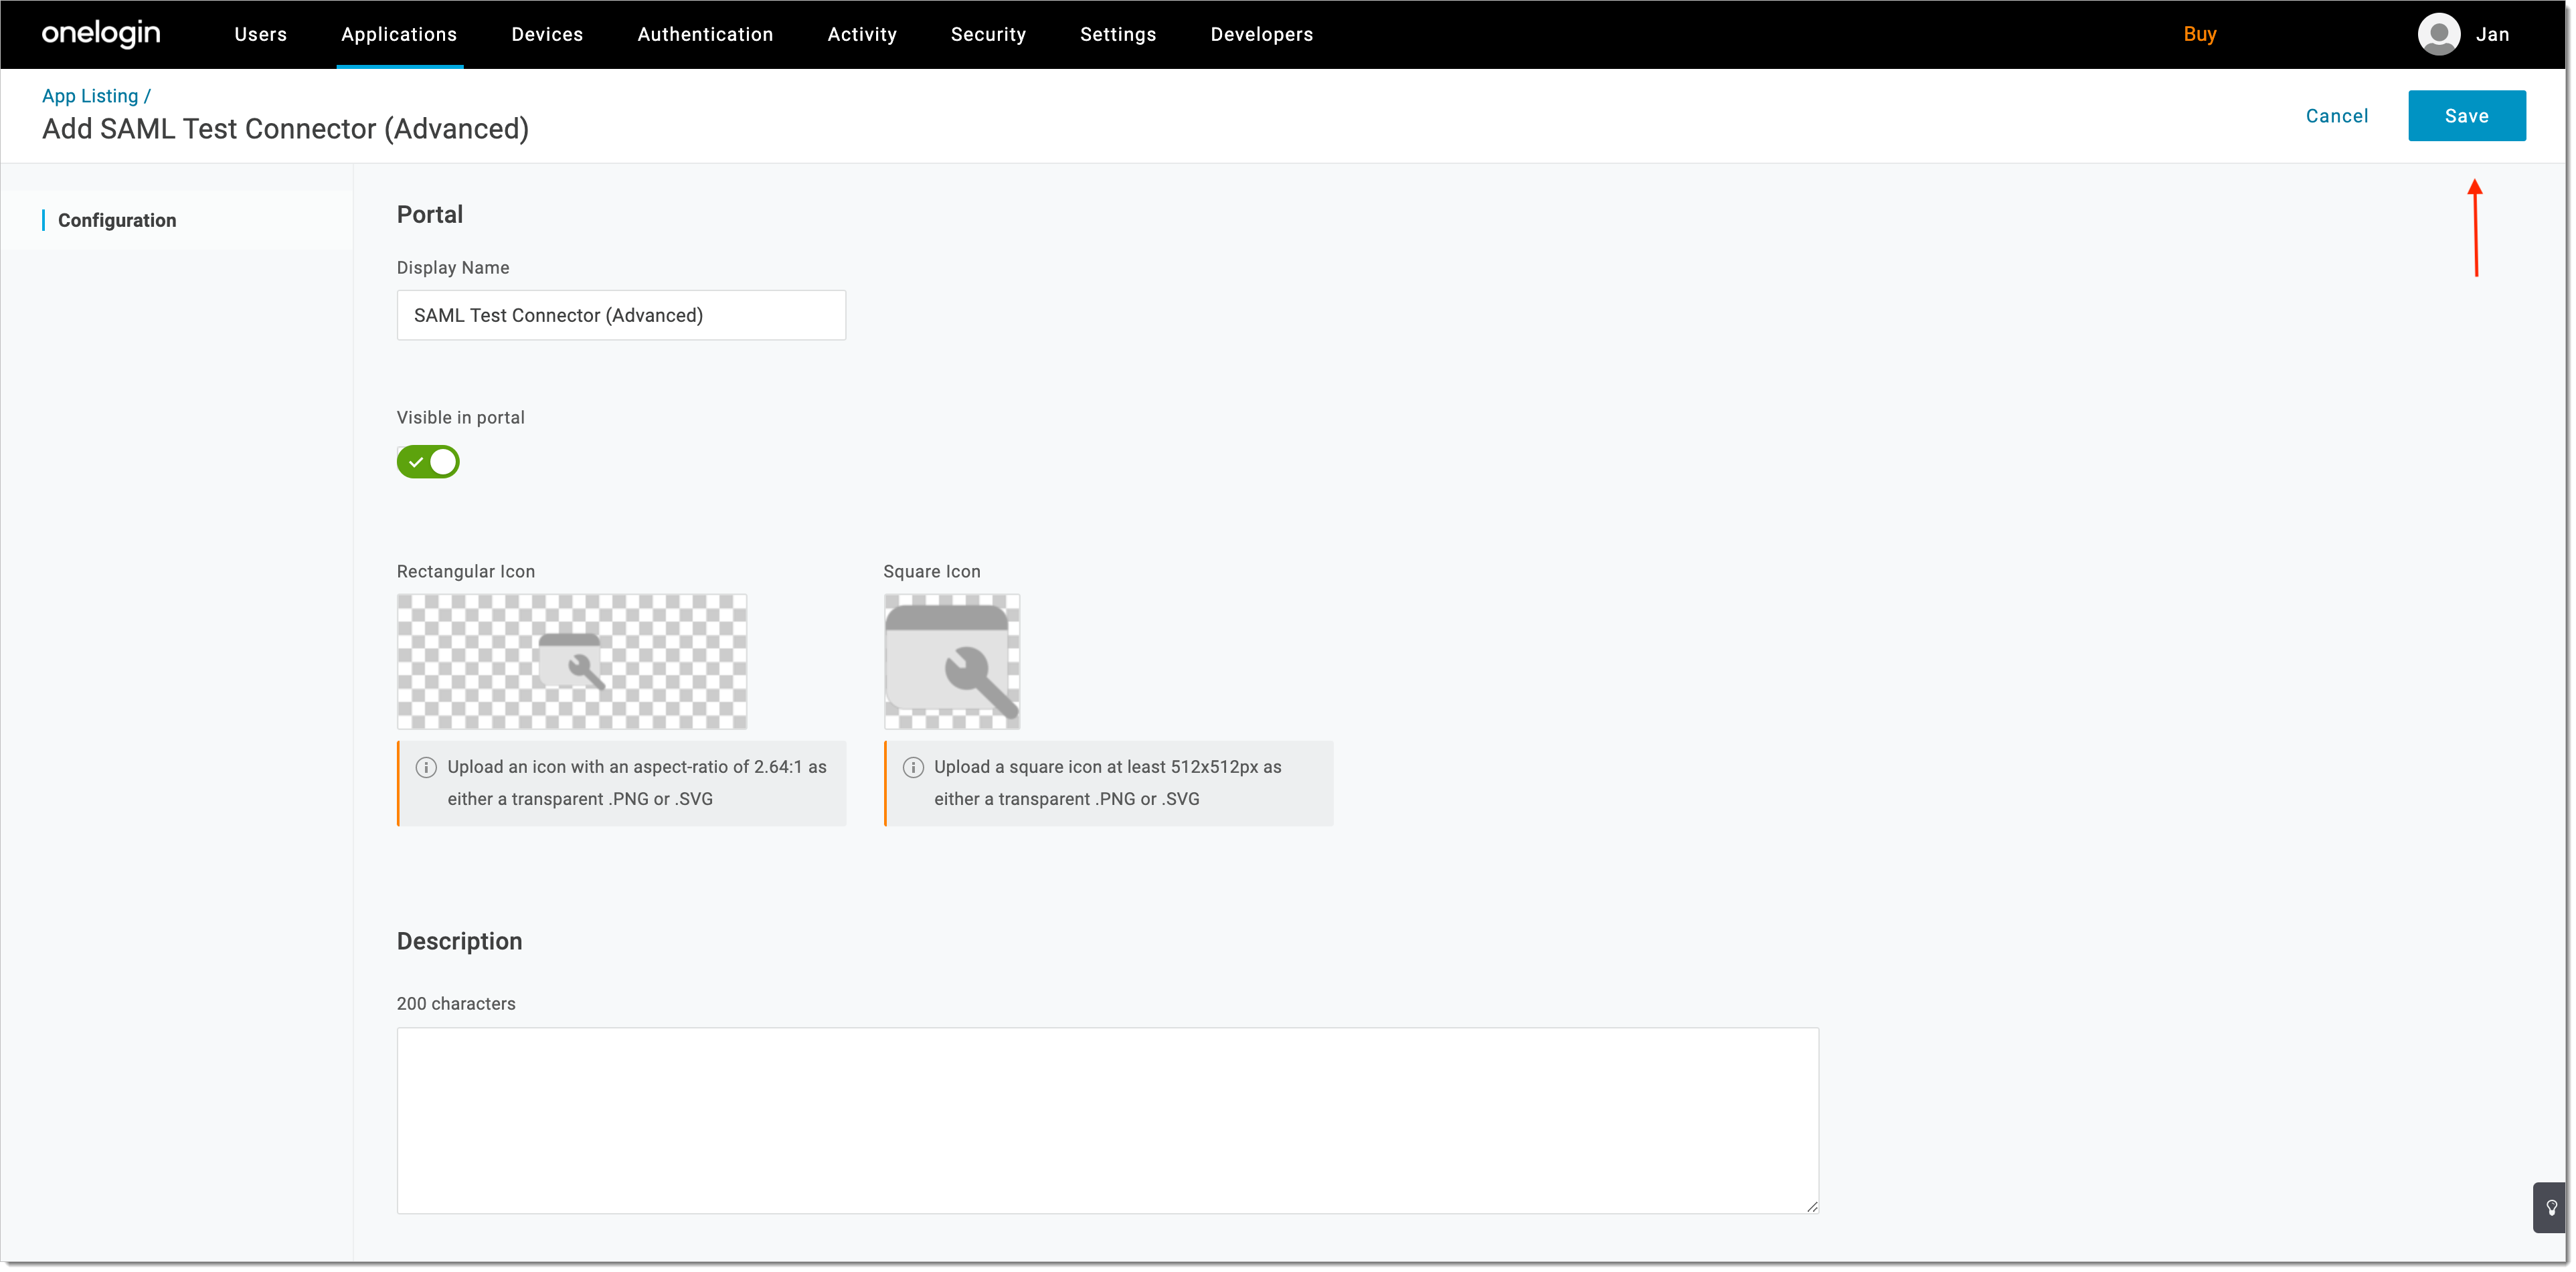
Save your new application.
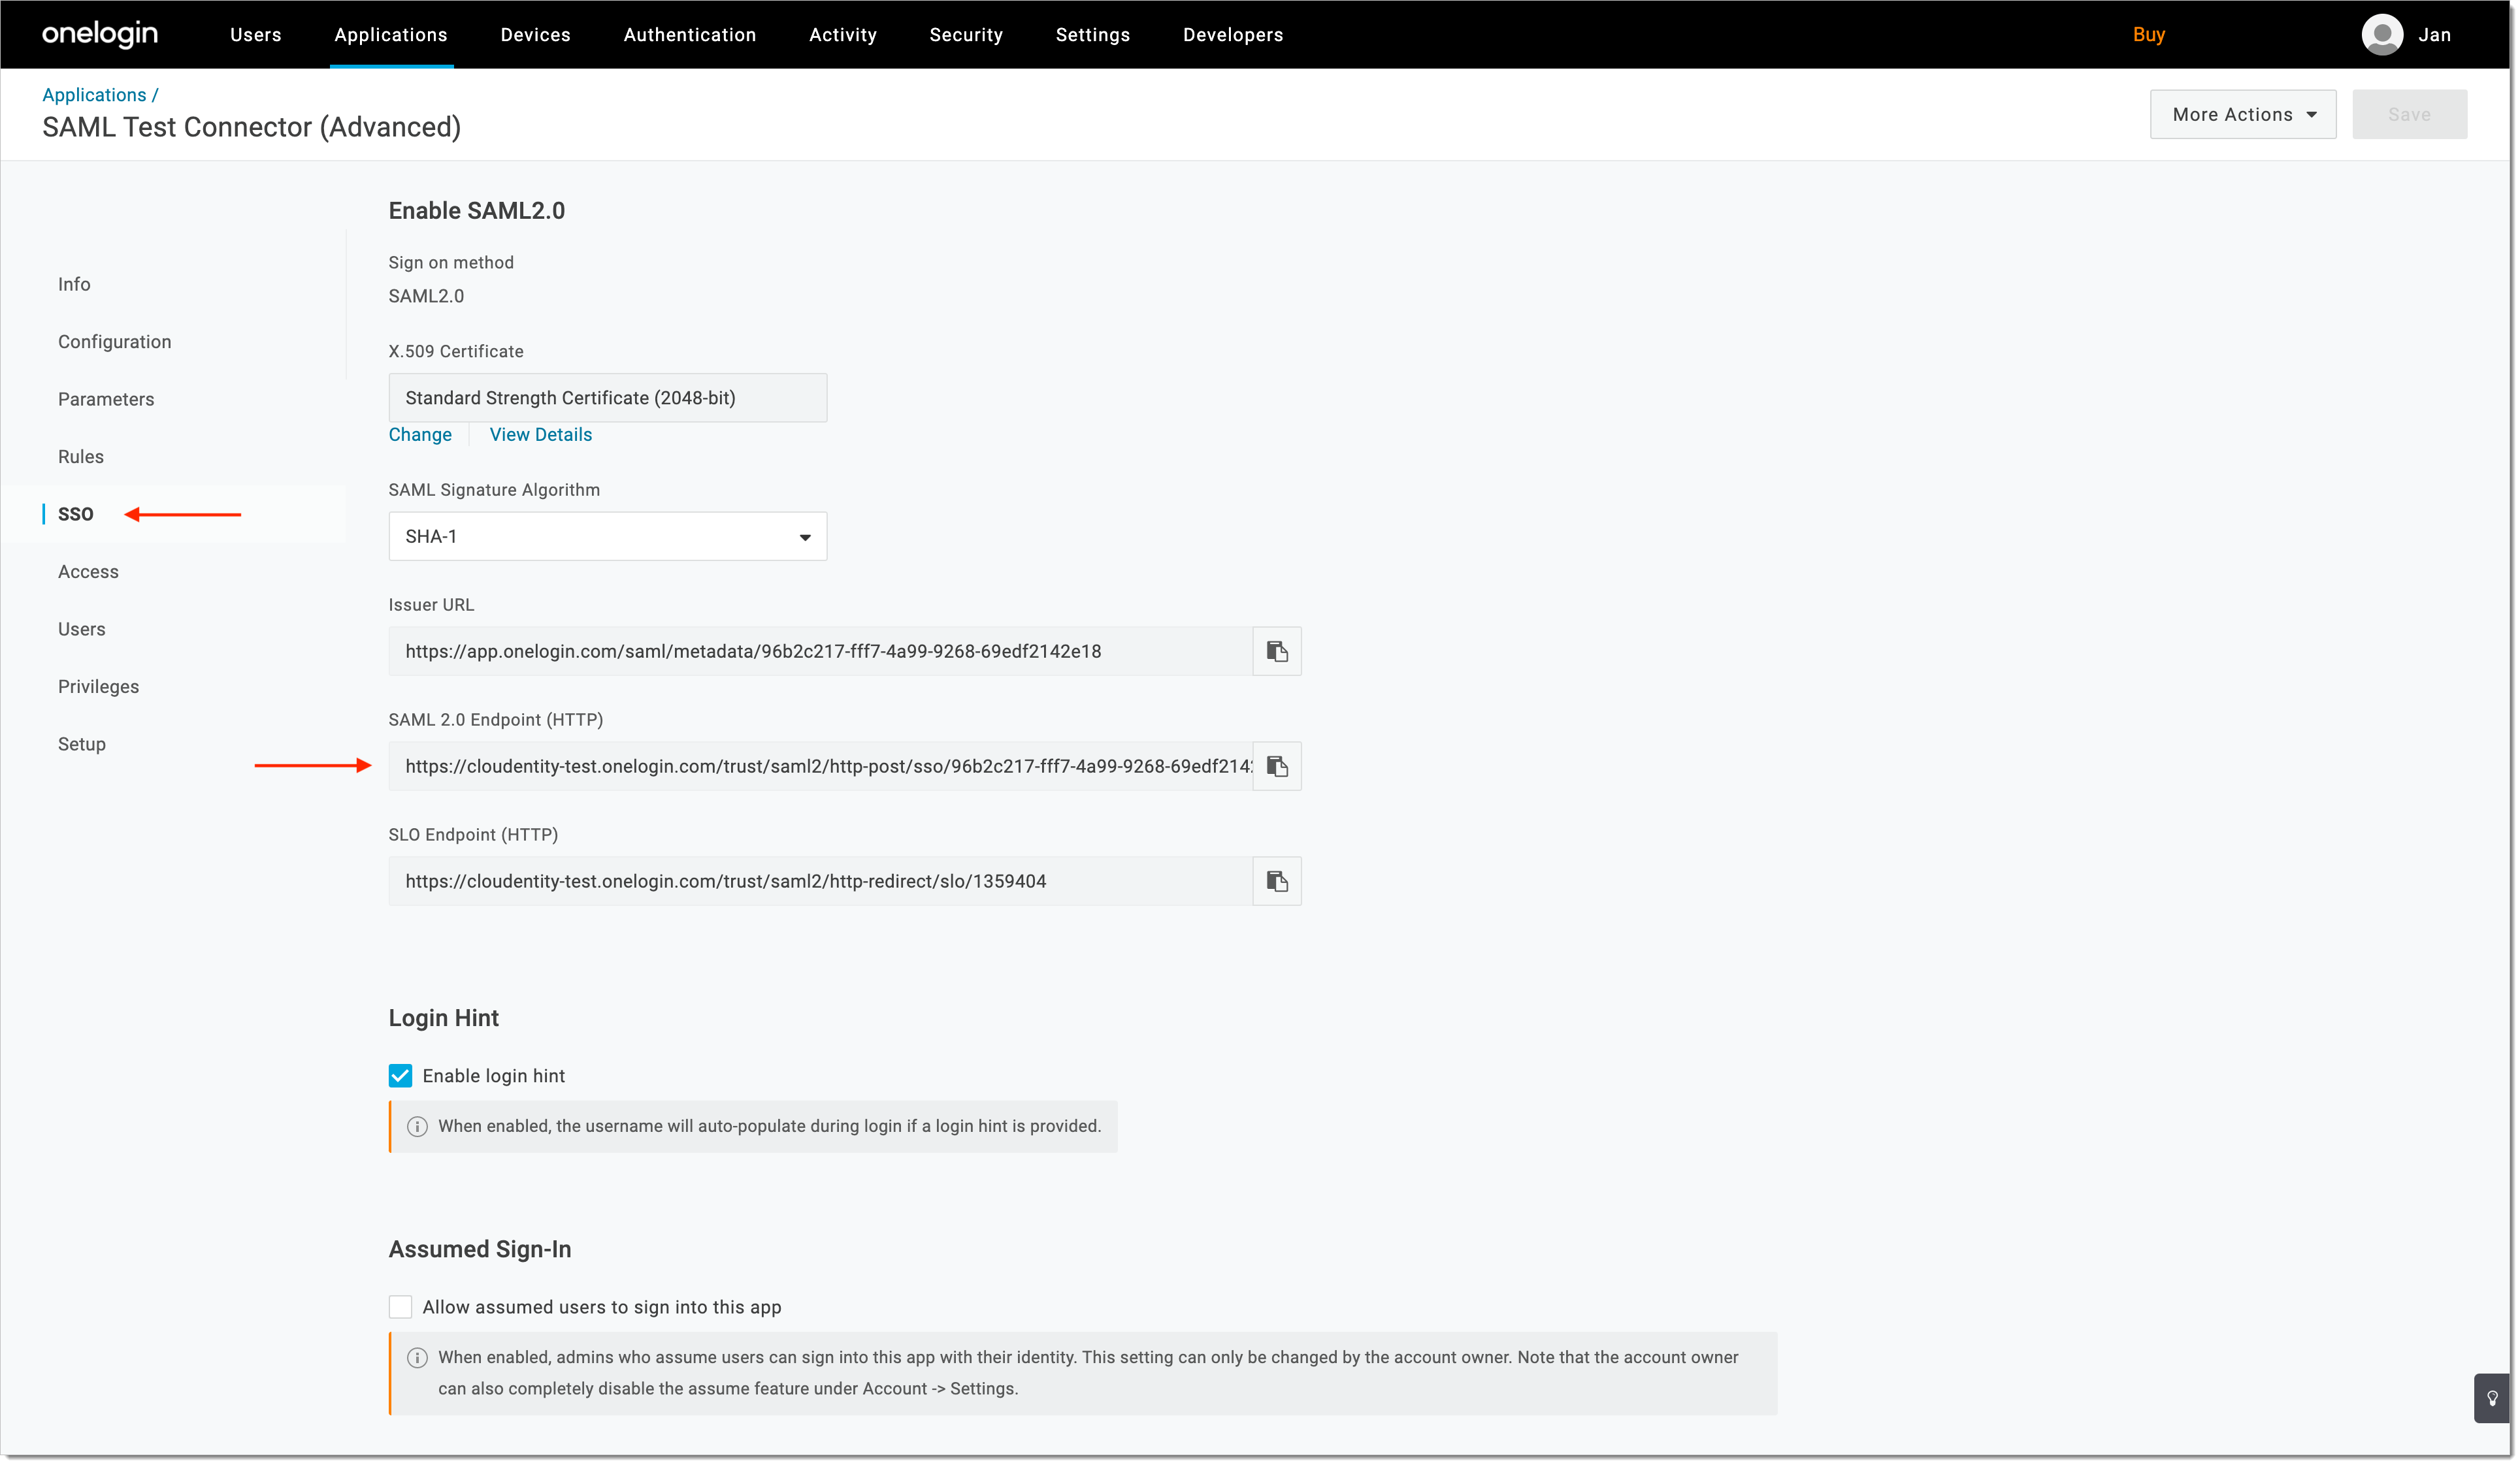
Select SSO from the sidebar and copy/save the SAML 2.0 endpoint URL (required in step 5 of Configure SecureAuth).
Configure SecureAuth
Log in to the SecureAuth admin portal.
Switch to the workspace that you want to integrate with OneLogin.
Add a SAML Identity Provider on the SecureAuth side.
Enter the copied SAML 2.0 endpoint URL as Sign in URL and select Save.
Note
Check step 3 of Configure OneLogin for the relevant URL.
Enable Trust
To establish the trust between OneLogin and SecureAuth, you need to configure the SAML X509 certificate used for the verification of the SAML assertion.
Go to OneLogin > Security > Certificates.
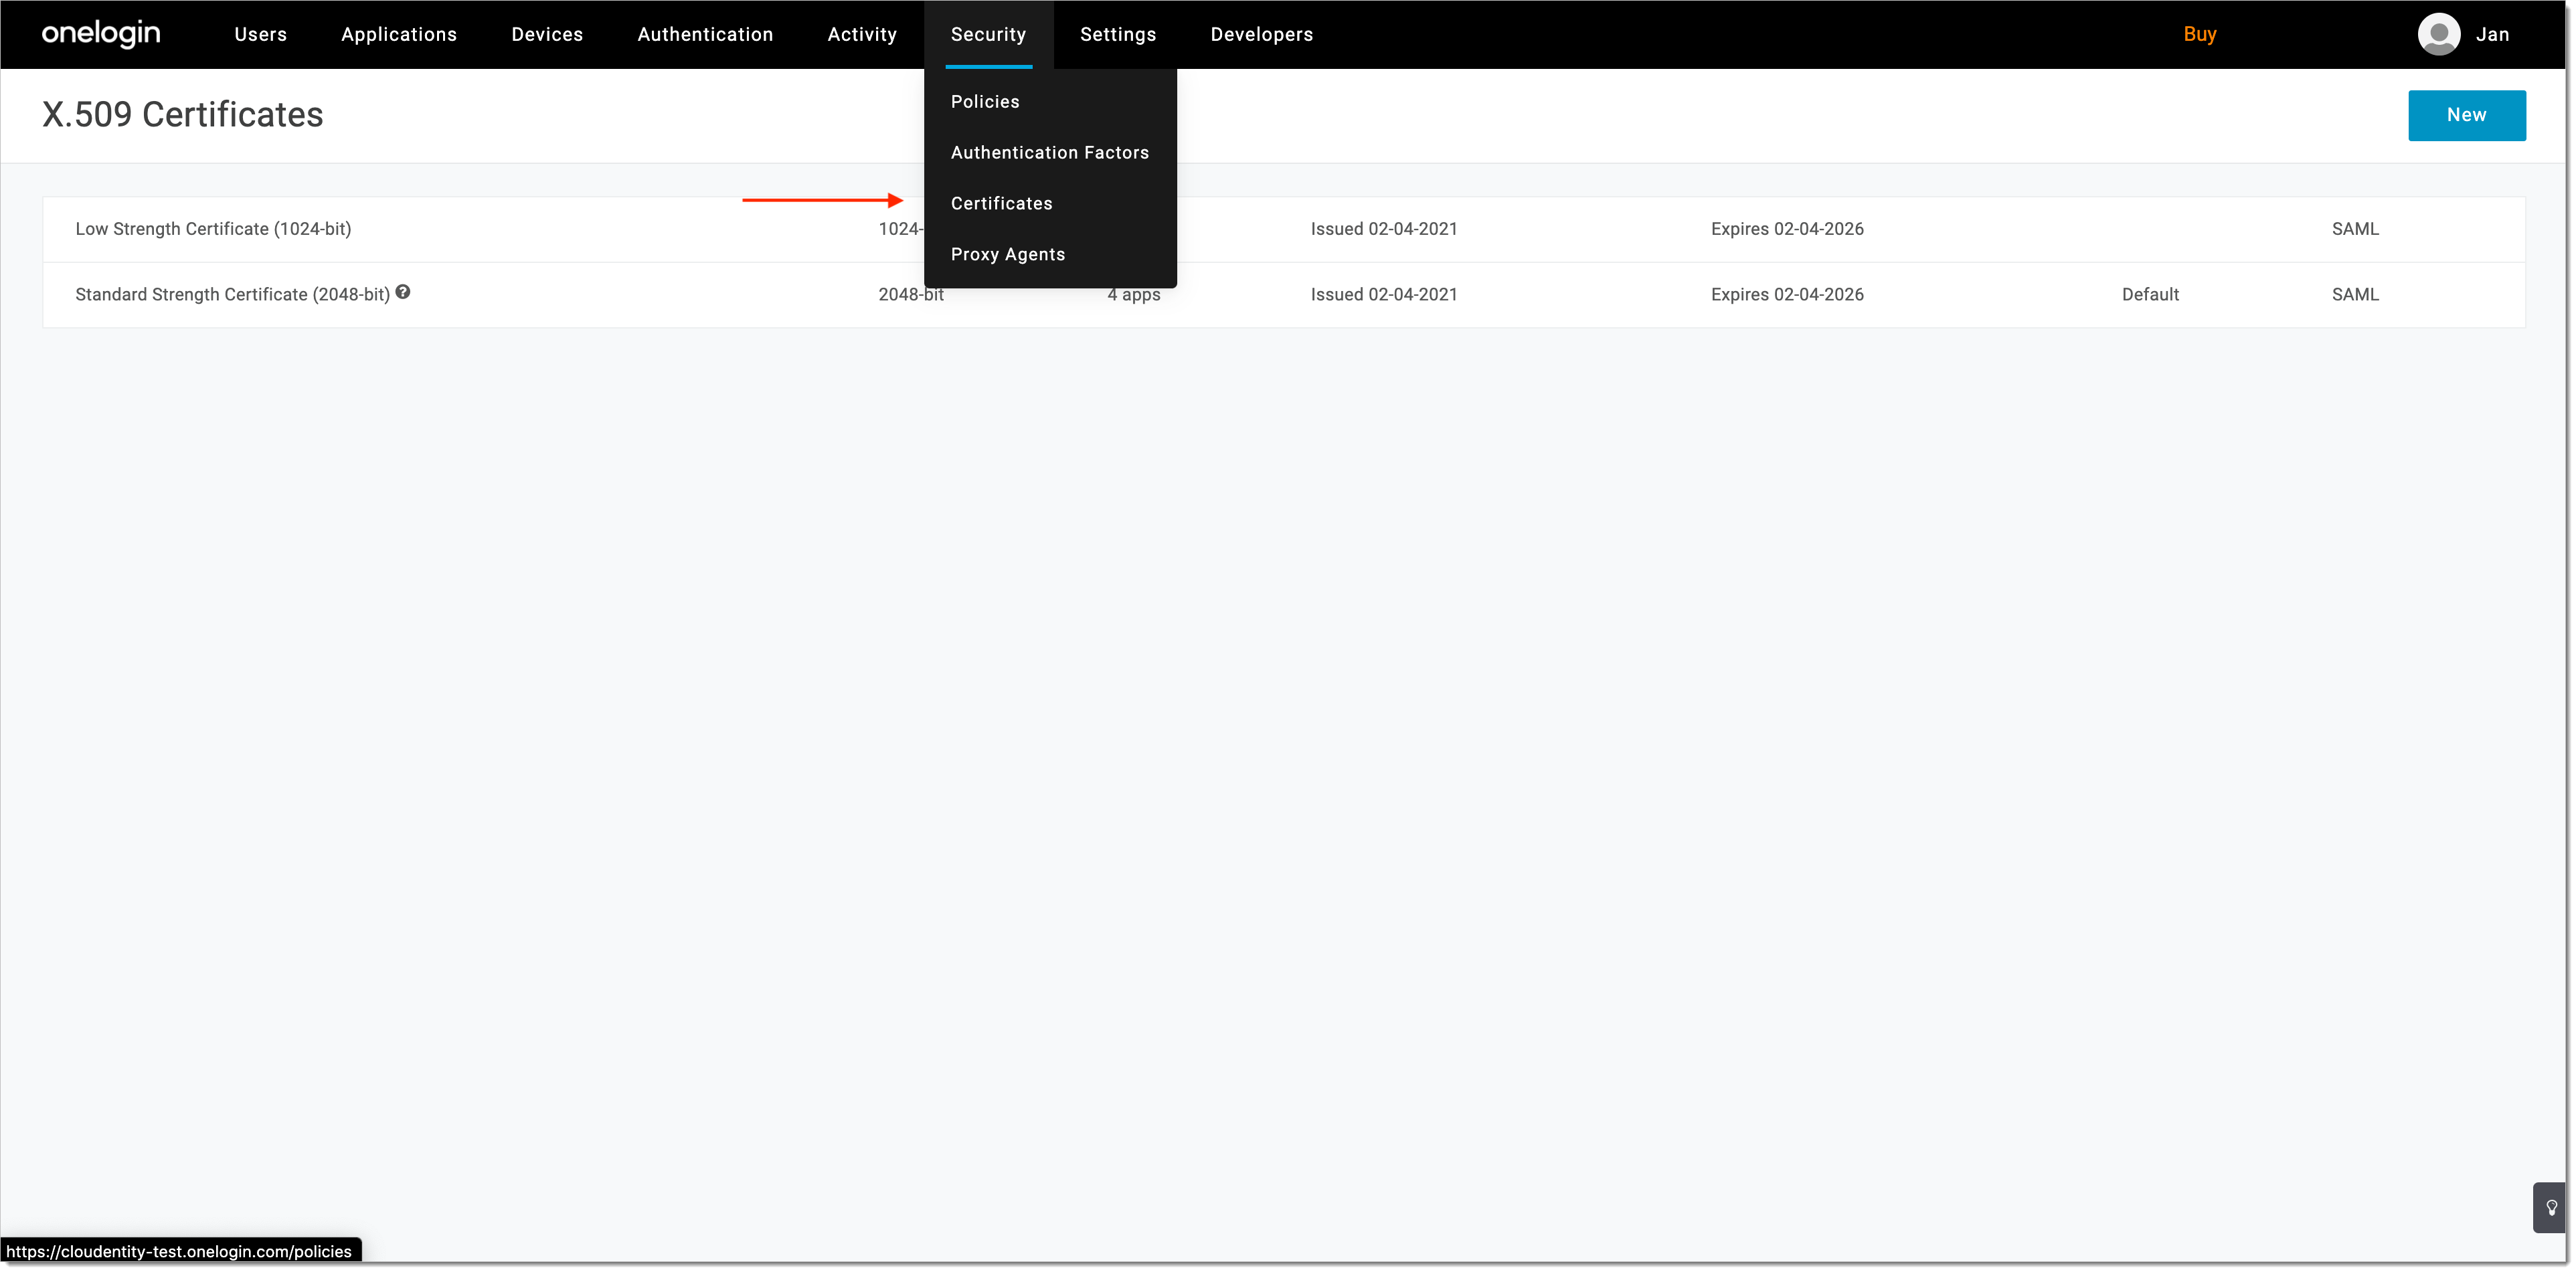
Select Standard Strength Certificate (2048-bit) and download it in the X.509 PEM fromat.
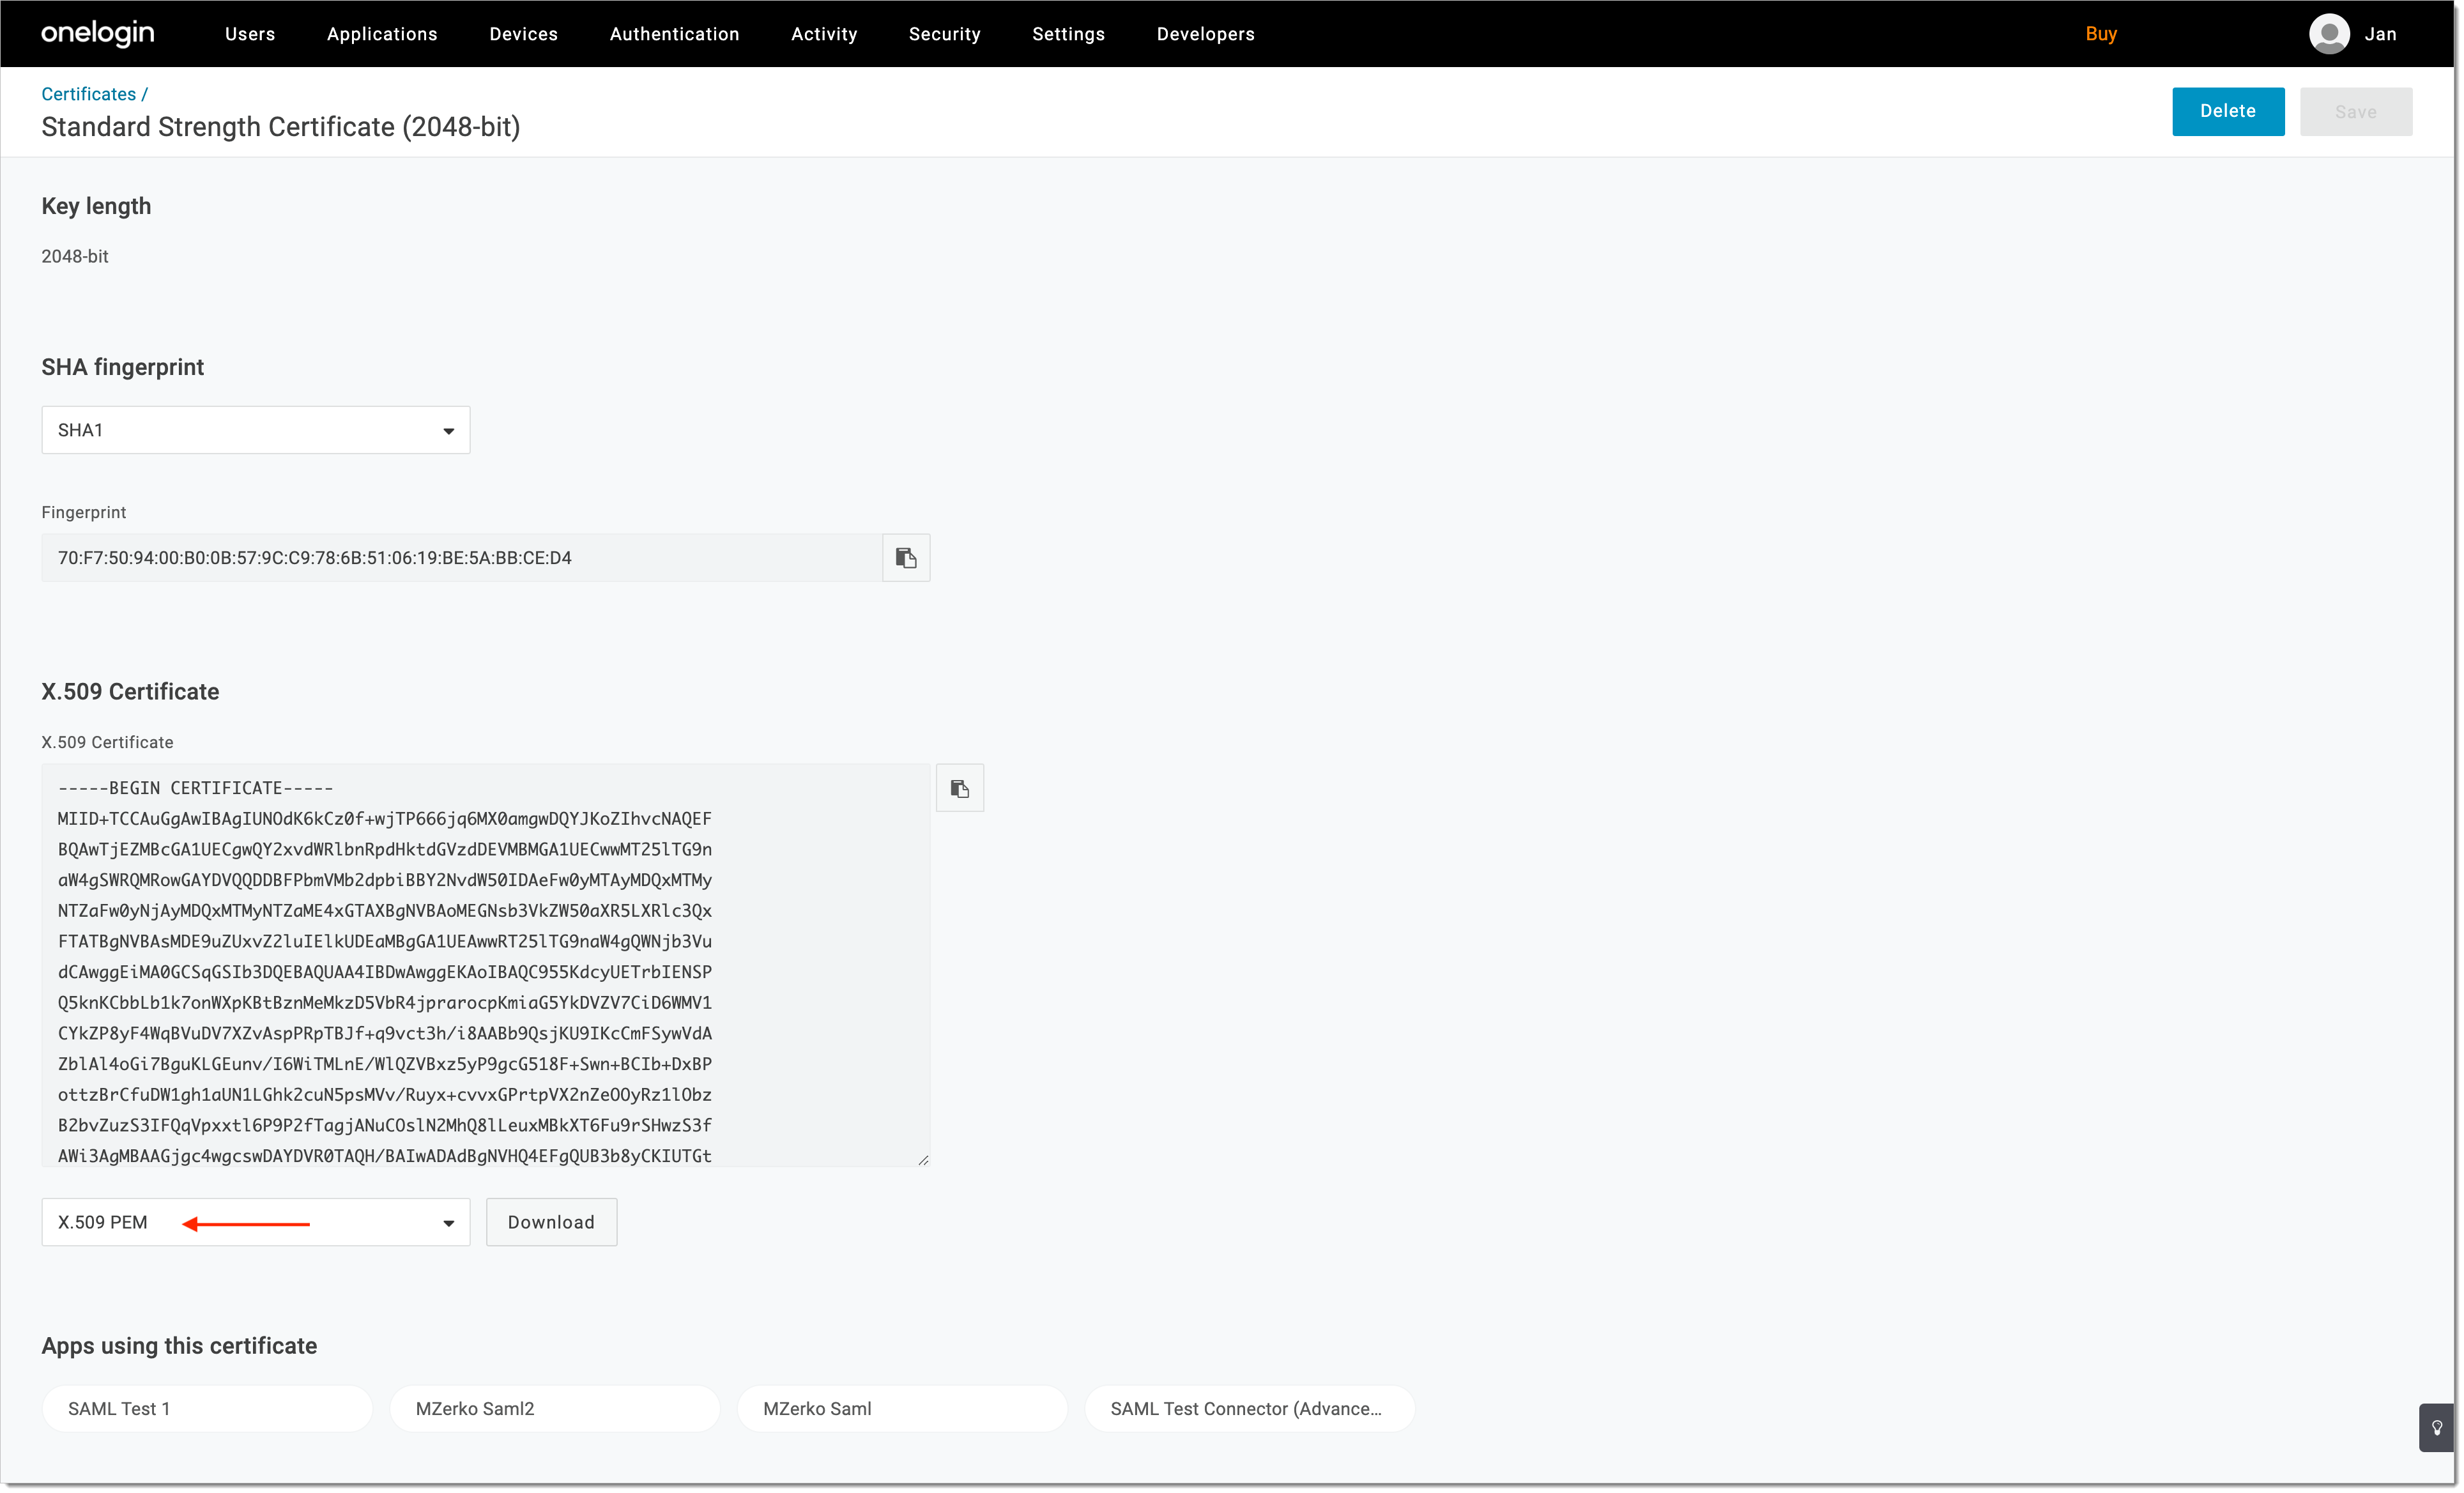
Go to SecureAuth and paste the value of the certificate under IDP certificate in the SAML IDP configuration view.
Set Name ID format as emailAddress.
Save the SAML IDP configuration.
Result: The entity issuer attribute is generated for your IDP.
Copy the value of the entity issuer attribute from the SAML IDP view.
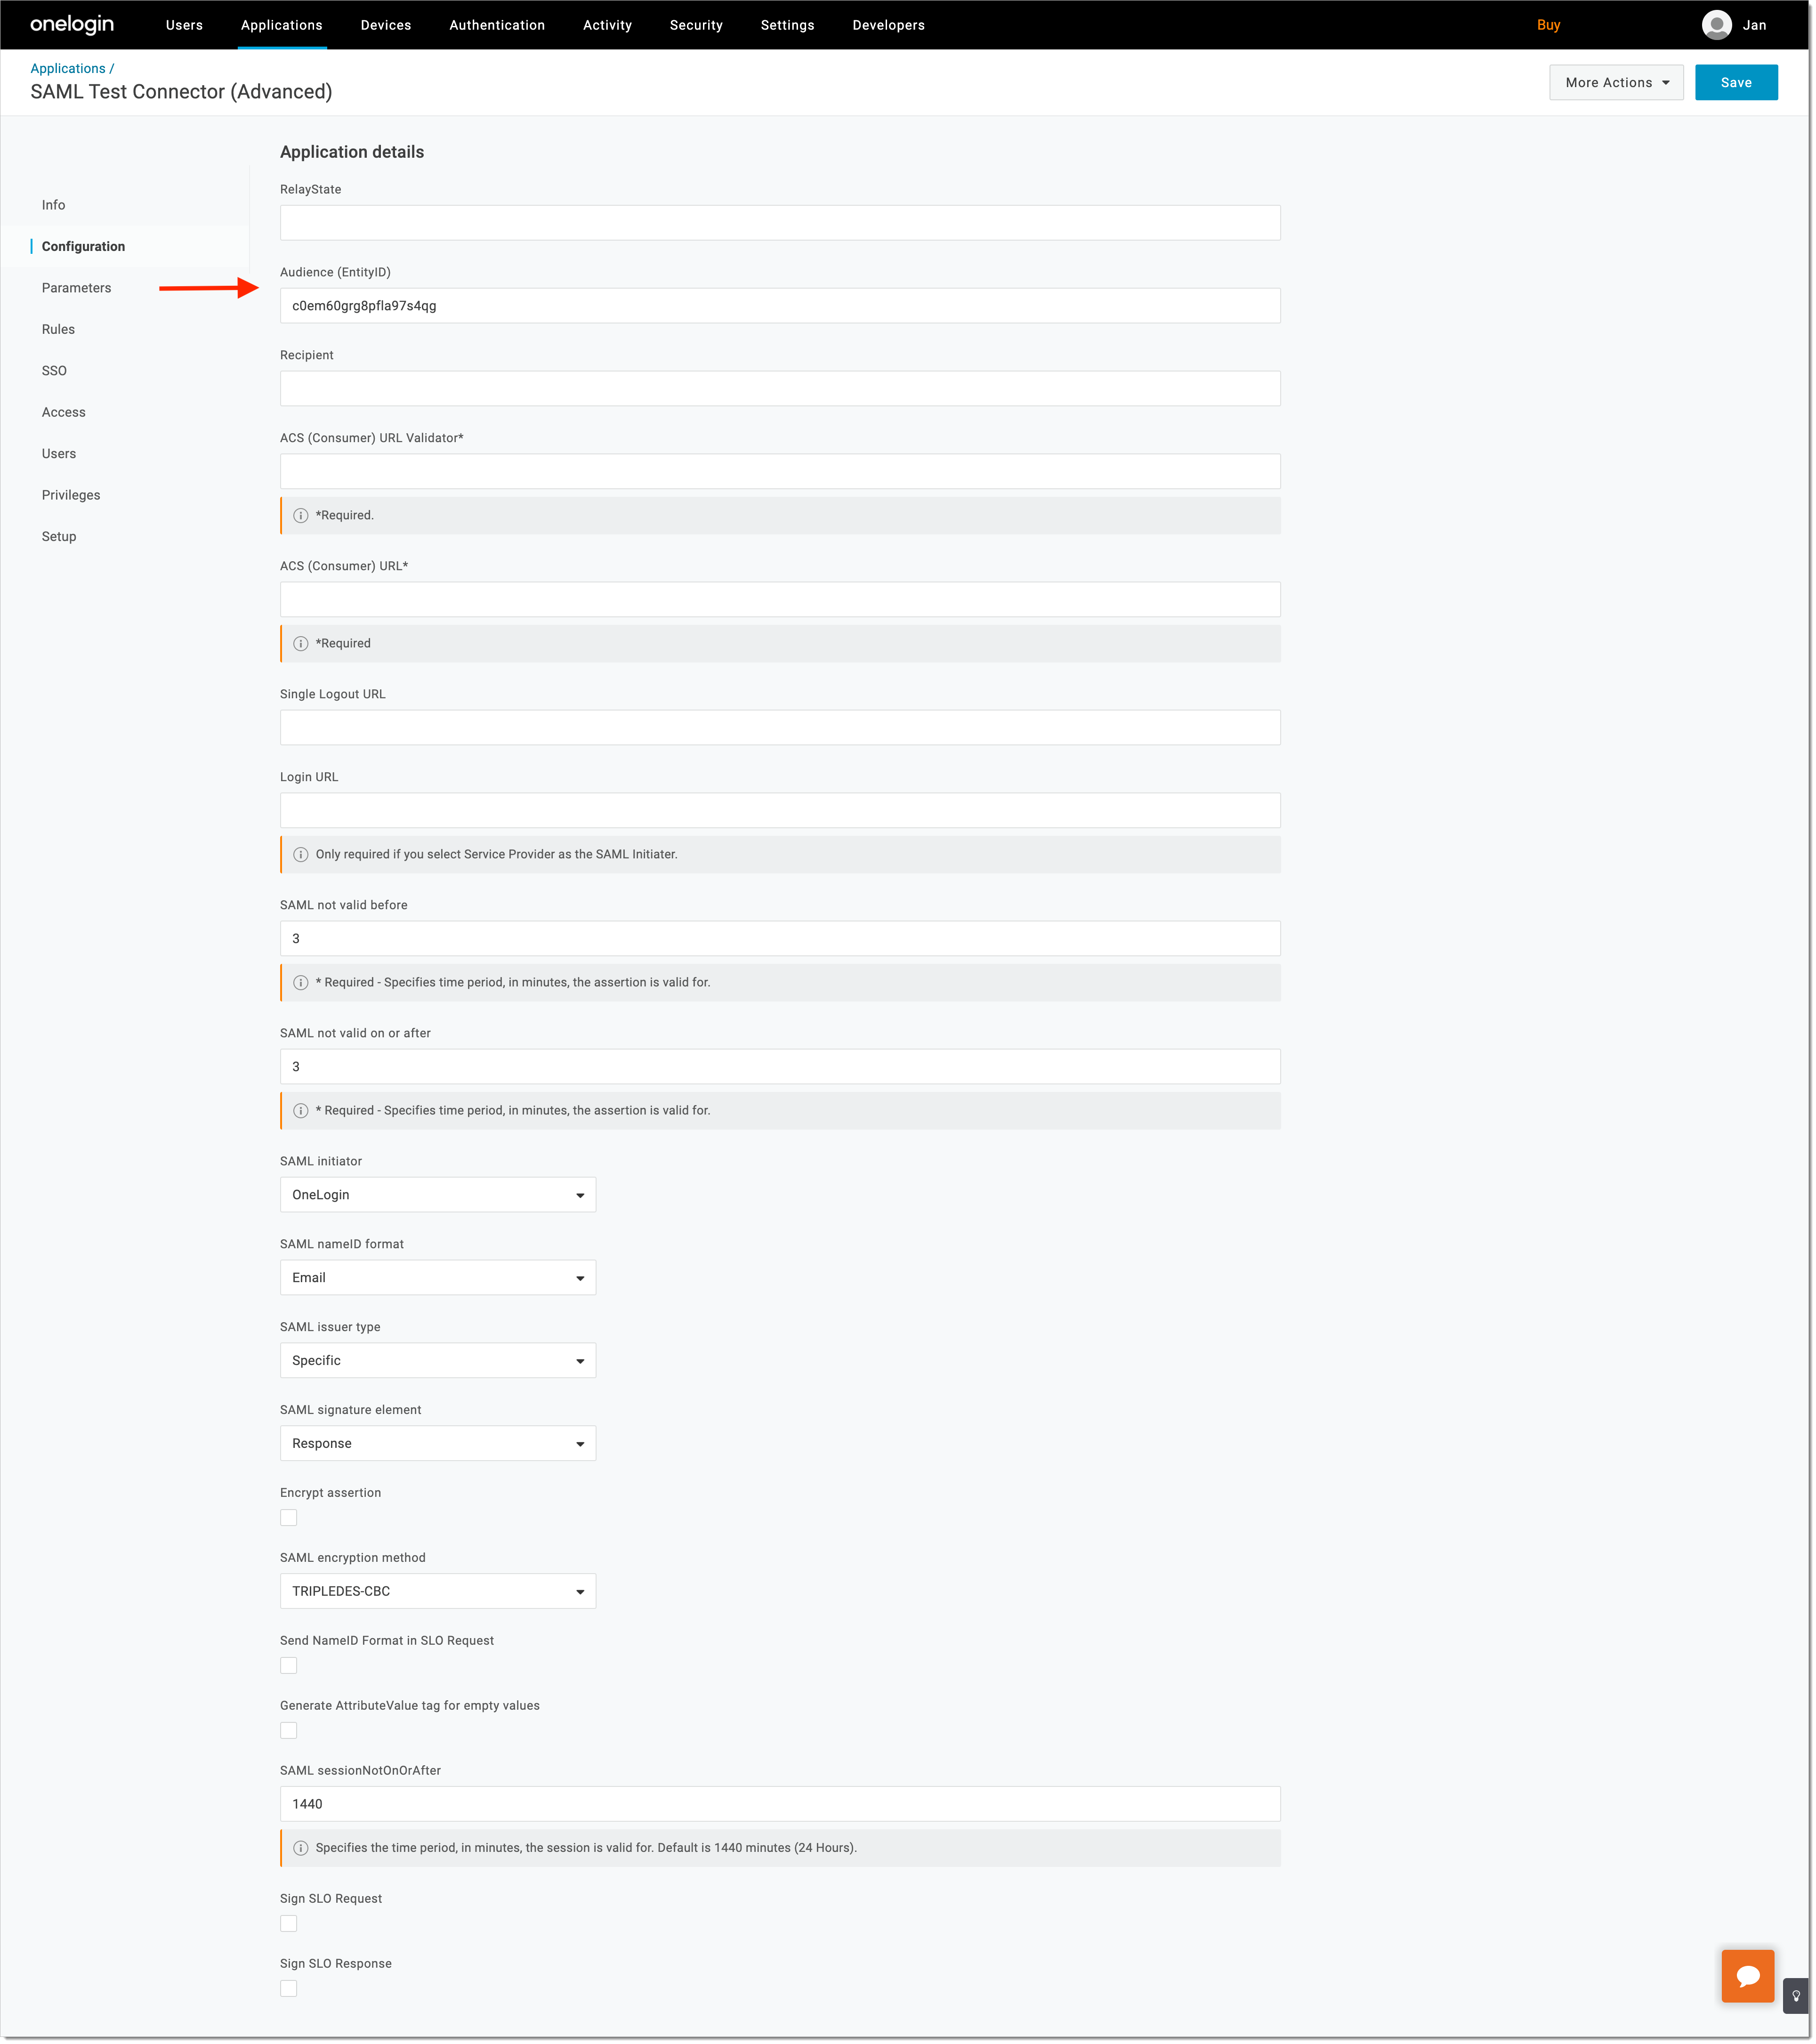
Go to OneLogin and navigate to the Configuration view of your SAML application. Enter the copied value of entity issuer attribute into the Audience (EntityID) field. Select Save.
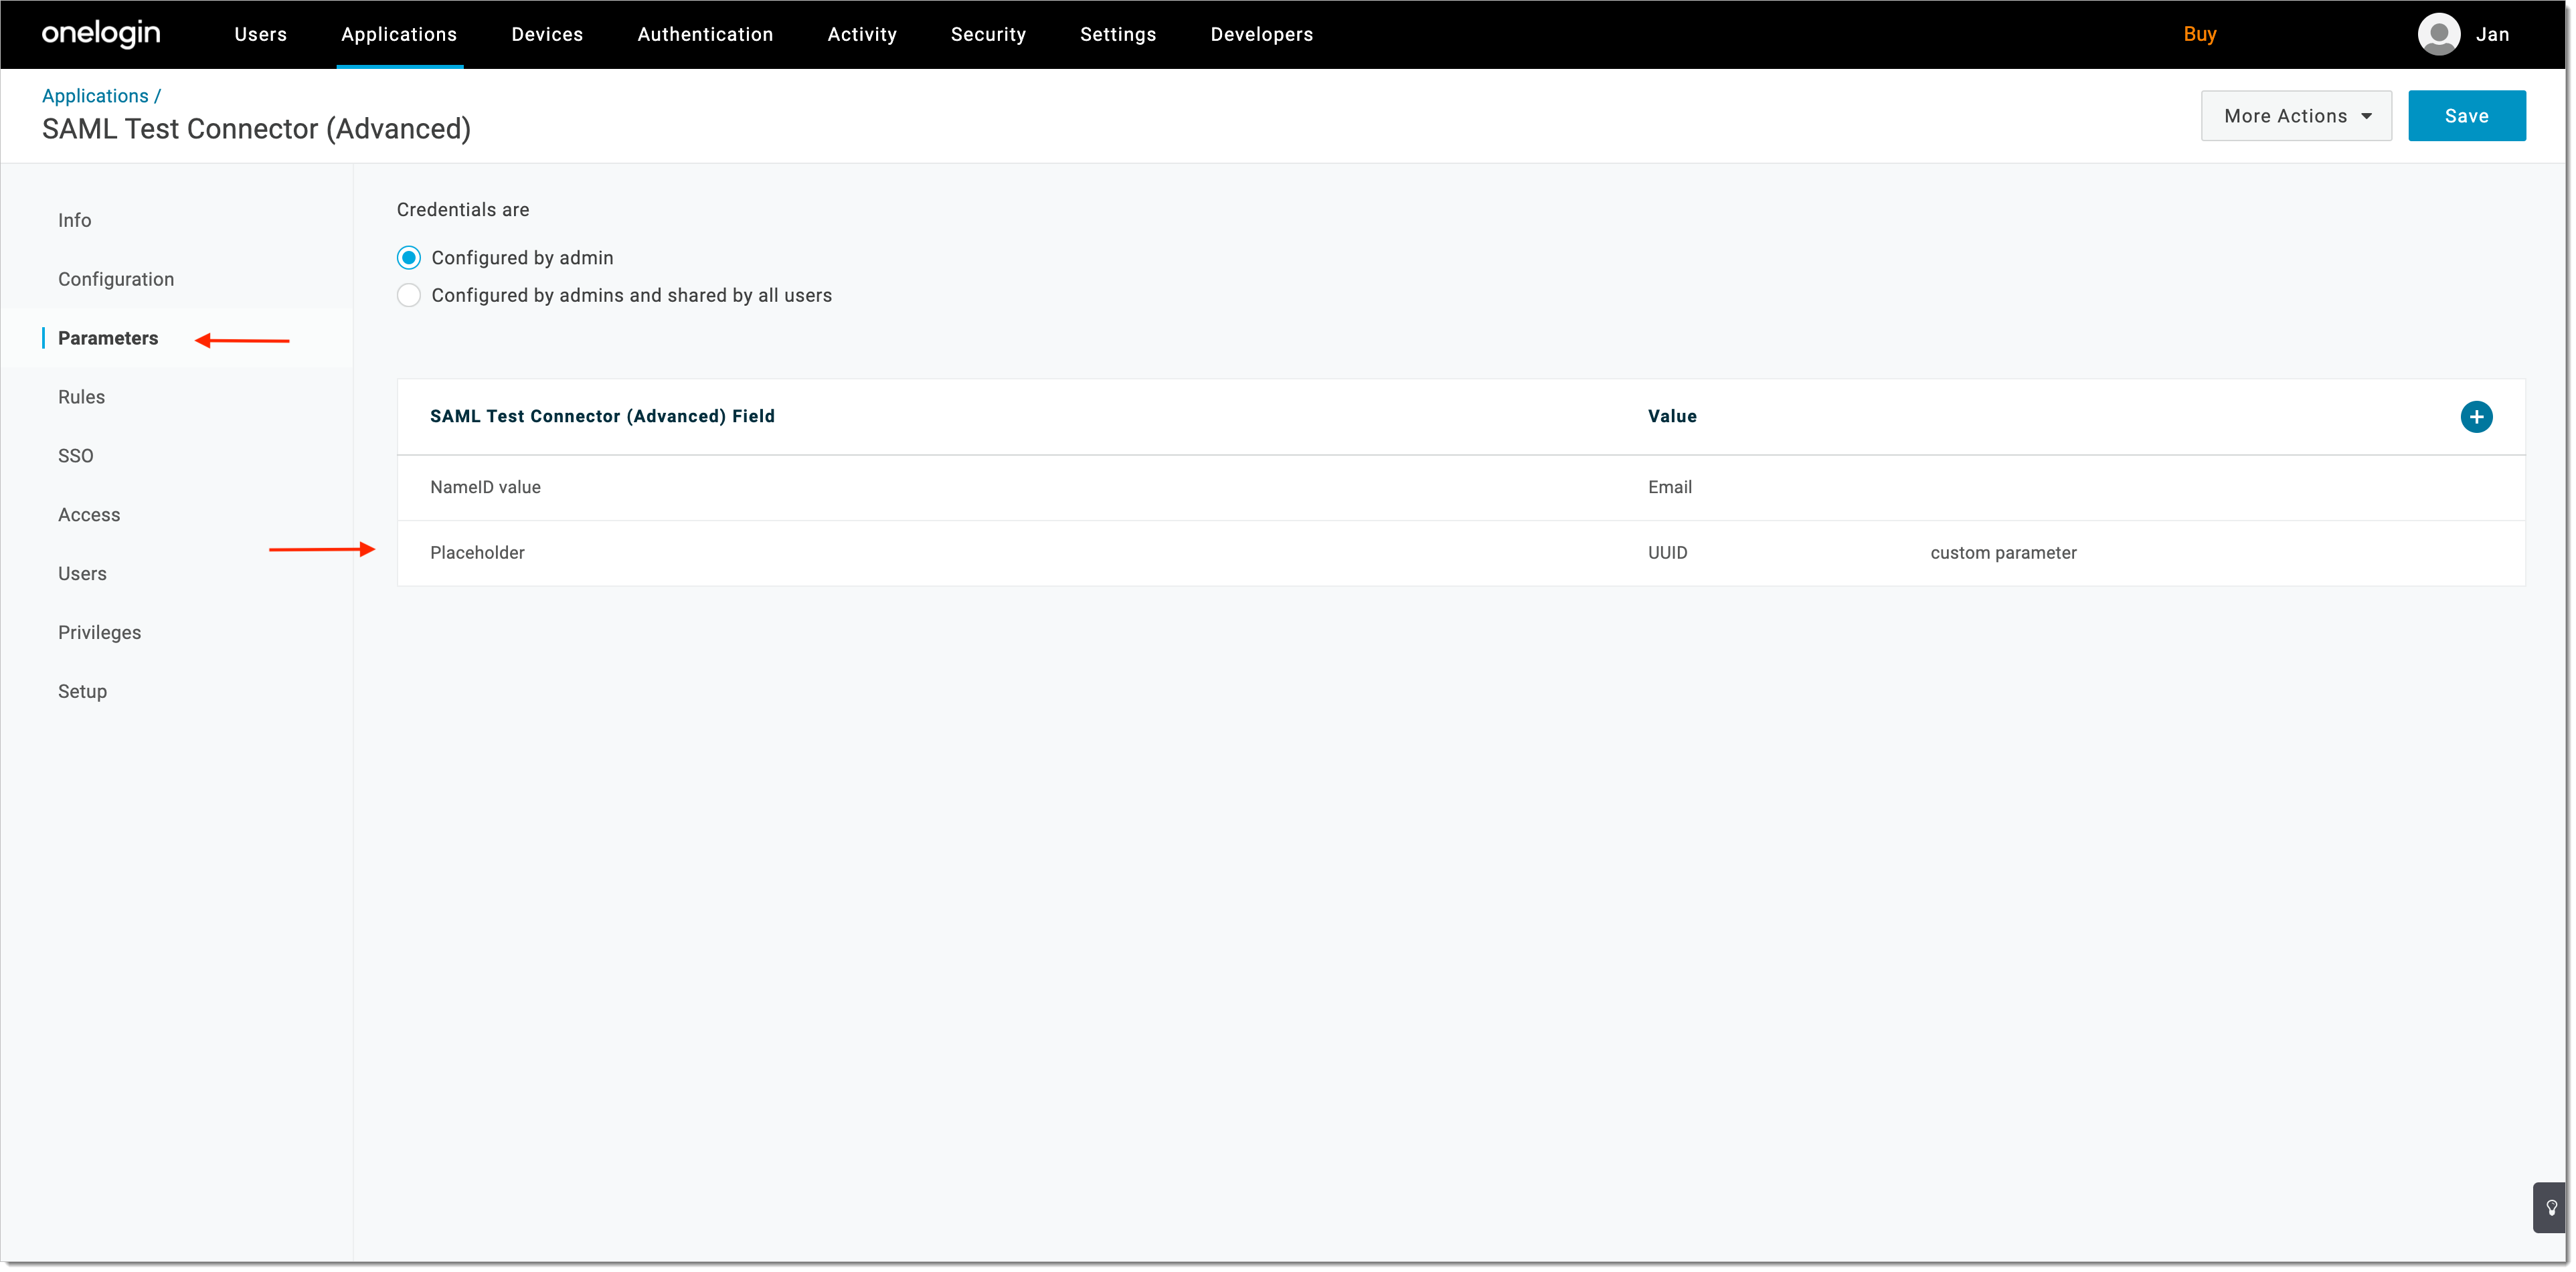
Navigate to the Parameters view and configure at least one assertion parameter on top of NameID value.
Note
It is required to avoid empty SAML assertions, which are not supported by SecureAuth.
Check If It Works
Open the user portal.
Select LOGIN TO DEMO APP.
Select your configured OneLogin IDP and, next, authenticate in OneLogin.
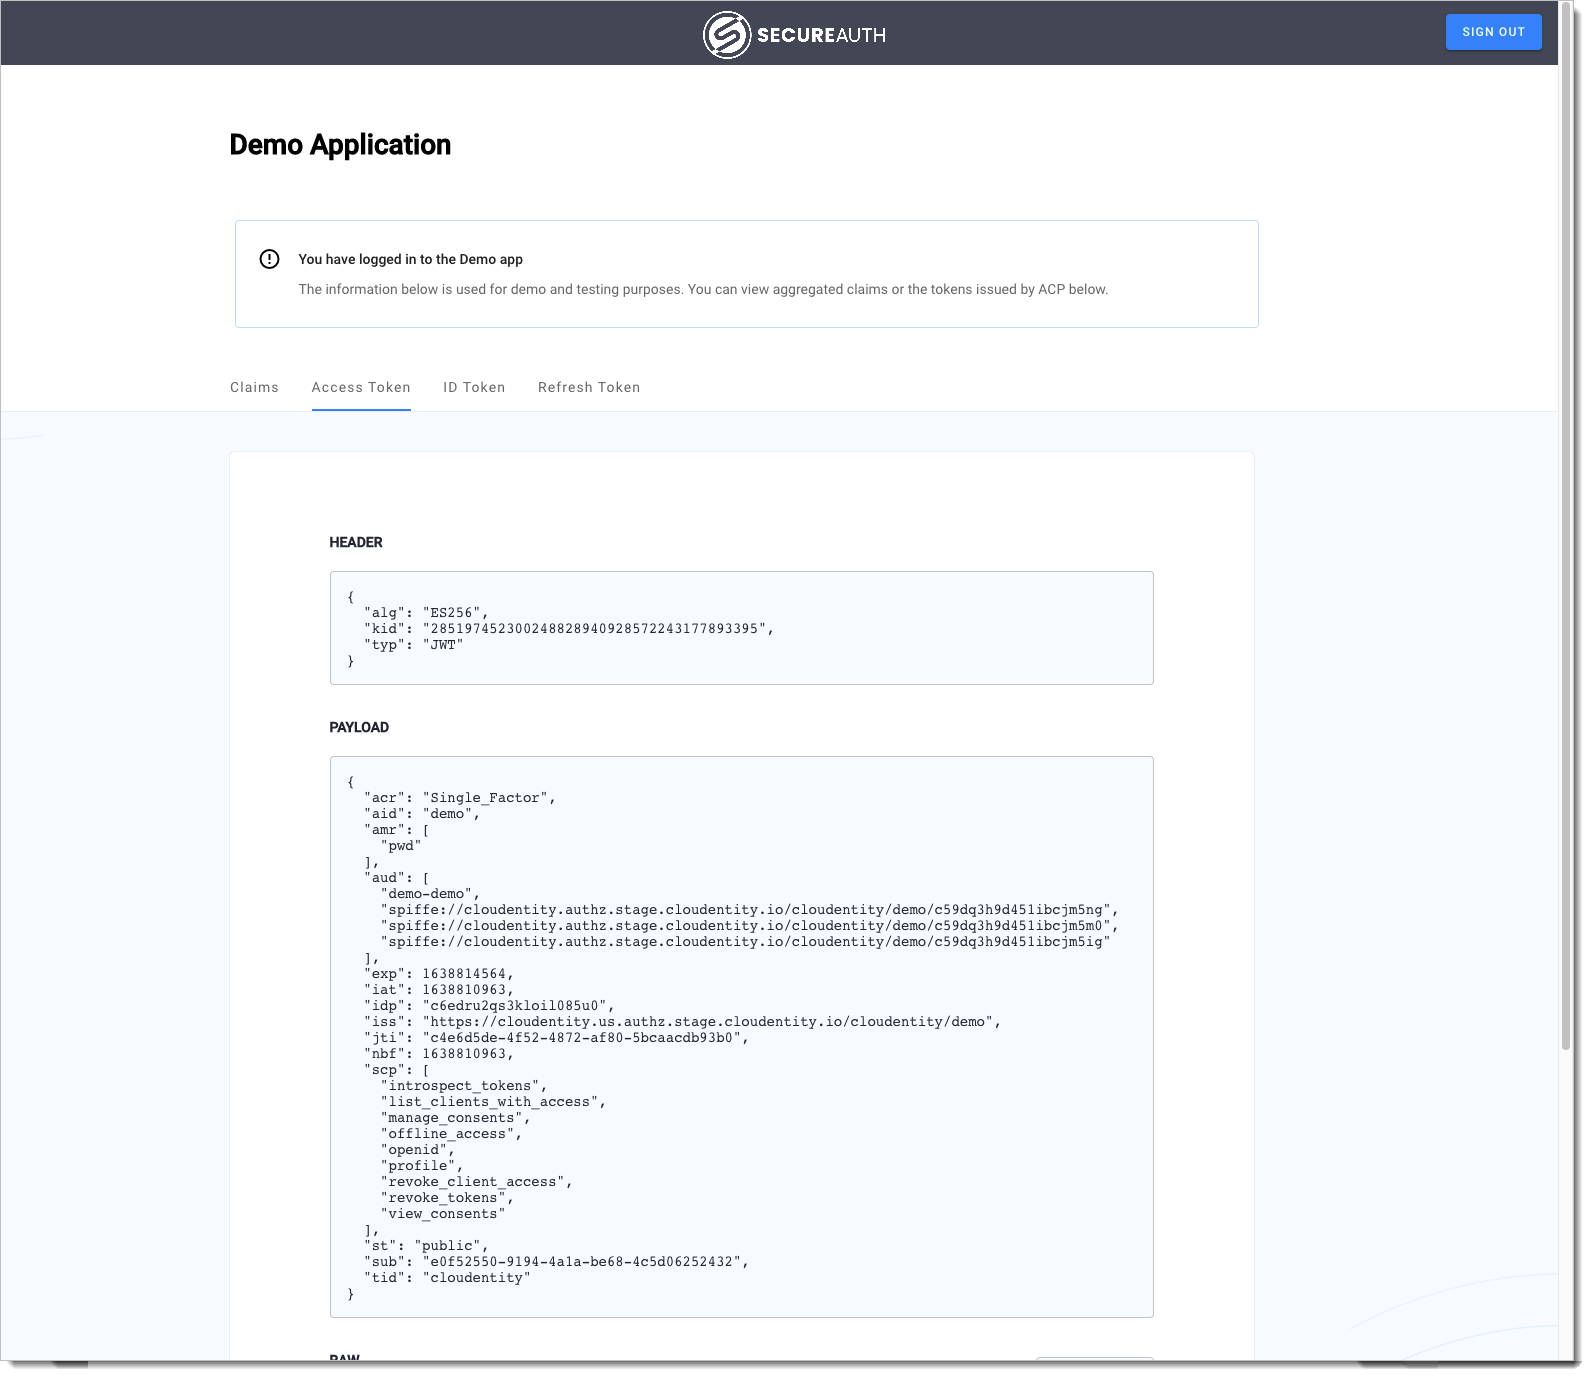
Result: SecureAuth displays the consent page that lists data scopes to be shared with the application. When you proceed to the application (ALLOW ACCESS), the PII data coming from IDP is delivered through the access token and the ID token generated by SecureAuth.
Note
For information on granting and managing SecureAuth consents, see SecureAuth OAuth Consents.