Store users and user populations in Identity Pools
Identity Pools provide secure, workspace-specific user storage with full authentication control, eliminating dependency on external identity providers.
💡 Why this matters
Reduces integration complexity and gives you complete control over user authentication and security policies.
Create an Identity Pool
-
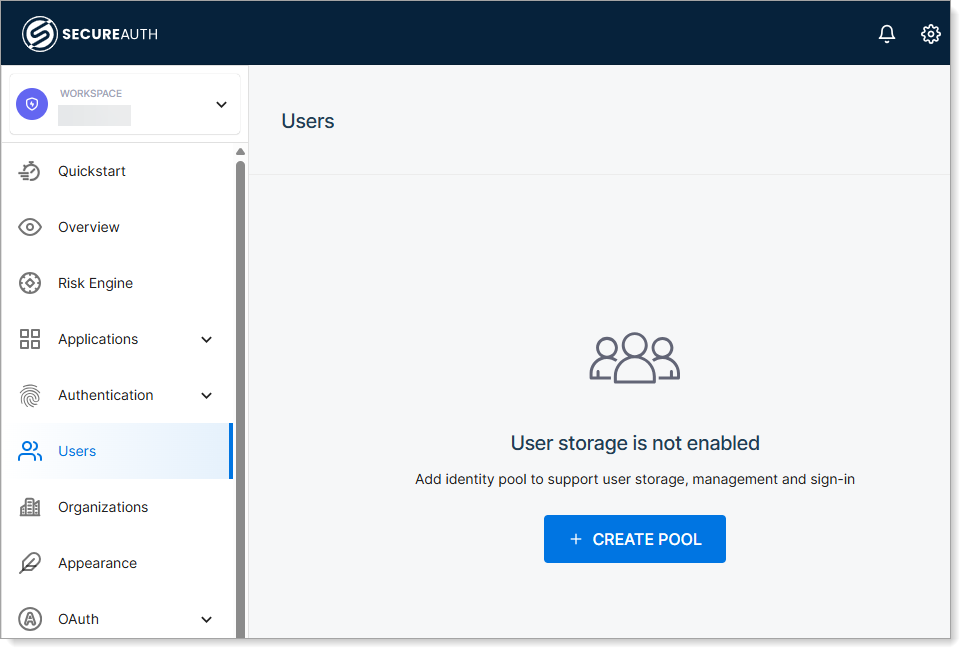
In your workspace, go to Users.
-
Click Create Pool.
-
Configure pool settings:
Setting Value Notes Pool name Descriptive name Example: "Customer Portal Users" Description Pool purpose Helps identify usage later -
Click Create.
Verify: Pool appears in Users section → Ready to add users
⚠️ Security note
Configure authentication methods before enabling user access
Add users to Identity Pool
Choose your user addition method based on your needs:
Manual user creation
-
In your identity pool, go to Users tab.
-
Click Create User.
-
Set user information:
Field Purpose Example Email/Mobile Login identifier user@company.com Family name Last name Smith Given name First name John Name Display name John Smith -
Choose credential method:
Mode When to use Result Send invitation User can self-register Email with registration link Set credentials Admin sets password for user Immediate access with admin password -
Click Create.
Bulk user options
| Method | Best for | Next step |
|---|---|---|
| Self-registration | Customer portals | Enable user registration |
| API migration | Existing user data | Migrate users with APIs |
Create user groups
Organize users by role, department, or access level for easier permission management.
-
In your workspace, go to Users and select the Groups tab.
-
Click Create Group.
-
Set group details:
Field Value Purpose Name Role-based name "IT Admins", "Employees" Description Group purpose Access level and permissions -
Click Create.
Assign users to groups
- Select a group.
- Click Assign Users.
- Choose users from the list
- Save assignments
💡 Best practice
Create users first before adding them to a group.
Connect Identity Pool to workspace
Identity Pools require connection as authentication providers to enable application access:
- Go to workspace Authentication settings
- Add Identity Pool as IdP for user authentication
- Configure sign-in methods
⚠️ Important
Users in Identity Pools cannot access applications until the pool is connected as an authentication provider