Define login experience and MFA settings in a policy
On the Multi-Factor Methods tab in a policy, you define the user login experience and the MFA methods they can use for authentication.
For example, you might want to allow passwordless logins with a FIDO2 security key for user logins.
The following is an overview of how to set this up:
Select Passwordless as the login workflow.
Select FIDO2 Devices from the list of Recommended Authenticators.
If you don't see the FIDO2 Devices option enabled, go to the Multi-Factor Methods on the left side of this page to enable it.
Setting up user login workflow with MFA methods
With a policy open in edit mode, select the Multi-Factor Methods tab.
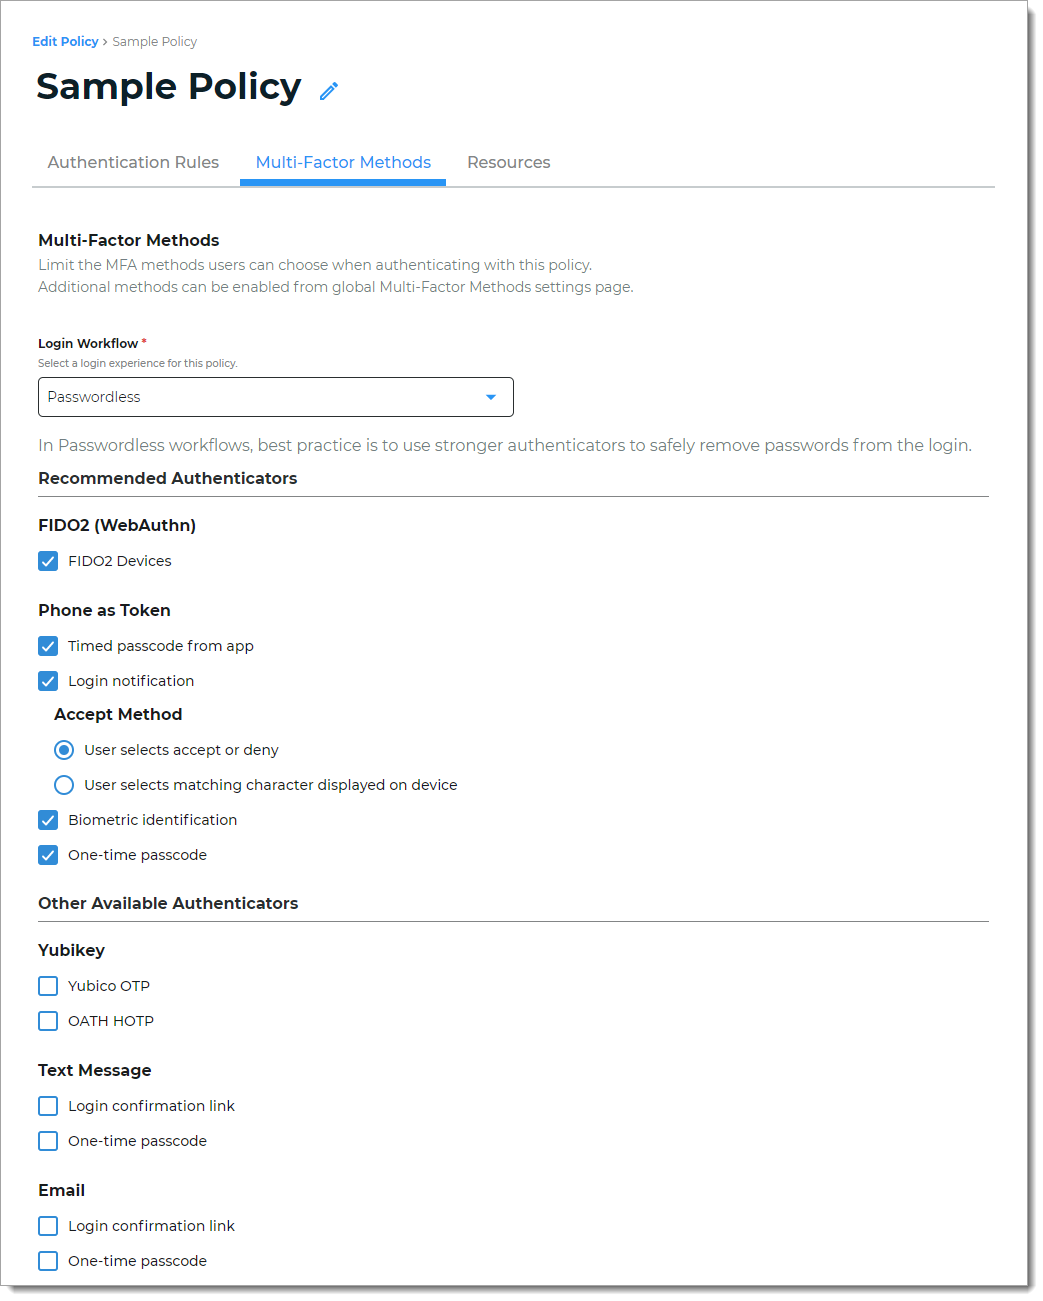
Select the Login Workflow experience for users to access a resource attached to this policy.
Passwordless
For the end user, this the passwordless workflow login process:
Step 1: User provides username on the login page.
Step 2: User is prompted for multi-factor authentication on the next page.
The recommended authenticators for Passwordless login methods are:
FIDO2 security keys (Requires the Prevent licensing package.)
Phone as Token (timed passcode from an app, login notification, accept/deny method, select matching character displayed on device)
Biometric authentication (using SecureAuth Authenticate app)
One-time passcode
Username & Password | MFA Method
When you add a new policy, this is the default login workflow selection. For the end user, this is the workflow login process:
Step 1: User provides username and password on the login page.
Step 2: User is prompted for multi-factor authentication on the next page.
Username | MFA Method | Password
For the end user, this is the workflow login process:
Step 1: User provides username on the login page.
Step 2: User is prompted for multi-factor authentication on the next page.
Step 3: User provides password on the next page.
(Valid Persistent Token) | MFA Method
For the end user, this is the workflow login process:
Step 1: User provides valid persistent token (in lieu of a username) on the login page.
Step 2: User is prompted for multi-factor authentication on the next page.
(Valid Persistent Token) | MFA Method | Password
For the end user, this is the workflow login process:
Step 1: User provides valid persistent token (in lieu of a username) on the login page.
Step 2: User is prompted for multi-factor authentication on the next page.
Step 3: User provides password on the next page.
Next, define the multi-factor method options users can choose to authenticate into a resource.
If you don't see an MFA method enabled on this tab, go to Multi-Factor Methods on the left side of Identity Platform page to enable it.
For documentation purposes, all multi-factor methods for a policy are described next.
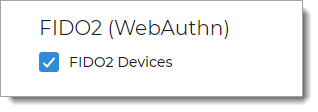
FIDO2 (WebAuthn)
Select to allow a user to register and use a FIDO2 authenticator to authenticate access:
FIDO2 Devices – user receives notification prompt from their registered FIDO2 security key (for example, security key or built-in authenticator in their mobile phone)
YubiKey (non-FIDO2)
Select to allow a user with a YubiKey to authenticate access:
Yubico OTP – use YubiKey to generate an encrypted one-time passcode (OTP)
OATH HOTP – use YubiKey to generate an encrypted six- eight-, or nine-character one-time (OTP) event-based passcode using OATH-HOTP. This means a new one-time passcode is generated for each event.

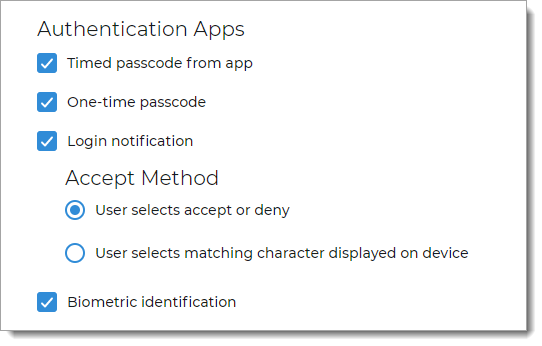
Authentication Apps
Select to allow a user with an authentication app like SecureAuth Authenticate to authenticate access:
Timed passcode from app – user receives soft token generated by SecureAuth Authenticate app
Login notification – user receives push notification from SecureAuth Authenticate app
Accept Method – choose one of the following:
User selects accept or deny
User selects matching character displayed on device
Biometric identification – user can use biometric identification like facial recognition and fingerprint by means of the Authenticate app
One-time passcode – user receives push notification from SecureAuth Authenticate app with one-time passcode
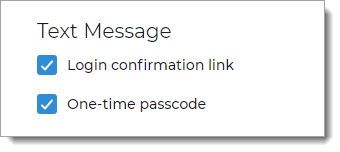
Text Message
Select to allow a user to receive SMS / text message to a mobile number associated with their profile, to authenticate access:
User receives a Login confirmation link
User receives a One-time passcode
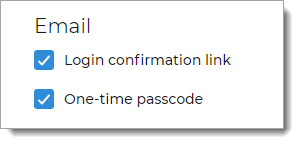
Email
Select to allow a user to receive an authentication email to an email address associated with their profile, to authenticate access:
User receives a Login confirmation link
User receives a One-time passcode
Voice Phone Call
Select to allow a user to receive a voice phone call to a phone number associated with their profile, to authenticate access:
User receives a One-time passcode
PIN
Select to allow a user to receive a PIN (personal identification number) associated with their profile, to authenticate access:
User receives a request to enter a PIN
Security Questions
Select to send security questions to a user to verify who they are, to authenticate access:
User receives Security questions to which they must answer correctly
Symantec VIP
Select to allow a user with a Symantec Validation and ID (VIP) token to authenticate access:
Click Save.