SecureAuth Connector installation
To connect your data stores and directories to SecureAuth Identity Platform in a cloud deployment, you need to install a connector on your local data store server. You can use the SecureAuth Connector installer and configuration files more than once. Copy the files to different data store servers and install them on those machines for redundancy.
To remove a connector, uninstall it from your local data store server. Then, remove it from the Connectors list in the Data Stores section.
For more information about the latest SecureAuth Connector version, see the SecureAuth compatibility guide and SecureAuth compatibility guide
Note
For important information about SecureAuth cloud infrastructure updates, see Critical SecureAuth Connector update for SaaS IdP customers.
Prerequisites and dependencies
Identity Platform release 19.07 or later, cloud deployment
At this time, the Connector is not certified for use on the Identity Platform on-premises appliance or a domain controller
Recommended installation on a standalone box
You must have access to the email address used to provision your Identity Platform account
Install or update Microsoft .NET to 4.8.1 or later
Access to a local data store server containing your data stores
At minimum, the local data store server must have the following system requirements (the same configuration also applies to virtual machines):
Supported operating systems
Windows Server 2022 / 2019
Windows 11 / 10
Minimum required specifications
For supported browser and platform requirements, see the SecureAuth compatibility guide
Microsoft .NET Framework 4.8.1 or later
Disk: 200MB
RAM: 4GB
Ports to open
Source | Destination / Hostname | Ports | Notes |
|---|---|---|---|
Connector | Data store | (data store specific) | Common ports: AD
SQL
|
Connector | pkc-4nym6.us-east-1.aws.confluent.cloud | 9092 | Add this to your firewall allow list |
Connector | rabbitmq.secureauth.com | 5671 | Effective June 5, 2023 Support for AMQP (Advanced Message Queuing Protocol) traffic from the connector to SecureAuth Cloud. |
Note
If you have any questions about which ports to open, contact SecureAuth Support.
Installing the SecureAuth Connector
Open the Identity Platform application.
On the left side of the Identity Platform page, click Data Stores.
The User Data Stores page opens.
To add a Connector, do one of two options:
When there are no connectors installed, click Add Connector.
When there is at least one connector installed, and to add another connector, click the Open Installer instructions link.
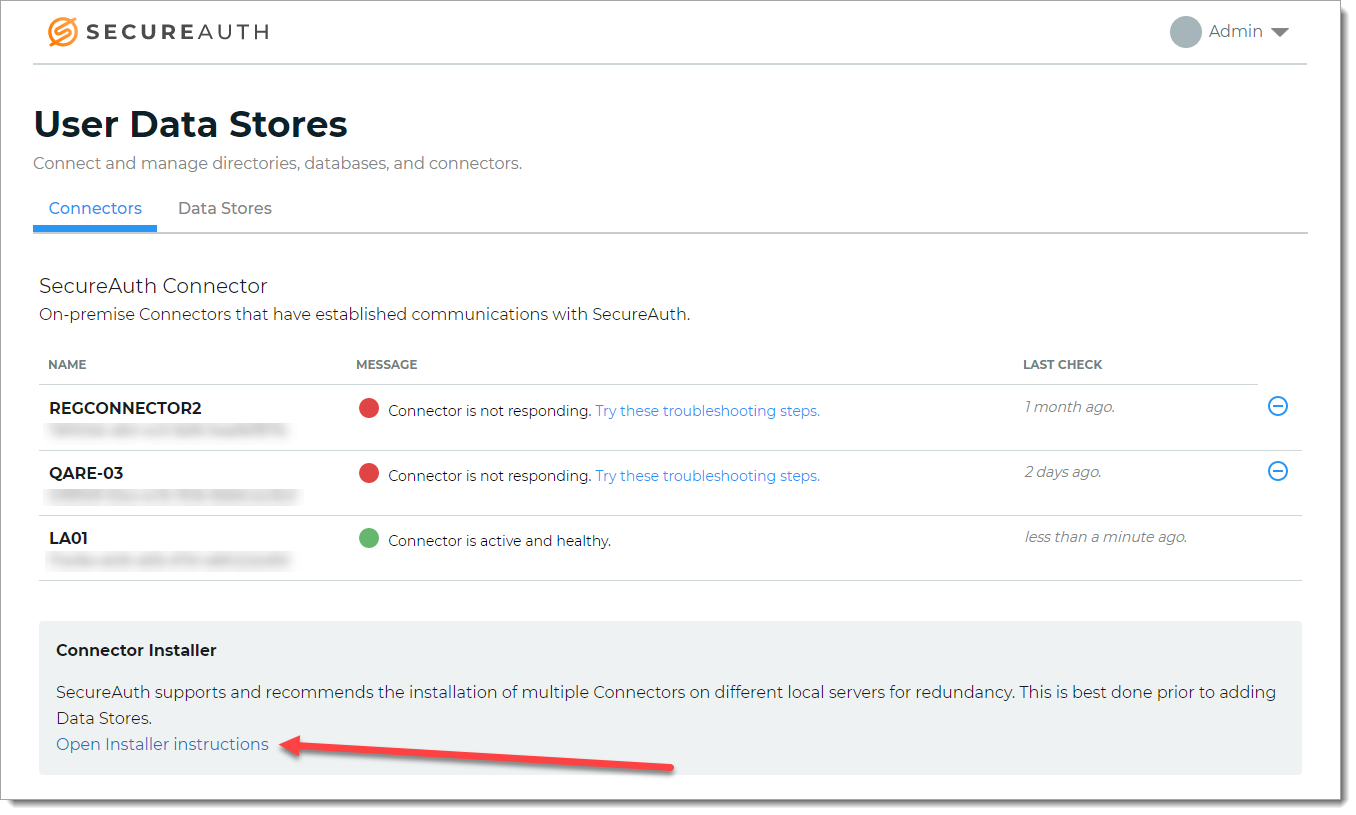
The Connector Installer page opens.
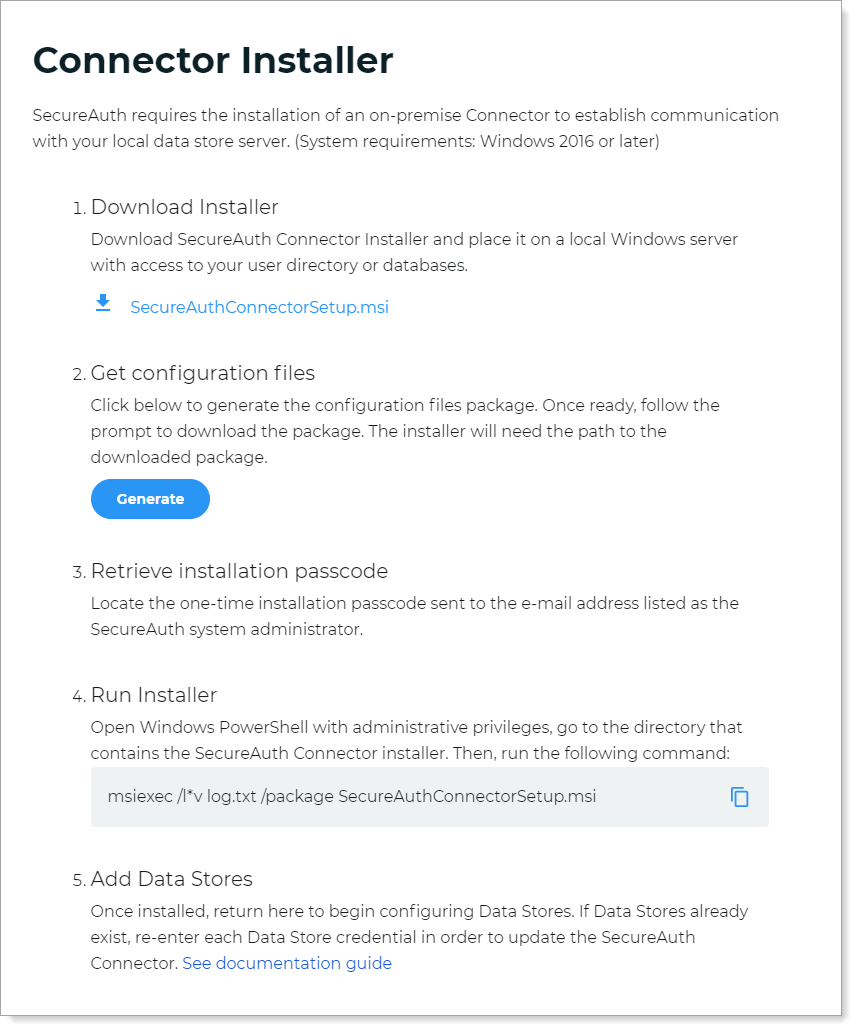
Click the SecureAuth Connector .msi installer link.
The installer file is downloaded and saved to your machine.
To get the configuration files package, click Generate.
This generates the configuration files package. It sends an email with the configuration passcode to the system administrator tasked with setting up the Identity Platform.
Retrieve the configuration passcode from the email.
Open Windows PowerShell with administrative privileges, go to the directory that contains the SecureAuth Connector installer. Then, run the following command:
msiexec /l*v log.txt /package SecureAuthConnectorSetup.msi
The installation process for the SecureAuth Connector opens.
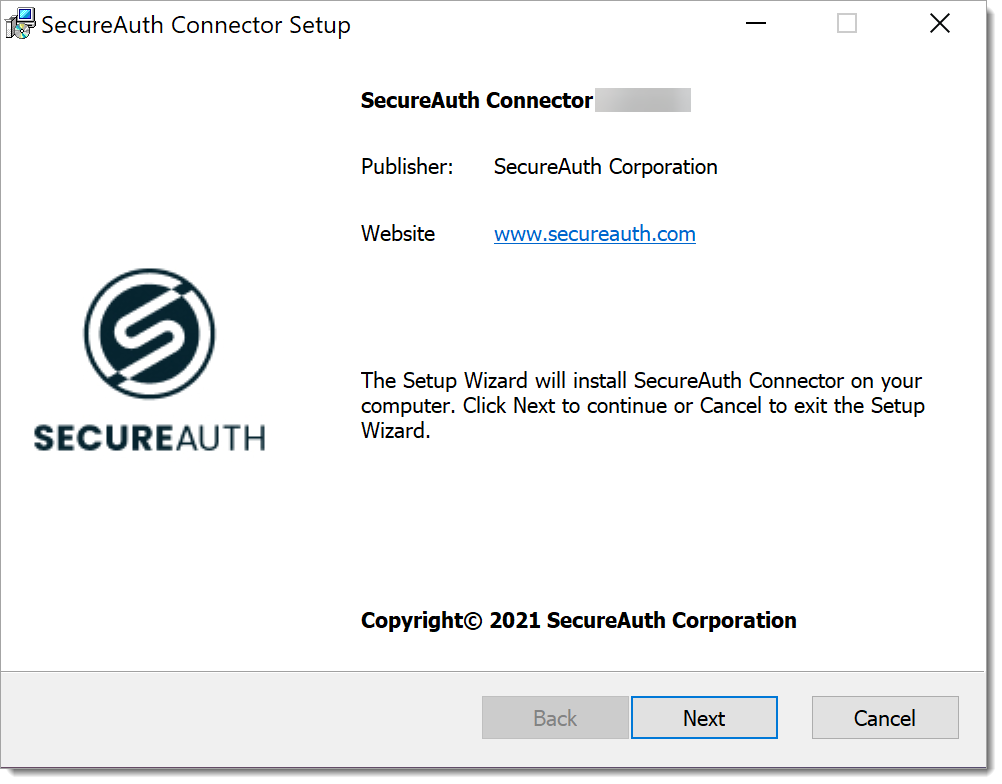
Click Next and accept the terms of the license agreement.
Click Next.
By default, the installation folder is set to
C:\Program Files\SecureAuth Corporation\SecureAuth Connector\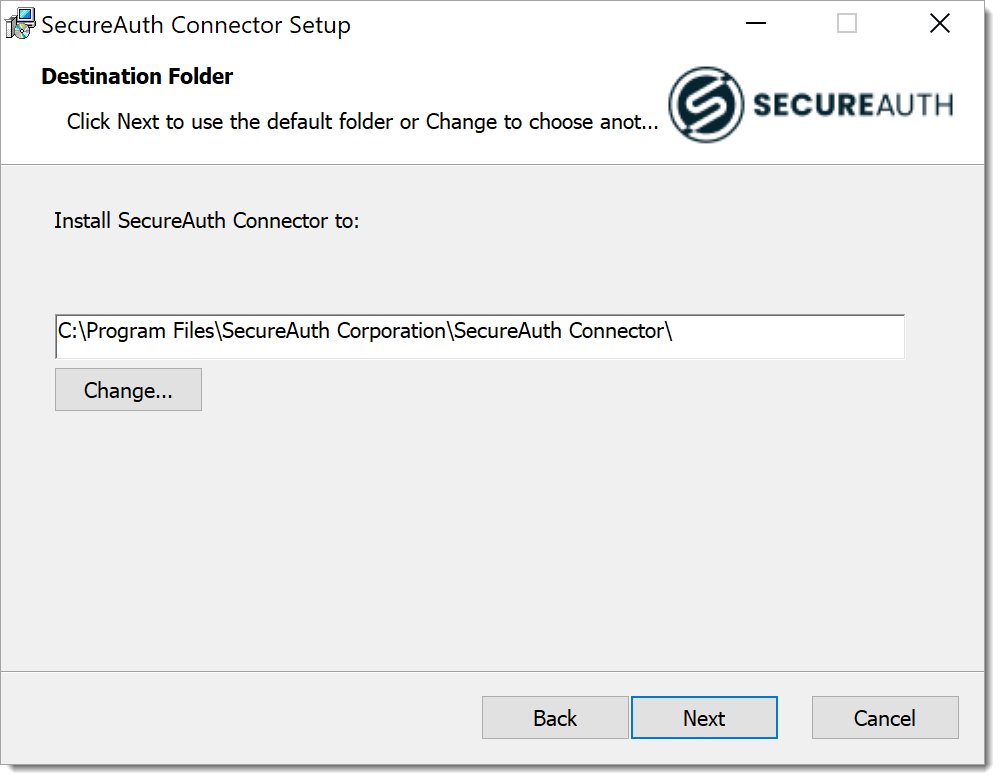
Click Next.
The next page is to specify the location of the generated configuration files.
Browse to the downloaded location of the configuration files package (.zip file) that you generated.
Click Next.
The next page is to enter the configuration passcode.
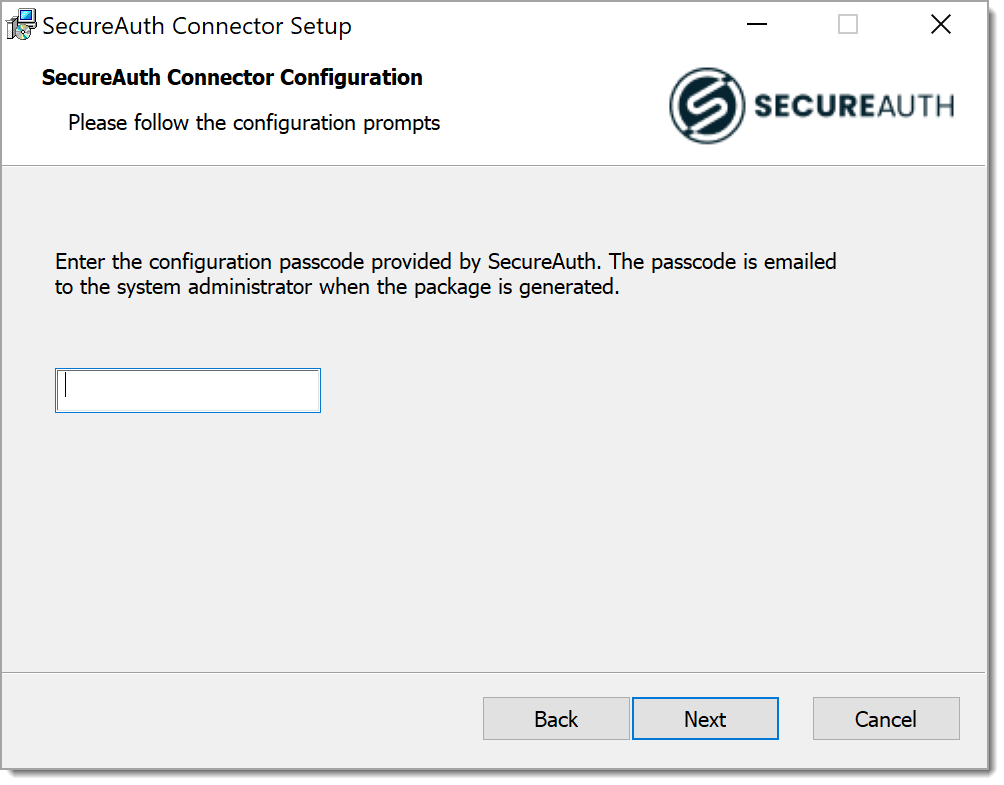
Enter the passcode from the email and click Install.
Follow the remaining installation prompts to complete the installation and configuration of the SecureAuth Connector. The name of the machine on which the connector is installed is displayed on the Connectors tab.
The installer will test for a connection to the SecureAuth servers. If there are any issues, see SecureAuth Connector troubleshooting.
On the Connectors tab, check the message area for the connector you installed. The connection runs a health check to show whether it is active (green status) or not active (red status).
At this point, the connection does a health check to indicate whether it is active and healthy (green status) or is not active (red status).
Optionally, to install another connector on another data store server for redundancy, do the following:
Copy the SecureAuth Connector installer file and generated configuration files package (.zip) to another local data store server.
Open Windows PowerShell with administrative privileges, go to the directory that contains the SecureAuth Connector installer. Then, run the following command:
msiexec /l*v log.txt /package SecureAuthConnectorSetup.msi
Use the same passcode copied from the email.
Tip
You can copy the same bundle to as many data store servers as needed and reuse the same passcode. Each time you click Generate from the Connector Installer page, the bundle is the same but the passcode changes.
Next steps
Add a data store.