Role-based access control configuration
Role-based access control (RBAC) in the SecureAuth® Identity Platform (formerly SecureAuth IdP) enables flexible visibility into appliance configurations. While many users can access the Web Admin, only certain users can make changes, while others can view and modify everything. This feature allows you to define roles in the appliance settings and restrict who has access and ability to change configurations.
Note
At this time, role-based access control (RBAC) is not supported in Identity Platform cloud deployments.
Role-based access control separates users into three (3) role types:
Super Admins | Super Admins are the only users who can control every aspect of the system. To act as a Super Admin, the user must use remote desktop protocol (RDP) into the Identity Platform appliance and access the Web Admin. NoteRole-based access control was introduced in SecureAuth IdP version 9.0.1. Prior to this version, Super Admins were the only users who could perform tasks to which Administrator role types can now do going forward after 9.0.1. |
Administrators | Administrator rules determine the realms to which administrators can view and modify, relevant to their permissions. The administrator role accesses the Identity Platform Web Admin by means of a web browser. |
Auditors | Auditor rules determine the realms to which auditors have read-only access, relevant to their permissions. Auditors can edit information in the fields, but cannot save changes. The auditor role accesses the Identity Platform Web Admin by means of a web browser. |
More role definitions in detail
The following table provides more detail about the level of permissions for each role.
Function | Super Admin | Administrator | Auditor |
|---|---|---|---|
View realm configurations | All realms | With specified realm permissions | With specified realm permissions |
Modify realm configurations | All realms | With specified realm permissions | N |
View Admin realm (SecureAuth0) | Y | With specified realm permissions | With specified realm permissions |
Modify Admin realm (SecureAuth0) | Y | With specified realm permissions | N |
View specialized realms (App enrollment) | Y | With specified realm permissions | With specified realm permissions |
Modify specialized realms (App enrollment) | Y | With specified realm permissions | N |
Requires RDP access | Y | N | N |
Use Web Admin tools (update / decrypt web.config) | Y | N | N |
Create new realms | Y | N | N |
View / modify API configurations | Y | N | N |
View / modify web.config file | Y | N | N |
To activate Role-based Access Control, an LDAP (Active Directory, others) directory must be integrated with the Admin Realm (SecureAuth0). The Identity Platform integration retrieves the directory user group information to apply the role-based controls. Then, users are required to use their directory credentials to log in to the Web Admin (SecureAuth0).
Prerequisites
Access to the Identity Platform appliance via Remote Desktop Protocol (RDP).
Data store directory (for example, Active Directory like LDAP) integrated with the Identity Platform Admin Realm (SecureAuth0) on the Data tab
Groups established in the data store directory to which the role-based rules apply
Identity Platform configuration
To create role-based rules for access, you will need to first activate Access Control in the Identity Platform and then create the role-based rules for administrators and auditors.
Activate the Access Control panel
As a Super Admin, use RDP to connect the Identity Platform appliance, and then access the Web Admin.
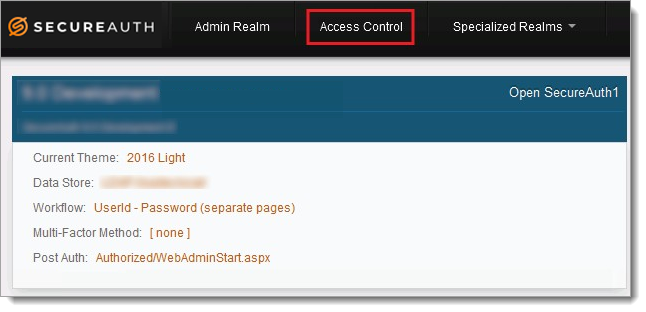
On the Web Admin home page, in the top menu bar, click Access Control.
Only Super Admins can see this option and is only accessible by means of RDP access.
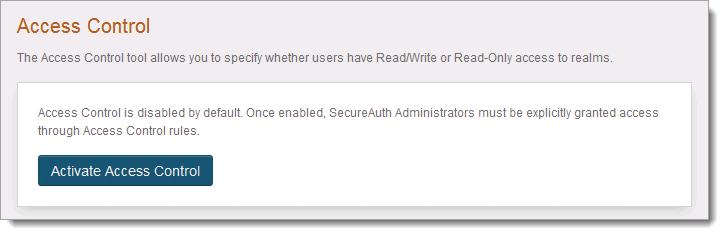
Click Activate Access Control.
Create and activate the first rule
Once Access Control is activated, you can create, activate and manage role-based rules.
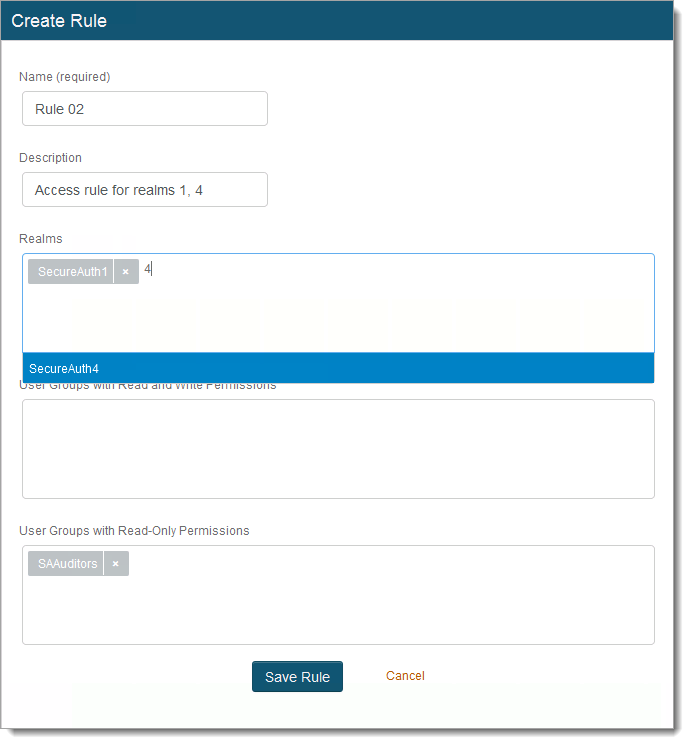
Set the following:
Name
Set the name of the rule.
This rule displays on the Access Control Panel page.
Description
Provide descriptive text about the rule.
Realms
Select the Identity Platform realms to which this access control rule applies.
User Groups with Read and Write Permissions
Select the data store (LDAP) directory user groups to which Administrators belong, giving them read and write permissions to the specified realms.
The Access Control Rule form pulls information from the directory for auto-fill options.
User Groups with Read-Only Permissions
Select the data store (LDAP) directory user groups to which Auditors belong, giving them read-only permissions to specified realms.
It is not required to select a user group in this field, but at least one field must be set.
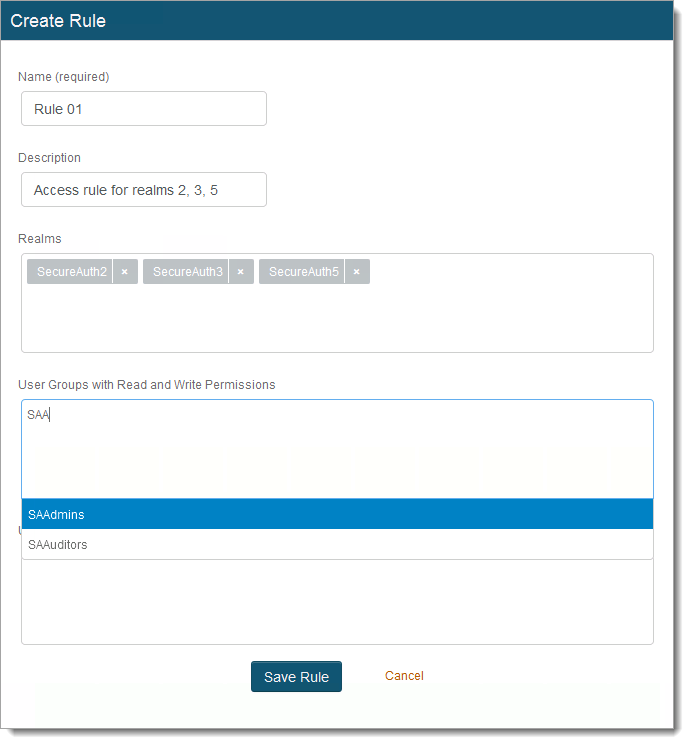
Click Save Rule.
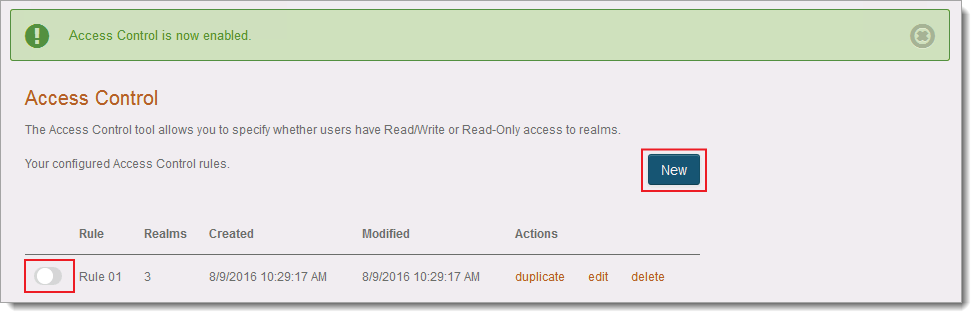
When the first rule is created, a notification from the Identity Platform is sent to the Super Admin indicating that the Access Control is enabled.
In the Access Control panel, move the rule slider to publish and activate the rule.
Create a new rule
After the first rule is created and activated, you can create more role-based permission rules.
In the Access Control panel, click New.
Set the following:
Name
Set the name of the rule.
This rule displays on the Access Control Panel page.
Description
Provide descriptive text about the rule.
Realms
Select the Identity Platform realms to which this access control rule applies.
User Groups with Read and Write Permissions
Select the data store (LDAP) directory user groups to which Administrators belong, giving them read and write permissions to the specified realms.
The Access Control Rule form pulls information from the directory for auto-fill options.
User Groups with Read-Only Permissions
Select the data store (LDAP) directory user groups to which Auditors belong, giving them read-only permissions to specified realms.
It is not required to select a user group in this field, but at least one field must be set.
Click Save Rule.
Manage rules
From the Access Control page, you can duplicate, edit, or delete a rule.
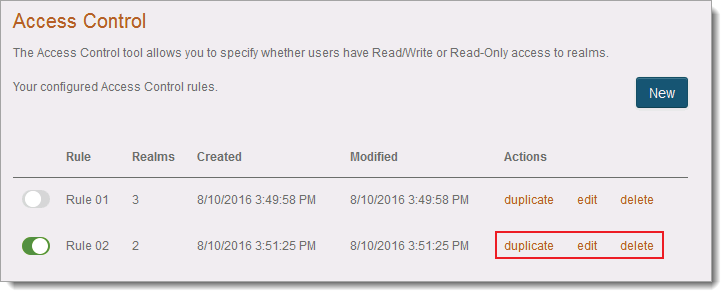 |
To duplicate a specific rule, click the duplicate link.
Confirm the action by clicking Duplicate.
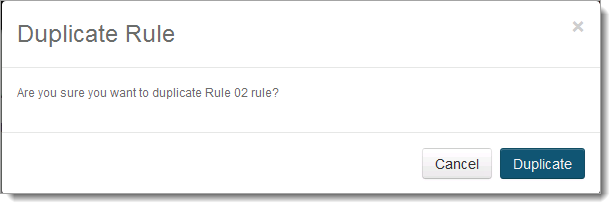
The duplicated rule displays in the list.
To edit a specific rule, click the edit link.

To delete a specific rule, click the delete link.
Confirm the action by clicking Delete.
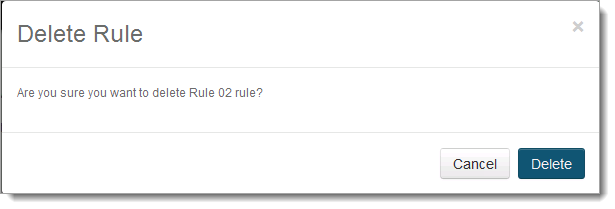
All access controls defined by the rule are removed and the rule no longer displays in the list.