Amazon Web Services (AWS) (IdP-initiated) integration guide
Note
This configuration guide applies only to Identity Platform realms created in Advanced Settings (formerly Classic Experience). It will not work for applications created in the New Experience.
This topic covers how to integrate the Amazon Web Services (AWS) application in the SecureAuth® Identity Platform to enable Multi-Factor Authentication and Single Sign-on (SSO) access to AWS via SAML.
Three configuration steps are involved in the integration process:
Create a SecureAuth Identity Platform realm to integrate with AWS via SAML, and generate the SAML metadata file used by AWS to validate assertions from SecureAuth Identity Platform (Identity Platform configuration, part 1).
Configure AWS to use SecureAuth Identity Platform as a SAML Identity Provider, and create a Role that can access the AWS account via SSO (AWS configuration).
Input values from the AWS Role into the SecureAuth Identity Platform realm to configure the SAML provider (Identity Platform configuration, part 2).
Prerequisites
Identity Platform release 19.07 or later
An AWS account
A realm created in Advanced Settings with the following tabs configured:
Overview – the description of the realm and SMTP connections must be defined
Data – a data store must be integrated with the Identity Platform
Workflow – the way in which users will access this application must be defined
Multi-Factor Methods – the SSO Authentication method that will be used to access this page must be defined
Identity Platform configuration, part 1
Warning
Click Save once the configurations have been completed and before leaving the Post Authentication page to avoid losing changes.
In Advanced Settings, navigate to the Post Authentication tab for the realm to integrate with AWS SAML.
In the Post Authentication section, select SAML 2.0 (Identity Platform Initiated) Assertion for Authenticated User Redirect.
The Redirect To field will auto-populate an unalterable URL that appends to the domain name and realm number in the address bar (
Authorized/SAML20IdPInit.aspx).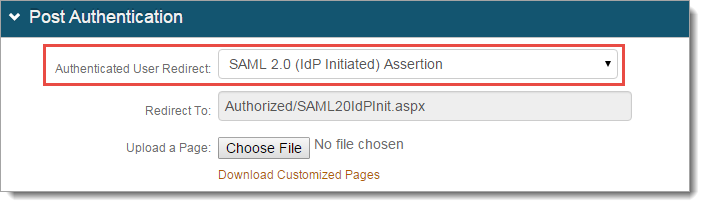
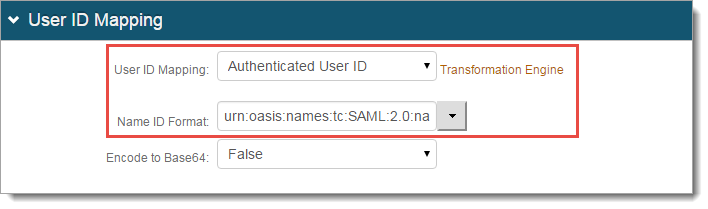
In the User ID Mapping section, set the following:
User ID Mapping
Select Authenticated User ID.
Name ID Format
Select urn:oasis:names:tc:SAML:2.0:nameid-formatpersistent.
Encode to Base64
Select False.
In the SAML Assertion / WS Federation section, set the following:
SAML Consumer URL
Set to https://signin.aws.amazon.com/saml.
WSFed / SAML Issuer
Set to a Unique Name that will be shared with AWS to identify the Identity Platform as the SAML issuer.
Note
The WSFed/SAML Issuer must match exactly on the SecureAuth Identity Platform side and the AWS side.
SAML Recipient
Set to https://signin.aws.amazon.com/saml.
SAML Audience
Set to https://signin.aws.amazon.com/saml.
Sign SAML Assertion
Select True.
Signing Cert Serial Number
Leave as the default value unless using a third-party certificate for the SAML assertion.
If using a third-party certificate, click Select Certificate and choose the appropriate certificate.
Domain
Provide the Domain Name (Public Server Address).
Click Download to save a copy of the realm's Metadata File.
Note
Record the download location of MetaData.xml as this file is used in the AWS configuration steps.

Click Save.
Continue to AWS configuration.
AWS configuration
Note
There will be more Identity Platform configurations after you complete the AWS configuration.
Create SAML provider
Log into the AWS Management Console.
In the Security & Identity section, click Identity & Access Management.
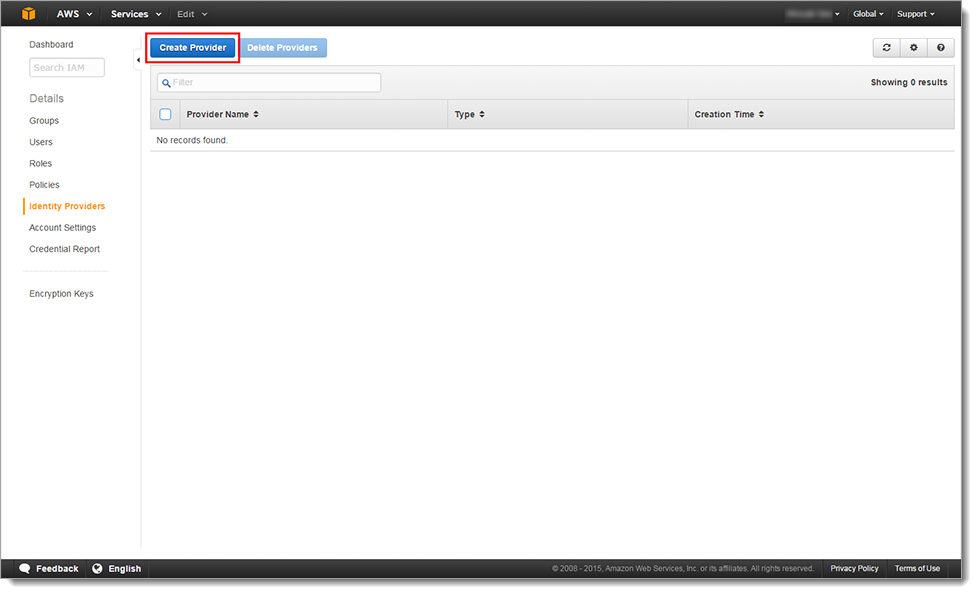
Select Identity Providers in the left pane.
Click Create Provider.
In the Step 1: Configure Provider section, set the following:
Provider Type
Select SAML.
Provider Name
Set the Provider Name. You cannot change this name once you create the Identity Provider profile in AWS.
Metadata Document*
Click Choose File and select the MetaData.xml file downloaded from the Identity Platform.
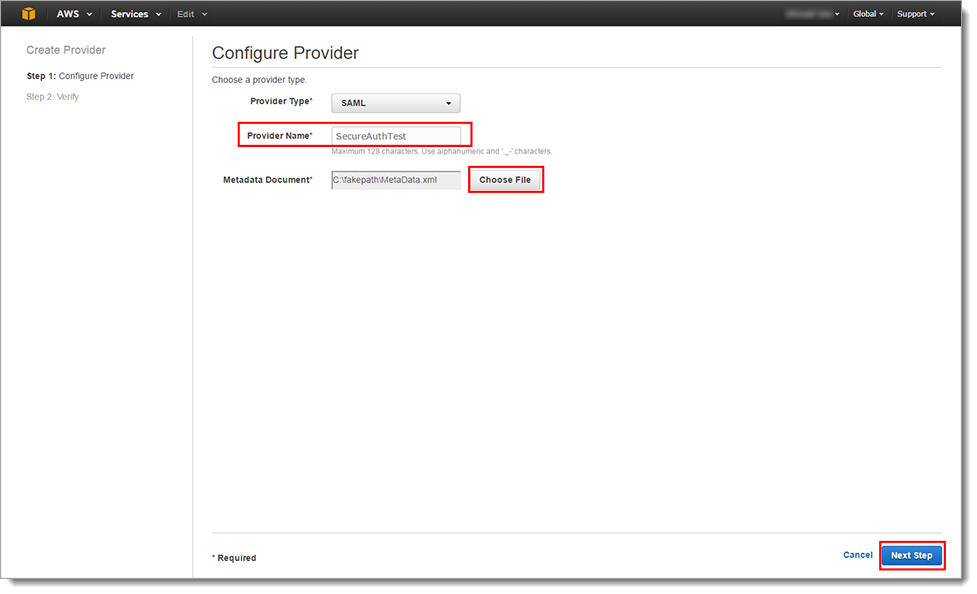
Click Next Step.
In the Step 2: Verify section, review the configured settings.
Click Create.
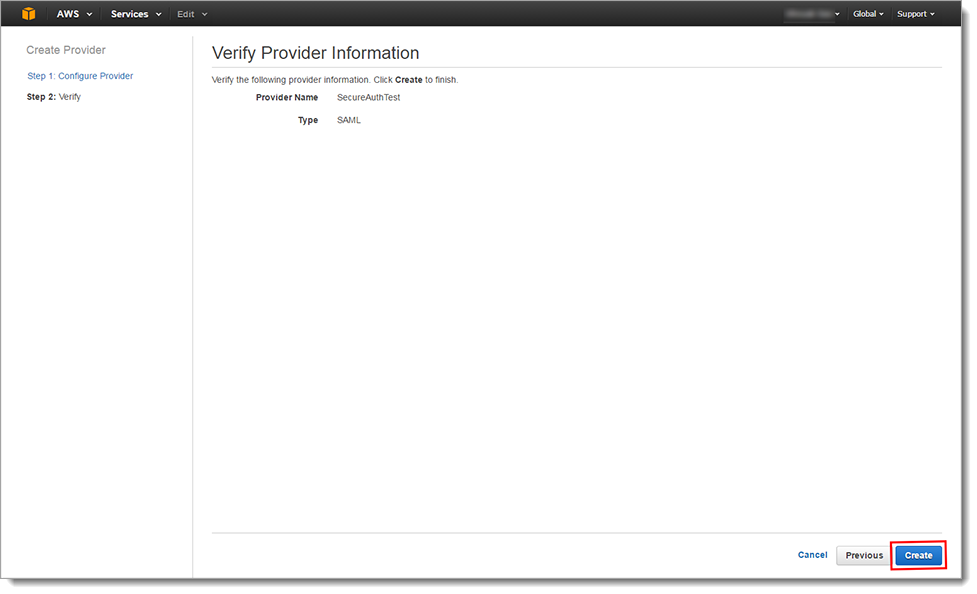
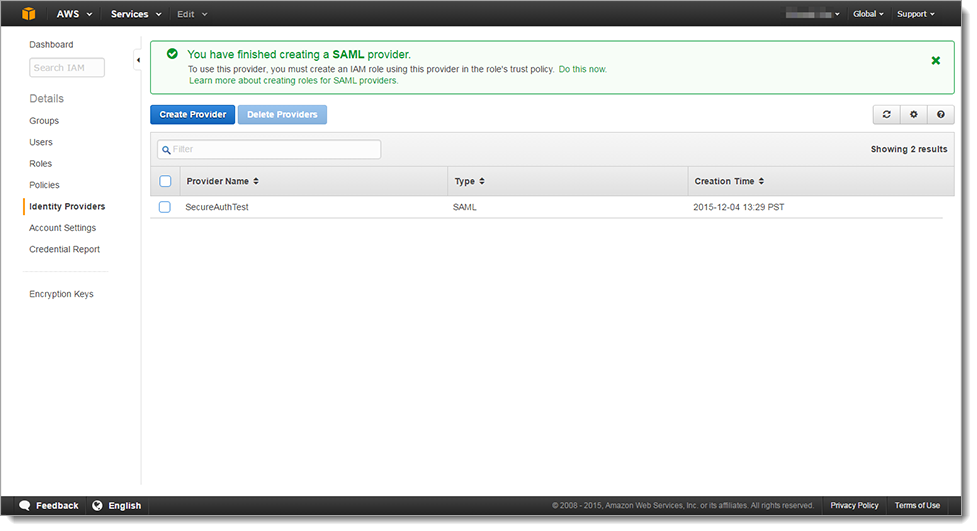
Details about the SAML Identity Provider appear after the provider is successfully created.
Create Role
This integration requires you to create a role. You can create any role (for example, admin or user role) based on AWS preferences. But, you must apply the created role to all end users accessing the AWS application through the Identity Platform.
As a best practice, create a separate AWS application in the Identity Platform for each distinct AWS role. For example, in the Identity Platform, create two AWS applications, one for Admins (realm 1), and one for Users (realm 2).
If you use only one role (for example, Admins), the you only need to create one AWS application in the Identity Platform.
For more than one role and AWS application, it requires you to complete both Part 1 and Part 2 of the Identity Platform configurations. However, in Part 2, it it would include different ARN Values (Amazon Resource Names) that uniquely identify AWS permissions for that role.
See Creating a Role for SAML 2.0 Federation (AWS Management Console) for more information.
To create and configure a role:
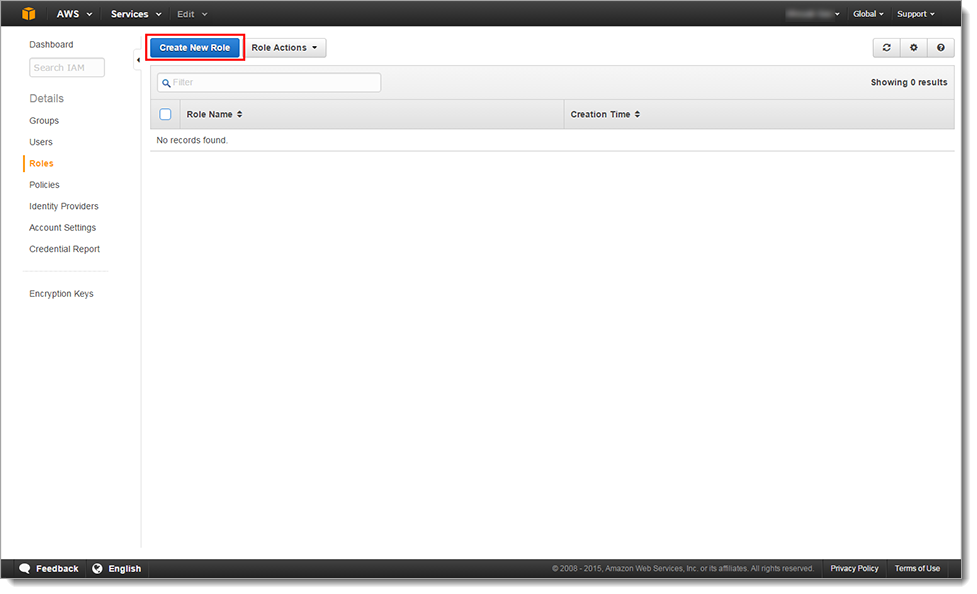
Select Roles in the left pane.
Click Create New Role.
In the Step 1: Set Role Name section, set the Role Name. For example, Admin.
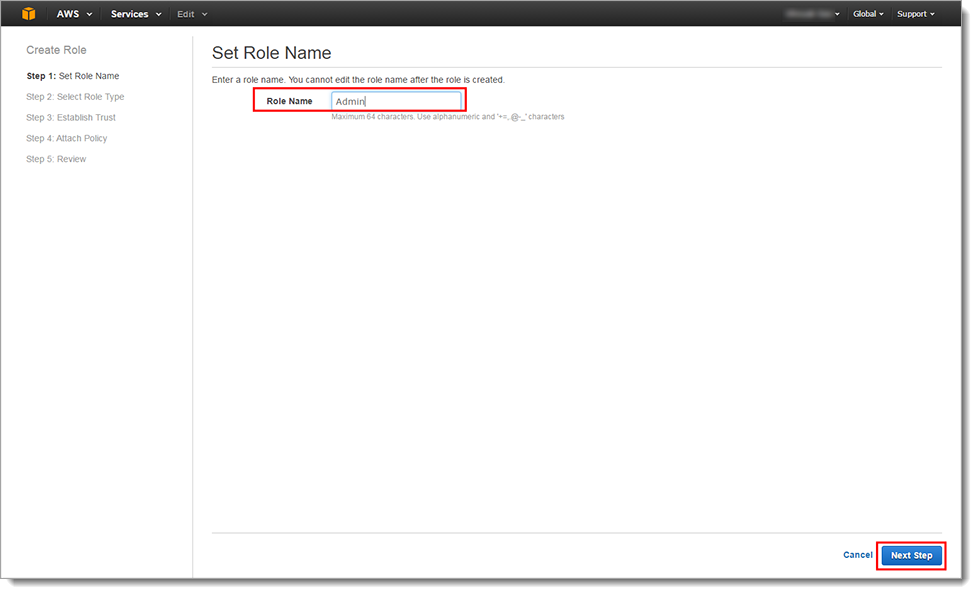
Click Next Step.
In the Step 2: Select Role Type section, set the following:
Select Role Type
Select Role for Identity Provider Access.
Grant Web Single Sign-on (Web SSO) access to SAML providers
Click Select.
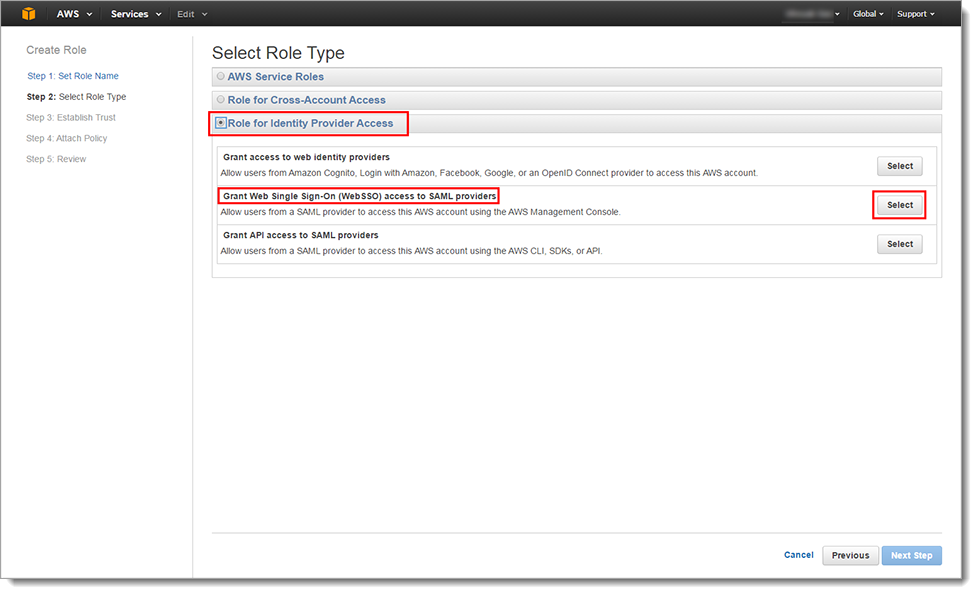
Click Next Step.
In the Step 3: Establish Trust section, set the SAML Provider to the SAML Provider created earlier in the Create SAML Provider section.
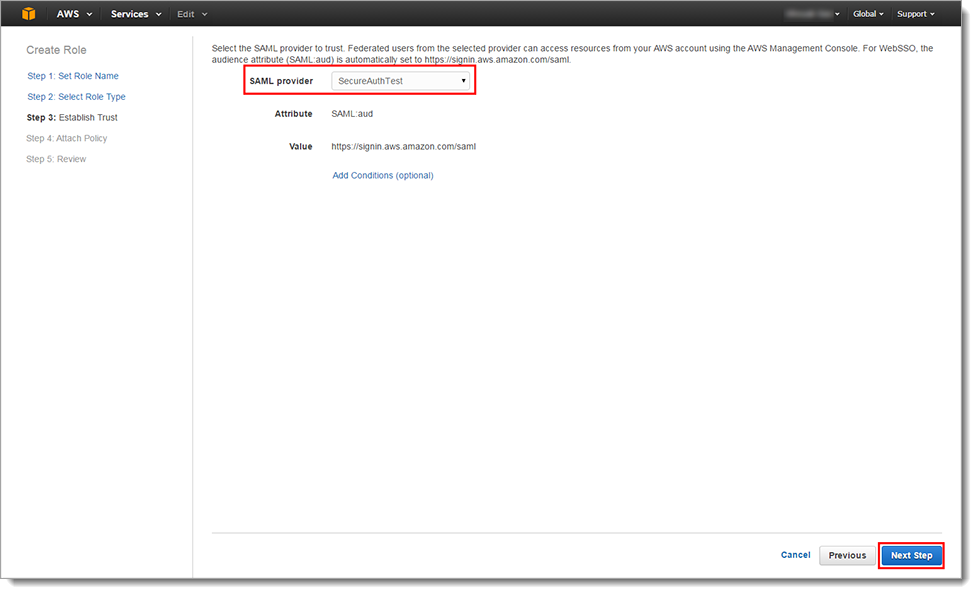
Click Next Step.
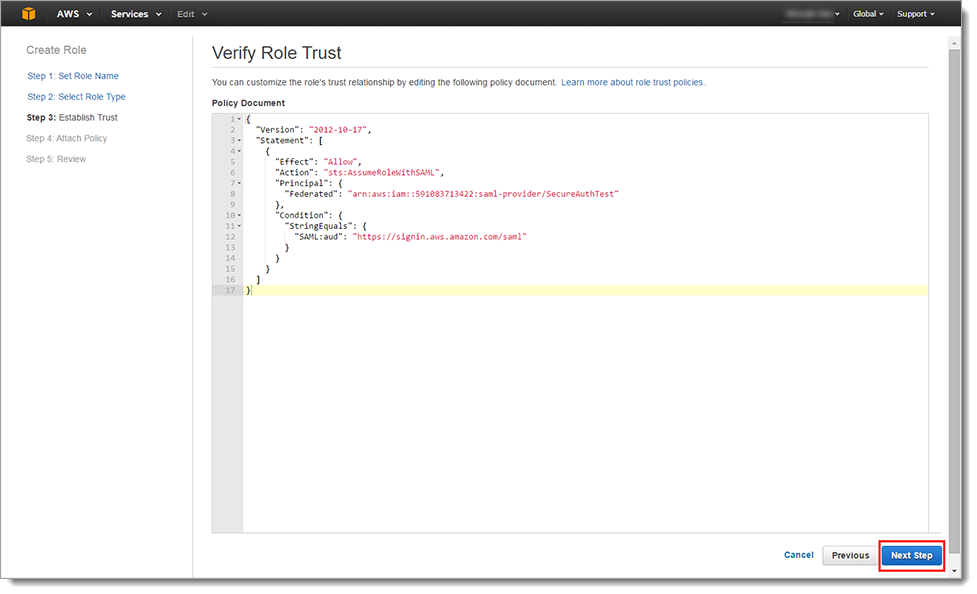
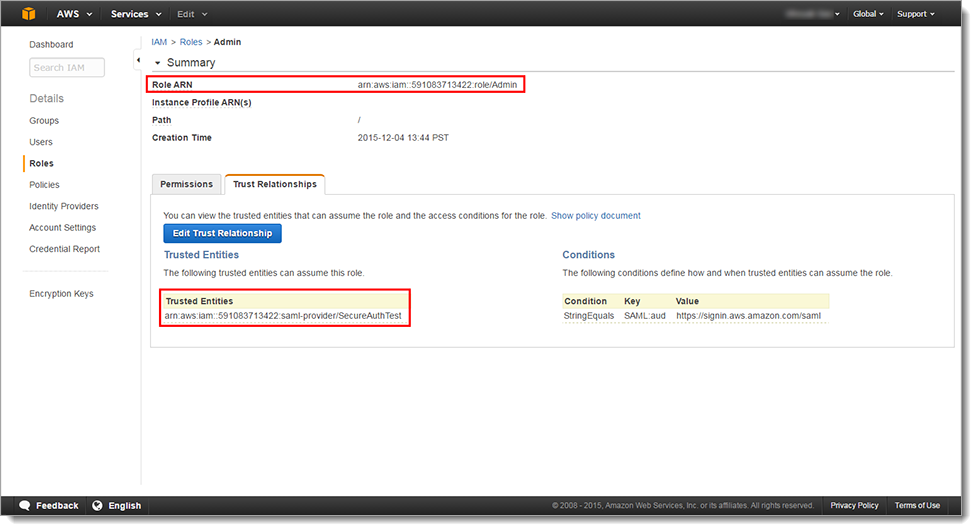
Verify the Role's trust relationship.
Click Next Step.
In the Step 3: Attach Policy section, select one or more policies to attach to the Role.
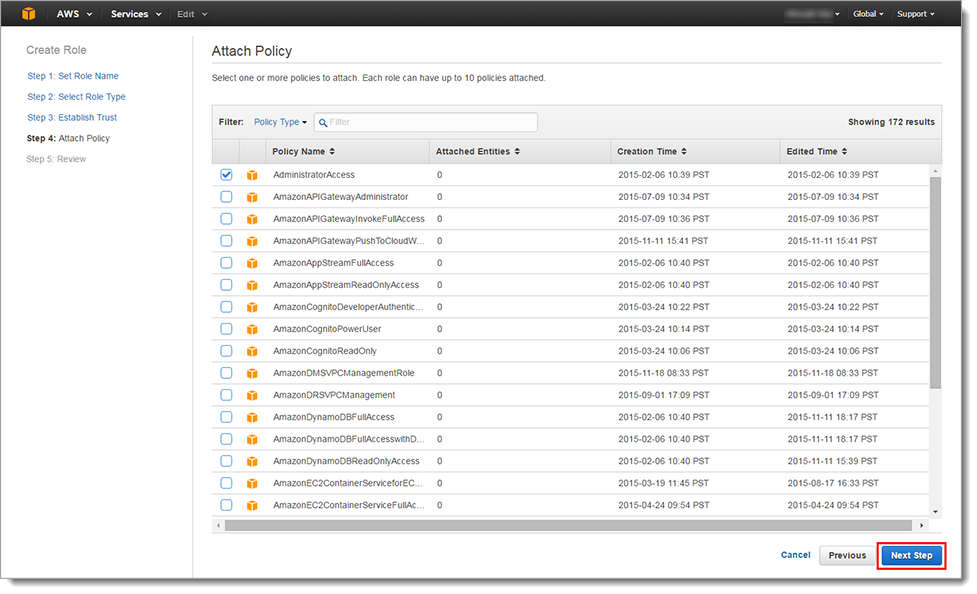
Click Next Step.
Review information assigned to the Role and make any necessary edits.
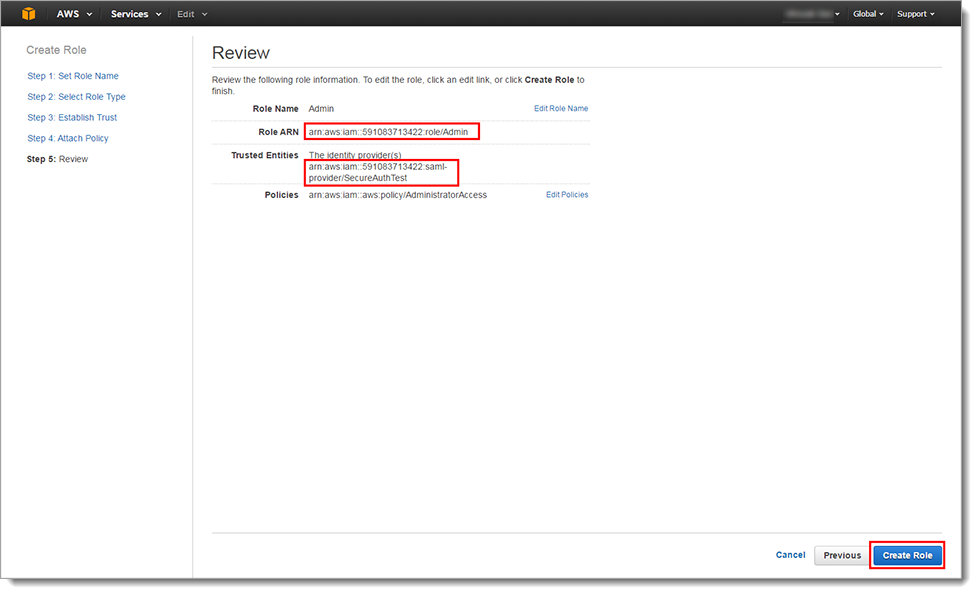
Note
The Role ARN and Trusted Entities SAML Provider ARN appear in the Review page. These two ARN values are stored on the Active Directory server, or as a Global Auxiliary ID, separated by a comma. For example:
arn:aws:iam:591083713422:role/Admin,arn:aws:iam::591083713422:saml-provider/SecureAuthTestYou can view this information at any time on the Trust Relationships tab in the Roles Summary page for the configured entity.
Click Create Role.
Return to the Identity Platform to complete integration.
Identity Platform configuration, part 2
In Advanced Settings, navigate to the Data tab for the realm integrated with AWS SAML.
Warning
Click Save once the configurations have been completed and before leaving the Data page to avoid losing changes.
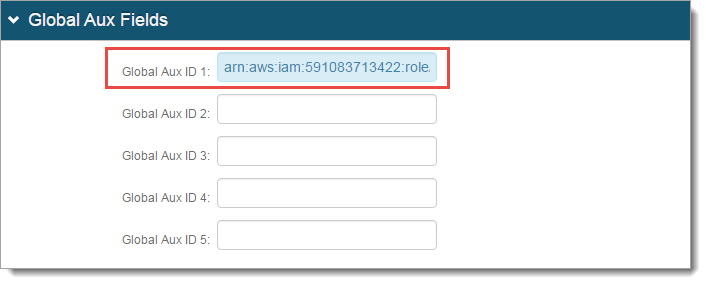
In the Global Aux Fields section, set the following:
Global Aux ID 1
Set to the Role ARN and Trusted Entities SAML Provider ARN values provided by AWS.
Note
This is the suggested configuration rather than storing the values in the enterprise directory. If storing the values in the directory, then the attribute used to contain the values (for example, description, postalAddress, etc.) must be mapped to a SecureAuth Identity Platform Profile Property (for example, Aux ID 1).
Click Save.
Navigate to the Post Authentication tab.
Warning
Click Save once the configurations have been completed and before leaving the Post Authentication page to avoid losing changes.
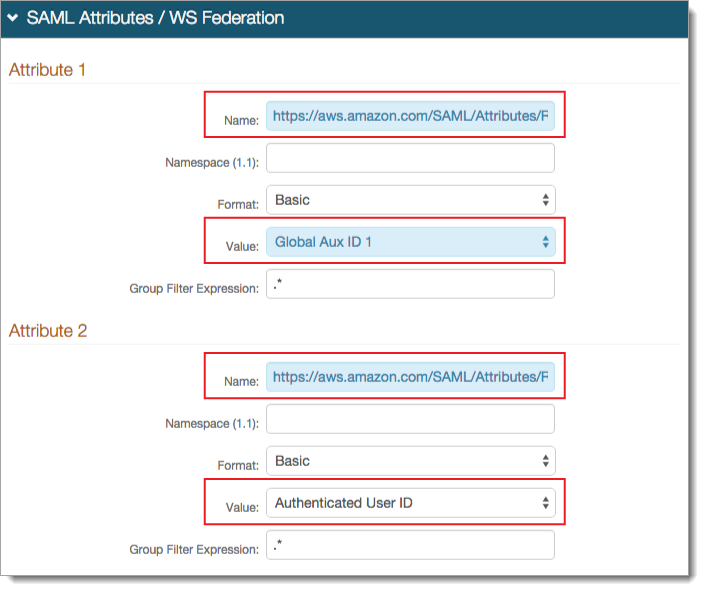
In the SAML Attributes / WS Federation section, set the following for Attribute 1:
Name
Set to https://aws.amazon.com/SAML/Attributes/Role.
Value
Select Global Aux ID 1.
If storing the ARN values in the directory instead of employing the Global Aux ID, then select the SecureAuth Identity Platform Profile Property mapped to the attribute containing the ARN values.
For Attribute 2, set the following:
Name
Set to https://aws.amazon.com/SAML/Attributes/RoleSessionName.
Value
Select Authenticated User ID.
This value appears in the upper right area of the AWS Management Console once the user is logged in.
Click Save
Support
If you need help with this integration, please contact SecureAuth Support.