Policy configuration - Multi-factor methods
On the Multi-Factor Methods tab in a policy, you define the MFA methods users can use for authentication.
During the login workflow, a page displays to the user, prompting them to choose an authentication method to verify their login.
This is where you can set and choose which authentication methods to make available to your end users.
Set multi-factor methods (MFA) in policy
With a policy open in edit mode, select the Multi-Factor Methods tab.
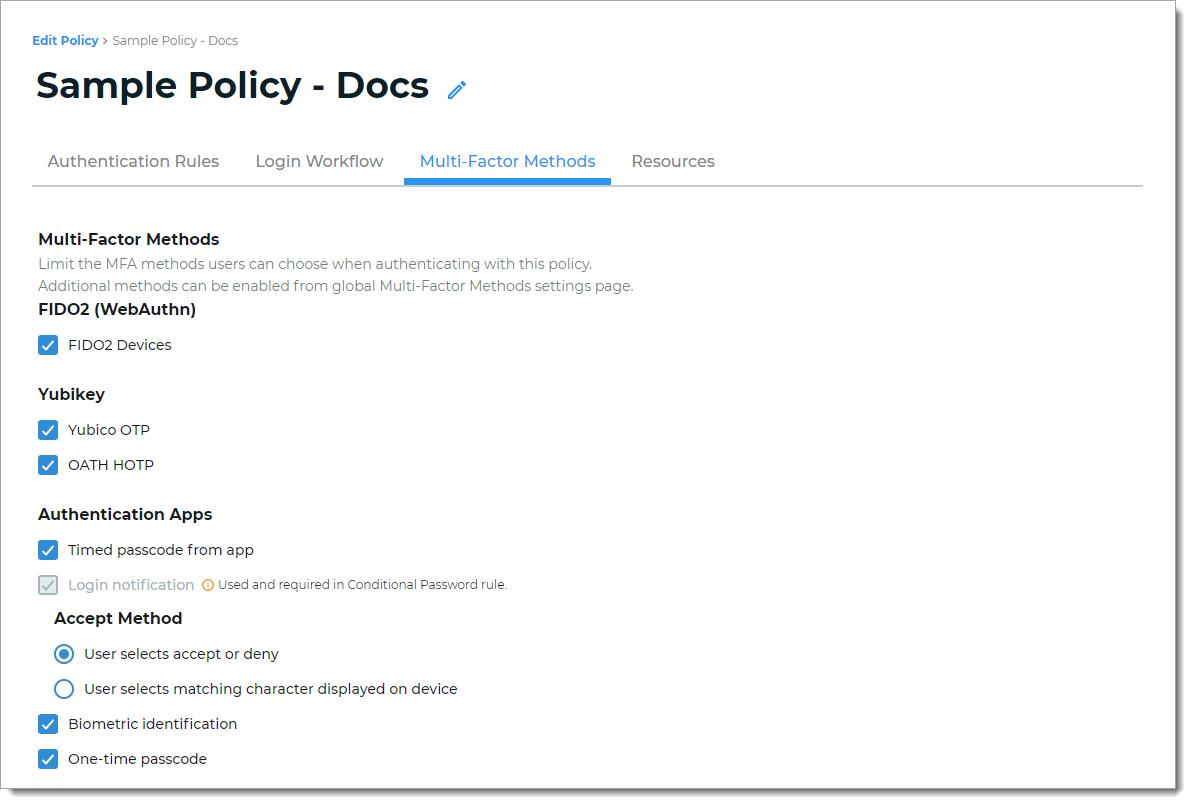
Next, define the multi-factor method options users can choose to authenticate into a resource.
If you don't see an MFA method enabled on this tab, go to Multi-Factor Methods in the left navigation of the Identity Platform to enable it.
Note
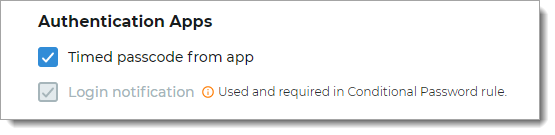
An authentication method that is greyed out and shows Used and required in the Conditional Password rule indicates that this MFA method is set up as a password login condition on the Login Workflow tab.
For documentation purposes, all multi-factor methods for a policy are described next.
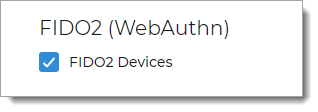
FIDO2 (WebAuthn)
Select to allow a user to register and use a FIDO2 authenticator to authenticate access:
FIDO2 Devices – user receives notification prompt from their registered FIDO2 security key (for example, security key or built-in authenticator in their mobile phone)
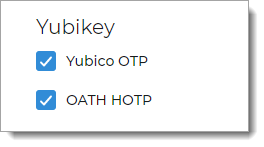
YubiKey (non-FIDO2)
Select to allow a user with a YubiKey to authenticate access:
Yubico OTP – use YubiKey to generate an encrypted one-time passcode (OTP)
OATH HOTP – use YubiKey to generate an encrypted six- eight-, or nine-character one-time (OTP) event-based passcode using OATH-HOTP. This means a new one-time passcode is generated for each event.
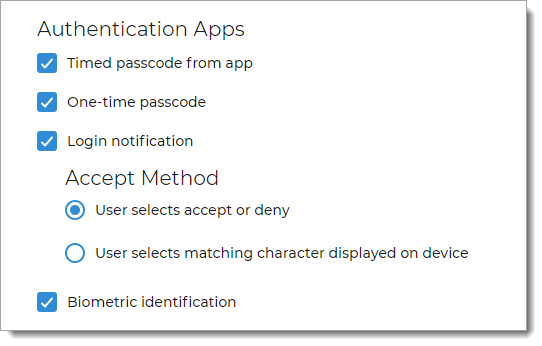
Authentication Apps
Select to allow a user with an authentication app like SecureAuth Authenticate to authenticate access:
Timed passcode from app – user receives soft token generated by SecureAuth Authenticate app
Login notification – user receives push notification from SecureAuth Authenticate app
Accept Method – choose one of the following:
User selects accept or deny
User selects matching character displayed on device
Biometric identification – user can use biometric identification like facial recognition and fingerprint by means of the Authenticate app
One-time passcode – user receives push notification from SecureAuth Authenticate app with one-time passcode
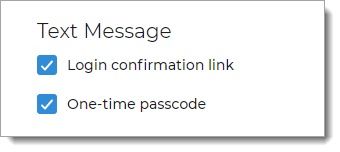
Text Message
Select to allow a user to receive SMS / text message to a mobile number associated with their profile, to authenticate access:
User receives a Login confirmation link
User receives a One-time passcode
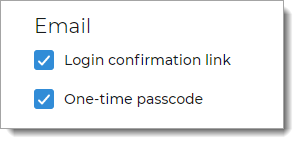
Email
Select to allow a user to receive an authentication email to an email address associated with their profile, to authenticate access:
User receives a Login confirmation link
User receives a One-time passcode
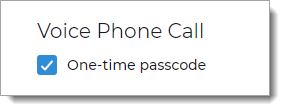
Voice Phone Call
Select to allow a user to receive a voice phone call to a phone number associated with their profile, to authenticate access:
User receives a One-time passcode
PIN
Select to allow a user to receive a PIN (personal identification number) associated with their profile, to authenticate access:
User receives a request to enter a PIN
Security Questions
Select to send security questions to a user to verify who they are, to authenticate access:
User receives Security questions to which they must answer correctly
Symantec VIP
Select to allow a user with a Symantec Validation and ID (VIP) token to authenticate access:
Save your changes.