How to block and unblock login requests in Authenticate
An MFA fatigue attack occurs when a hacker tries to flood your SecureAuth Authenticate app with repeated login requests. The hacker hopes you'll mistakenly approve an unauthorized access attempt amid the genuine alerts
In this article we'll cover the following:
How to block unknown login requests in the Authenticate app
View data on user-initiated block actions in the Dashboard
How to unblock and resume login requests to Authenticate app
Applies to
SecureAuth Authenticate app
SecureAuth® Identity Platform release 22.02, 22.12, and 23.07
Contact SecureAuth Support to turn on this feature in the mobile service
Solution
To prevent MFA fatigue attacks, learn how to block, view, and unblock login requests coming from a specific IP address.
Block login requests
Intended audience: End users and administrators
In the Authenticate app, if you did not request this login, tap Deny this request (Android) or No, this wasn't me (iOS).
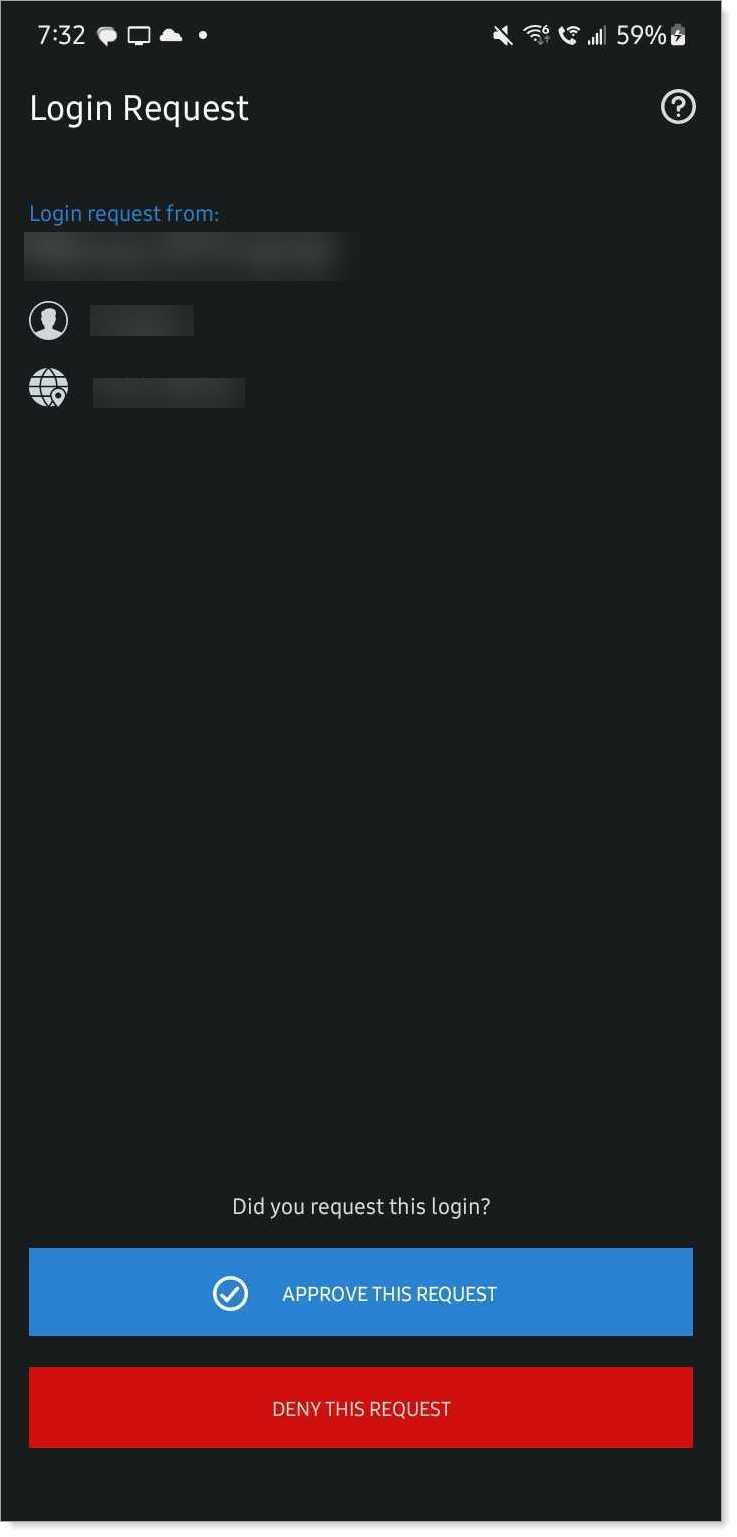
Android
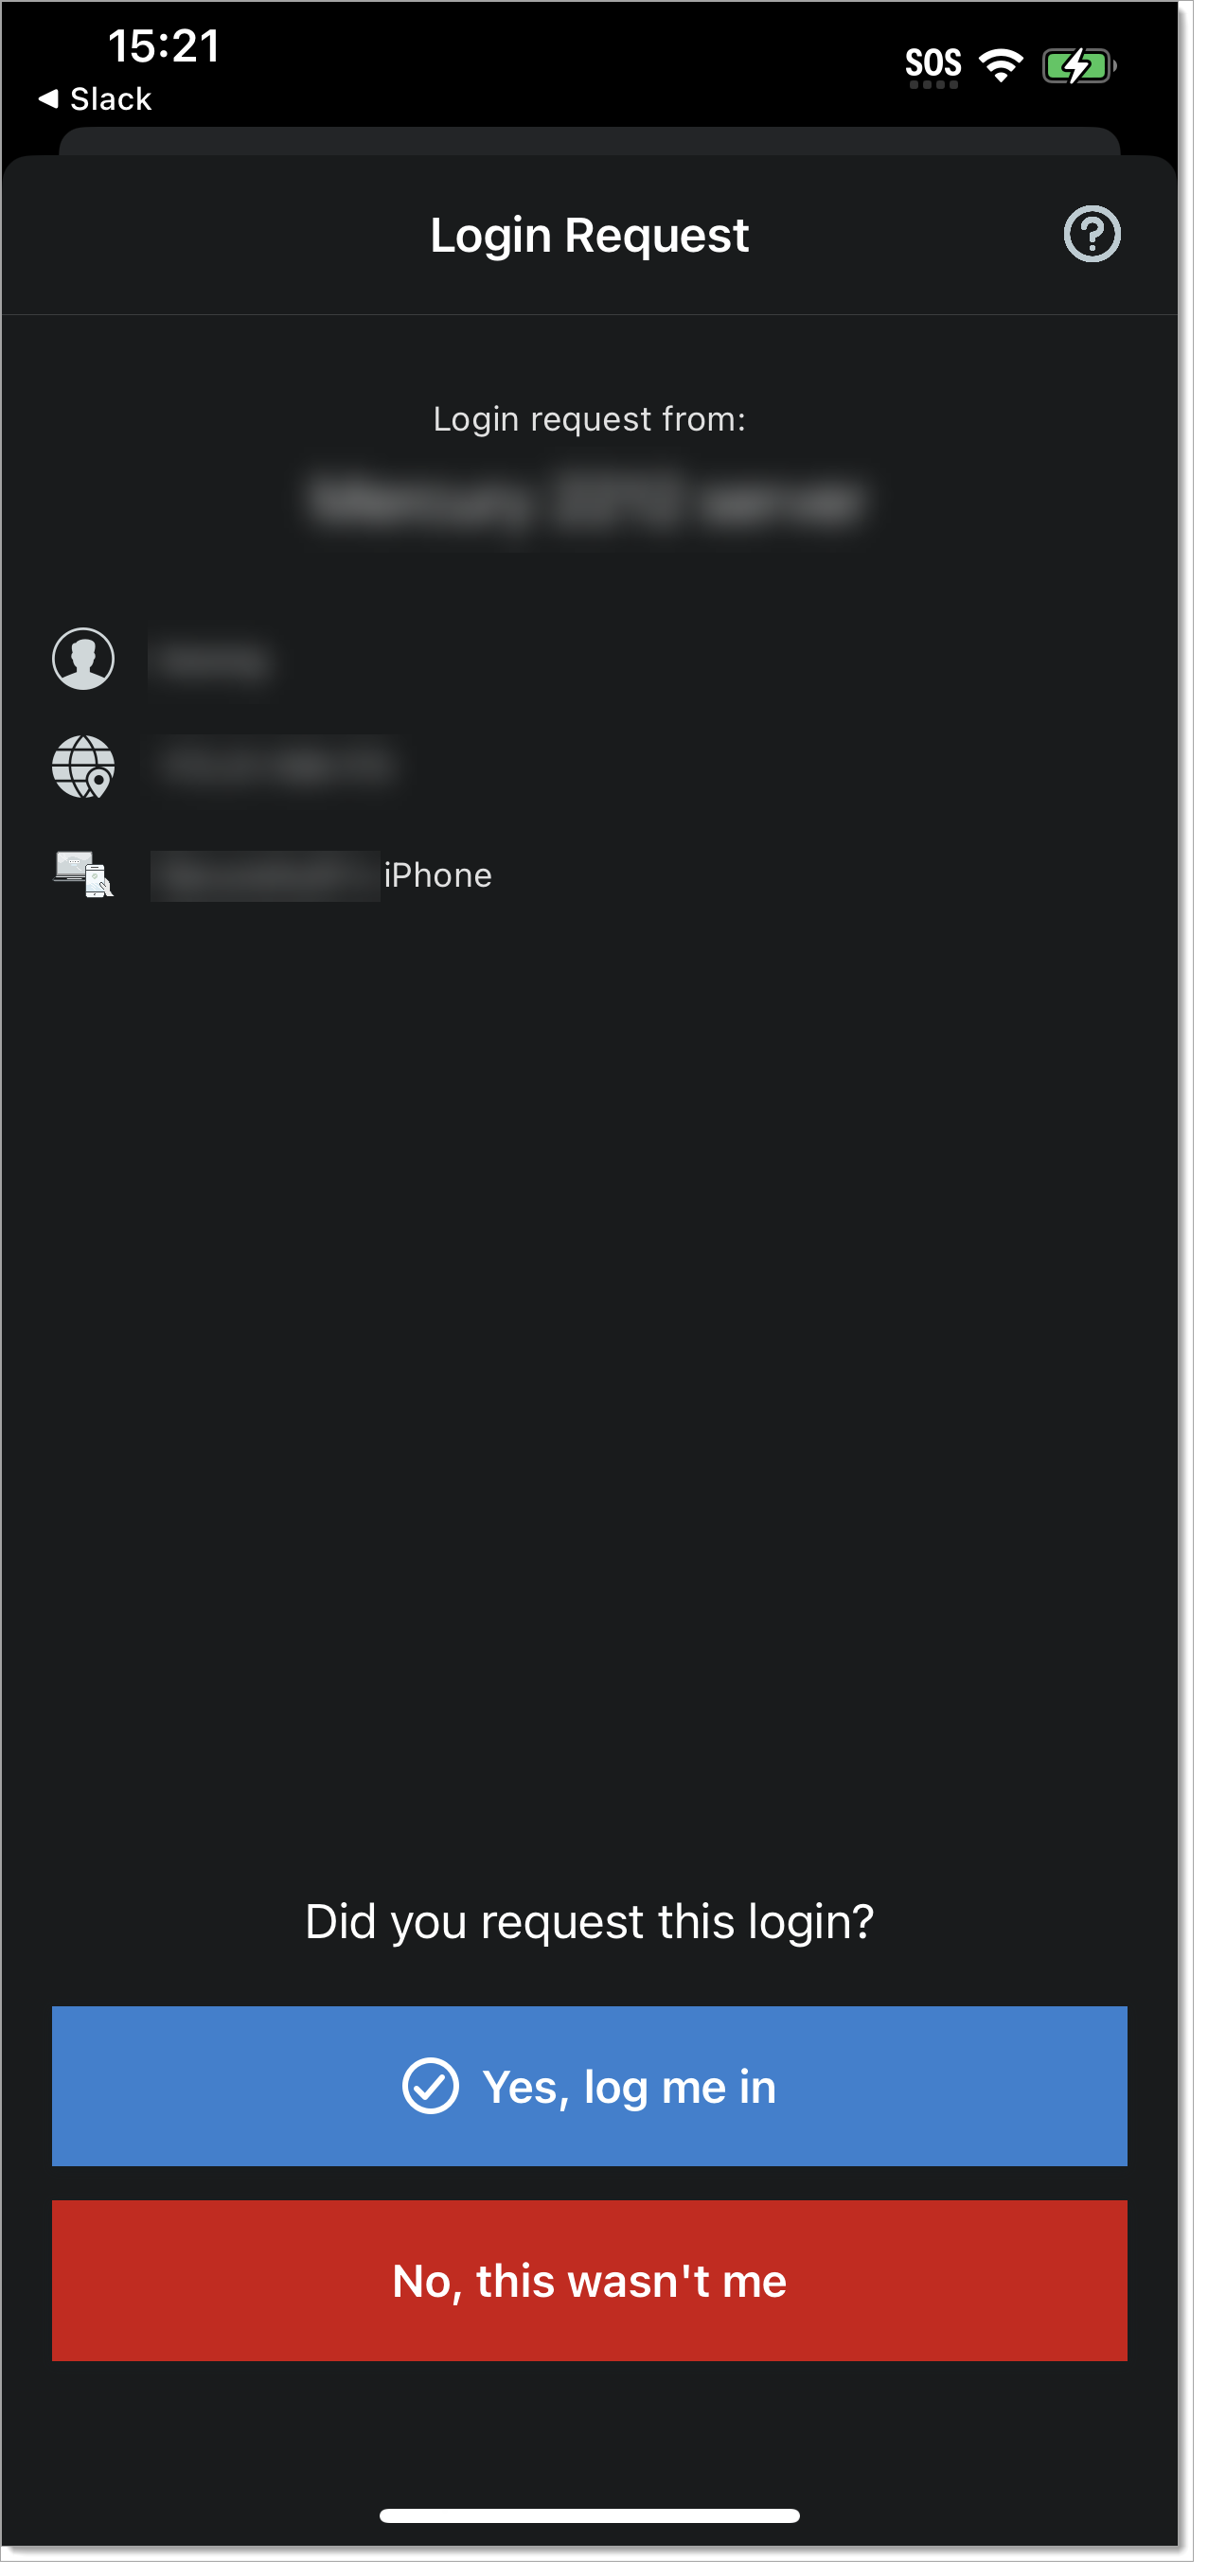
iOS
To stop receiving login requests coming from an IP address or location that you do not recognize, tap Block.
Make sure you don't block genuine login requests. If you do, you'll need to contact the help desk in your organization to unblock and resume login requests.
When you block login requests, it only stops sending login requests to approve MFA in the Authenticate app. It does not stop a hacker from trying, but since you blocked them, it stops the MFA fatigue attacks.
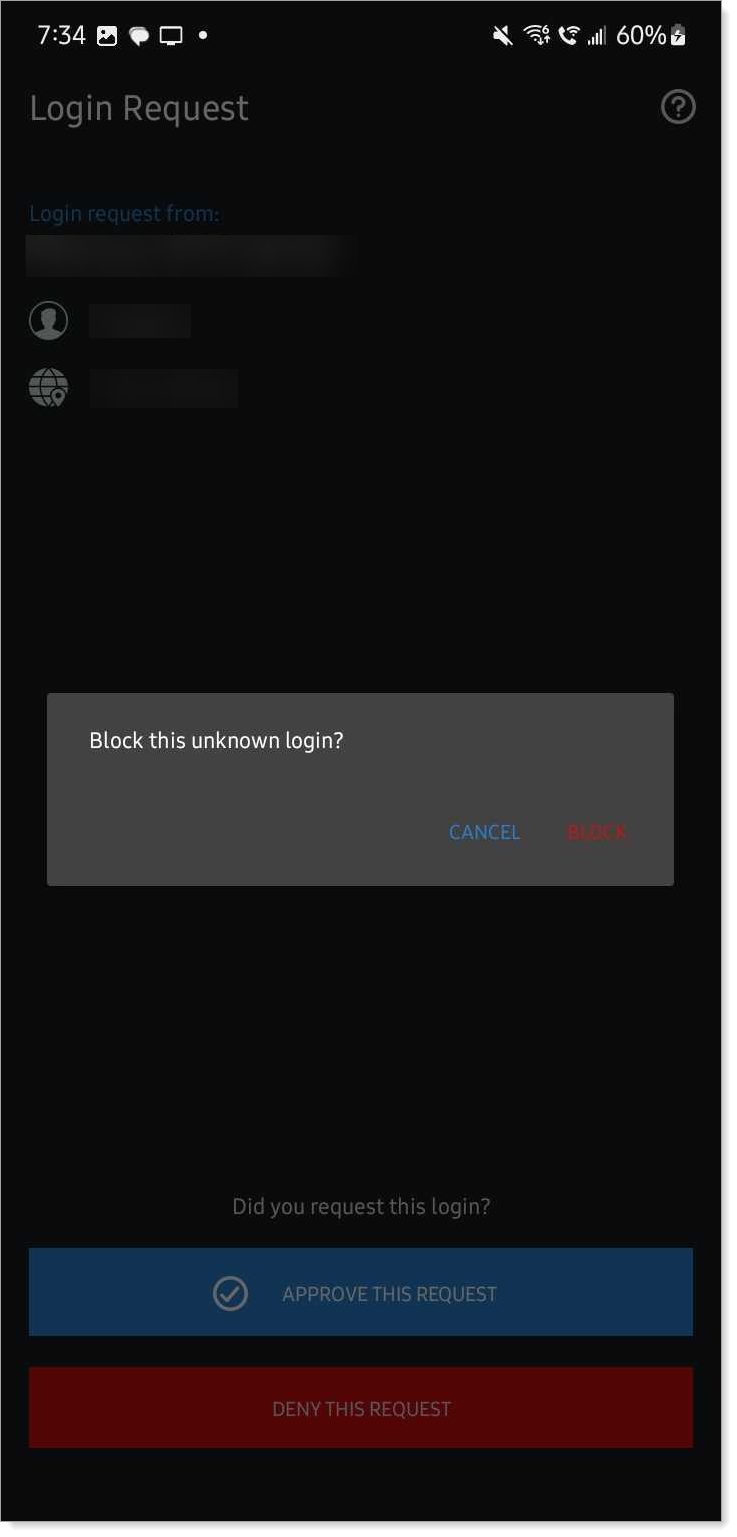
Android
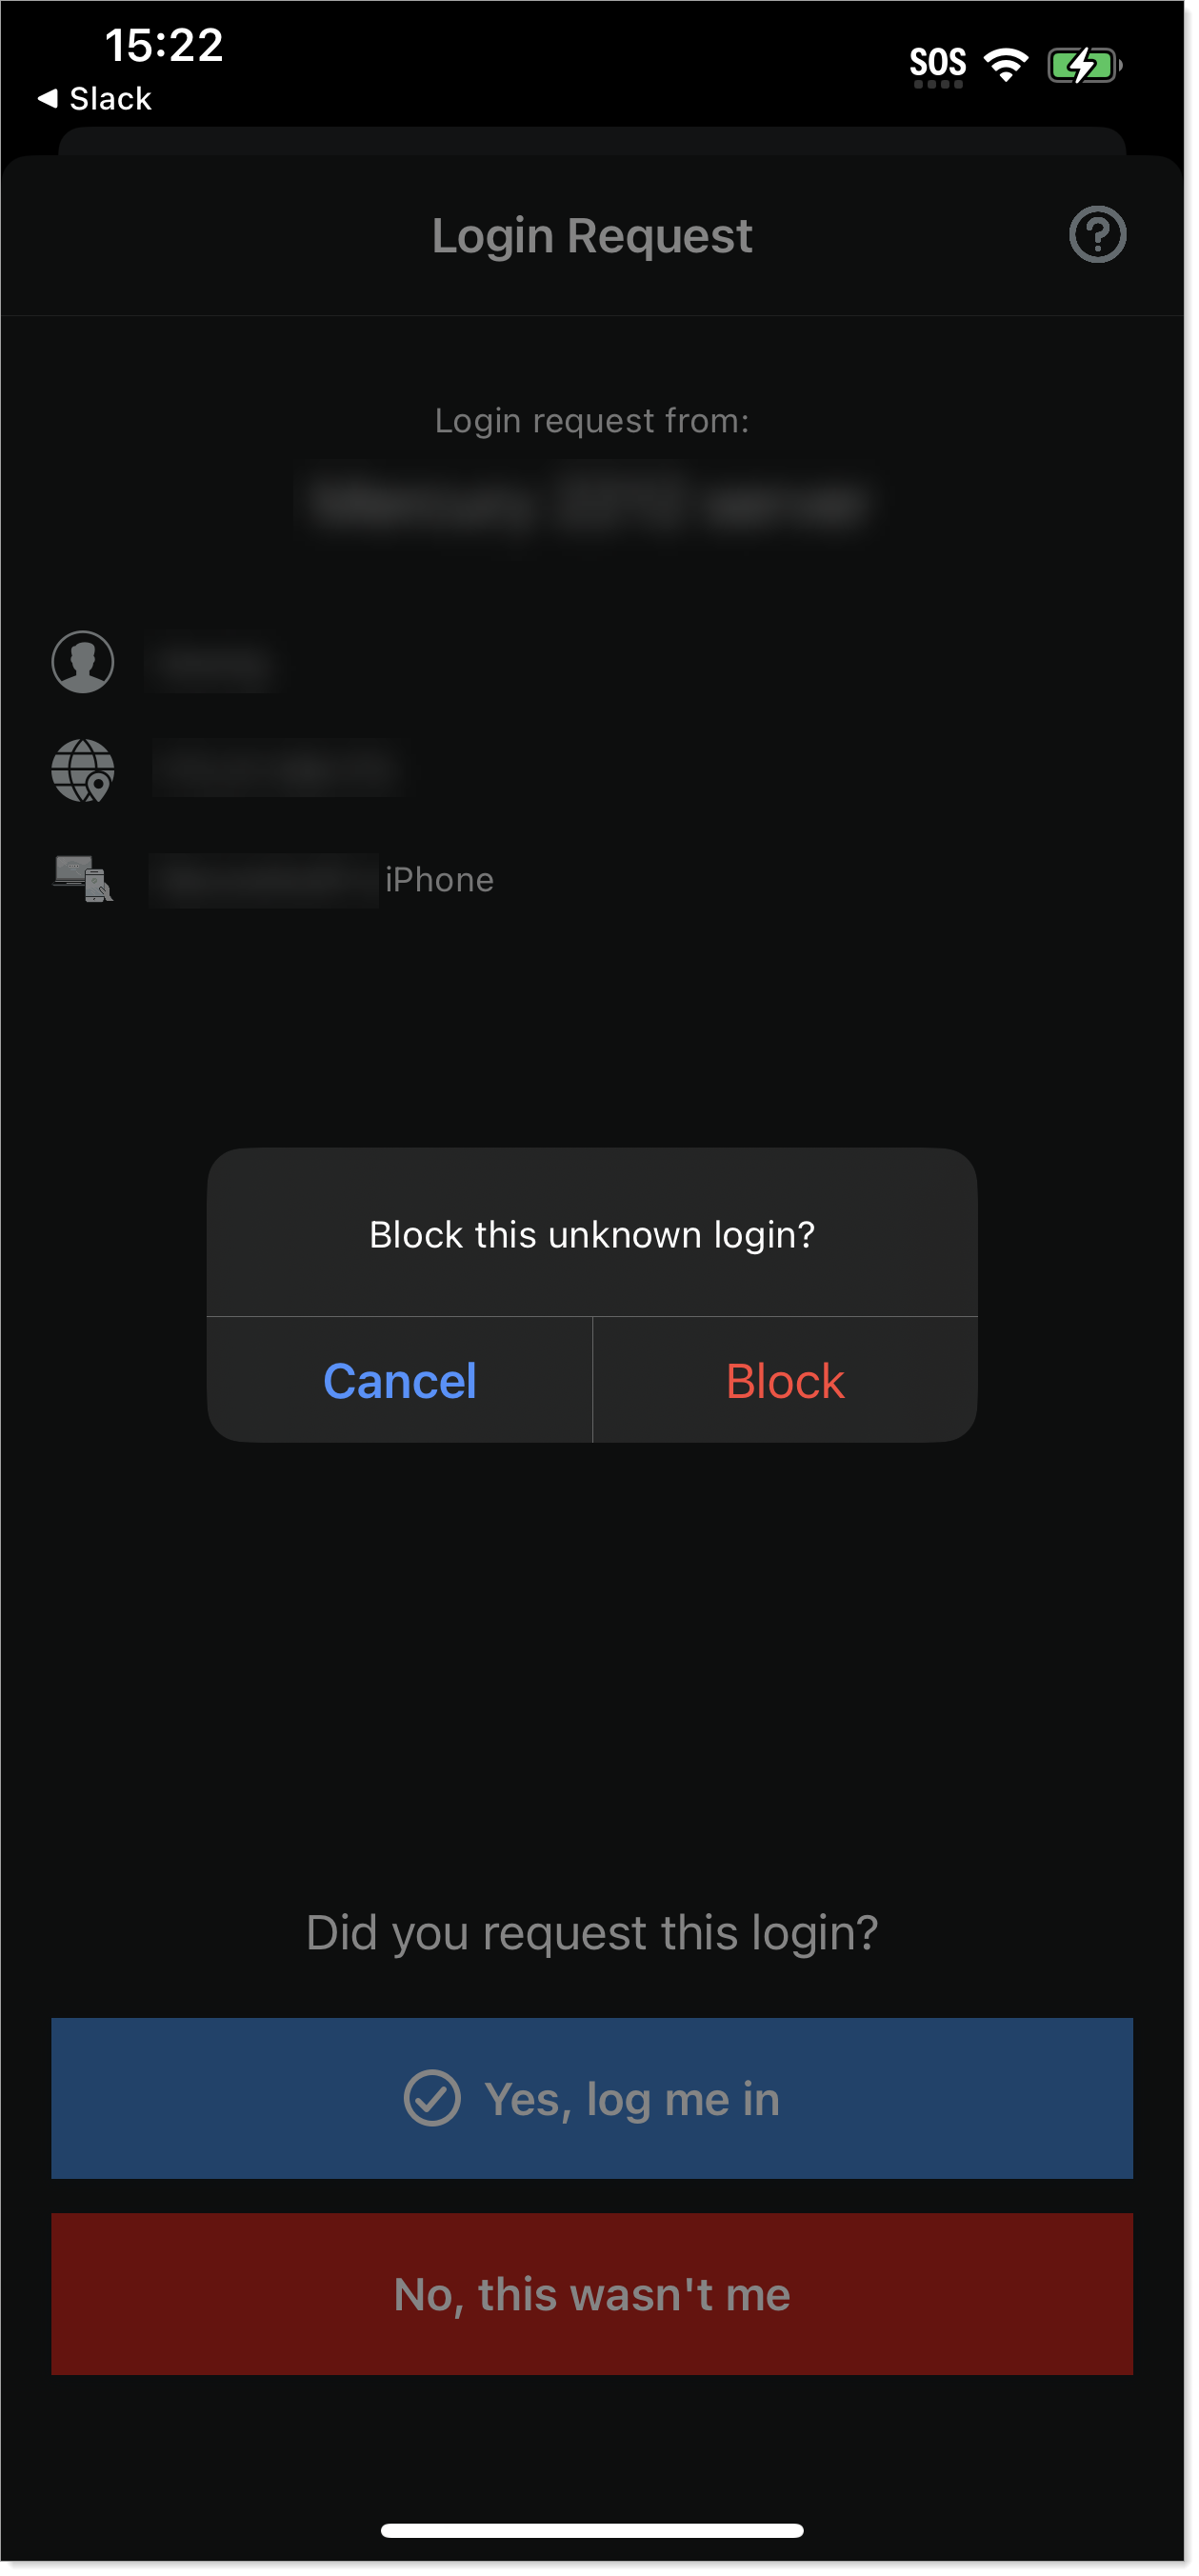
iOS
Result
When you block a login request and try to select this option in the login method delivery page, an error message displays that this option is not available.
 |
You can use any of these workarounds if you inadvertently blocked a genuine login request:
Choose a different login delivery method
Contact your help desk to unblock it, see Unblock login requests
Wait for the system to auto-unblock this event after 24 hours
View blocked login requests
Intended audience: Administrators
Block actions initiated by users for certain IP addresses are auto-unblocked after 24 hours.
As a system administrator or help desk person, in the Identity Platform, go to the Dashboard.
Scroll down to the Push Notifications Blocked by User category.
Total Blocked IPs – Displays the total number of user-initiated blocked login requests to their Authenticate app. The count is for each time the end user taps Block in the Authenticate app for a login request coming from a specific IP address.
Total Unique Users – Displays the total number of unique users who blocked their login request to the Authenticate app. The count is for each time a user taps Block in Authenticate app for a login request coming from a specific IP address.
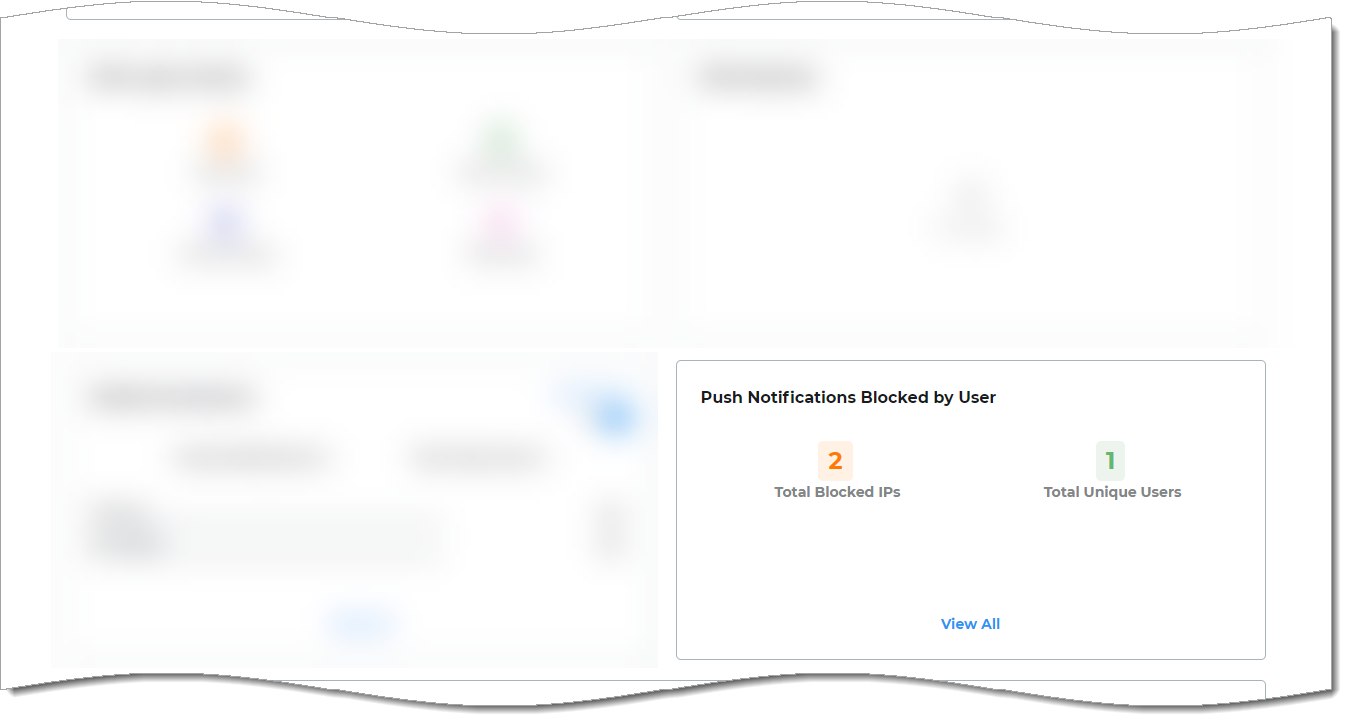
Dashboard view
To view the list in more detail, click View All.
User – Username of the account who blocked a login request to their Authenticate app.
Unique User ID – The unique user ID associated with the username.
IP Address – The source IP address to which the user blocked their login request in Authenticate app.
Date Blocked – Date and time of the user-initiated blocking event in Authenticate app.
Unblock – Option to unblock the login request and resume sending login requests to Authenticate app for a specific user and source IP address.
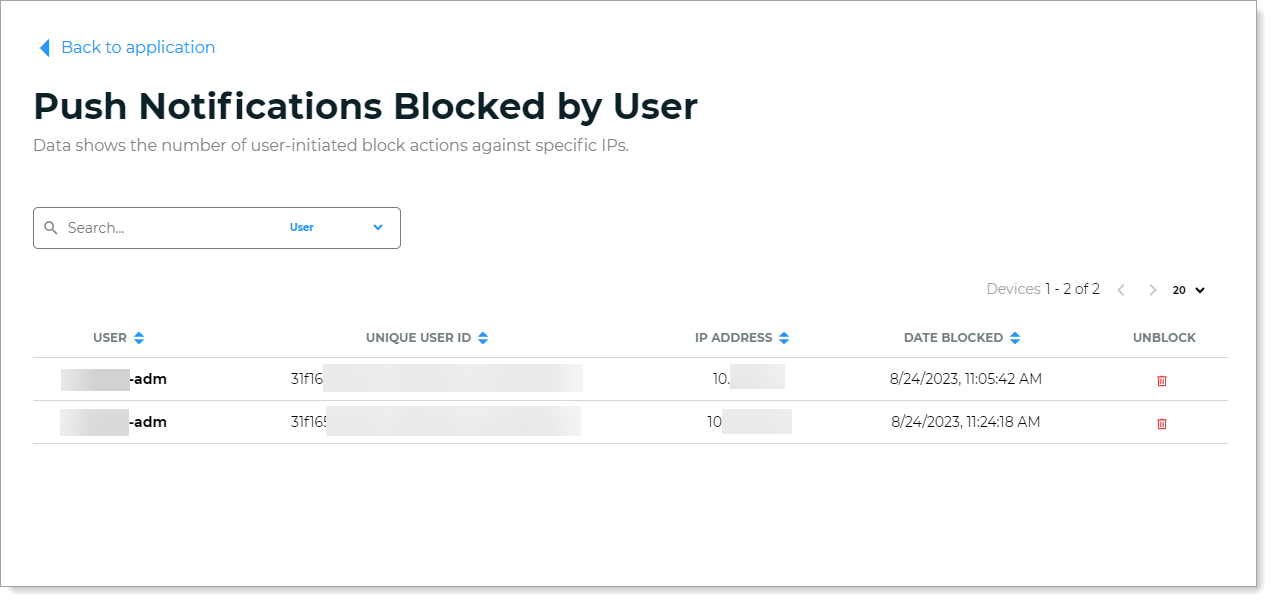
List of user-initiated block actions
Unblock login requests
Intended audience: End users
To unblock a genuine login request coming from a specific IP address in the Authenticate app, contact the help desk in your organization.
If you blocked a login request and try to select the Send login request to... option in the login method delivery page, an error message displays that this option is not available.
If you see this message during the login worfklow when you select the Send login request to... option on the delivery method for MFA Pag for a blocked IP address, an error message displays to indicate that this delivery method is not available.
|
You can choose another MFA delivery method to authenticate your login. Or, wait for the system to auto-unblock this event 24 hours from the time you initiated this block event in the Authenticate app.
Intended audience: Administrators
As a system administrator or help desk person, in the Identity Platform, go to the Dashboard.
Scroll down to the Push Notifications Blocked by User category.
Dashboard view
Click View All.
In the list view, search for the user and source IP address that you want to unblock.
Note: Block actions initiated by users for certain IP addresses are auto-unblocked after 24 hours.
List of user-initiated block actions
Tip
If a user wants to unblock a genuine login request to their Authenticate app, make sure you unblock the event associated with the correct source IP address.
You might need to help the user track down their source IP address using tools like whatismyip.com, ipconfig, or through the VPN client.
Click the Delete icon for the event you want to unblock.
The Identity Platform will resume sending login requests to the Authenticate app for that user.