Chain legacy realm to use New Experience realm
This topic describes how to chain realms together so that legacy realms (created in the Advanced Settings / Classic Experience) can use New Experience components in the SecureAuth® Identity Platform.
For example, you want to configure a legacy realm to use FIDO2 authenticators as part of the resource login workflow. Using the New Experience, you configure a SAML application with a FIDO2-enabled policy, as a front-end to the legacy realm.
Front-end configurations
In the Identity Platform New Experience, do the following:
Enable global MFA settings for an authenticator. See Global multi-factor authentication (MFA) methods overview.
Set up a policy to use an authenticator in the login workflow. See Manage policies.
Create a SAML application integration to use the policy with an authenticator.
At minimum, set the following configurations.
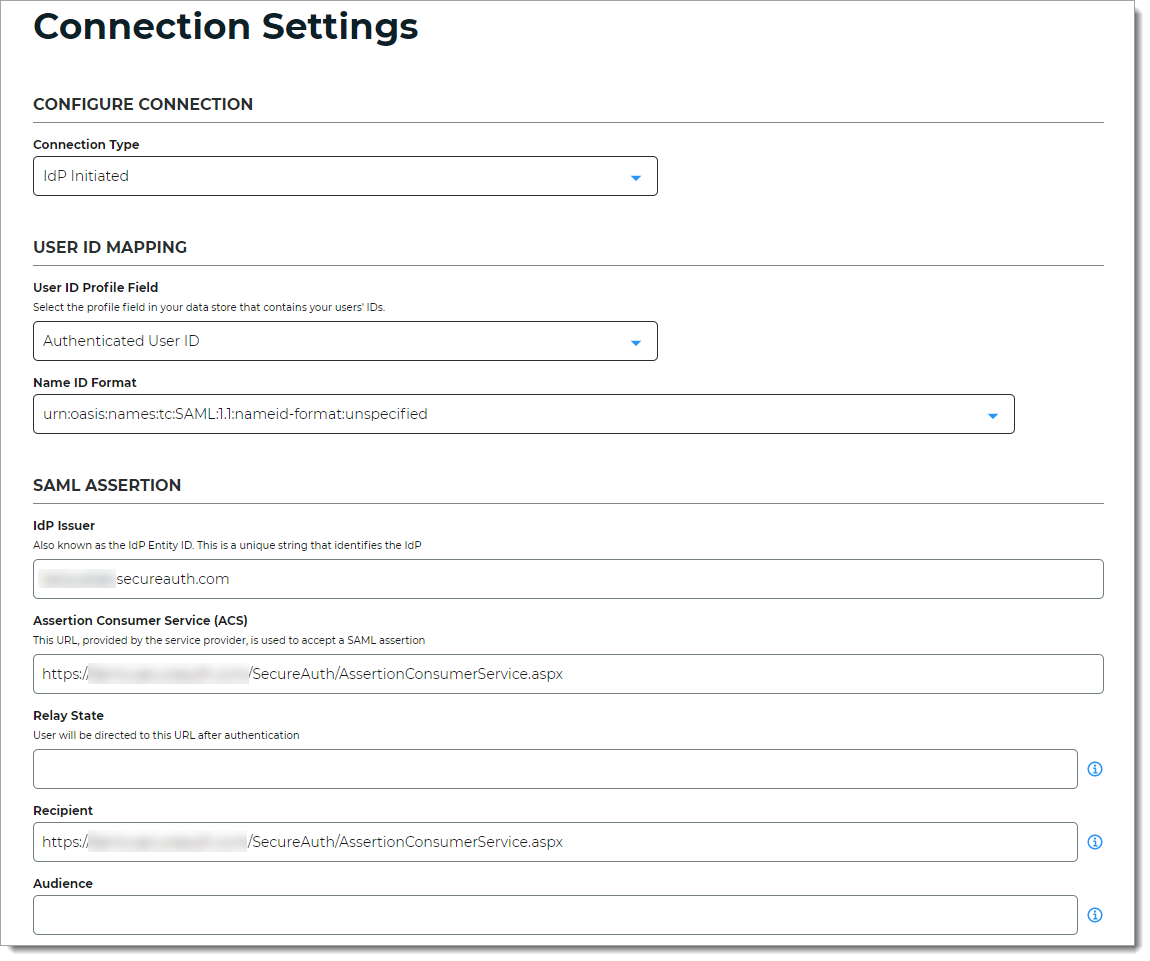
Connection Type
Set to IdP initiated.
User ID Profile Field
Set to Authenticated User ID.
IdP Issuer
Set to a unique name that must match exactly in the legacy realm to identify the Identity Platform as the "Identity Provider" in the SAML Consumer section in the SAML Issuer field.
Assertion Consumer Service (ACS)
Enter the URL from the service provider of the legacy realm resource to let the application accept a SAML assertion from the Identity Platform.
Recipient
Use the same URL set in the Assertion Consumer Service (ACS) field.
Save your changes.
For the SAML application, click the Info for service providers link to get the SAML info you need for the legacy realm.
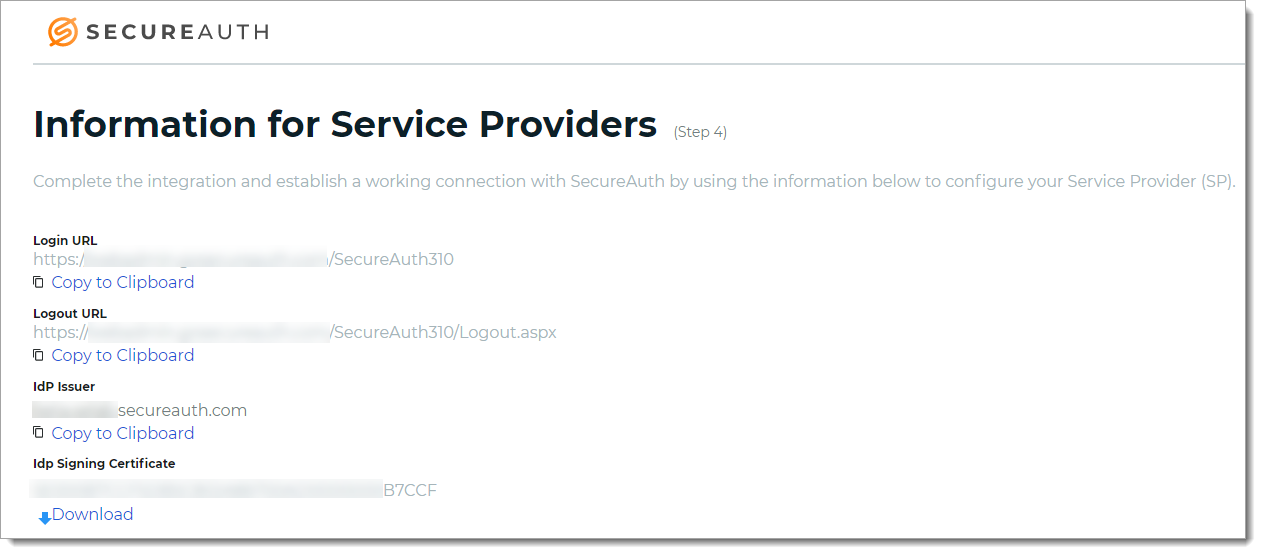
Copy or download the IdP Signing certificate.
You'll need this for the legacy realm when adding an identity provider on the Workflow tab in the SAML Consumer section.
Legacy realm configuration
In the Identity Platform Advanced Settings (formerly Classic Experience), select the legacy realm and do the following:
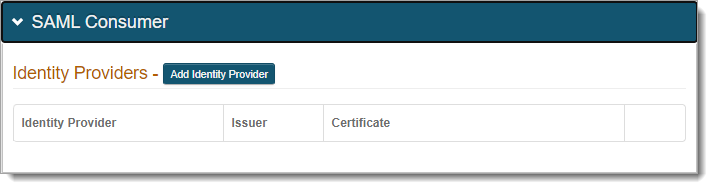
Go to the Workflow tab.
In the SAML Consumer section, click Add Identity Provider.
Set the following configurations to add an identity provider.
Identity Provider Name
Set to friendly name to associate it with the front-end SAML application in the New Experience.
SAML Issuer
Set to the same unique name provided in the IdP Issuer field for the SAML application in the New Experience.
SAML Audience
Leave blank.
SAML Conditions
Select this check box to use the NotBefore and NotOnOrAfter SAML conditions to create a validity period during which the SAML assertion is valid.
IssueInstant Valid Time
Set to the number of hours from the SAML assertion generation the SAML assertion is valid.
Note
This field is not required if the SAML Conditions check box is selected.
Clock Skew
Set the time in minutes to make up the time difference between the SAML application acting as an front-end identity provider and the legacy realm in the Identity Platform.
Signing Certificate
Copy and paste the contents from the IdP Signing Certificate in the SAML application set up in the New Experience.
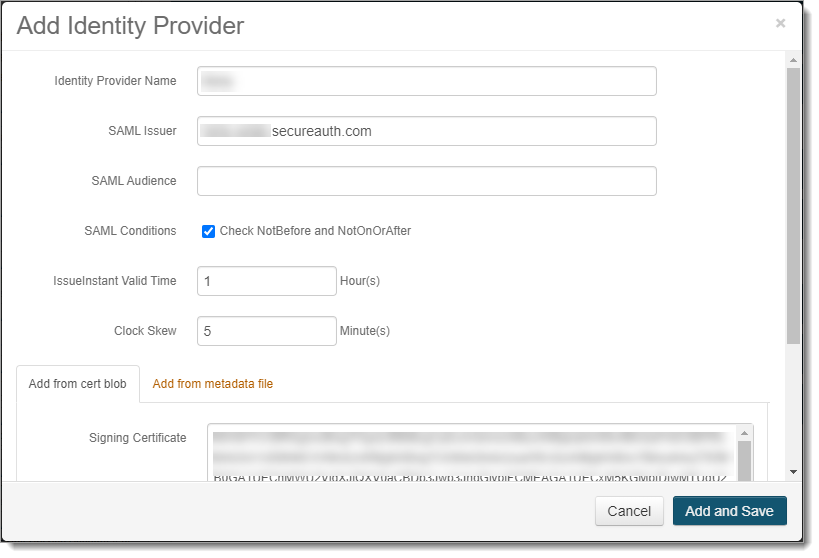
Click Add and Save.
This adds the front-end SAML application acting as a service provider, and consumes SAML assertions for this legacy realm.

All settings in the Post Authentication tab stay as defined.