SAML attribute consumption configuration
SecureAuth® Identity Platform (formerly SecureAuth IdP) can act as a service provider (SP) to consume SAML assertions from one or more identity providers (IdP), and assert specific attributes from the identity provider to the target service provider.
When a realm is configured to accept a SAML assertion from an identity provider, a service provider metadata file can be generated to enable mapping from the identity provider data store to the Identity Platform properties, which is then asserted to the post-authentication event (for example, access to a resource). This enables the Identity Platform to send its own Properties (Phone 1, Email 1, Aux ID 1, and so on) that contain user information extracted from the enterprise directory integrated with the identity provider.
Definitions
- SAML assertion
A SAML assertion is the XML document containing user authorization transmitted across security domains.
- Identity provider (IdP)
The identity provider issues user authentication assertions to the service provider along with the access rights for the user to access a resource.
- Service provider (SP)
The service provider receives and accepts authentication assertions from the identity provider to grant authorization to the user.
Prerequisites
Have one or more identity providers that can generate a SAML assertion to the Identity Platform
Obtain one of the following to use in the configuration:
SAML certificate and issuer value from the identity provider
Metadata file from the identity provider
List of required attributes for the post-authentication target resource. These attributes are to be mapped to the Identity Platform Properties (Identity Platform Meta File)
Identity Platform configuration
In Advanced Settings (formerly Classic Experience), go to the Data tab.
In the Membership Connection Settings section, set the Datastore Type to No Data Store.
Note
A data store is not required for this configuration since the SAML is initiated and consumed at the service provider site. The attribute translation is a metadata file to which attributes are mapped against the SecureAuth properties.
Instead of mapping the properties on the Data tab, information in the Identity Platform gets comes from the SAML consumption by means of the service provider metadata file. You can see an example of a service provider metadata file that is generated in step 8.
You can use a data store if you are both consuming a SAML assertion and sending from a directory in the same realm.

Save your changes.
Go to the Workflow tab.
In the SAML Consumer section, click Add Identity Provider and set the following:
Identity Provider Name
Name of identity provider; this displays in the SAML Consumer section.
SAML Issuer
Enter SAML Issuer information.
Signing Certificate
Choose from one of the following tabs:
Add from cert blob – copy/paste contents of the certificate
Add from metadata file – click Choose File and select the metadata file from the identity provider
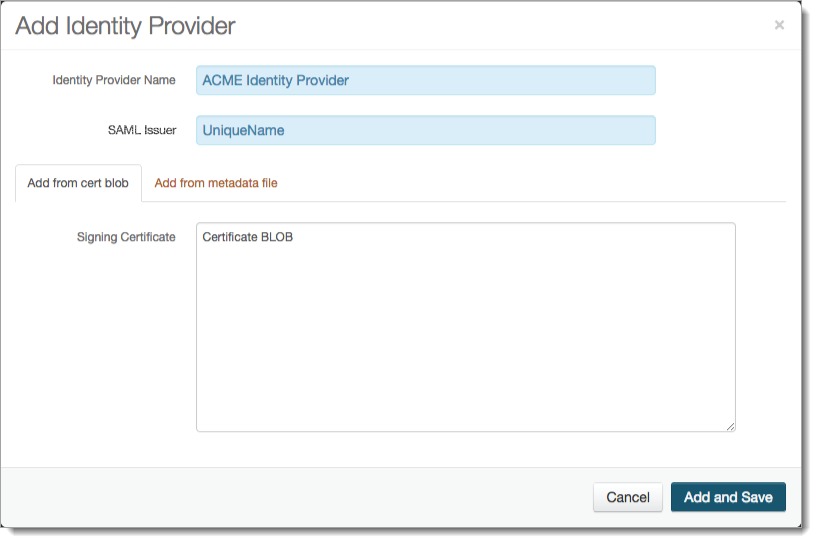
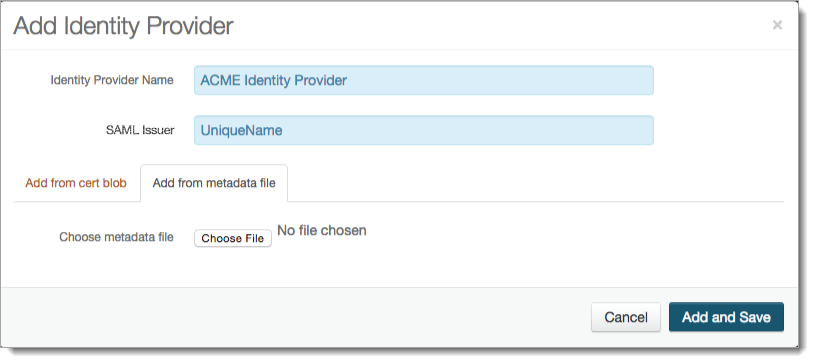
Click Add and Save.
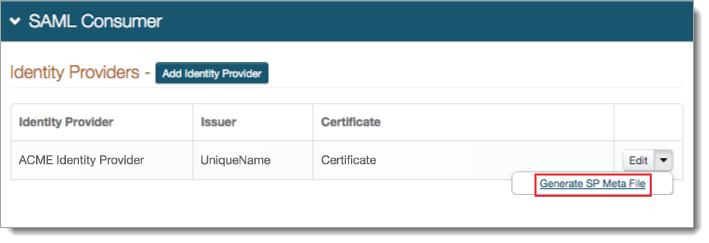
The new identity provider is added to the list.
To add another identity provider, repeat the previous two steps.
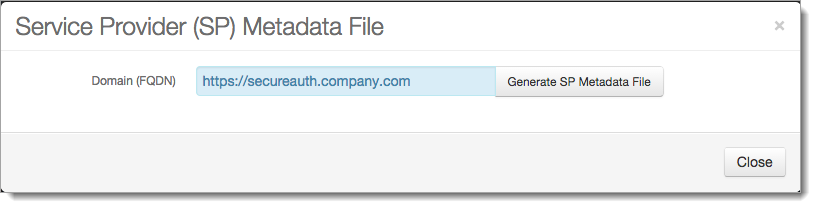
For each identity provider, click the arrow next to the Edit button, and click Generate SP Meta File and set the following:
Domain (FQDN)
Set to domain of the Identity Platform (for example, https://secureauth.company.com)
Generate SP Metadata File
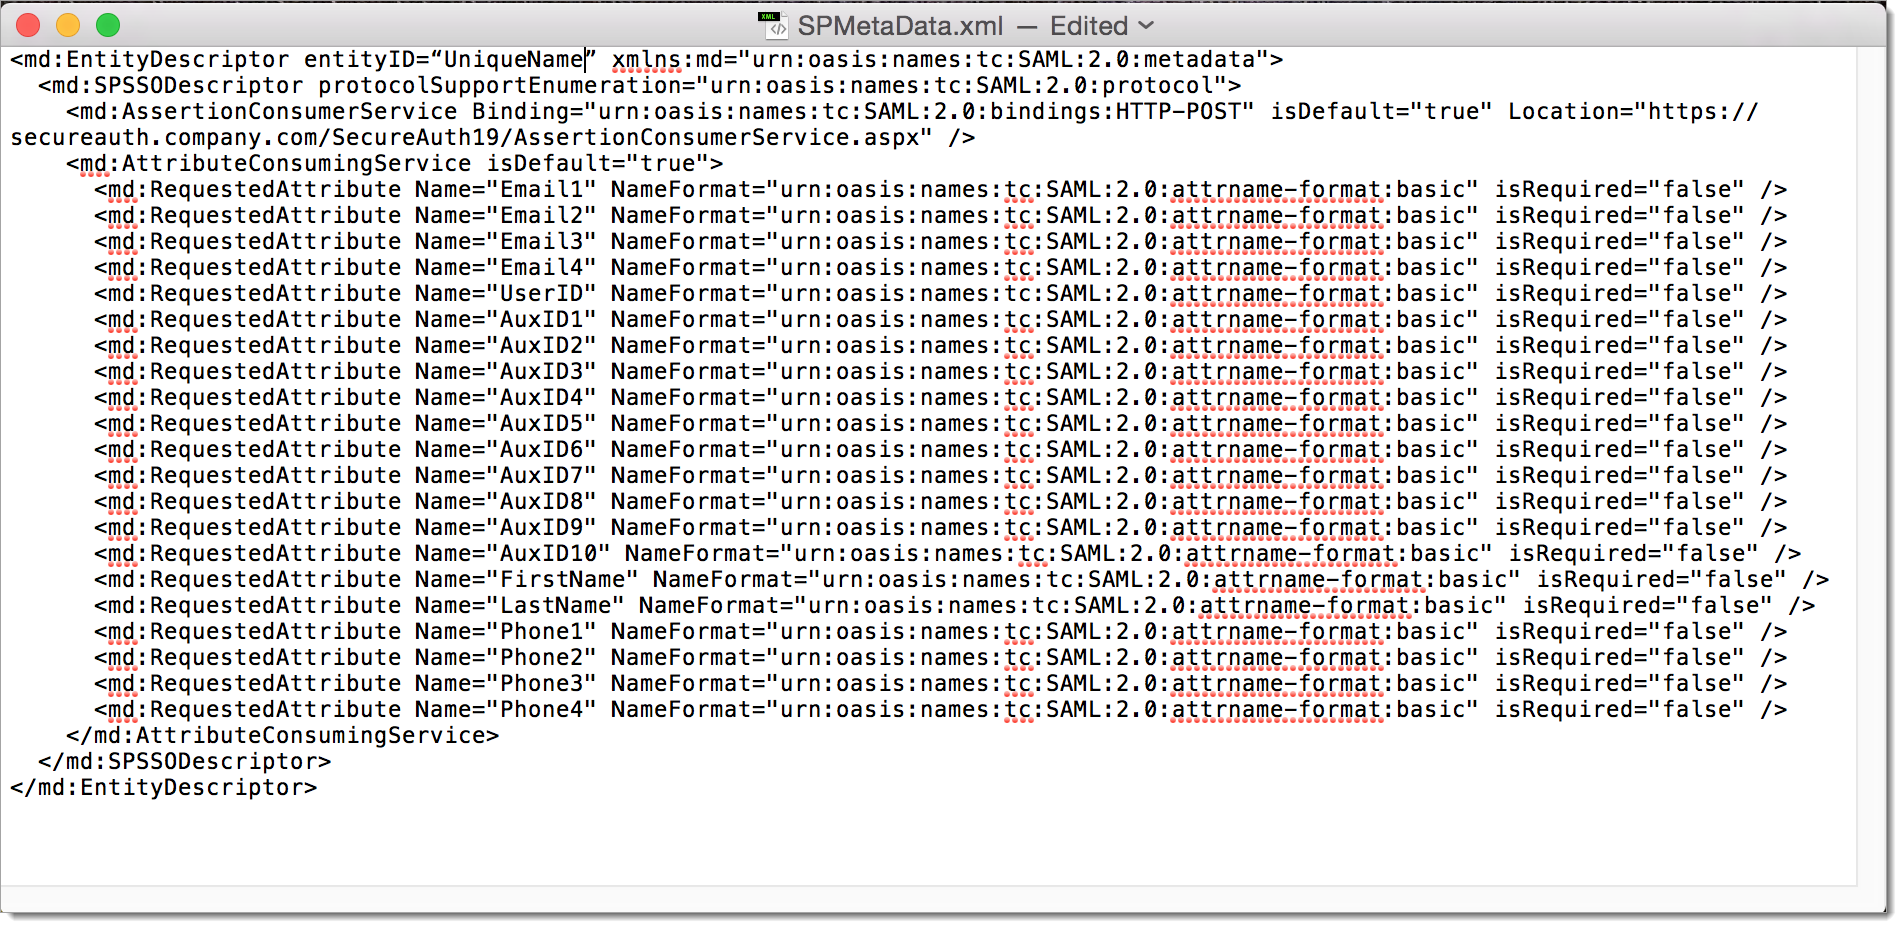
Click to generate the service provider metadata file. Open the file to retrieve information about attributes to send to the Identity Platform. You will need these attributes for assertion to the post-authentication target resource.
Take note of the AssertionConsumerService Location, which is where the identity provider posts the SAML assertion.
Sample image of SPMetaData.xml file
Save your changes.
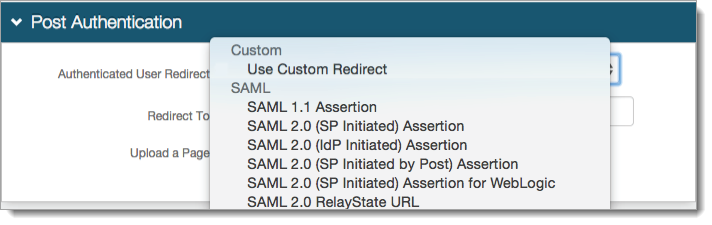
Go to the Post Authentication tab.
In the Post Authentication section, set the Authenticated User Redirect to a post-authentication target (typically, a SAML or WS-* integration).
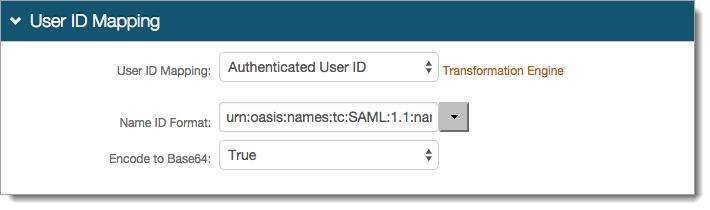
In the User ID Mapping section, set the User ID Mapping to the default Authenticated User ID or the Identity Platform property (Email 1, Aux ID 1, for example) containing the user ID to be asserted to the service provider.
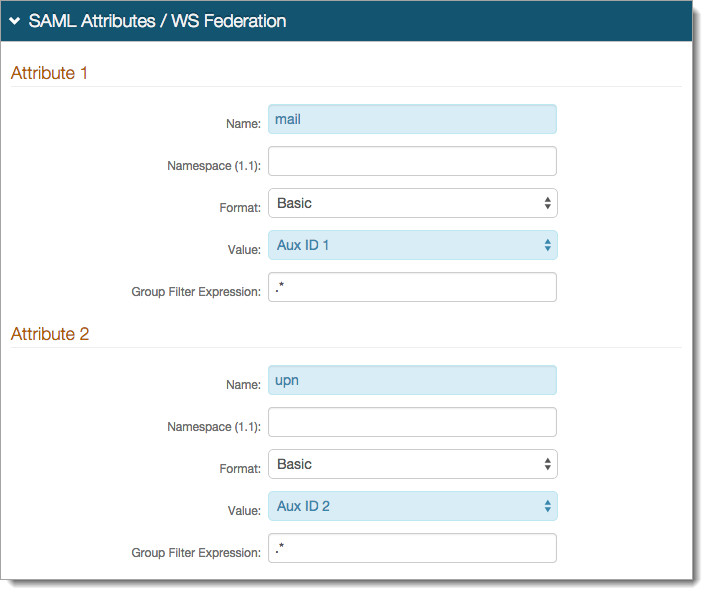
In the SAML Attributes / WS Federation section, set the following for each attribute required for assertion to the service provider:
Name
Name of attribute required by the service provider.
Namespace (1.1)
If required by the service provider, provide the namespace.
Format
If required by the service provider, choose the format.
Value
Choose the property mapped in the Identity Platform.
Group Filter Expression
If required by the service provider, enter the group filter expression.
Save your changes.
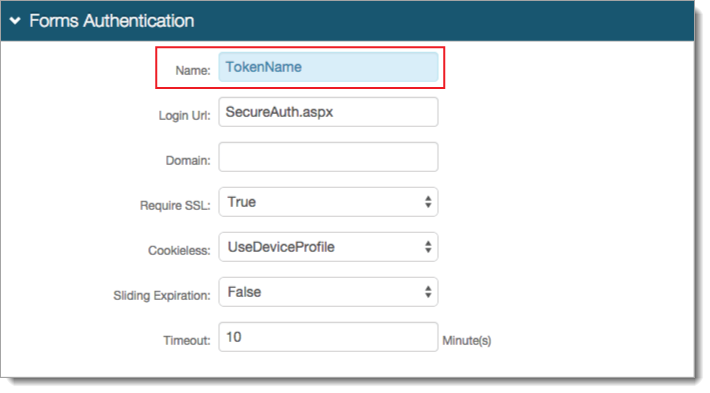
In the Forms Auth / SSO Token section, click the View and Configure FormsAuth keys/SSO token link.

In the Forms Authentication section, set the Name to any name for the form-based authentication (FBA) token.
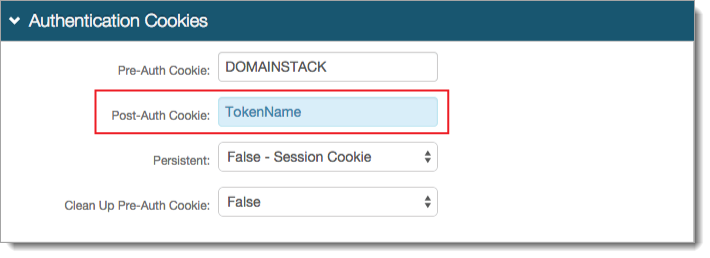
In the Authentication Cookies section, set the Post-Auth Cookie to the same token name set in the Forms Authentication section (previous step).
Note
The name used for the form-based authentication token and post-authentication token cookie must match in realms using the SAML Multi-tenant Consumer.
Save your changes.