SecureAuth Support Portal
The SecureAuth Support Portal is a user-friendly platform in which you can submit, track, and manage tickets. Use the Support Portal to communicate with SecureAuth Support Engineers for quick and efficient product support.
Supported products
SecureAuth currently provides support for all of its offerings, including current releases and eligible legacy versions with extended support. For detailed information on version support and requirements, refer to the product documentation or contact SecureAuth Support.
Arculix (formerly Acceptto)
SecureAuth CIAM
SecureAuth Identity Platform releases 19.07 and later
SecureAuth IdP versions 9.2 and 9.3 (only for customers with Extended Support accounts)
Note
To learn more about product support lifecycles, see Support Lifecycle Policy and End of Life Dates.
To learn more about support eligibility and our support and maintenance policy, see Standard Global Support & Maintenance Policy.
To learn more about the incident response process, see SecureAuth Cloud Incident Response Process.
Create a SecureAuth Support account
Before you can access the Support Portal, you must create an account.
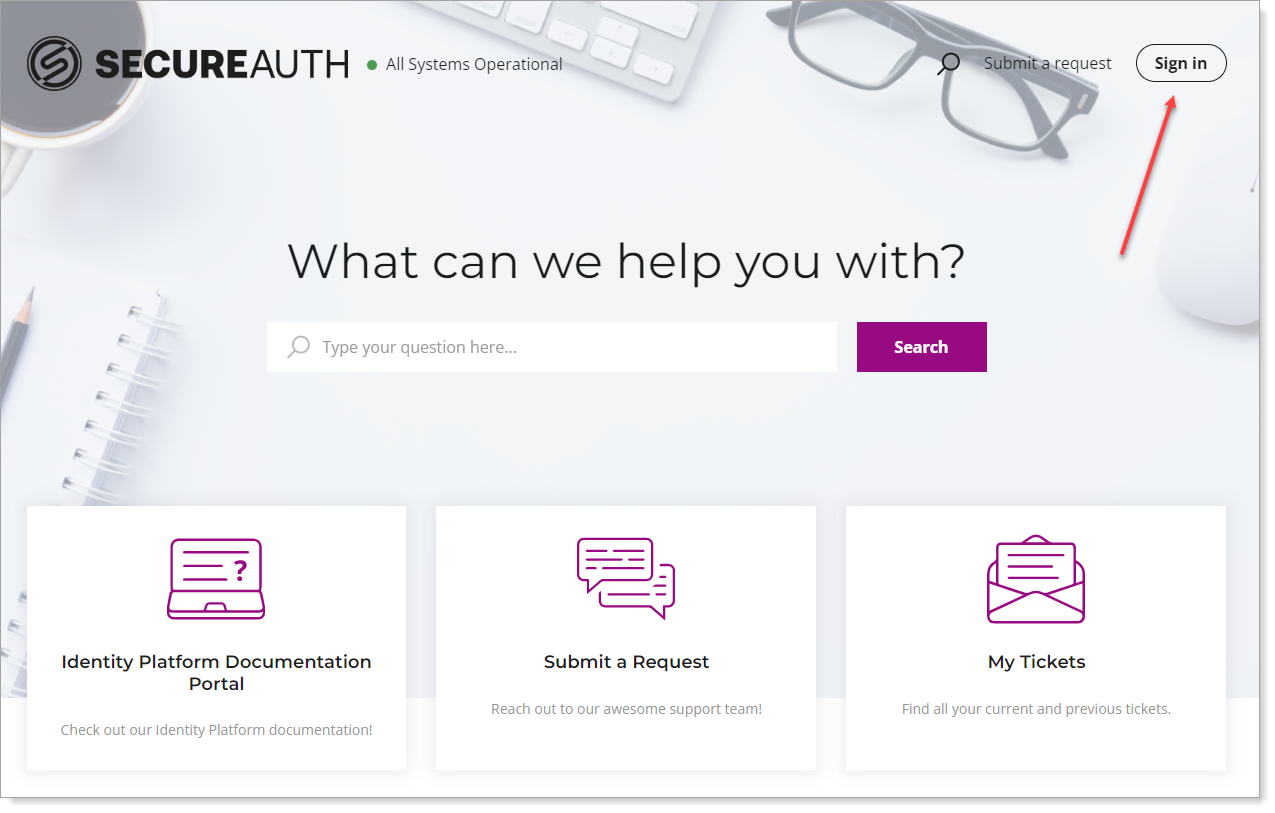
Go to support.secureauth.com.
On the Support Portal home page, at the top right, click Sign In.
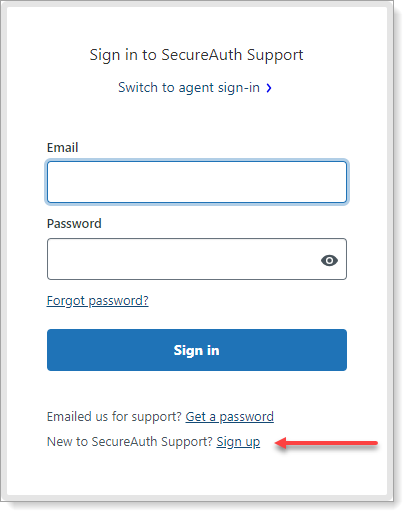
Under New to SecureAuth Support?, click Sign up.
Enter your full name and email address. .
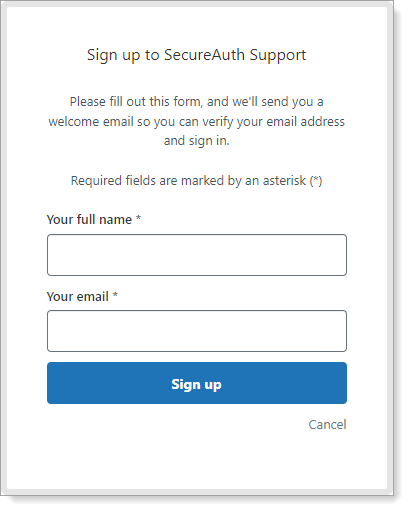
Click Sign up.
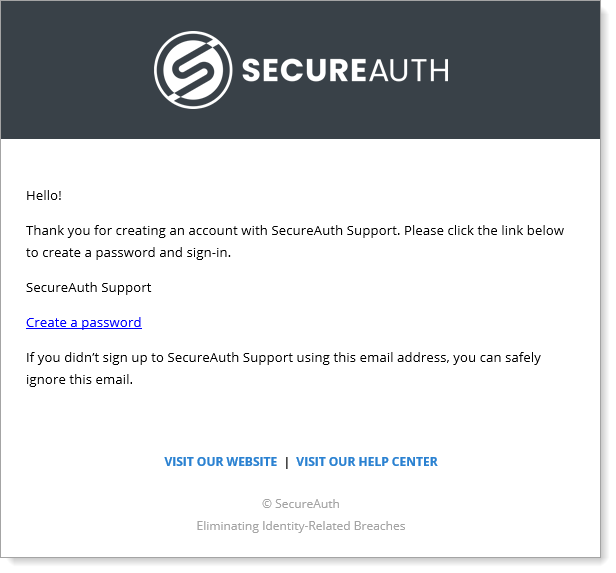
You will receive an email from SecureAuth to complete your registration. Click the Create a password link and then create your password.
Manage account
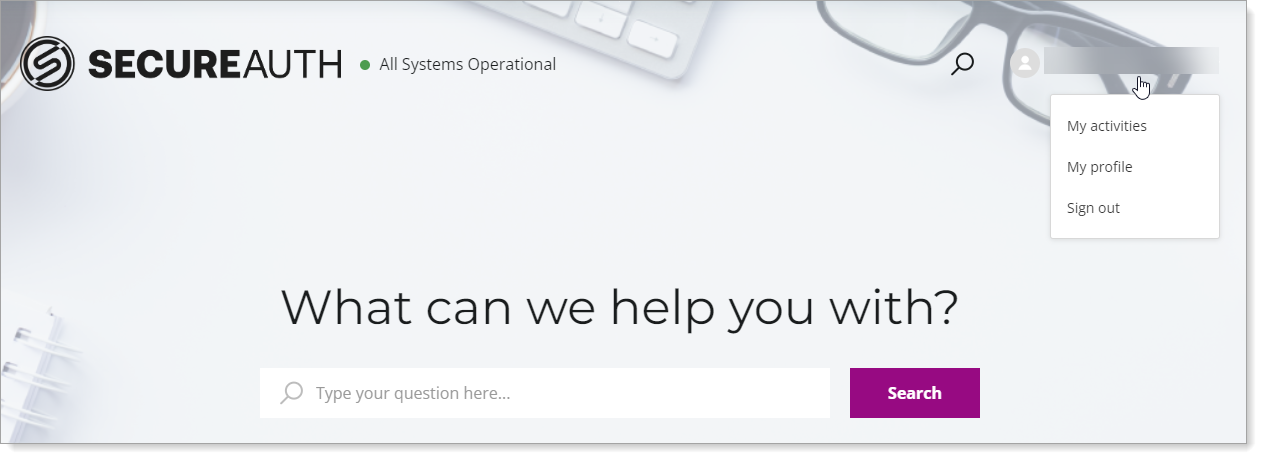
Manage accounts by clicking your username at the top right. From there, you can perform any of the following tasks:
To view your ticket requests, select My activities.
To view statistics about your activity, select My profile.
 |
Submit a ticket
Whenever you need help with anything from product features, questions, upgrades, or login issues, our Support Engineers are ready to assist. Once you submit a ticket, they'll have all the details to respond directly through the Portal, ensuring you get the help you need, right when you need it. We're here to make your experience as smooth as possible.
Complete the following steps to start a support ticket:
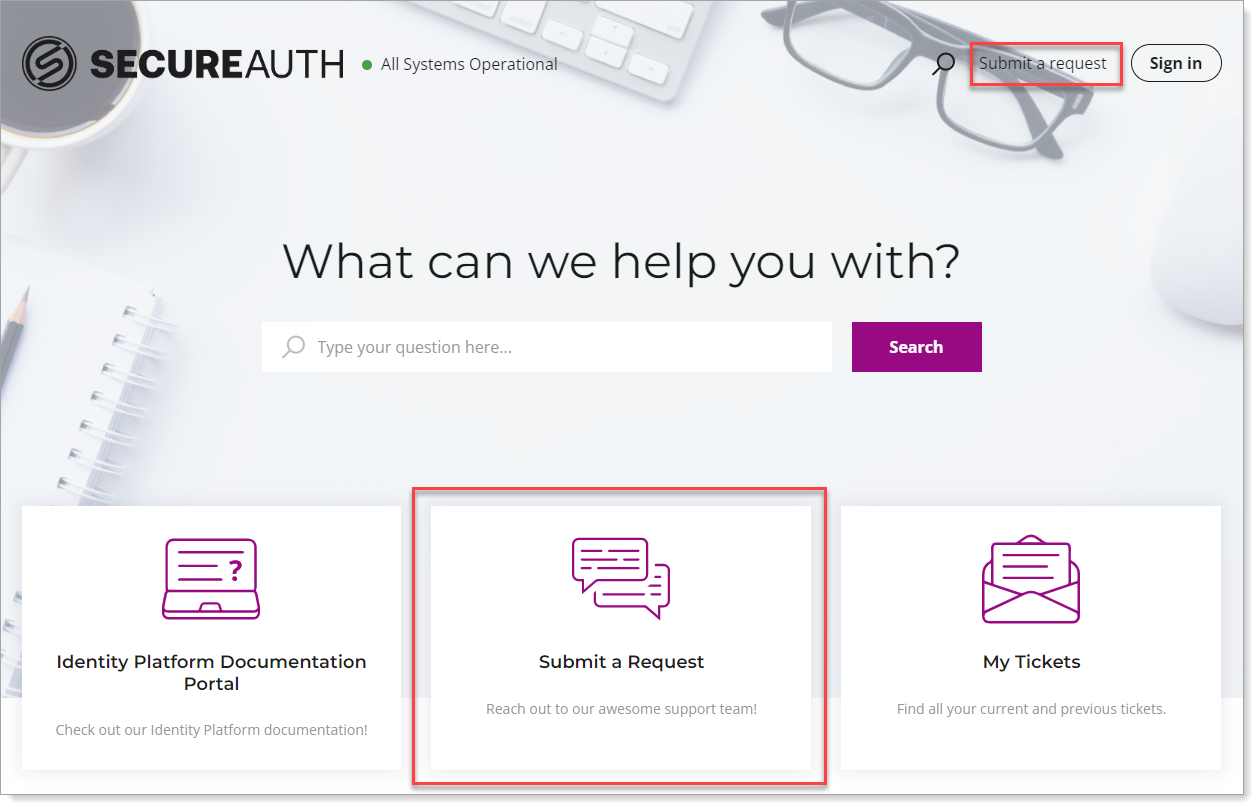
On the Portal homepage, click either one of the two Submit a request links.
Select a reason for the request.
For SecureAuth Identity Platform product support, select the option that best matches your request.
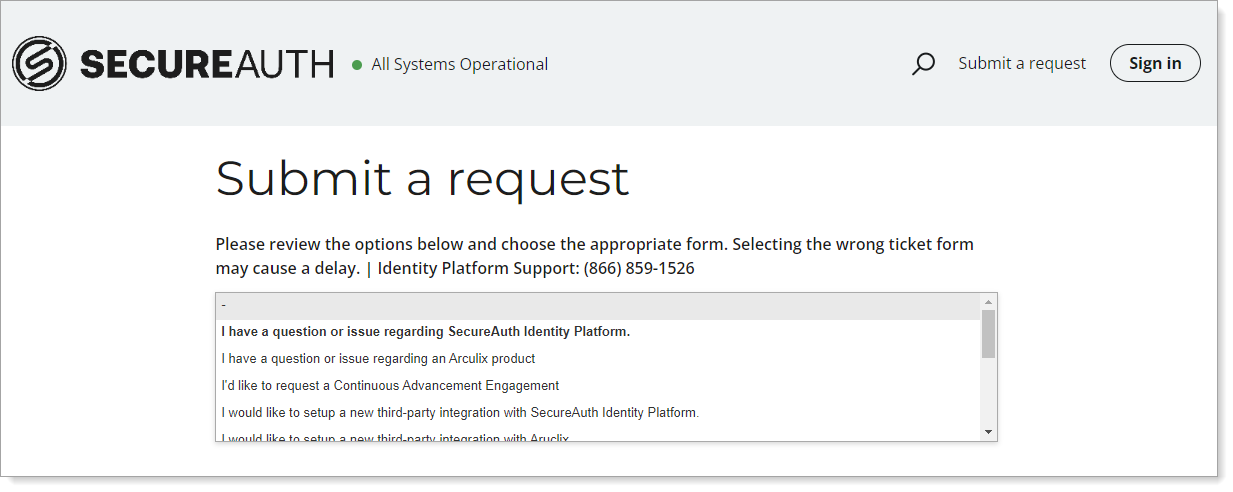
Complete the fields as required with as much detail you can provide.
Note
The reason you chose in the previous step determines the type of fill-in fields on this page.
Click Submit.
Manage tickets
After submitting a ticket, you can view, follow, and edit updates. To manage your tickets, follow these steps:
Sign in to the Support Portal.
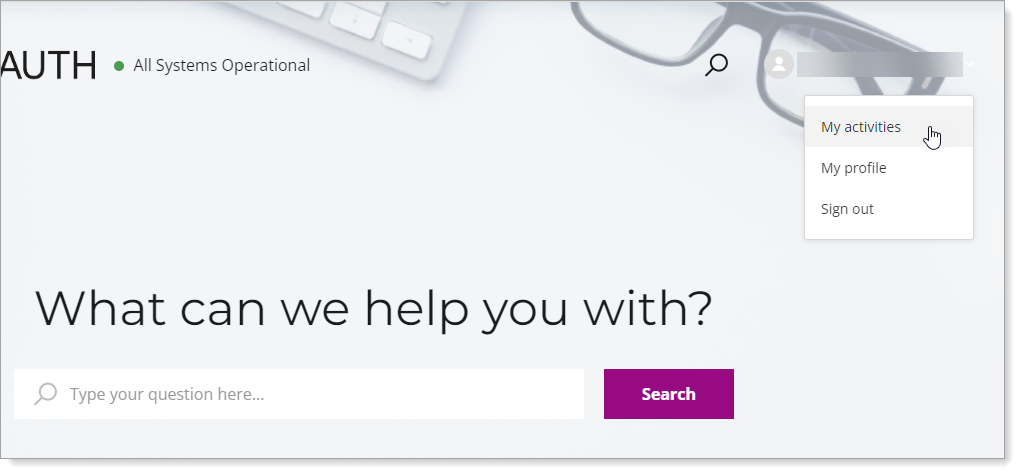
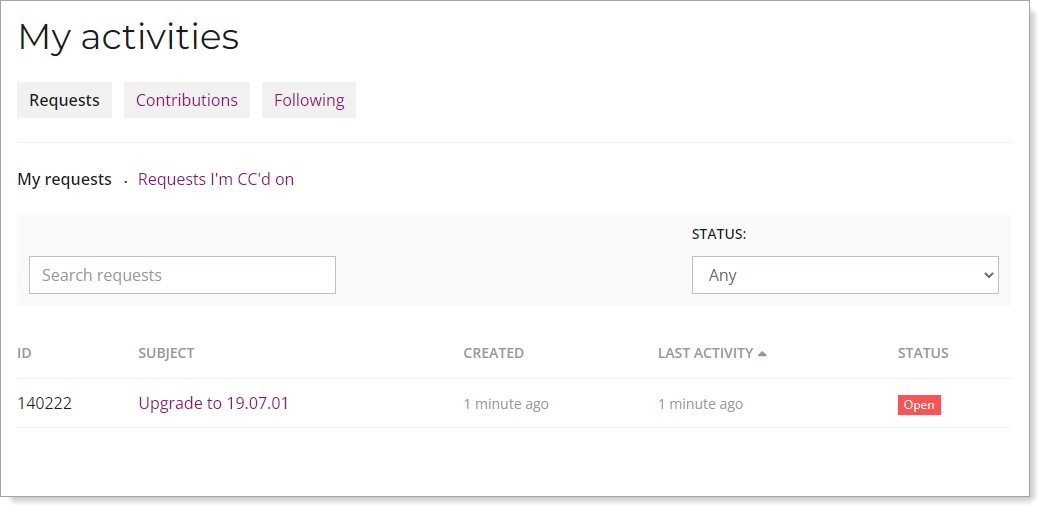
On the Portal homepage, click your username and select My activities.
Select the Requests tab to find your submitted tickets. They include details on their creation, activity, and status.
To view more detail, click the Subject of the request.
Priority assignments
The following table describes how assignments are prioritized after tickets are in the system.
Impact | Urgency | Priority |
|---|---|---|
High | High | Urgent |
High | Medium | High |
High | Low | Normal |
Medium | High | High |
Medium | Medium | Normal |
Medium | Low | Low |
Low | High | Normal |
Low | Medium | Low |
Low | Low | Low |
Service Level Agreement (SLA) for Basic Support
Severity | Description | Response Time |
|---|---|---|
1 - Urgent | Coverage: 24 x 7 There is the potential of a health, safety, or security issue to occur or it has already occurred Potential for an operational or financial impact to the business A Business Critical, Tier 1 system, application, or function is completely unavailable, severely corrupted, or degraded for more than one authorized user Note: Severity Level 1 support requests cannot be logged through the support portal; call SecureAuth Support to log a severity Level 1 case | 4 hours |
2 - High | A non-business critical system, application, or function is unavailable, severely corrupted, or severely or degraded for a more than one authorized user | 8 hours |
3 - Normal | Level 3 is the default severity setting System performance is impaired, but there is no business or “customer” client impact for more than one authorized user | 1 business day |
4 - Low | A user level fault only affecting one authorized user but not affecting ability to perform business functions – i.e., no business or “Customer” client impact Enhancement requests | 2 business days |
Preferred and Elite Support customers can view SLAs for the plans.
Definitions
- Impact
The impact of the issue to the business.
Considerations:
Production appliance or test environment being affected
Number of users affected by issue
- Urgency
The speed in which the issue must be resolved.
- Priority
The level of importance the issue has compared to others, designating the SecureAuth Support response time.