Arculix AD FS plugin
This document contains the information required to install and configure the Arculix AD FS plugin.
For a summary of release information, see Arculix AD FS plugin release notes.
Overview
Active Directory Federation Services (AD FS) is a Microsoft product that allows organizations to provide single sign-on (SSO) to their users by way of federation protocols such as SAML, OpenID Connect (OIDC), and WS-Federation. AD FS provides a flexible system for configuring relying parties, adding external authentication providers, and producing and consuming claims (statements describing authenticated users).
The Arculix AD FS plugin allows an organization to add Arculix authentication to an AD FS authentication flow. This can be a passwordless authentication factor such as a push notification to the Arculix Mobile app or a prompt for a current time-based one-time passcode (TOTP). You can configure Arculix authentication as either a primary authentication method or as an additional authentication method.
Prerequisites
The Arculix AD FS plugin has the following minimum requirements:
Windows Server 2019 or higher.
Administrator privileges are needed for installation.
AD FS server role must be installed on the server before installing the Arculix AD FS plugin.
Server must be able to initiate HTTPS calls to Arculix.
For customers using the Arculix cloud service, this means that any existing firewall rules must allow outbound connections to
mfa.acceptto.com.Your organization must have an Arculix tenant with an application configured for use as the AD FS plugin.
The UID and Secret values of this application will be used to authenticate the plugin to Arculix.
The resource usage of the Arculix AD FS plugin is negligible compared to AD FS itself, so the recommended hardware requirements for AD FS should be sufficient for use of the plugin.
Add AD FS application in Arculix
Add an application in Arculix for AD FS.
Log in to Arculix with administrative privileges and go to Applications.
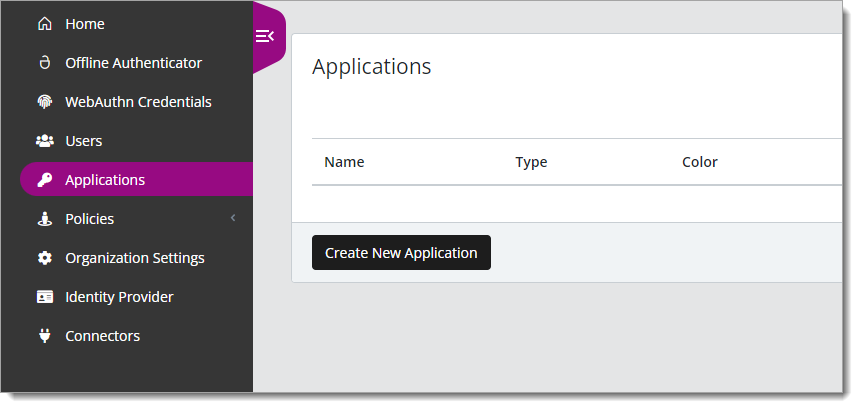
Click Create New Application.
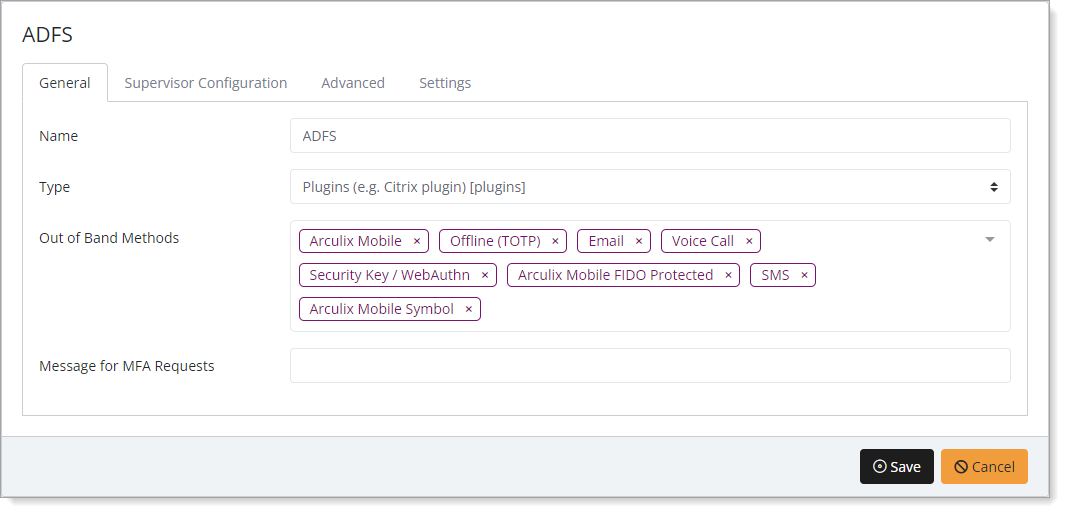
In the New Application form, on the General tab, set the following configurations:
Name
Set the name of the application. This is the name to display for push notifications, in the Admin panel, Application portal, and audit logs.
For example, ADFS.
Type
Set to Plugins.
Out of Band Methods
Select the allowed methods end users can choose to approve MFA requests.
For example, Arculix Mobile app (push notifications), SMS, or Security Key.
Message for MFA Requests
(Optional) Type a message displayed to end users when sending an MFA request via push notification, SMS, or email.
Select the Advanced tab and copy the UID and Secret.
You will need these values during installation of the AD FS plugin to connect with Arculix.
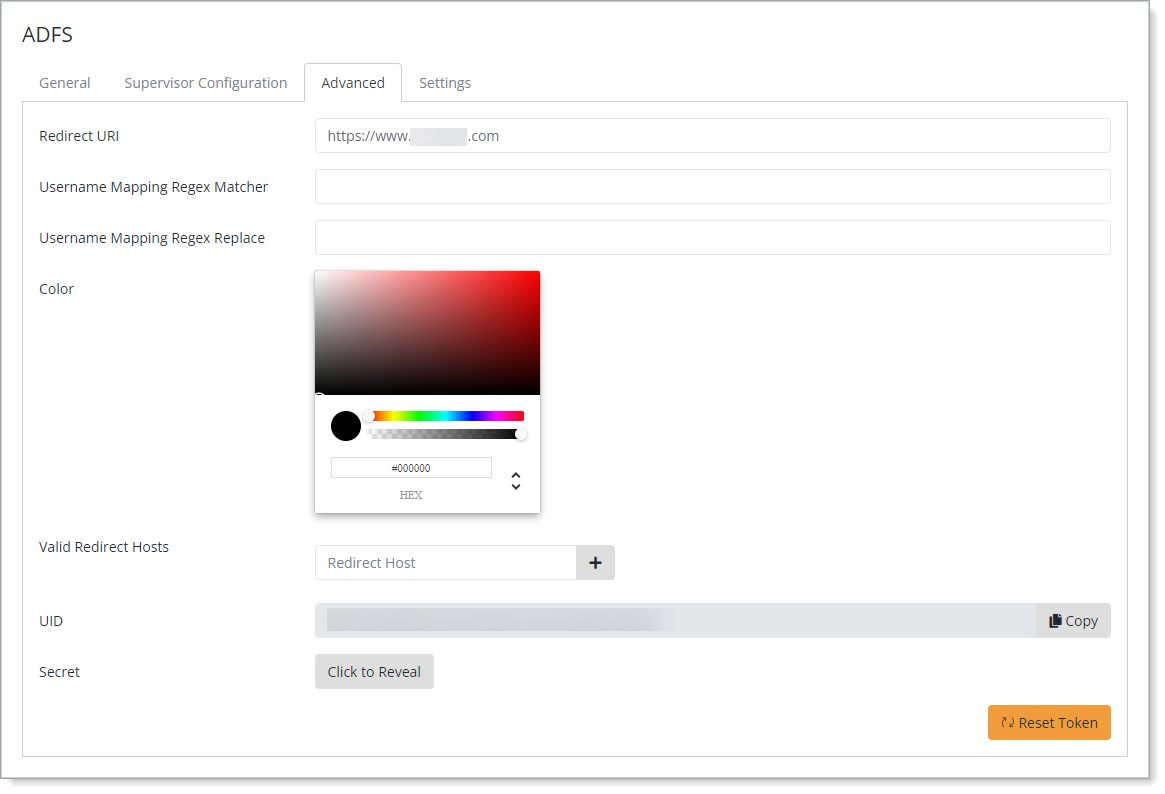
Save your changes.
Installation
To install the Arculix AD FS plugin, you can use the normal install wizard or a silent install using the command-line suitable for automating deployments. For either method, you will need an Arculix AD FS plugin installer executable provided by SecureAuth.
Normal install using the install wizard
Before you can install the AD FS plugin, you must install the AD FS server role on this system.
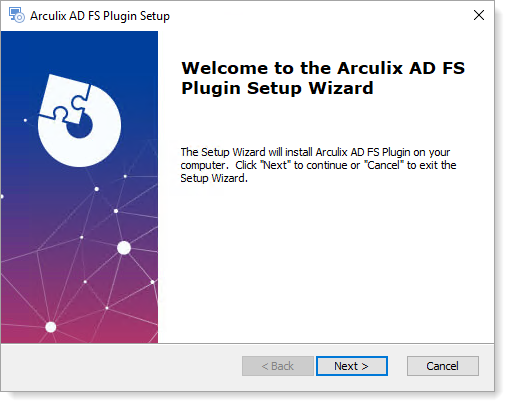
To install the Arculix AD FS plugin:
Run the provided installer executable and click Next.
Set the following configurations and click Next.
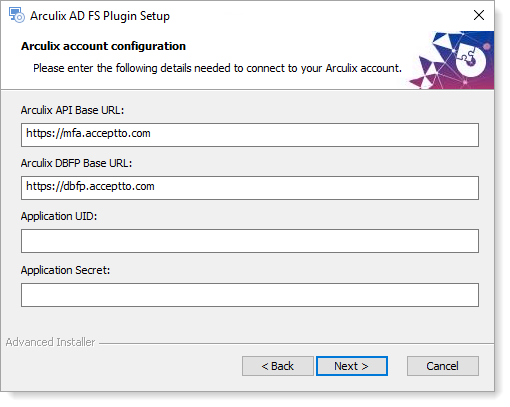
Arculix API Base URL
Base URL to be used for API calls when authenticating Arculix users.
For most customers, the default value of
https://mfa.acceptto.comis correct.Customers with a dedicated or on-premises Arculix instance will need to supply the proper base URL for that instance.
Arculix DBFP Base URL
Base URL of the Arculix Device and Browser Fingerprint (DBFP) service.
For most customers, the default value of
https://dbfp.acceptto.comis correct.Customers with a dedicated or on-premises Arculix instance will need to supply the proper base URL for that instance.
Application UID
UID value of the application configured in the Arculix dashboard to be used by the Arculix AD FS plugin.
Application Secret
Secret value of the application configured in the Arculix dashboard to be used by the Arculix AD FS plugin.
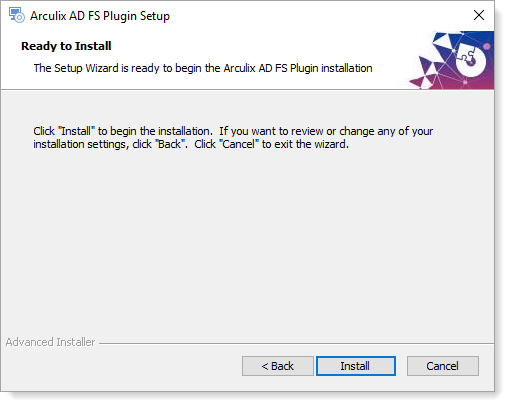
Click Install.
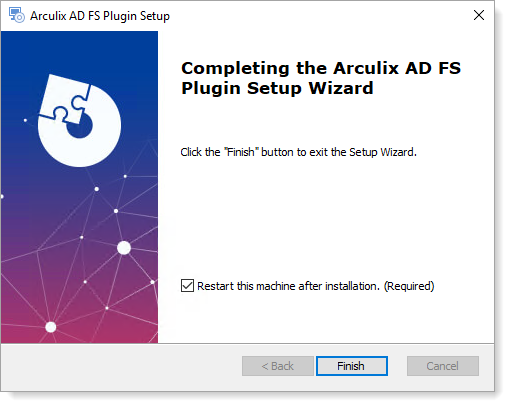
After the installation completes, with the check box selected, click Finish to restart the server.
Silent install using the command line
To support automated deployments, you can install the Arculix AD FS plugin from the command line using a silent installation method.
To use this method, you should invoke the provided installer executable with the /quiet option along with all other required configuration properties.
For example, if your installation executable is named ADFS-v2.0.0.exe, you might perform a silent install using this command:
ADFS-v2.0.0.exe /quiet BASE_URL=https://mfa.acceptto.com DBFP_BASE_URL=https://dbfp.acceptto.com UID=<UID value> SECRET=<secret value> ARCULIX_USER_IDENTIFIER_ATTRIBUTE=userPrincipalName USE_GLOBAL_CATALOG=1
Note
The entire command must be written on the same line with no line breaks.
Full details of the configuration properties are available elsewhere in this document.
After performing a silent installation, restart the Arculix AD FS service.
Install on an AD FS server farm
When using multiple servers in an AD FS server farm, individually install the Arculix AD FS plugin on each server using exactly the same configuration settings.
First, install the plugin on the primary server, followed by all secondary servers. You can use either the installation wizard or the command-line installation method to perform the process.
After completing a command-line install, restart the AD FS service.
AD FS configuration
To configure AD FS, see the following procedures.
Set up Content Security Policy (CSP) headers
The Arculix AD FS Plugin presents the user with an HTML page requiring the use of assets from the Arculix Device and Browser Fingerprint (DBFP) service. To support this, the AD FS service should always send a Content-Security-Policy header enabling the use of this resource. Configure this by executing the following PowerShell command (all on one line):
Set-AdfsResponseHeaders -SetHeaderName "Content-Security-Policy" -SetHeaderValue "default-src 'self' 'unsafe-inline'; img-src 'self' data:; script-src 'self' 'unsafe-inline' 'unsafe-eval' https://dbfp.acceptto.com; script-src-elem 'unsafe-inline' https://dbfp.acceptto.com; connect-src "https://dbfp.acceptto.com;"
If you have a dedicated or an on-prem Arculix instance, you will need to adjust the https://dbfp.acceptto.com references in the above line.
If you have AD FS servers that already have a Content-Security-Policy header configured for other purposes, you should create a combined policy which incorporates the above items.
Configure the plugin as an additional authentication method
A typical use of the plugin adds Arculix authentication as an additional authentication method, above and beyond the primary authentication method.
To configure this:
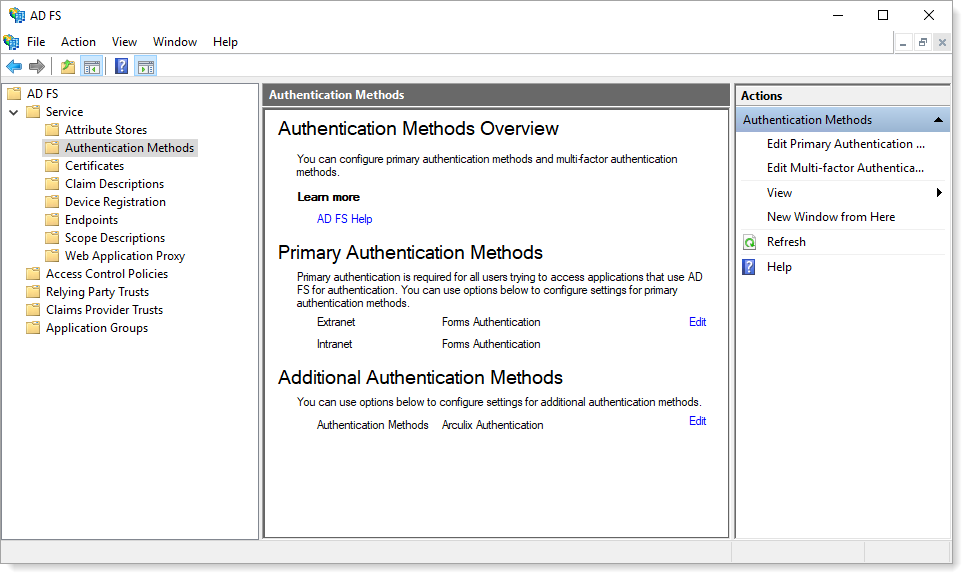
Launch the AD FS configuration tool.
Navigate to Service > Authentication Methods.
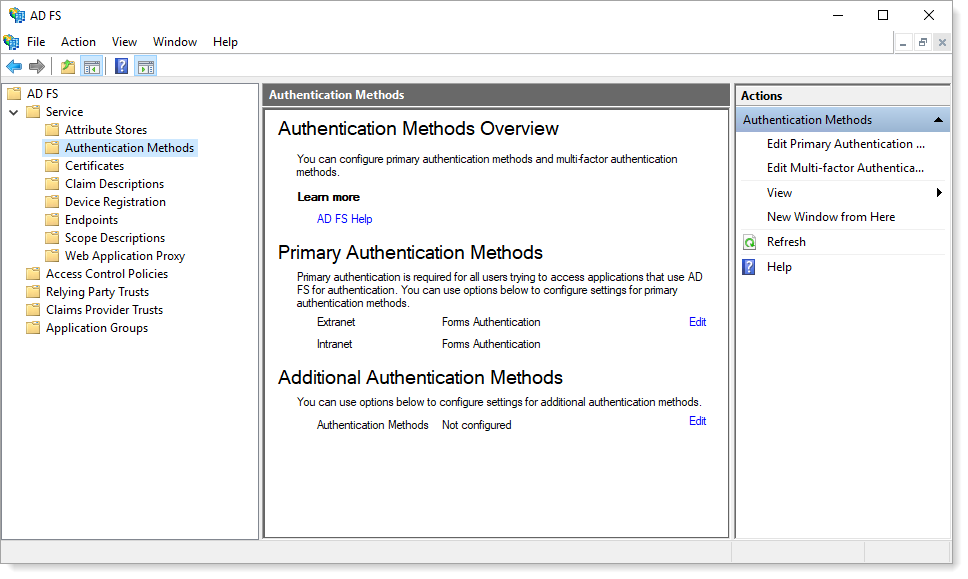
In the Additional Authentication Methods section, click Edit and then select Arculix Authentication.
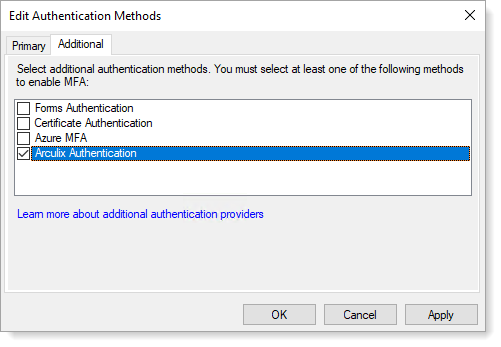
Click OK.
You will see Arculix Authentication listed as an additional authentication method on the next screen.
When using Arculix as an additional authentication method, you might need to configure your relying parties to have an Access Control Policy of Permit everyone and require MFA to introduce Arculix to the authentication flow.
Configure the plugin as a primary authentication method
To support passwordless authentication using Arculix, you can choose to use the Arculix AD FS plugin as a primary authentication method.
To configure this:
Launch the AD FS configuration tool.
Navigate to Service > Authentication Methods.
In the Primary Authentication Methods section, click Edit.
On the Primary tab, select the Arculix Authentication check boxes in the Extranet and Intranet sections.
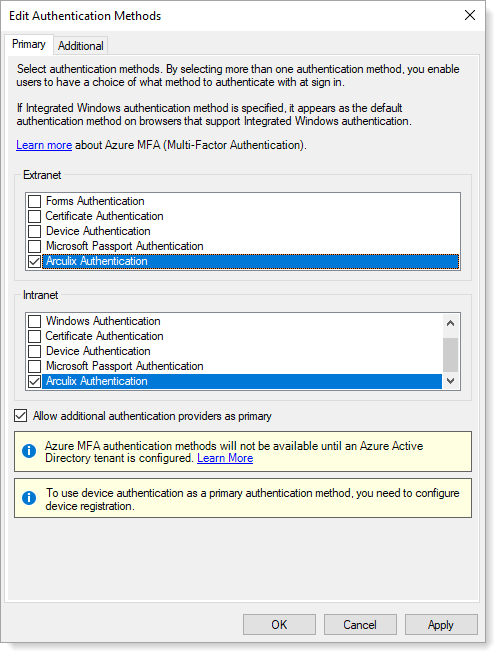
Select the Allow additional authentication providers as primary check box.
Click OK.
You will see Arculix Authentication listed as primary authentication methods.

Note
When using Arculix as a primary authentication method, relying parties with an Access Control Policy of Permit everyone and require MFA might not be able to authenticate users if no additional methods are configured.
Plugin configuration
Some configuration settings guide the behavior of the plugin. During the normal wizard install, it collects the required settings from the administrator. But, adjustments to all settings can occur by editing the registry values or by supplying the settings in the command-line silent install.
All configuration settings are stored in the following registry key:
Computer\HKEY_LOCAL_MACHINE\SOFTWARE\SecureAuth\Arculix AD FS Plugin
Note
The names of registry entries are slightly different than the corresponding MSI public property names used for command-line installation, because of requirements imposed by the Windows Installer.
After changing any configuration settings in the registry, you should restart the AD FS service.
The available registry settings are:
Registry entry name | MSI public property name | Default value | Description |
|---|---|---|---|
|
|
| Base URL used for API calls when authenticating Arculix users. For most customers, the default value of Customers with a dedicated or on-prem Arculix instance will need to supply the proper base URL for that instance. |
|
|
| Base URL of the Arculix Device and Browser Fingerprint (DBFP) service. For most customers, the default value of Customers with a dedicated or on-prem Arculix instance will need to supply the proper base URL for that instance. |
|
| No default value. | UID value of the application configured in the Arculix dashboard used by the Arculix AD FS plugin. |
|
| No default value. | Secret value of the application configured in Arculix Core used by the Arculix AD FS plugin. |
|
|
| These are the following settings:
|
|
|
| Active Directory user attribute which should be used to find a user’s Arculix identifier. This should usually be an attribute containing a value in However, if the |
|
| Empty | If this setting contains a non-empty value, the user’s Arculix identifier as loaded from the If the value of the user’s This setting is useful for supplying a domain name when the |
Logging
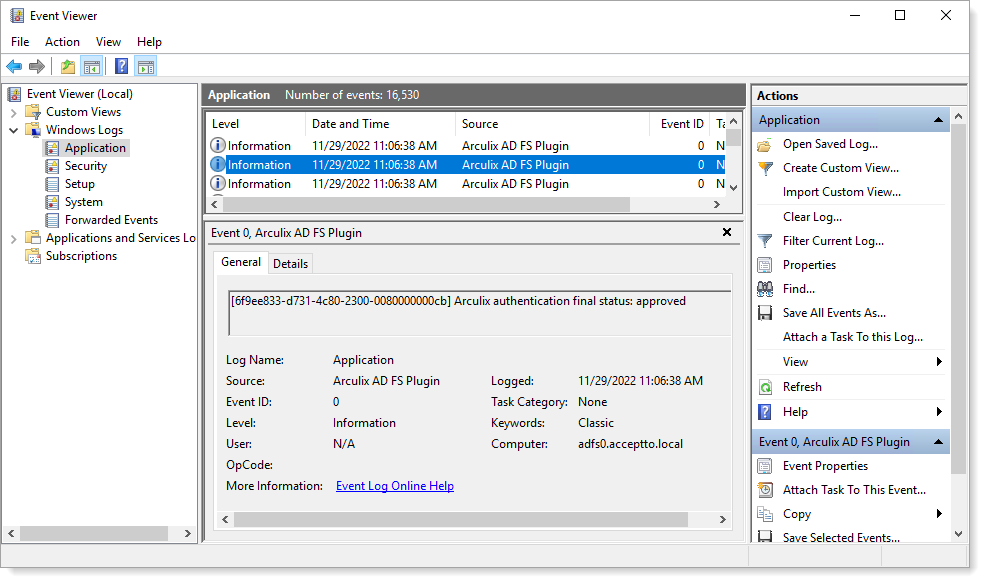
The Arculix AD FS plugin will log activity to the Windows Application Event Log. Each log entry will be prefixed with the Arculix AD FS Activity ID of the current authentication, if available.
For example:
 |
Output claims
On each successful authentication, the Arculix AD FS plugin will provide an output claim of type https://schemas.arculix.com/2022/11/authentication/claims/loa containing the Level of Assurance (LOA) score for this authentication. This claim may be consumed by other AD FS components, or passed to service providers, such as a SAML assertion.