OAuth / OIDC configuration
You can integrate applications that support OAuth / OIDC in Arculix, which can act as an OAuth Server or OIDC Provider. This document provides the details about how to integrate an OAuth / OIDC application.
Understanding OAuth and OIDC
OAuth (Open Authorization) is an open standard protocol that provides a way to grant access to applications without giving the application your login credentials.
OIDC (OpenID Connect) is an open standard protocol that provides a way to authenticate and authorize access to applications without giving the application your login credentials.
Scopes in OAuth and OIDC define the level of access in an application request and can range from read-only access to full read-write access. For example, an application might request a "profile" scope to access the user's basic information, or an "email" scope to access the user's email address.
To summarize, OAuth and OIDC are related but different protocols. In Arculix, it can act as an OAuth Server to grant access to applications or as an OIDC Provider to authenticate and authorize access to applications.
Prerequisites
Configured Arculix instance and user account with administrative privileges for Arculix.
User account with administrative access to an OAuth / OIDC supported application
OAuth / OIDC configuration in Arculix
In this section, you'll configure Arculix to act as an OAuth Server or OIDC Provider to access applications. OAuth is used to grant access, while OIDC is used to authenticate the user and obtain identity information.
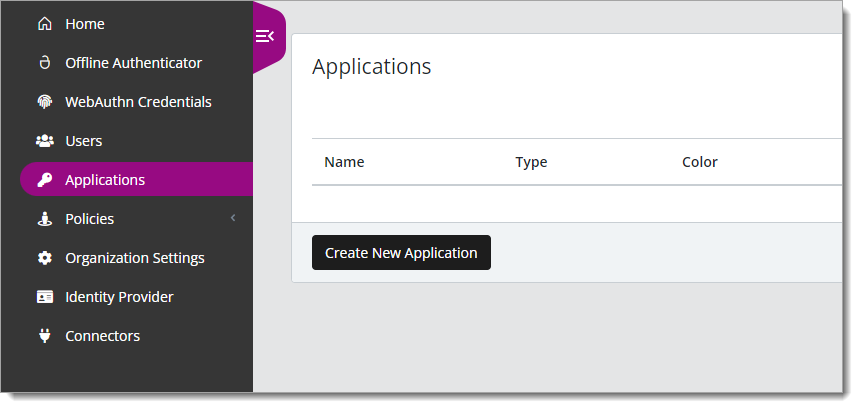
Log in to Arculix with an administrative account and go to Applications.
Click Create New Application.
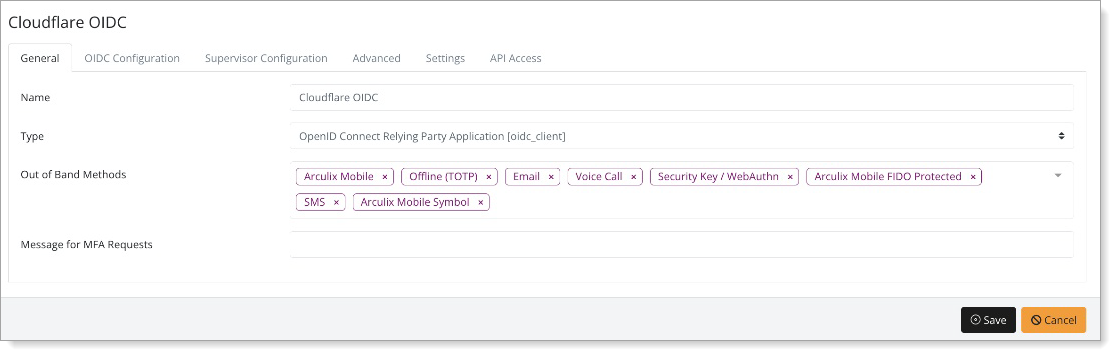
In the New Application form, on the General tab, set the following configurations:
Name
Set the name of the application. This is the name to display for push notifications, in the Admin panel, Application portal, and audit logs.
For example, My OIDC Application.
Type
Set to OpenID Connect Relying Party Application [oidc_client].
Out of Band Methods
Select the allowed methods end users can choose to approve MFA requests.
For example, Arculix Mobile app (push notifications), SMS, or Security Key.
Message for MFA Requests
Optional. Type a message displayed to end users when sending an MFA request via push notification, SMS, or email.
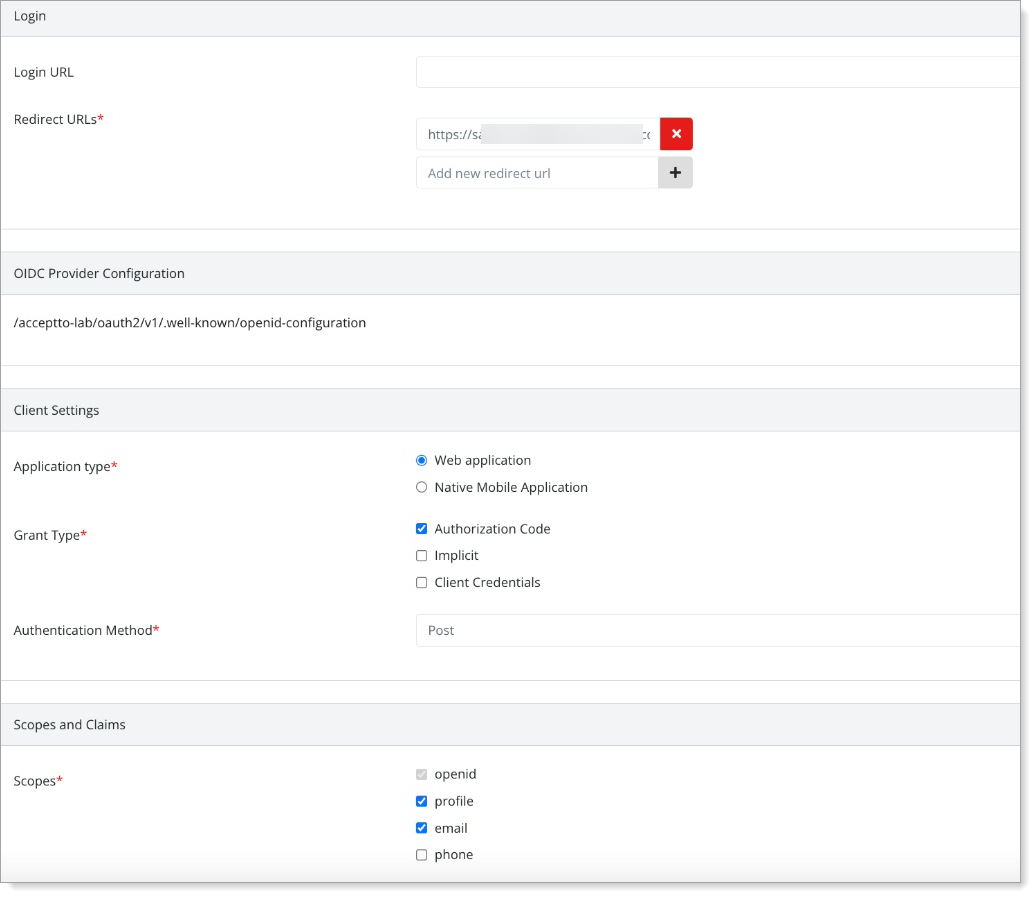
Select the OIDC Configuration tab, and set the following configurations:
Login
Login URL
Enter the Login URL end users use to access your OIDC application.
Redirect URLs
Enter the redirect URL (Redirect_uri) that Arculix will use to send back the authorization code.
You can register more than one redirect URL (Redirect_uri).
Client Settings
Application Type
Select the OIDC application type as either:
Web application
Native Mobile application
Grant Type
Select the check boxes for the grant types you want to use:
Authorization code – User logs in to the application, then the application redirects the flow to Arculix for authentication. After authentication, Arculix returns an authorization code to the application, then exchanges the code for an access token and an identity token.
Implicit – Use for mobile and single-page applications where it is not possible to securely store client secrets. User logs in to the application, then the application redirects the flow to Aruclix for authentication. After authentication, Arculix returns an access token and an identity toke directly to the application.
Client credentials – Use for server-to-server communication when there is no user involved. Client application sends its credentials (client ID and client secret) to Arculix in exchange for an access token.
Authentication Method
Set to one of the following authentication methods:
Basic – Basic authentication method that transmits the client secret in clear text. To ensure the security of the client secret, use HTTPS to encrypt the communication.
Post – Authenticates using the HTTP POST method, also known as the forms post response mode.
PKCE – Proof Key for Code Exchange (PKCE) uses secure access to protect against code interception attacks.
Scopes and Claims
Scopes
Select the level of access to it needs to a user's resources or information. Selection options are:
openid – Default. Allow access to the user's identity information like the username and email address.
profile – Allow access to user's profile information like postal address and phone number.
email – Allow access to user's email address.
phone – Allow access to user's phone number.
Session
Access Token Timeout
Set how long the access token is valid for before it times out. By default this set to 1 minute.
The time value is in minutes.
Refresh Token Timeout
Set how long the refresh token is valid for before it times out and requires the user to reauthenticate. By default this is set to 1 day.
The time value is in days.
Save your changes.
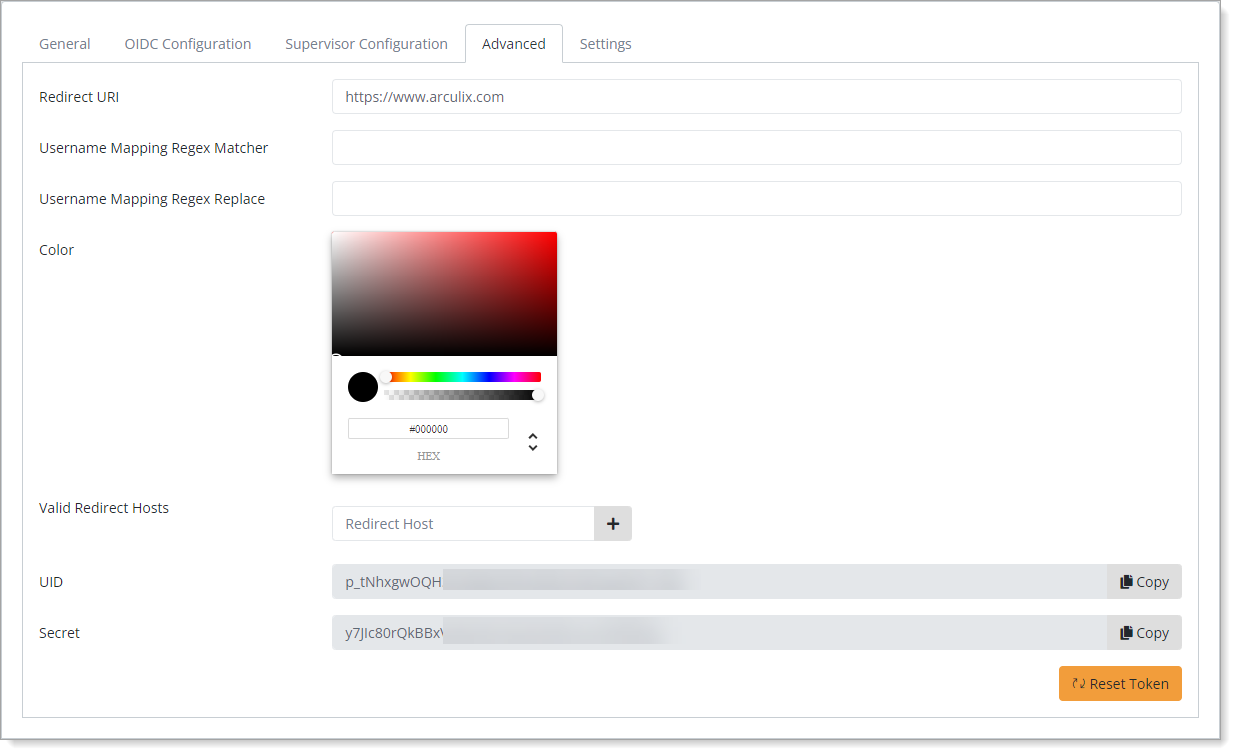
Edit the configured OIDC application and select the Advanced tab.
Copy the UID and Secret values. You will need these for the application configuration.
Application configuration
In this section, you'll need the following information to configure a third-party application that supports OAuth / OIDC. Arculix will act as the OAuth Server or OIDC Provider. This allows users to use their existing credentials to log in to other applications.
Configure your third-party application using the following metadata from Arculix.
Data type
Value
Client ID
The UID value copied from the OIDC application in Arculix.
Client Secret
The Secret value copied from the OIDC application in Arculix.
Well-known endpoint
Open the well-known OIDC discovery endpoint URL in this format:
https://oidc.eguardian.io/<organization>/oauth2/v1/.well-known/openid-configurationAuthorization endpoint
Enter the authorization endpoint URL in this format:
https://oidc.eguardian.io/<organization>/oauth2/v1/authToken endpoint
Enter the token endpoint URL in this format:
https://oidc.eguardian.io/<organization>/oauth2/v1/tokenScopes
Define any scopes, as required in the third-party application.
Save your changes in the third-party application configuration.
Test your OIDC application integration
Go to the login URL for your OIDC-supported application.
You will be redirected to the Arculix SSO page.
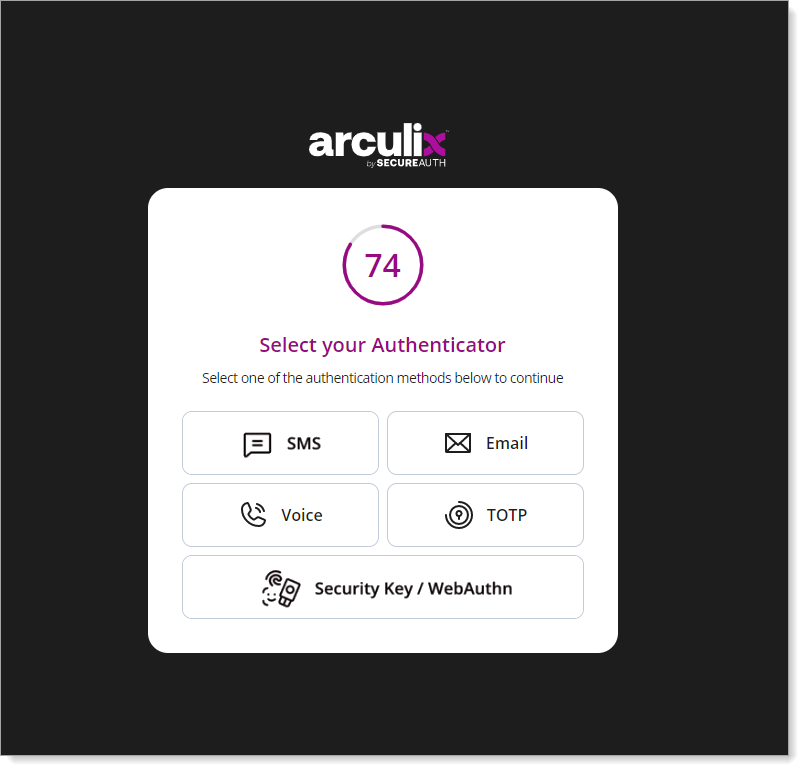
After successful authentication, select your preferred MFA method to approve access to the OIDC-supported application.
Finally, you'll be redirected to the OIDC-supported application home page with an access token.