Okta IdP factor MFA integration
Arculix integrates with Okta to enable increased security with Arculix's intelligent multi-factor authentication. This integration uses Okta's Custom IdP Factor Authentication feature to enable Arculix's intelligent MFA.
This allows administrators to configure their Okta SSO applications to require Arculix's Smart MFA before authenticating users.
Arculix's intelligent MFA uses many different signals to provide a low-friction increase in security.
Watch a video about this integration with Arculix in 5 minutes.
Prerequisites
Configured Arculix instance and user account with administrative privileges for Arculix.
Configured Arculix LDAP Agent.
For more information, see the LDAP Agent deployment guide.
User account with administrative privileges for the Okta panel.
Must have the Okta custom IdP factor enabled as a multi-factor type.
Arculix base URL, which is the SSO landing page for your account in this format:
https://sso.acceptto.com/<my-organization>
Add a new Okta IdP
In the Okta admin panel, add a new SAML Identity Provider.
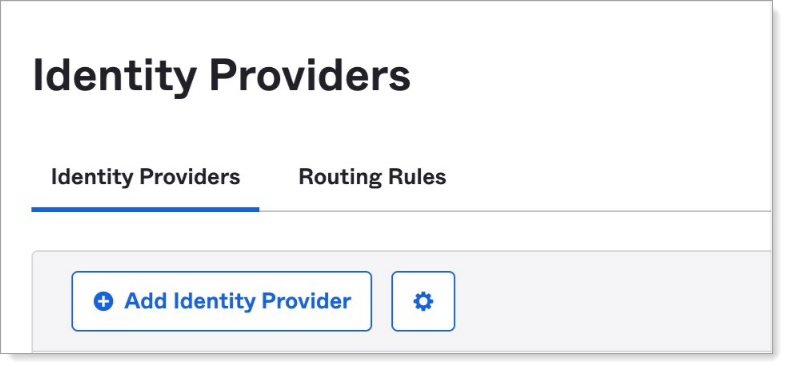
Select Security > Identity Providers.
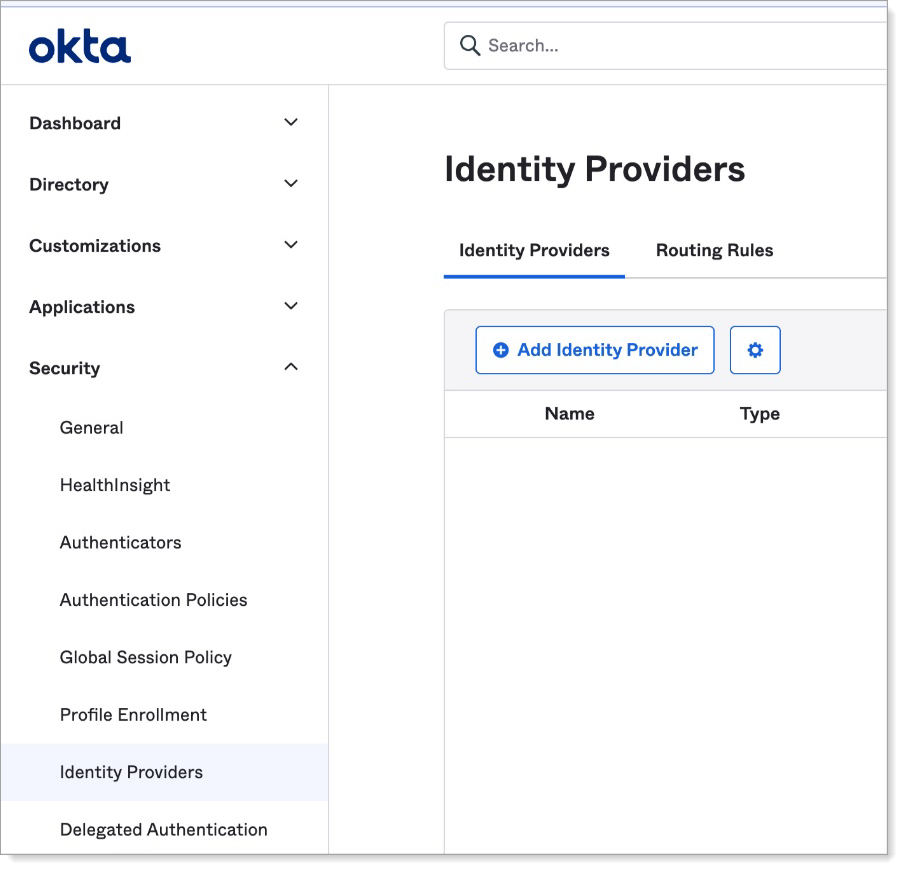
Click Add Identity Provider.
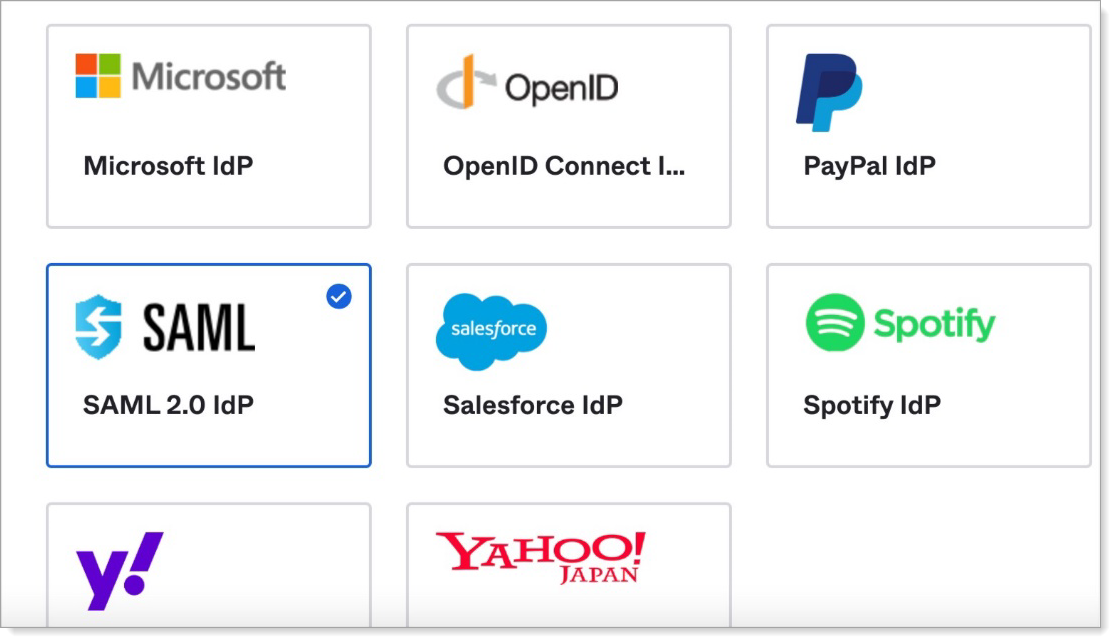
Click the SAML 2.0 IdP card, then click Next at the bottom of the page.
In the Add Identity Provider section, set the following configurations:
Note
The base URL is the SSO landing page for your account, in this format:
https://sso.acceptto.com/<my-organization>.Name
Enter a unique name.
For example, Arculix IdP Factor.
IdP Usage
Set to Factor only.
IdP Issuer URI
Enter [your Base URL]/saml.
For example,
https://www.sso.acceptto.com/example/saml.IdP Single Sign-On URL
Enter [your Base URL]/saml/idp_factor.
For example,
https://www.sso.acceptto.com/example/saml/idp_factor.IdP Signature Certificate
Copy and paste the certficate downloaded from [Base URL]/saml/download/cert.
For example, the certficate download URL:
https://sso.acceptto.com/<my-organization>/saml/download/cert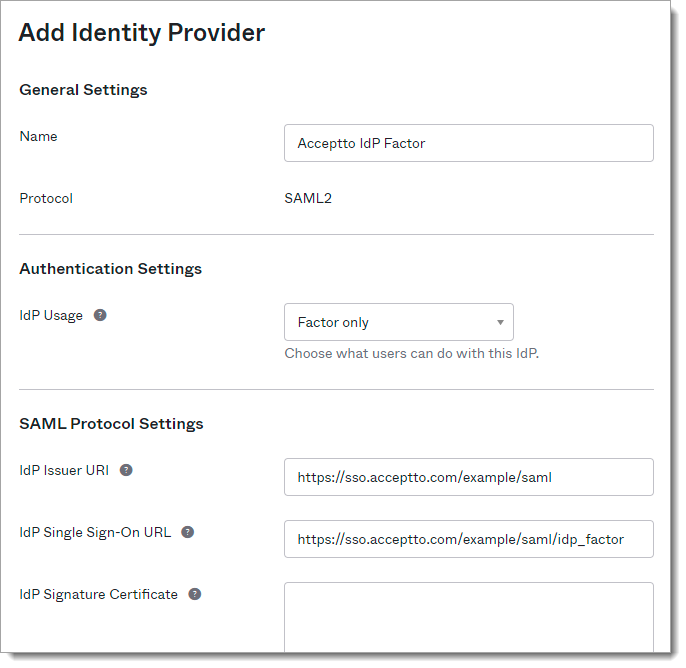
Configure additional authentication settings as needed for this new SAML IdP using the Edit Identity Provider section.
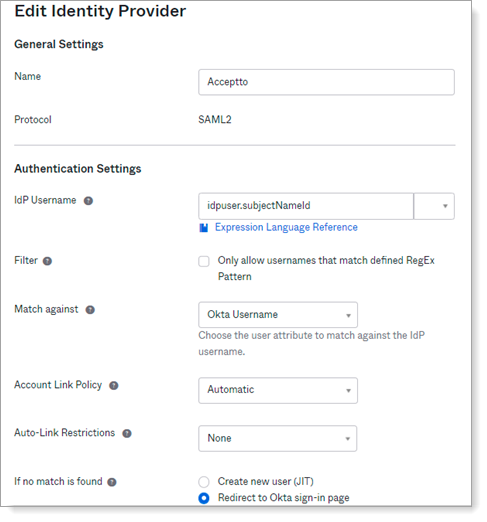
Click Add Identity Provider to save.
Okta IdP factor MFA configuration
In the Okta admin panel, add the Arculix IdP as a custom MFA factor.
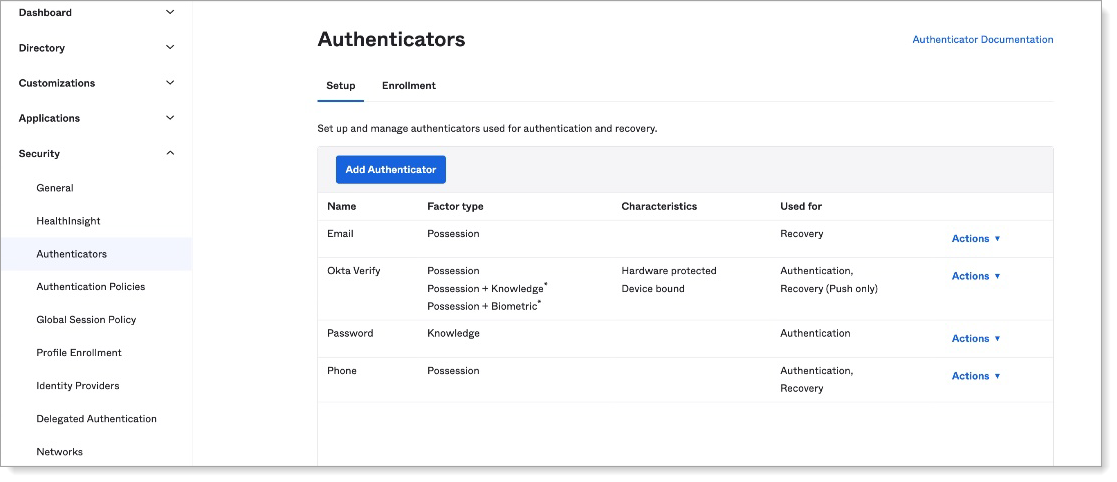
Select Security > Authenticators > Add Authenticator.
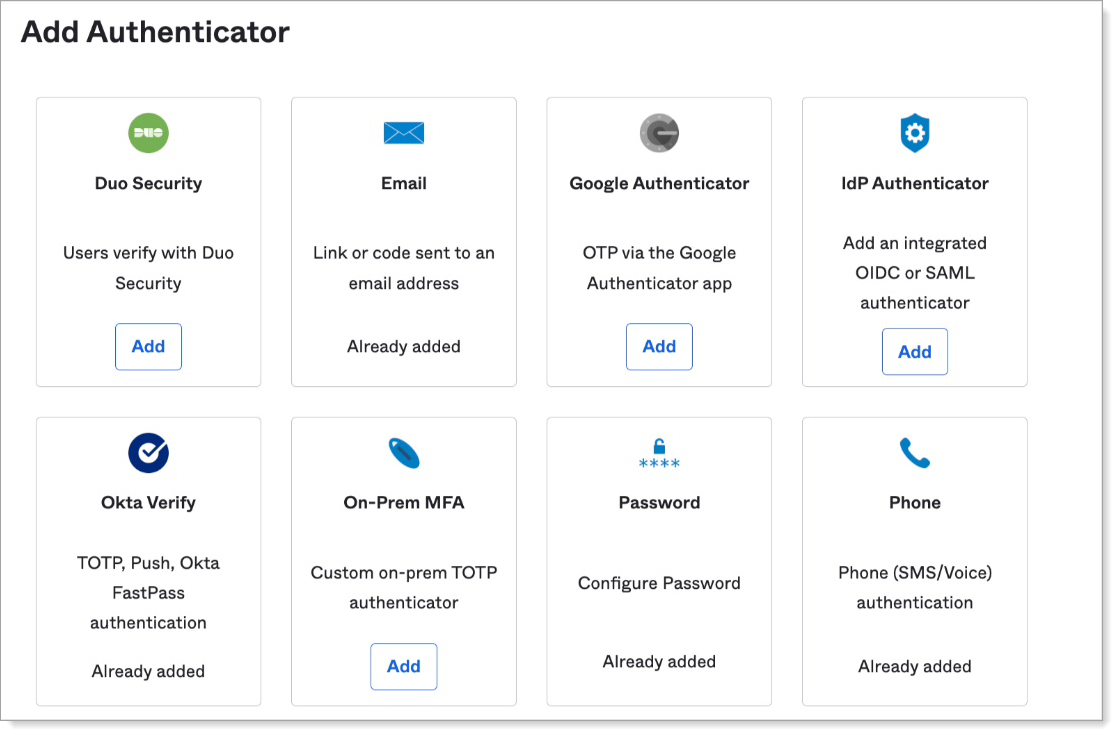
Go to the IdP Authenticator card and click Add.
Type a name and select the Identity Provider (IdP) that you created in the previous section.
For example, SecureAuth IdP Factor.
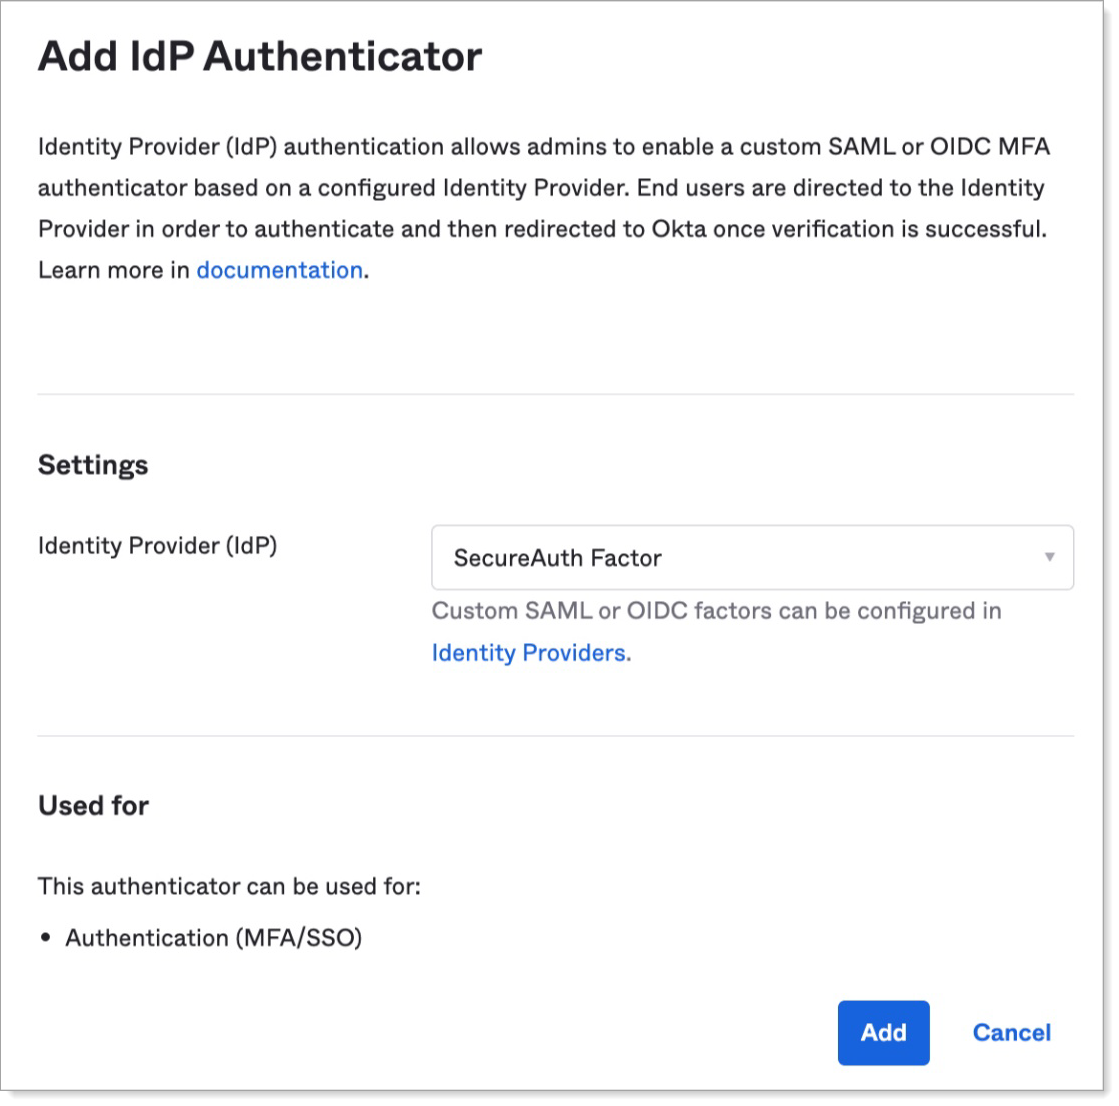
Click Add.
The Authenticators screen appears.
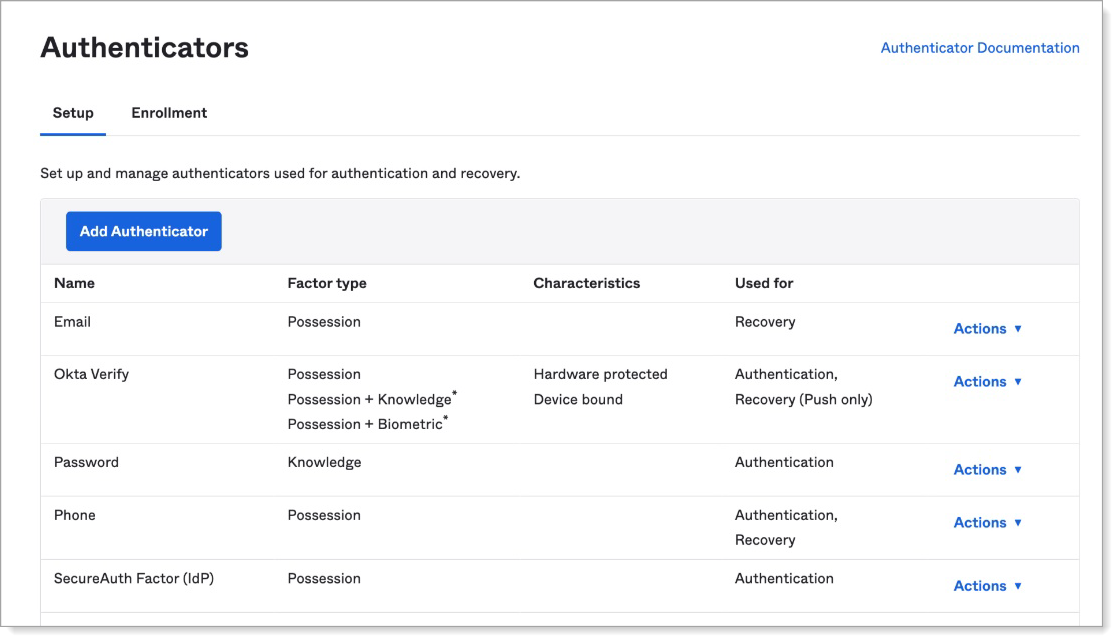
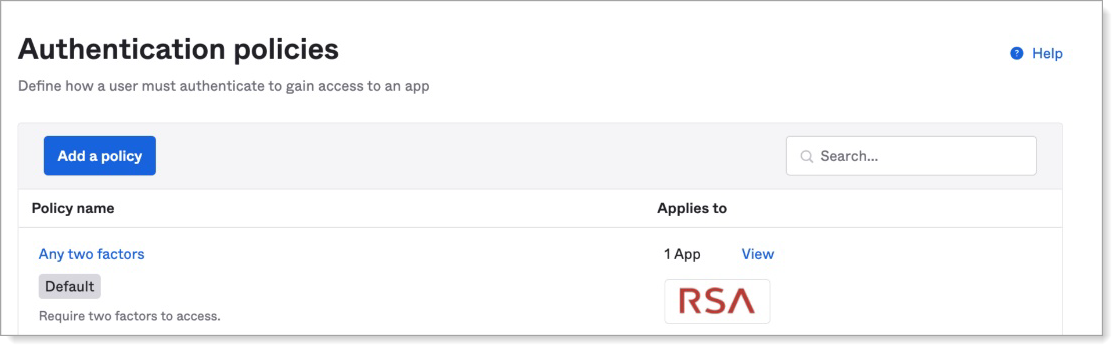
Navigate to Authentication Policies and assign the related application to any two factors authenticator.
Open an application, like RSA.
Add Okta IdP factor to Arculix
In this section, you'll add an application for Okta IdP factor as a service provider and set the SAML configuration settings.
Note
You can find some of the required Okta information in the Security > Identity Providers section by clicking the arrow icon next to the Arculix Identity Provider that was created earlier.
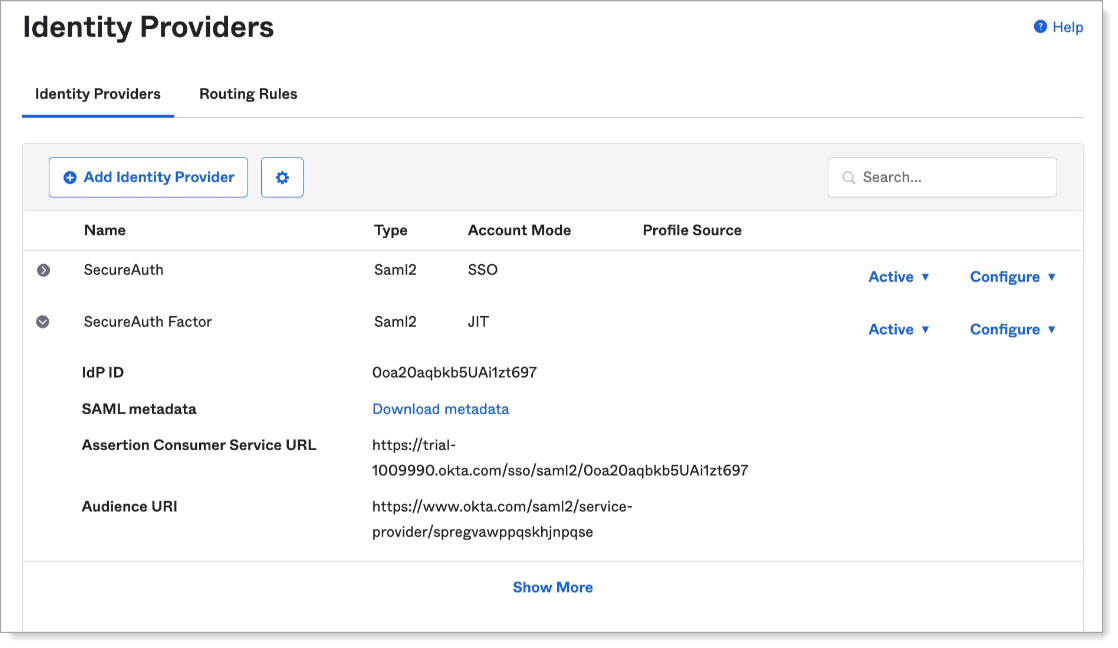 |
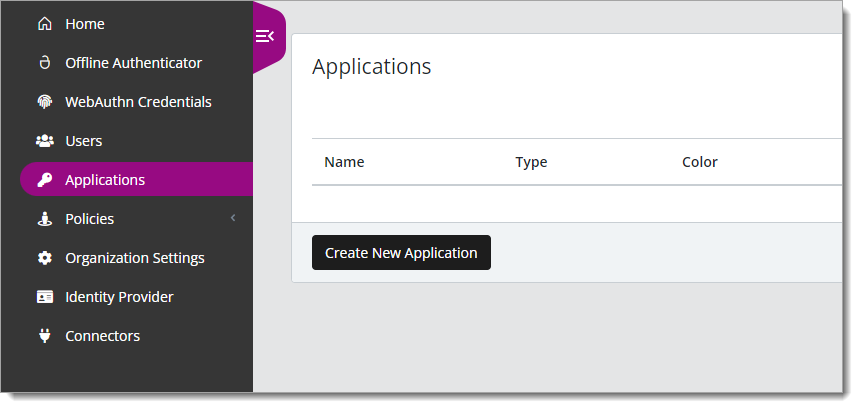
Log in to Arculix with an administrative account and go to Applications.
Click Create New Application.
In the New Application form, on the General tab, set the following configurations:
Name
Set the name of the application. This is the name to display for push notifications, in the Admin panel, Application portal, and audit logs.
For example, Okta IdP Factor.
Type
Set to SAML Service Provider.
Out of Band Methods
Select the allowed methods end users can choose to approve MFA requests.
For example, Arculix Mobile app (push notifications), SMS, or Security Key.
Message for MFA Requests
Optional. Type a message displayed to end users when sending an MFA request via push notification, SMS, or email.

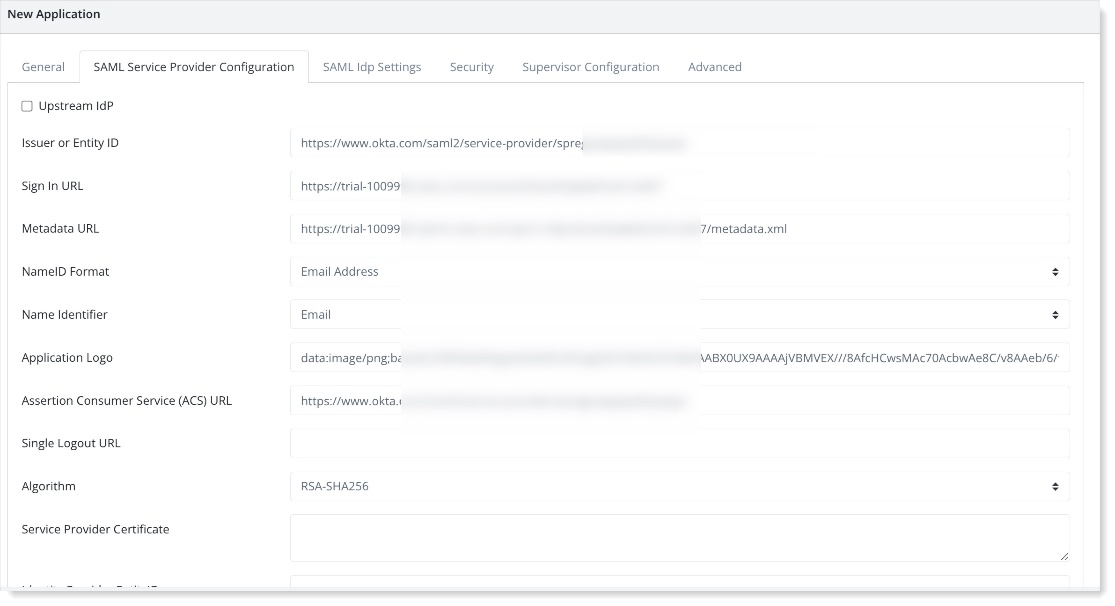
Select the SAML Service Provider Configuration tab, and set the following configurations:
Upstream IdP
Select this check box.
Issuer or Entity ID
Enter the Audience URI provided by Okta.
Log in URL
Enter the Audience URI provided by Okta.
Metadata URL
Enter the Metadata URL downloaded from Okta.
NameID Format
Set to Email Address.
Name Identifier
Set to Email.
Username Field for Upstream IdP
Select the Active Directory field that is configured as the Okta username for your organization.
ACS URL
Copy and paste the URL from the Assertion Consumer (ACS) URL from Okta.
Service Provider Certificate
Enter the SHA1 digest of the X.509 public certificate.
This can be calculated from the X509 Certificate in the Okta metadata file, using the online tools designed for this purpose.
Configure additional settings as needed.
Save your changes.
User experience
Once the administrator has enabled IdP factor MFA, as an end user, you will be prompted to add this custom factor on your next login via Okta.
After clicking the application, select SecureAuth factor as a new security factor.
In the following example, click Set up for SecureAuth Factor.
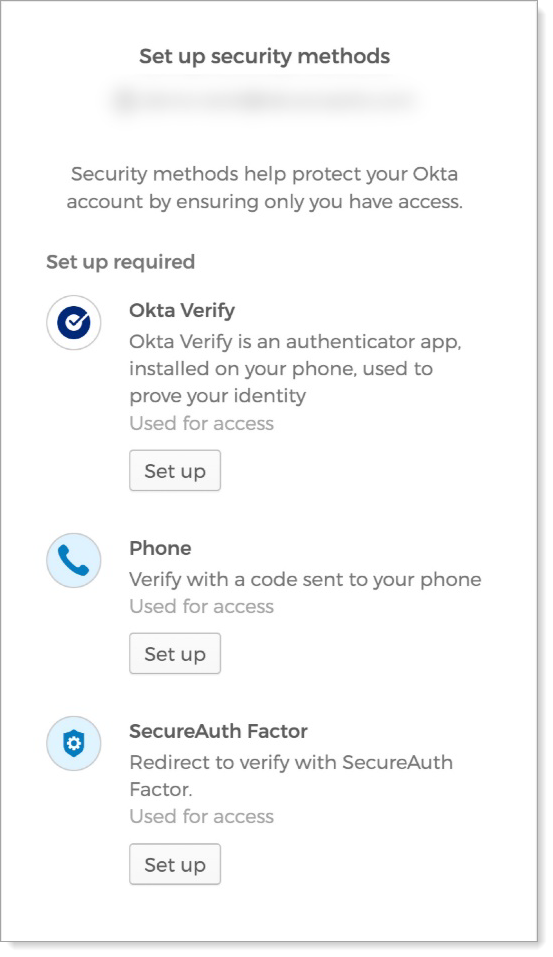
The enroll screen appears.
Click Enroll.
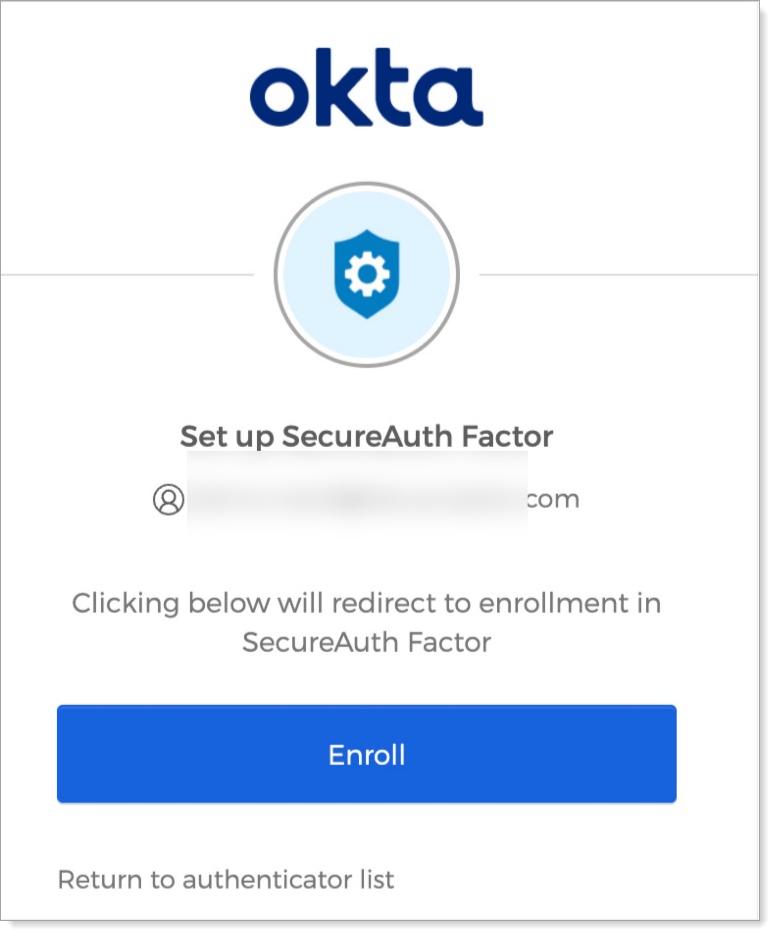
Select the SecureAuth IdP factor and you are redirected to a QR pairing page.
Download the Arculix Mobile app from Google Play or Apple App Store.
Open the Arculix Mobile app on your device and scan the displayed QR code.
After scanning the QR code, it pairs your device.
On subsequent authentication attempts, confirm the IdP factor MFA and redirected to select the MFA option by Okta.
On approval of MFA, the user is then redirected to the required application.

Support
If you have questions or need assistance, contact SecureAuth Support.
Sales
Want to learn more about our MFA solutions? Contact our Professional Services for a demo today.
Disclaimer
All product names, trademarks, and registered trademarks are the property of their respective owners.
All company, product, and service names used in this document are for identification purposes only. The use of these names, trademarks, and brands do not constitute an endorsement by the SecureAuth Corporation.