Cisco Meraki VPN SAML integration
Multi-Factor Authentication (MFA) is an extra layer of security used when logging into websites or apps. Individuals are authenticated through more than one required security and validation procedure that only they know or have access to.
Security Assertion Markup Language (SAML) is a protocol for authenticating to web applications. SAML allows federated apps and organizations to communicate and trust one another’s users.
SecureAuth, as a SAML provider, improves the user login experience for Cisco VPN users with intelligent and convenient MFA.
Prerequisites
Configured Arculix instance and user account with administrative privileges for Arculix.
Configured Arculix LDAP Agent.
For more information, see the LDAP Agent deployment guide.
User account with administrative access for Cisco Meraki.
SAML authentication requires Cisco Meraki with MX firmware version 16.13+ or 17.5+.
Users need AnyConnect VPN client version 4.8 or higher on either Windows, macOS, Linux, or mobile devices to terminate remote access connections successfully.
For more information, refer to the AnyConnect configuration guide.
Cisco Meraki configuration
In this section, you'll configure Cisco Meraki as a service provider (SP).
Download the SAML metadata and certificate for your organization from Arculix.
Metadata download:
https://sso.acceptto.com/<myorganization>/saml/download/metadataView metadata:
https://sso.acceptto.com/<myorganization>/saml/metadataCertificate download:
https://sso.acceptto.com/<myorganization>/saml/download/certLog in to Cisco Meraki as an administrator.
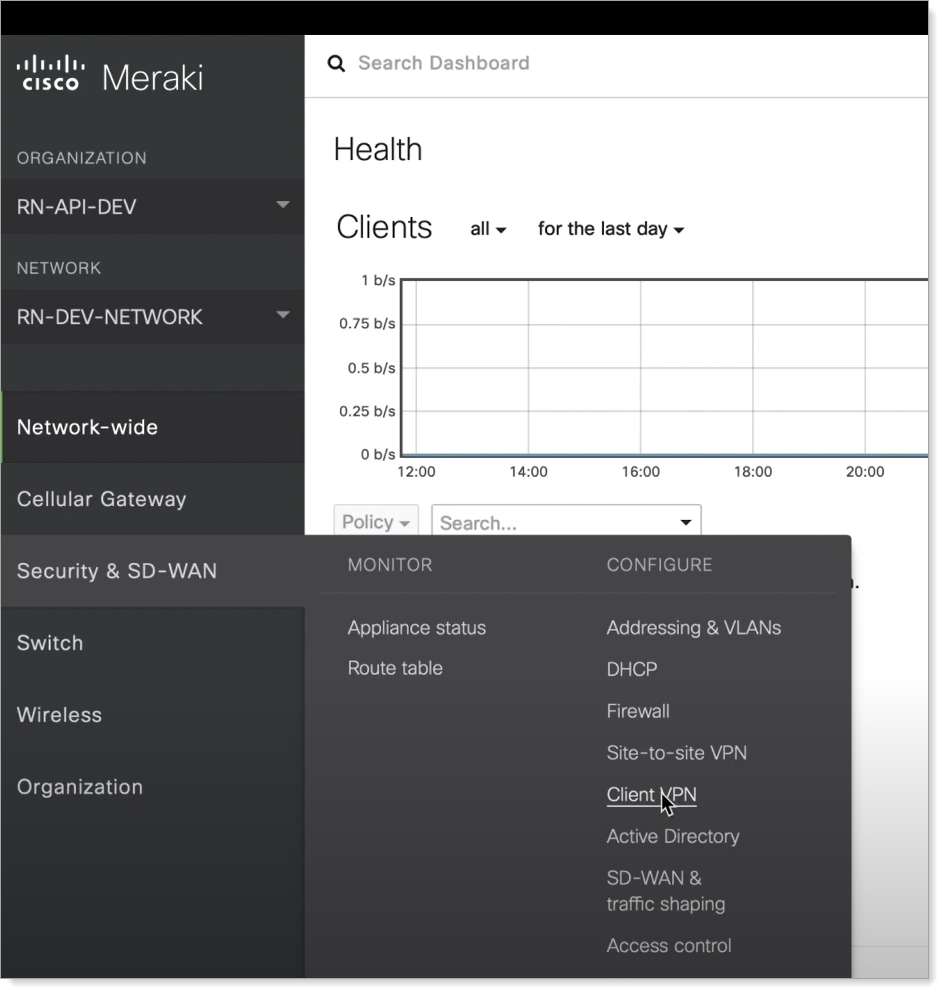
Navigate to Security & SD-WAN > CONFIGURE and click Client VPN.
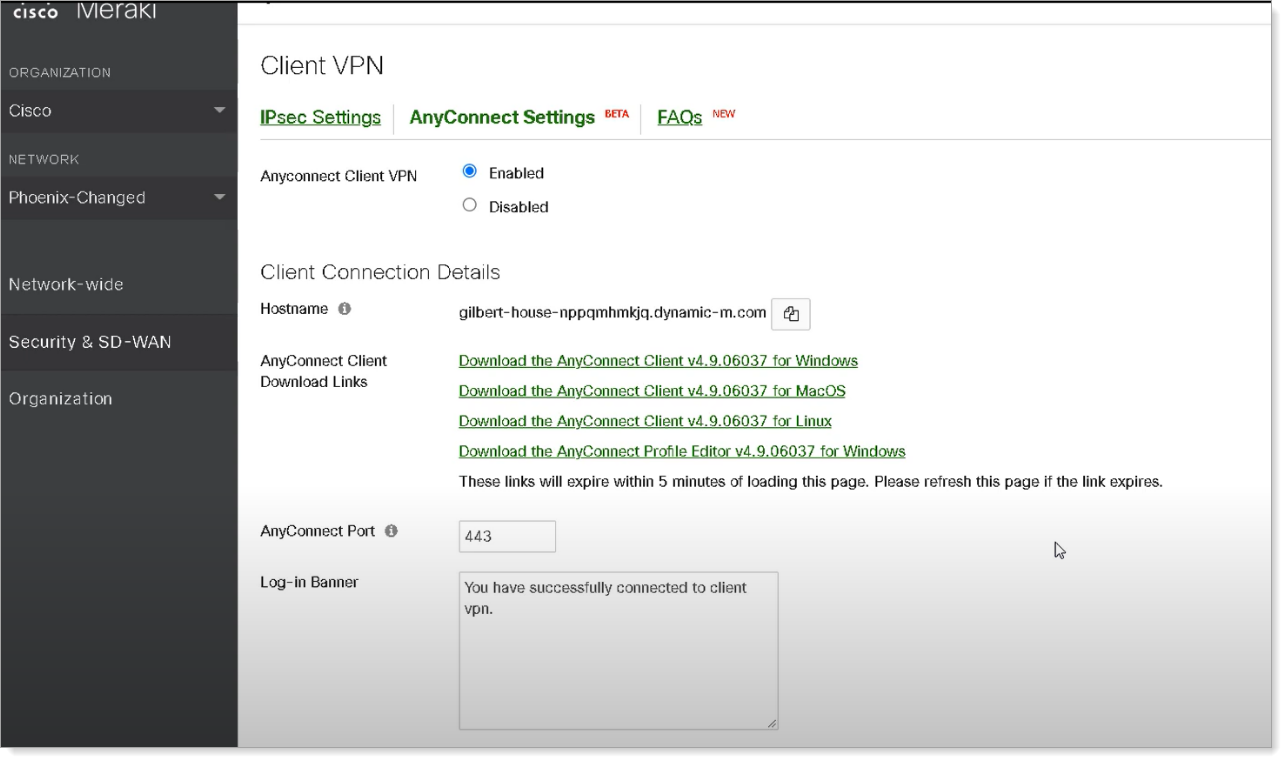
On the AnyConnect Settings page, for AnyConnect Client VPN, select the Enabled option.
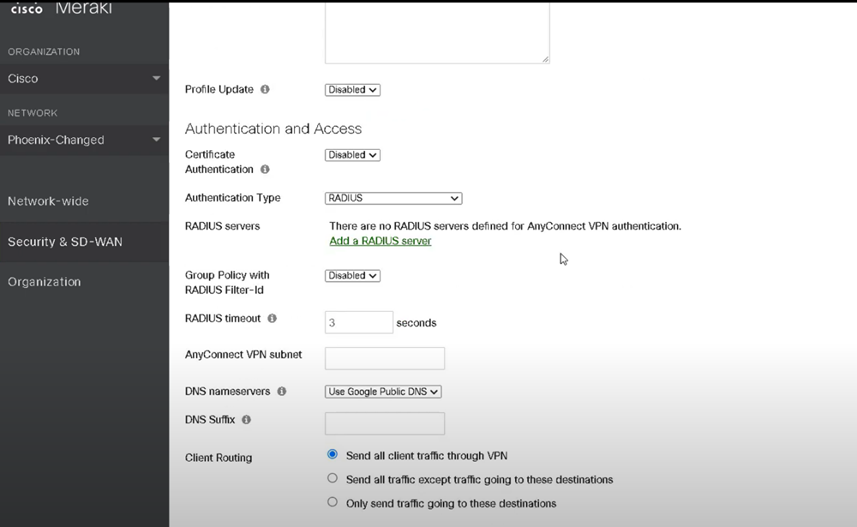
Scroll down and change the Authentication Type to SAML.
Enter the AnyConnect Server URL.
For example:
https://Merakivpn.example.com.Add
:portto the end of the URL if using a port other than the default port443.Make sure the AnyConnect URL starts with
https://.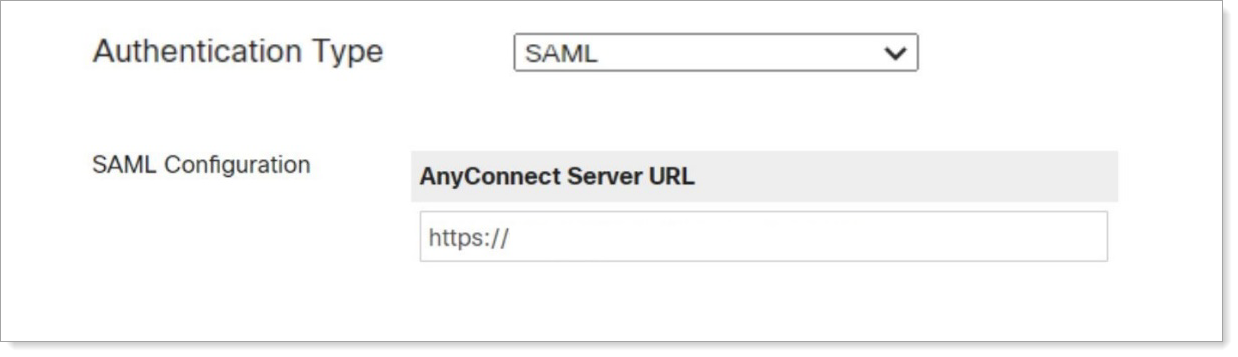
Click Choose File to upload the Arculix metadata that was downloaded earlier.

Save your configuration.
Arculix SAML Configuration as Identity Provider (IdP)
In this section, you'll add an application for Cisco Meraki VPN and set the SAML configuration settings. This will define the Identity Provider (IdP) side of the configuration.
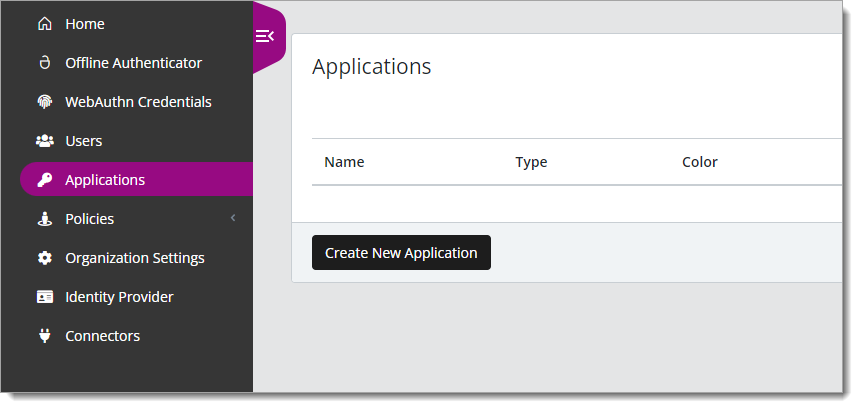
Log in to Arculix with an administrative account and go to Applications.
Click Create New Application.
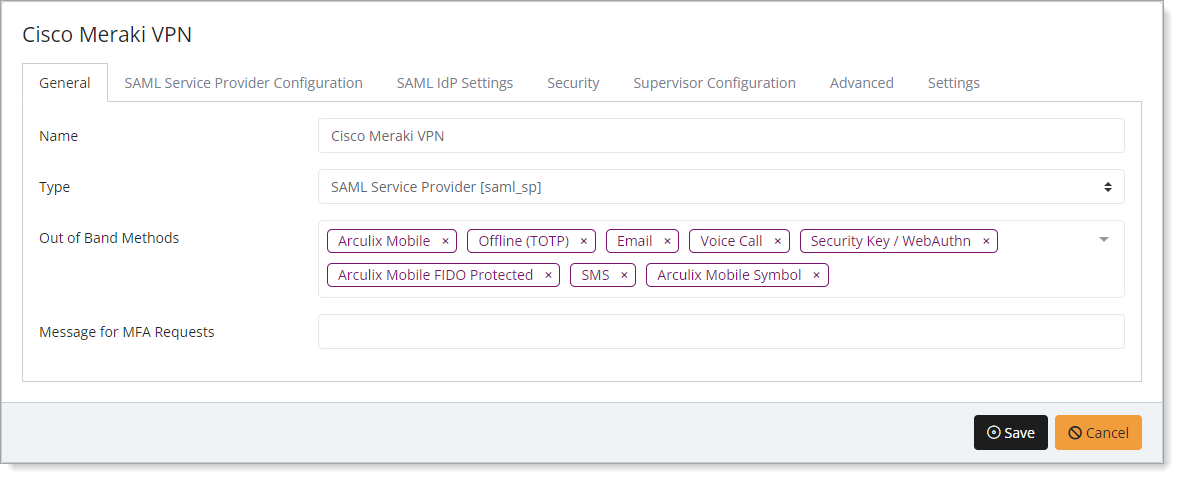
In the New Application form, on the General tab, set the following configurations:
Name
Set the name of the application. This is the name to display for push notifications, in the Admin panel, Application portal, and audit logs.
For example, Cisco Meraki VPN.
Type
Set to SAML Service Provider.
Out of Band Methods
Select the allowed methods end users can choose to approve MFA requests.
For example, Arculix Mobile app (push notifications), SMS, or Security Key.
Message for MFA Requests
Optional. Type a message displayed to end users when sending an MFA request via push notification, SMS, or email.
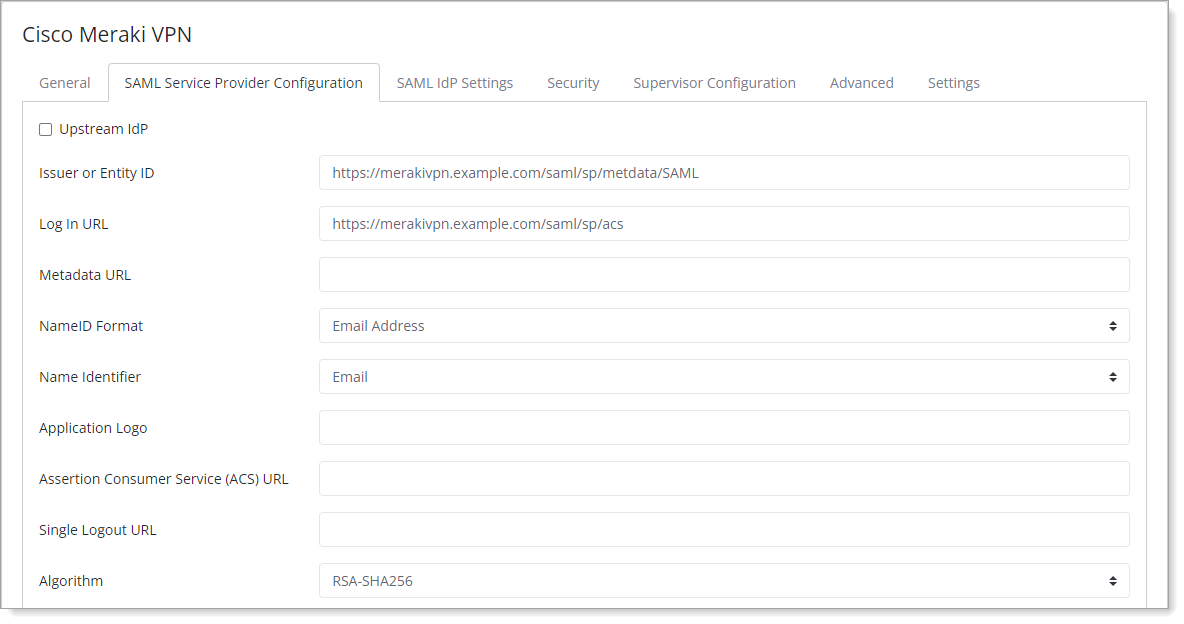
Select the SAML Service Provider Configuration tab, and set the following configurations:
Issuer or Entity ID
Enter the AnyConnect Server URL.
For example,
https://merakivpn.example.com/saml/sp/metadata/SAMLLog in URL
Enter the AnyConnect server URL.
For example,
https://merakivpn.example.com/saml/sp/acsNameID Format
Set to Email Address.
Name Identifier
Set to Email.
Save your changes.
Test your application integration
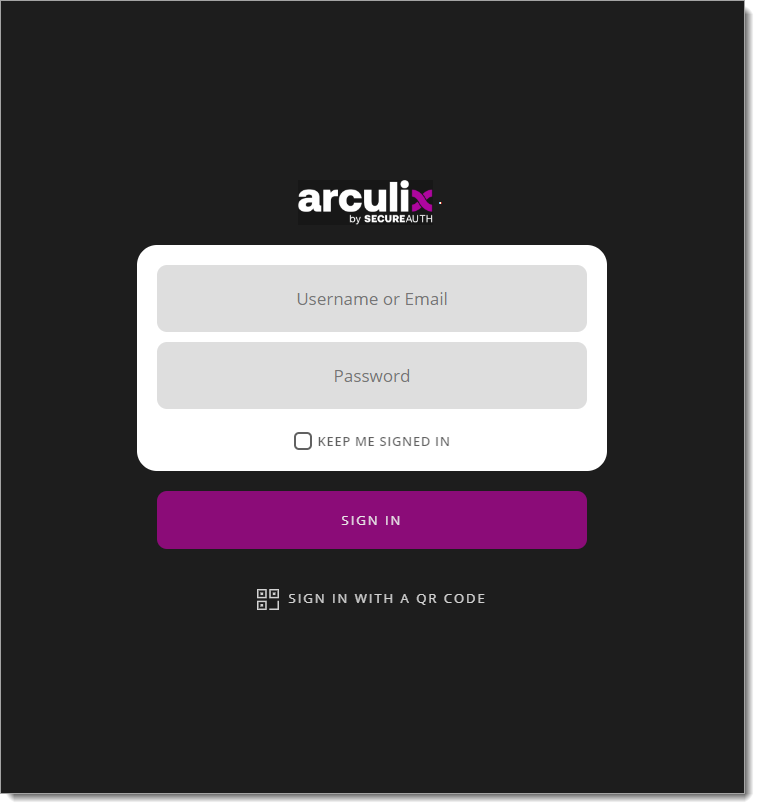
Enter your Cisco VPN URL (for example,
Merakivpn.example.com) on the Cisco AnyConnect client and click Connect.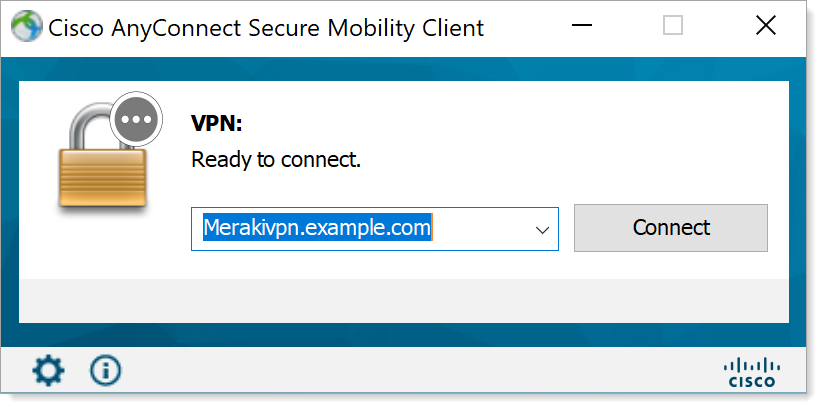
You will be redirected to the Arculix SSO page.
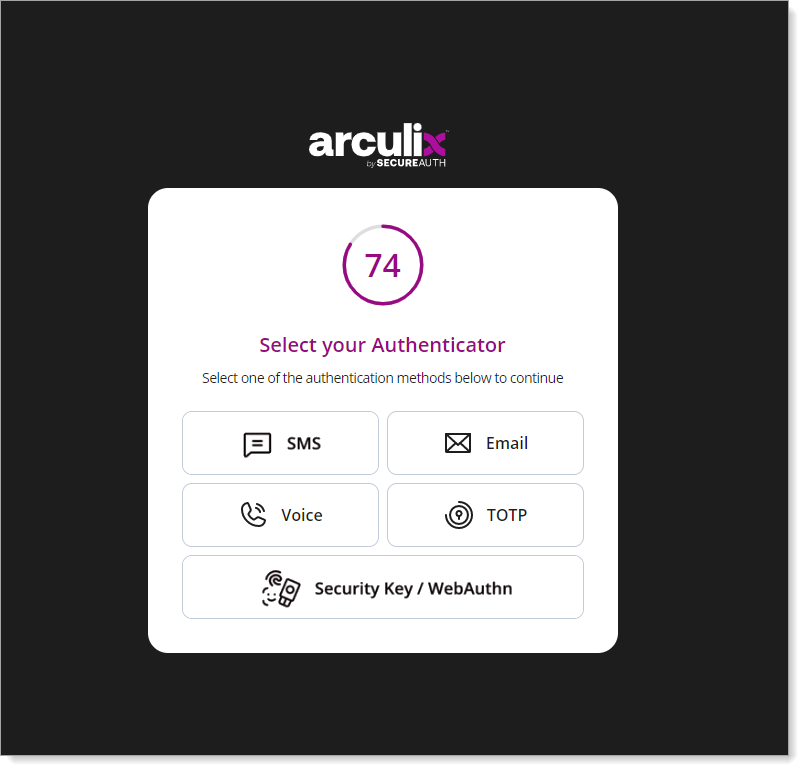
After successful authentication, select your preferred MFA method to approve access to the VPN.
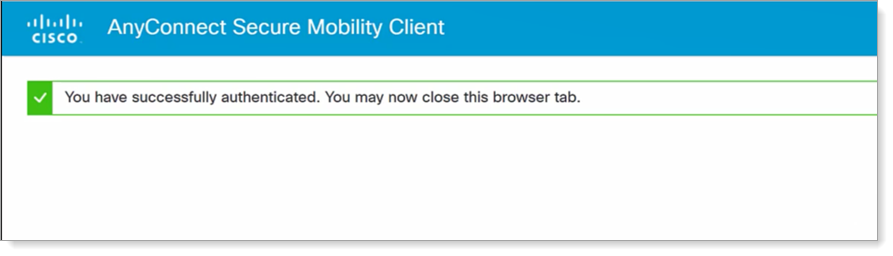
Your VPN connection is established successfully and you can close your browser.
Support
If you have questions or need assistance, contact SecureAuth Support.
Sales
Want to learn more about our MFA solutions? Contact our Professional Services for a demo today.
Disclaimer
All product names, trademarks, and registered trademarks are the property of their respective owners.
All company, product, and service names used in this document are for identification purposes only. The use of these names, trademarks, and brands do not constitute an endorsement by the SecureAuth Corporation.