Arculix PAM for Linux
You can integrate Multi-Factor Authentication (MFA) and other elements of the SecureAuth Arculix system with Linux through the Arculix pluggable authentication module (PAM). It's easy to deploy, customizable, and secure.
Prerequisites
Configured Arculix instance and user account with administrative privileges for Arculix.
Supported Linux operating systems:
Red Hat Enterprise Linux (RHEL) 8.0+
This includes downstream distributions, such as Rocky Linux 8+
Debian 11+
Ubuntu 20.04+
Note
The PAM module supports amd64 (x86-64) and arm64 (aarch64) architectures for each supported operating system.
Security-Enhanced Linux considerations
If you are running Security-Enhanced Linux (SELinux), please note the following:
The Arculix PAM communicates with SecureAuth servers over HTTPS. On systems with SELinux enabled and in enforcing mode, the SELinux policy must allow service processes like sshd to make HTTPS requests.
When installing the PAM module's RPM package on Red Hat Enterprise Linux or downstream distributions, like Rocky Linux, the
pam_arculix-selinuxpackage is included to add SELinux rules that enable communication with SecureAuth for services like sshd or login. Services like su and sudo don’t require additional policies, but for other services running with SELinux enforced, you may need to manually add policies to allow network access.
Add Linux application in Arculix
Add an application in Arculix for Linux.
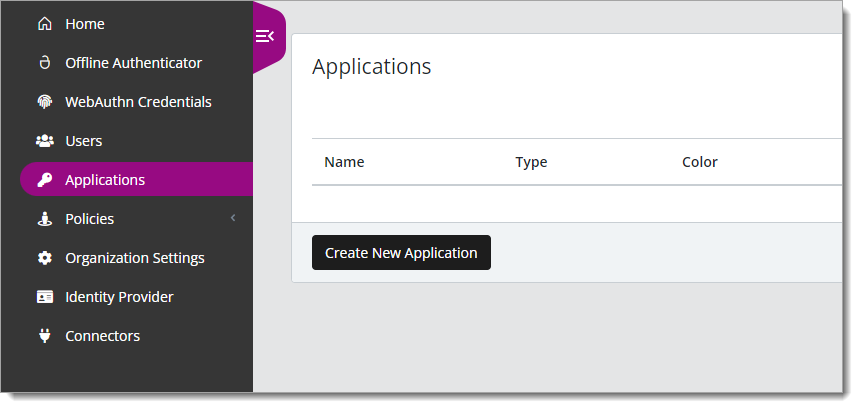
Log in to Arculix with an administrative account and go to Applications.
Click Create New Application.
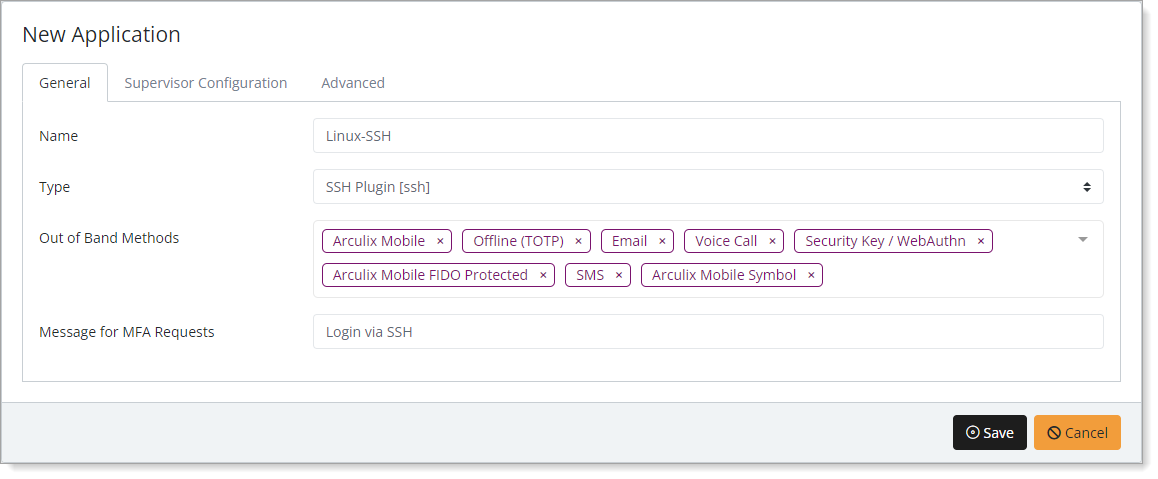
In the New Application form, on the General tab, set the following configurations:
Name
Set the name of the application. This is the name to display for push notifications, in the Admin panel, Application portal, and audit logs.
For example, Linux-SSH.
Type
Set to SSH Plugin [ssh].
Out of Band Methods
Select the allowed methods end users can choose to approve MFA requests.
For example, Arculix Mobile app (push notifications), SMS, or Security Key.
Message for MFA Requests
Optional. Type a message displayed to end users when sending an MFA request via push notification, SMS, or email.
Save your changes.
Open the Linux application again and go to the Advanced tab.
Copy the UID and Secret.
You will need these values to configure the Arculix PAM for Linux.
Important
Treat your UID and Secret code like any sensitive credential. Do not share this with unauthorized individuals or send it in an email.
Install Arculix PAM for Linux
From the Arculix Download Center, download Arculix PAM for Linux specific to your Linux operating system.
Upload the module files to your Linux machine.
Install the package files specific to your Linux operating system.
Linux configuration
This section provides instructions for how to enable the Arculix PAM on your Linux machine for ssh, su, sudo, and console authentications.
To get started quickly, use the pam_arculix_configure tool for basic configuration.
For more configuration options, such as user mapping and setting a custom token URL, continue to Advanced configuration.
Basic configuration
Follow the steps below to run the pam_arculix_configure tool for basic configuration.
Run the Arculix configurator using the following command:
sudo pam_arculix_configure
Type 1 to insert the UID and Secret you obtained earlier when creating the Linux application in Arculix.
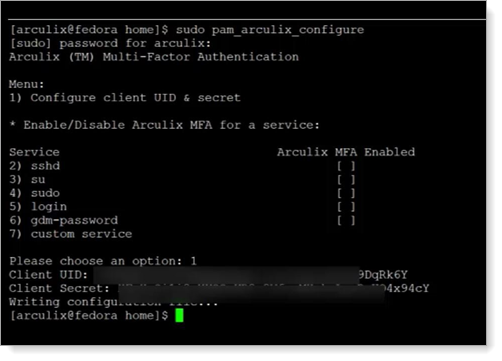
Re-run the Arculix configurator using the following command:
sudo pam_arculix_configure
Type the number of a service to which you want enable Arculix MFA. Repeat this for each service that you want to enable.
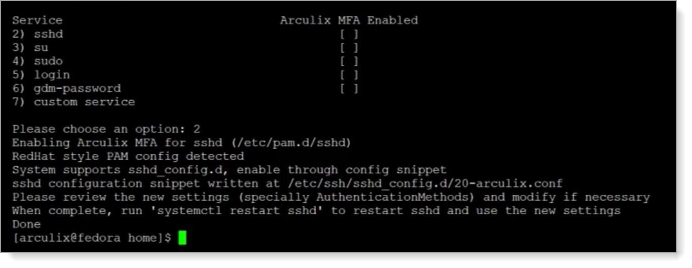
Type 2 to enable Arculix MFA for SSH
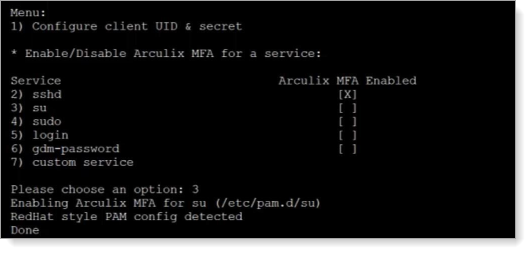
Type 3 to enable Arculix MFA for su
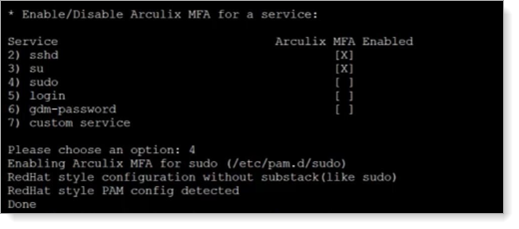
Type 4 to enable Arculix MFA for sudo
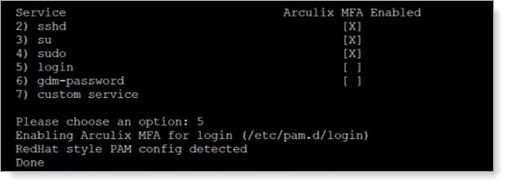
Type 5 to enable Arculix MFA for login
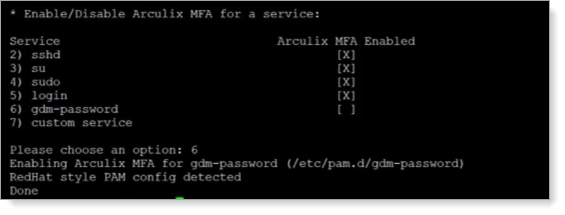
Type 6 to enable Arculix MFA for gdm-password
Note
The configurator does not automatically restart the SSH service to prevent any unwanted disconnections. You will need to apply the changes and restart the service in the next step.
Once you've made the changes, apply them to the SSH service using the following command:
sudo systemctl restart sshd
Advanced configuration
For advanced configuration options, edit the configuration file located in /etc/arculix/arculix_pam.conf
The file is divided into sections, with each section labeled in square brackets. The only required options are uid and secret.
Example configuration:
[arculix]
uid = <SecureAuth application uid>
secret = <SecureAuth application secret>
poll_interval_secs = 5

[arculix.user_mapping]
use_comment_field = true
comment_field_number = 2
comment_field_separator = ,

[arculix.oauth]
token_url = https://oidc.acceptto.com/tenant_name/oauth2/v1/token
cache_enable = false
[arculix]
The [arculix] section provides the necessary credentials for authenticating the module with the SecureAuth Arculix service. The following configuration options are available:
uid | The UID of the application configured in Arculix. |
secret | The secret of the application configured in Arculix. |
poll_interval_secs | The interval (in seconds) the module waits while checking Arculix for the user's approval or rejection of authentication. The minimum setting is |
[arculix.user_mapping]
By default, the module assumes the user's Linux username matches their SecureAuth username. If they differ, administrators can include the SecureAuth username in the Linux comment field, which the module will use for authentication.
Use the following configuration options to enable this feature:
use_comment_field | When set to The default value is |
comment_field_number | The number indicating which sub field of the comment field should be used. The default is |
comment_field_separator | The character used to delimit the comment field into sub fields. The default is |
[arculix.oauth]
When making API calls to our service, the module acquires an OAuth token from an OAuth authorization server and uses it to authenticate to our service.
Use the following configuration options to set a custom token URL and enable token caching:
token_url | The URL where Arculix will acquire the token. The token URL may point to SecureAuth's OIDC service, or any other OAuth authorization server you have provisioned. |
cache_enable | Enables the PAM to cache acquired tokens for reuse until expiration. The default is |
Test your setup
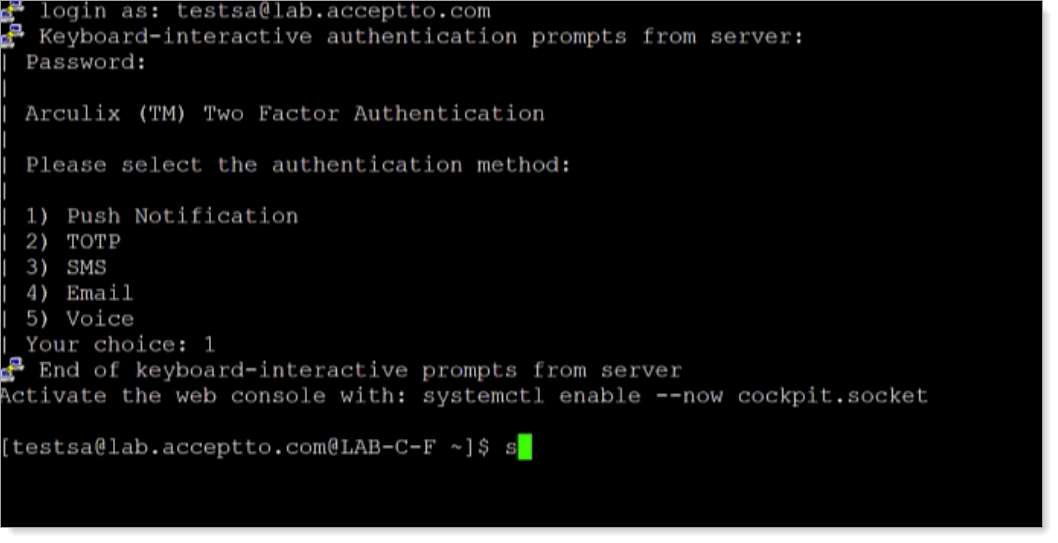
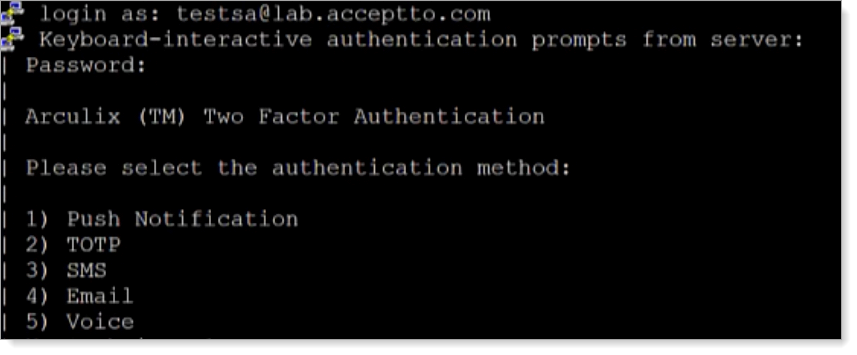
Connect to your Linux machine via the console or SSH, or try to use su or sudo commands on your Linux box.
After successful authentication, it prompts you to select your preferred Arculix MFA method.
Approve the authentication request in Arculix Mobile.
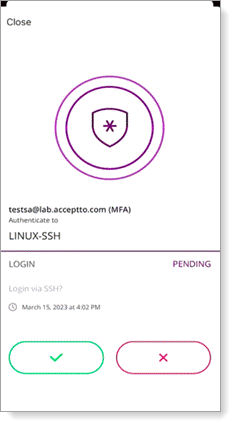
You are now authenticated in Linux.
