Add an Application - New and Classic Web Admin
Application Manager
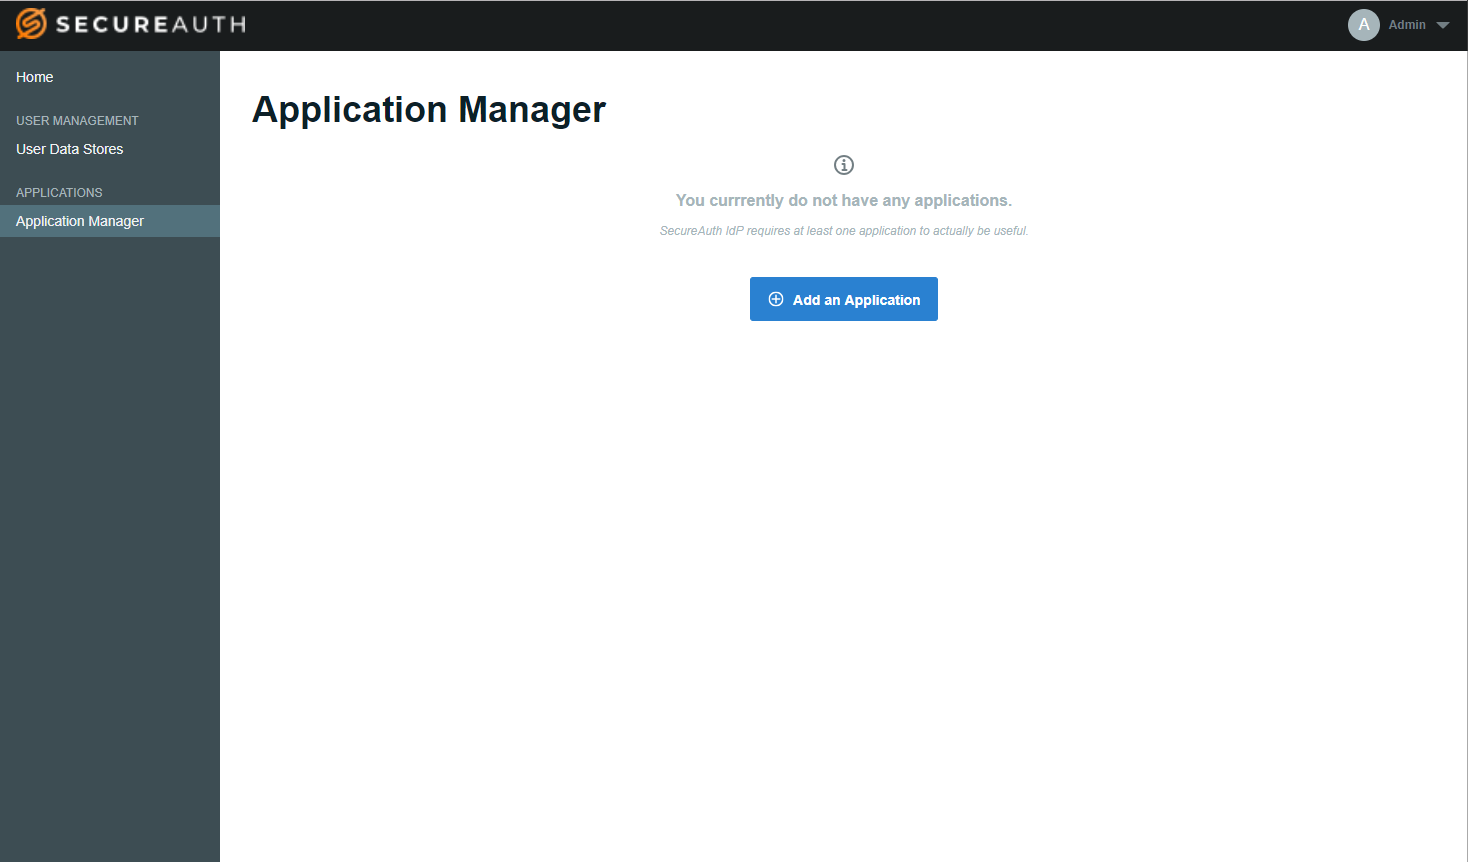
Once you have at least one data store added on the New Experience, click Add an Application to integrate an app with SecureAuth IdP.
 |
Make a selection from the application template library to start creating your app. The generic SAML Application template is used in this example.
 |
NOTE: Prior to SecureAuth IdP version 9.3, the Web Admin was organized by realms you created. These realms contained applications you integrated with SecureAuth IdP, and included the configuration made on the following Web Admin tabs: Overview, Data, Workflow, Adaptive Authentication, Multi-Factor Methods, Post Authentication, API, Logs, and System Info.
In the New Experience, you configure equivalent portions of the Overview and Post Authentication tabs when adding an application to your Application Manager library.
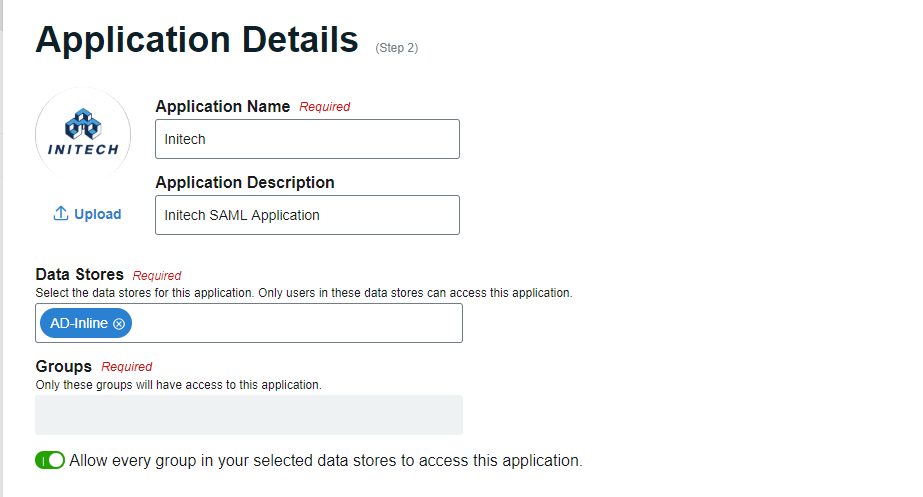
Application Details
Identify this application
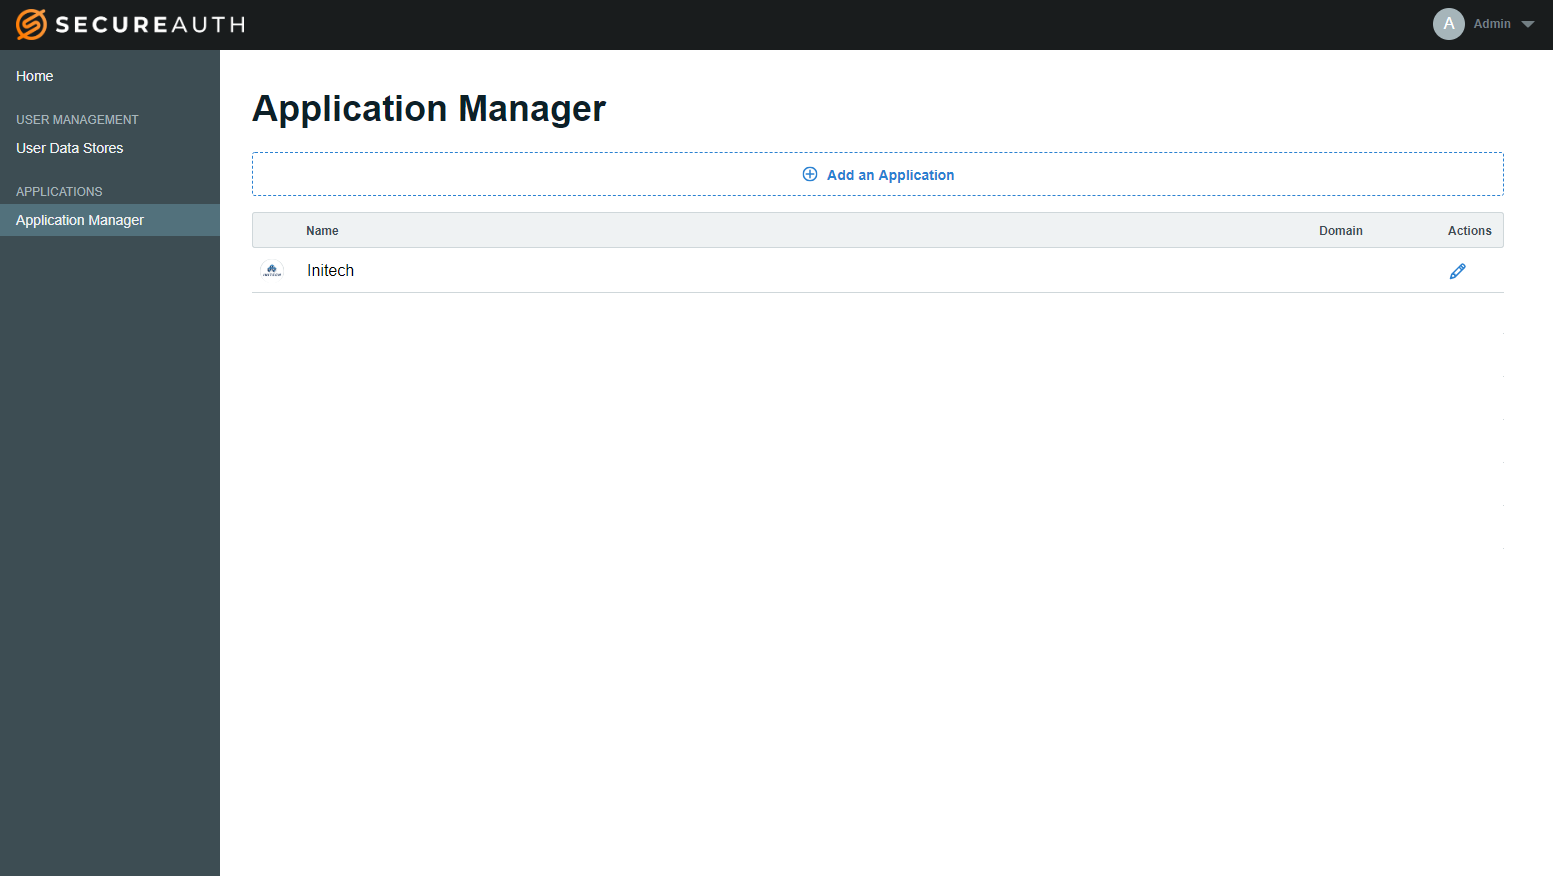
Create the Application Name to be used to access the application in the Application Manager list – "Initech" in this example.
The Application Name appears in the Application Manager list.
The Application Name also appears in the title on the browser tab of the application login page.

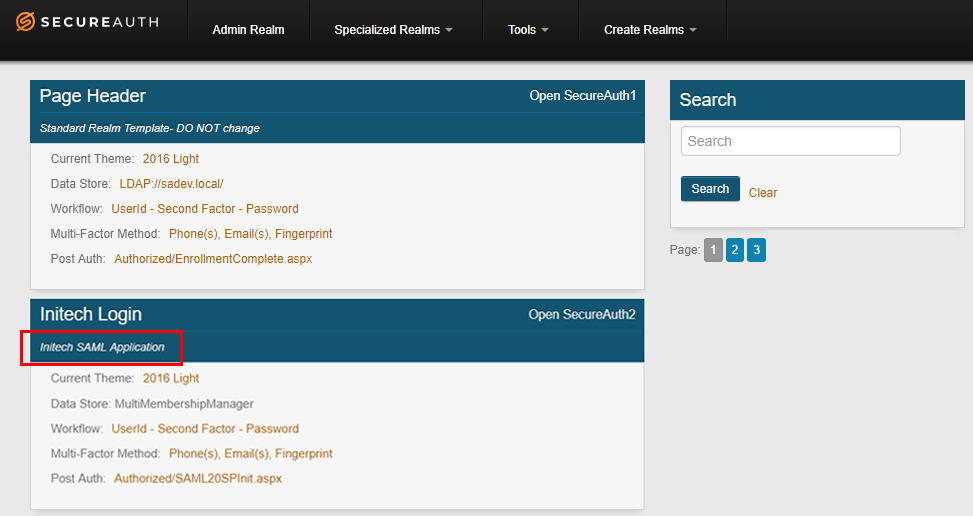
Provide the Application Description – "Initech SAML Application" in this example.
The Application Description appears beneath the Application Name ("Initech" in this example) on the Summary page.
The Application Description appears beneath the "Page Header" of the realm tile on the Web Admin home page.
The Application Description also appears beneath the "Page Header" name in the realm list on the Web Admin realm page.
Upload a logo.
Identify which data stores and user groups can access this application
Begin typing the Data Store name, and then select the data store when it appears in the list.
Repeat this step to add all Data Stores to be associated with this application.
Enter the name of each group to be given access to this application, or toggle the switch to enable access to all Groups.
 |
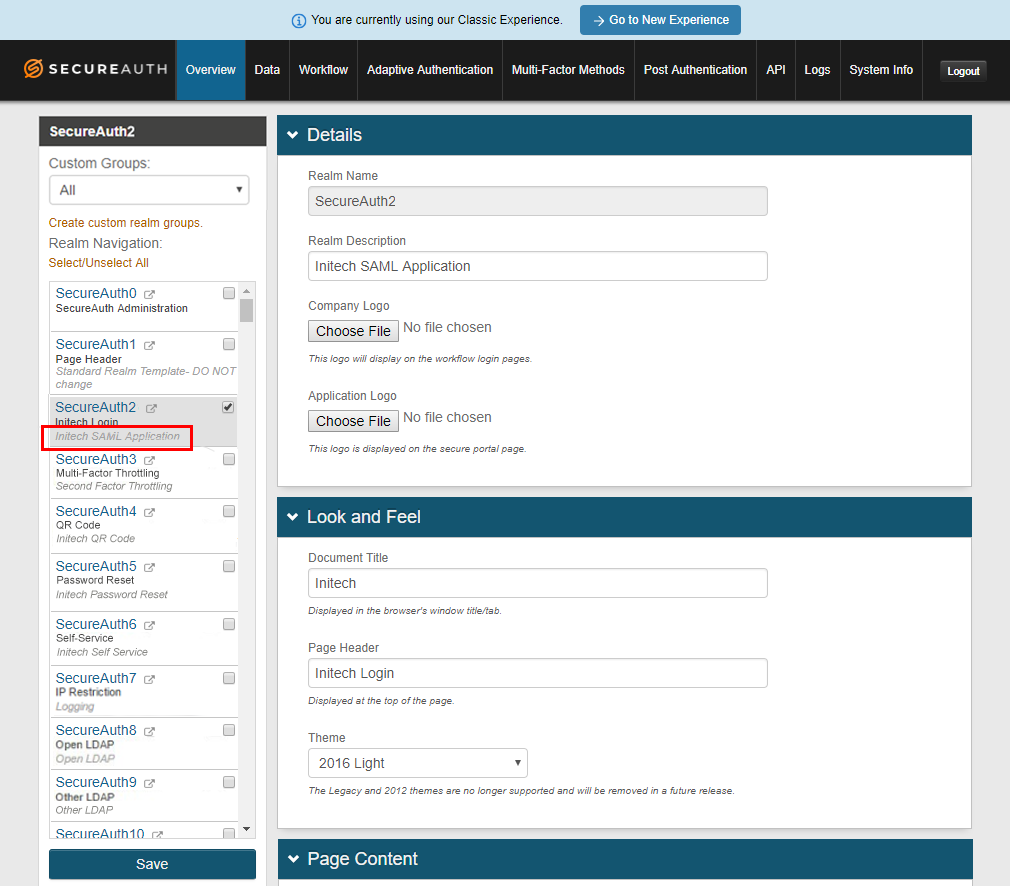
Document Title – Enter the Application Name.
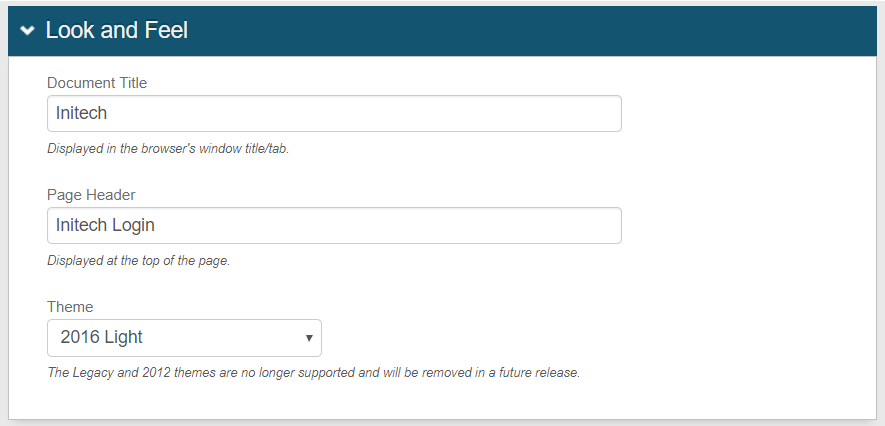 |
Page Header – This information is only entered on the Classic Experience and appears above the company logo on the login page.
 |
Realm Description – Enter the Application Description.
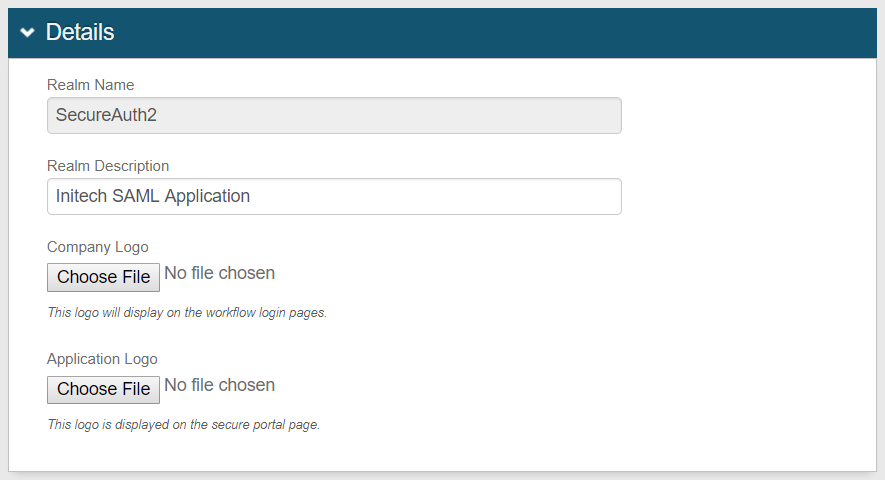 |
Company Logo – Upload a logo to be used in the Application Manager and on the login page.
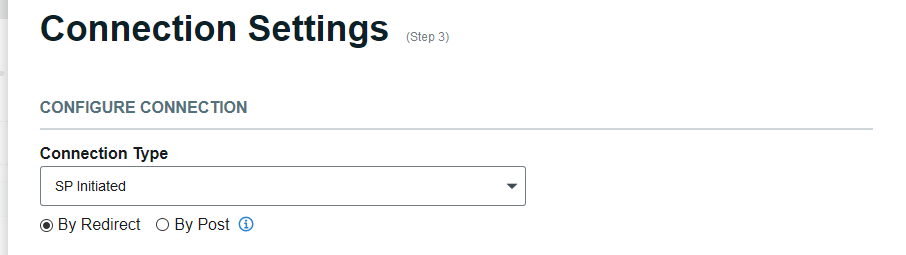
Connection Settings
Configure Connection
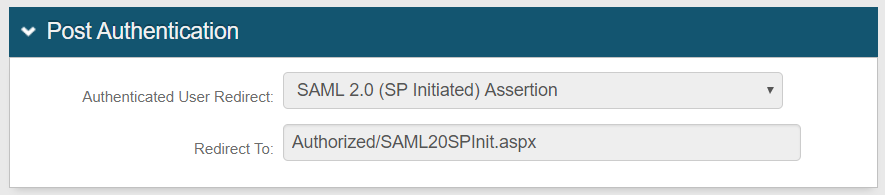
Select the Connection Type to specify how the service provider will send the authentication request to SecureAuth IdP – SP Initiated or IdP Initiated.
For SP Initiated, if required, specify if the connection should be made "By Redirect" (sending the authentication request with the related signature), or "By Post" (sending the authentication request with the signature embedded).
 |
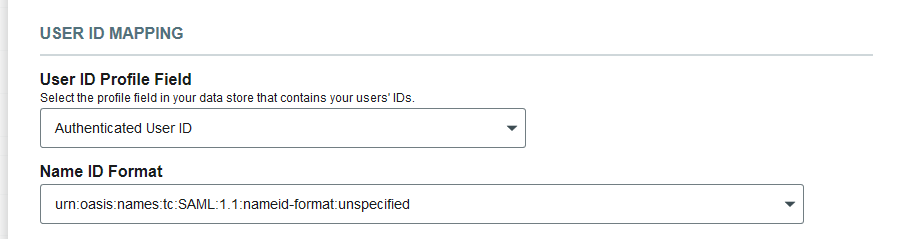
User ID Mapping
Select the User ID Profile Field that is mapped to the data store property containing the end-user's identification from the application.
Select the Name ID Format to use in the assertion when submitting the end-user's identity profile.
 |

Upload Metadata file (optional)
If you have a pre-configured metadata file, you can upload it by clicking Upload Metadata at the bottom right of the page.
The uploaded metadata file pre-populates fields on this page so you don't have to make individual entries. This functionality is new in SecureAuth IdP version 9.3 when using the generic SAML Application template.
 |
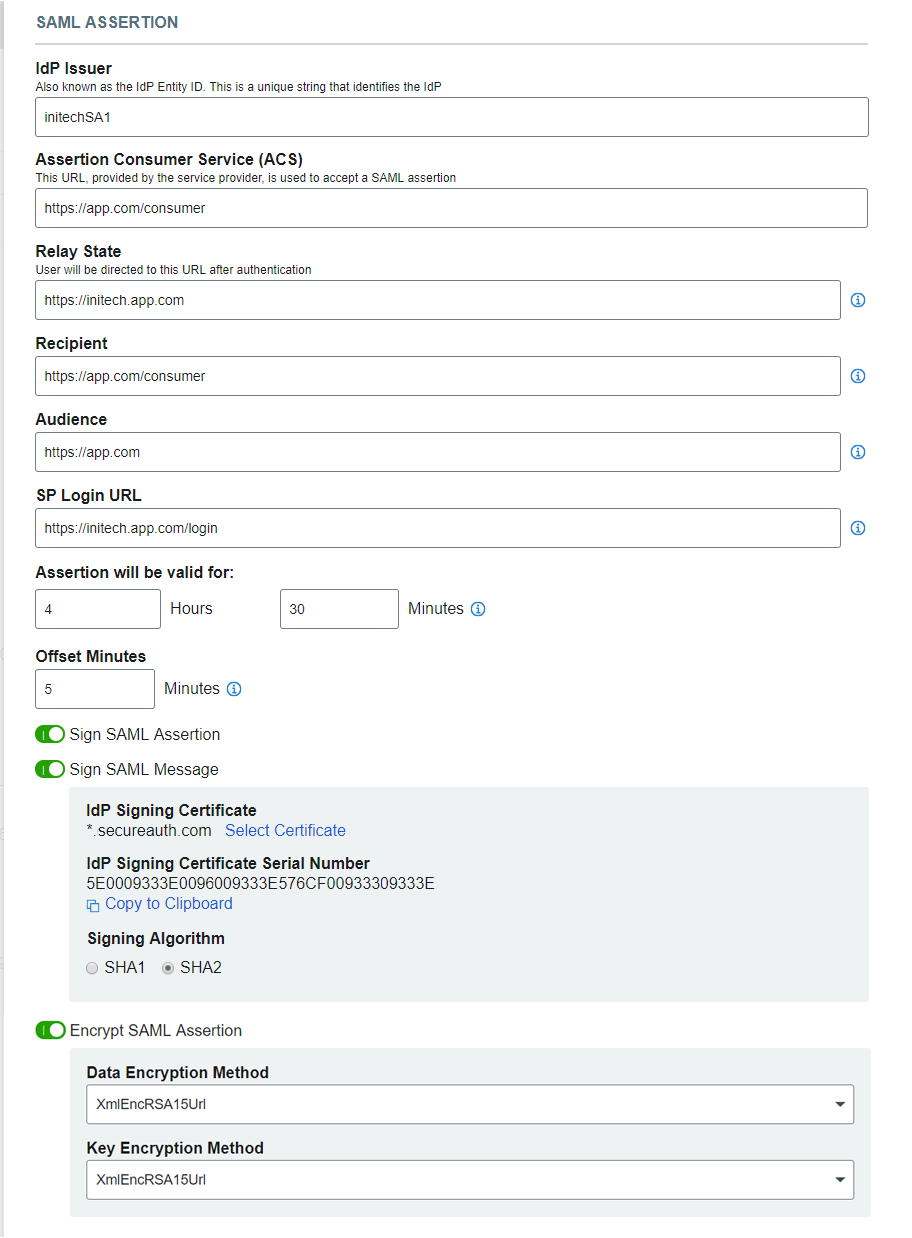
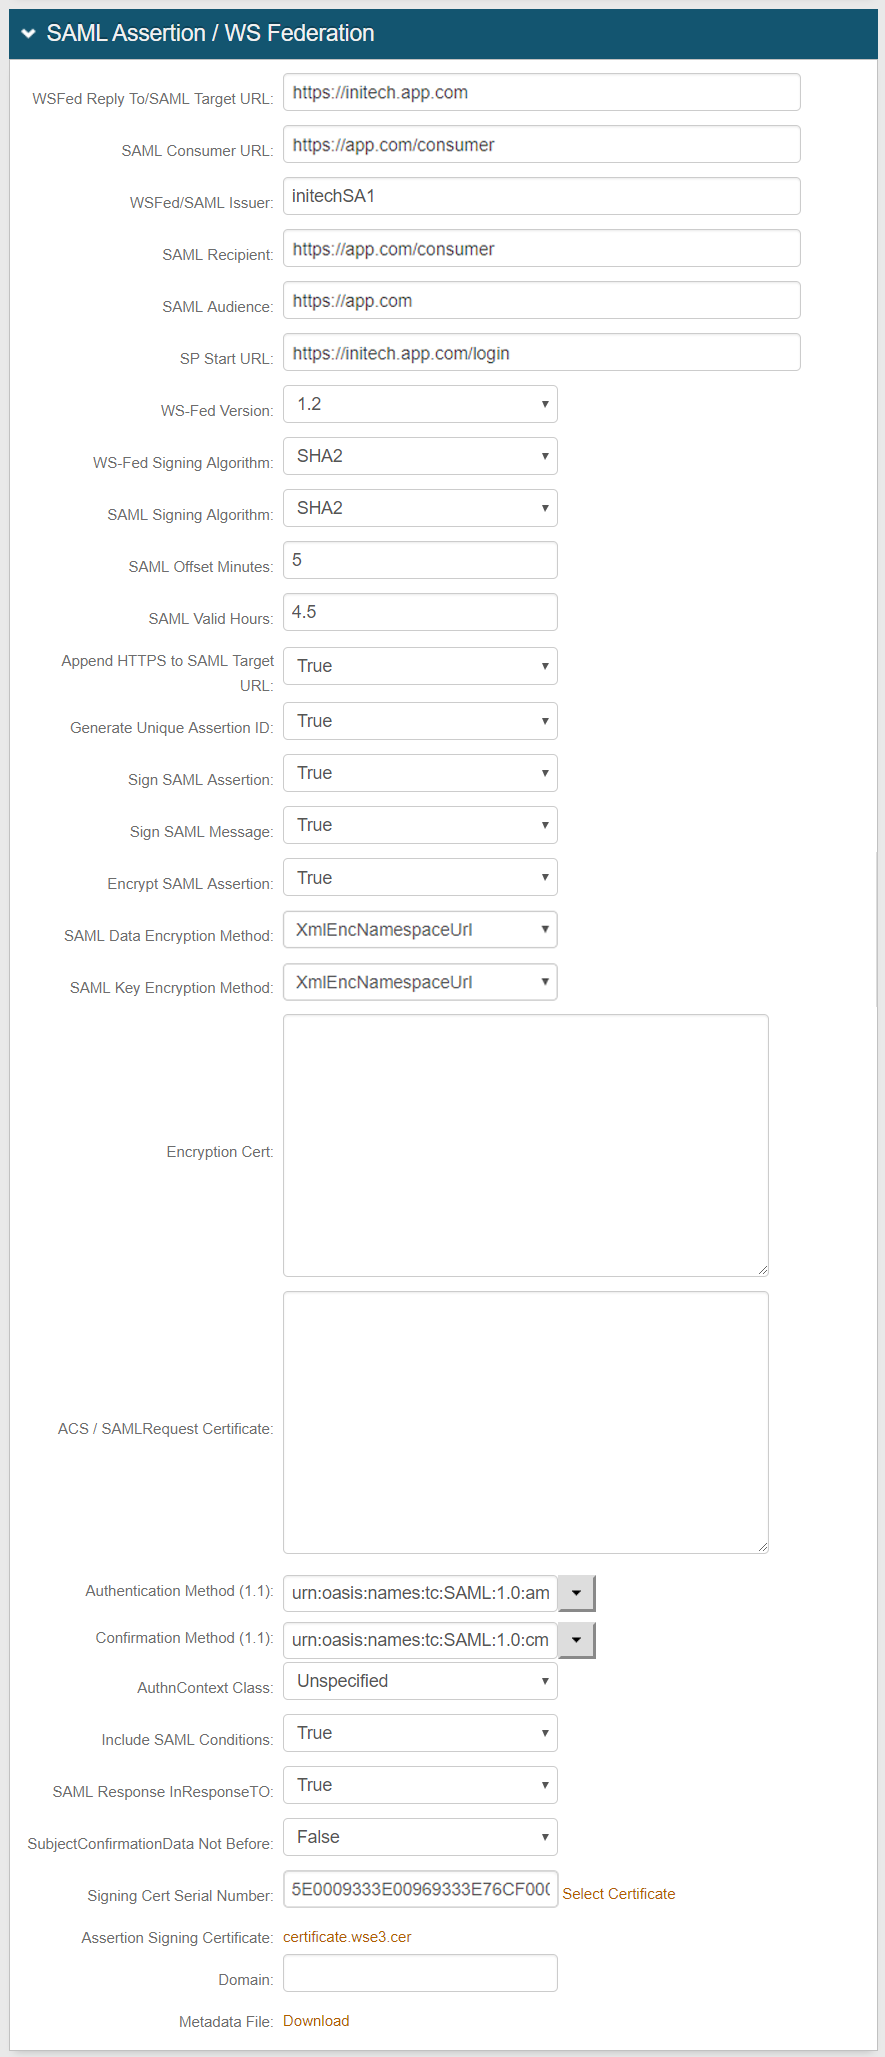
SAML Assertion
Set a unique name for the IdP Issuer – this will be shared with the service provider.
Make the following entries, if required:
Assertion Consumer Service (ACS) – Set this endpoint to the service provider URL so the application can accept the SAML assertion from SecureAuth IdP.
Relay State – Set this endpoint to the URL the end-user will use after being authenticated.
Recipient – Set this endpoint to the service provider URL so the application can identify SecureAuth IdP – this is usually the same entry as the ACS URL.
Audience – Set this endpoint to the base domain of the application – usually the service provider's entity ID.
SP Login URL –Set this endpoint to the application login.
Set the Hours and Minutes for which the Assertion will be valid – this should be at least one hour.
Configure the Offset Minutes to accommodate time differences between devices being used.
Enable these functions if required:
SAML Assertion and / or Sign SAML Message – Select a third-party certificate to sign the SAML assertion instead of using the default SecureAuth IdP certificate.
Encrypt SAML Assertion – Select the Data Encryption Method algorithm and the Key Encryption method (symmetric or asymmetric) from the dropdown.
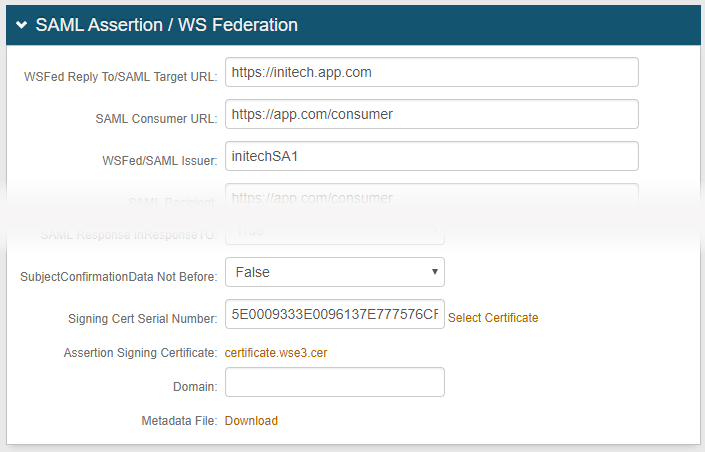
 |
SAML ASSERTION
Equivalent fields in Classic and New Experience user interfaces
Classic Experience
New Experience
WSFed Reply To / SAML Target URL
Relay State
SAML Consumer URL
Assertion Consumer Service (ACS)
WSFed / SAML Issuer
IdP Issuer
SAML Recipient
Recipient
SAML Audience
Audience
SP Start URL
SP Login URL
SAML Signing Algorithm
Signing Algorithm
SAML Offset Minutes
Offset Minutes
SAML Valid Hours
Hours, Minutes
Sign SAML Assertion – True / False
Sign SAML Assertion – toggle switch
Sign SAML Message – True / False
Sign SAML Message – toggle switch
Encrypt SAML Assertion – True / False
Encrypt SAML Assertion – toggle switch
SAML Data Encryption Method
Data Encryption Method – dropdown accessible if Encrypt SAML Assertion is enabled
SAML Key Encryption Method
Key Encryption Method – dropdown accessible if Encrypt SAML Assertion is enabled
Signing Cert Serial Number – Select Certificate link
IdP Signing Certificate Serial Number – accessible if Sign SAML Assertion / Sign SAML Message is enabled
Assertion Signing Certificate – certificate download link
IdP Signing Certificate – Select Certificate link – accessible if Sign SAML Assertion / Sign SAML Message is enabled
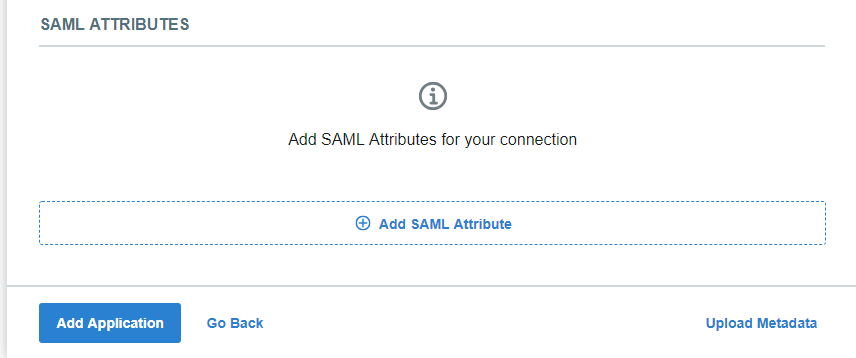
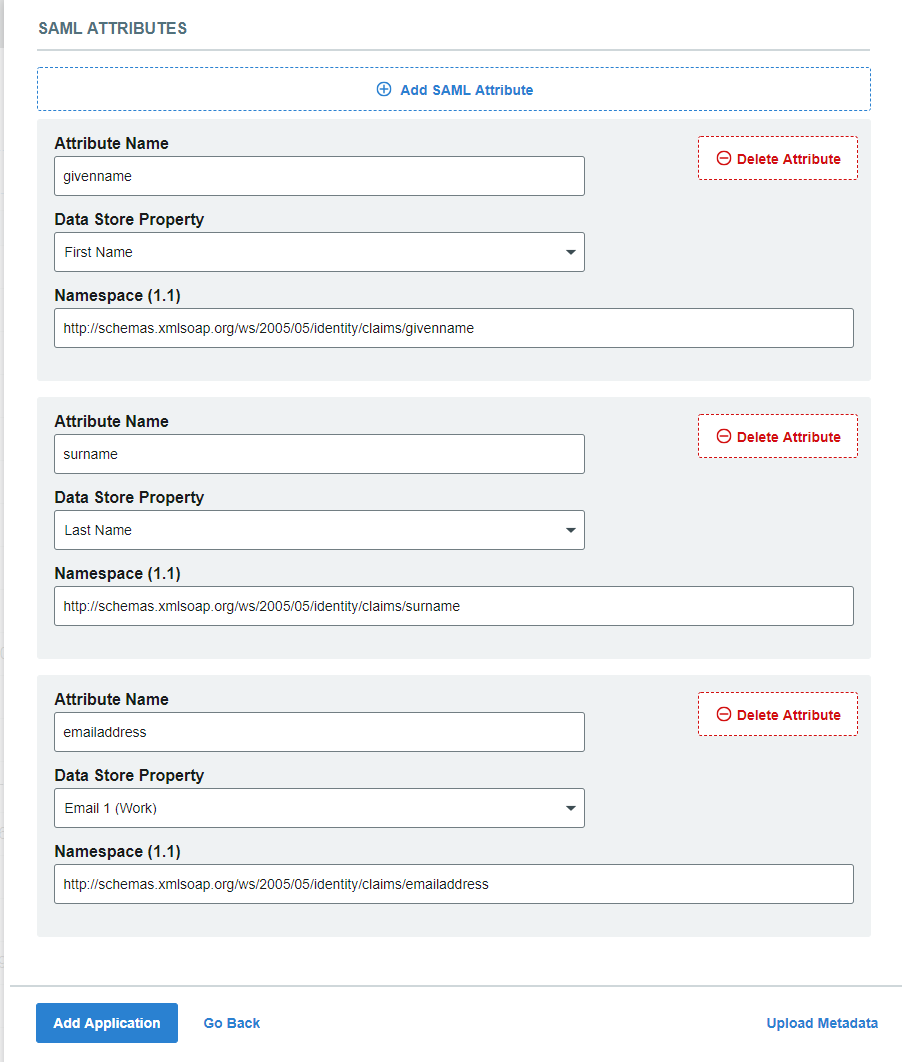
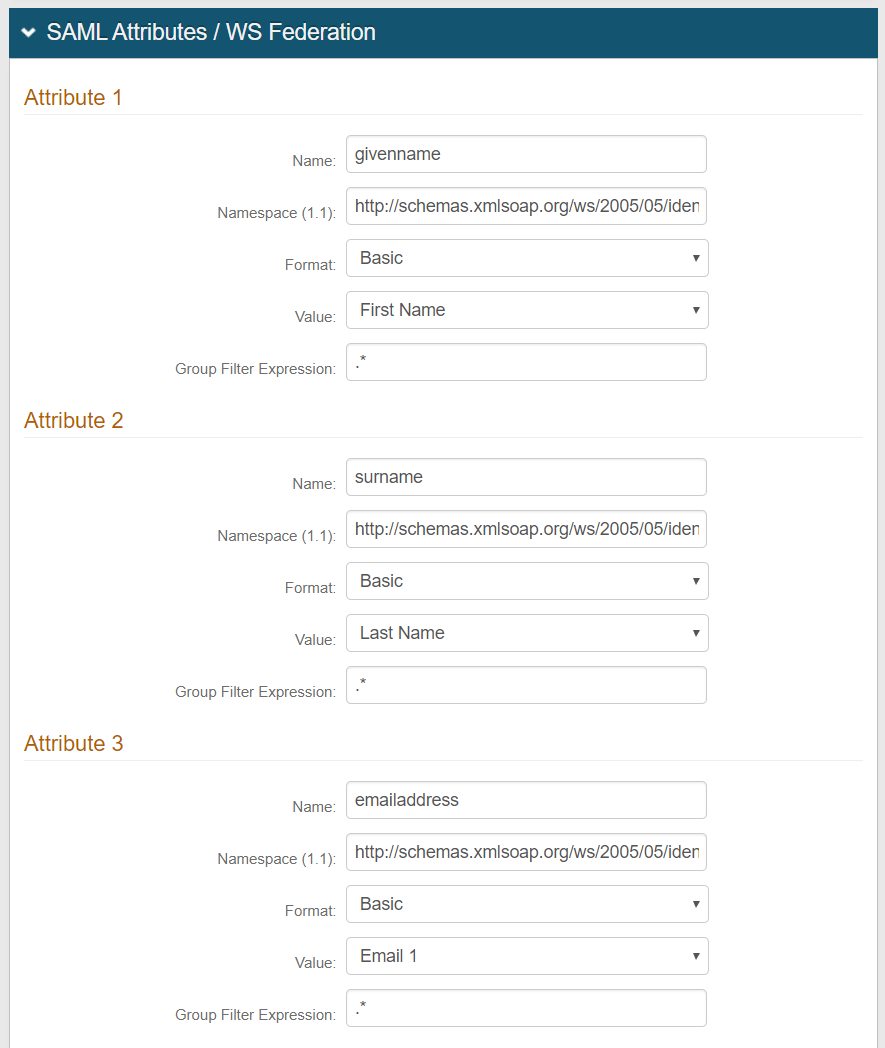
SAML Attributes
If additional information from the directory is required in the SAML assertion, click Add SAML Attribute and configure settings for:
Attribute Name – Enter the Name from the directory expected by the application.
Data Store Property – Select the Property to which the Attribute Name is mapped.
Namespace (1.1) – Enter the URL that will communicate to the application which attribute is being asserted.
 |
Save the configured application
Click Add Application to save the configuration.
In the Classic Experience, you click Save on each tab you configure on the Web Admin.
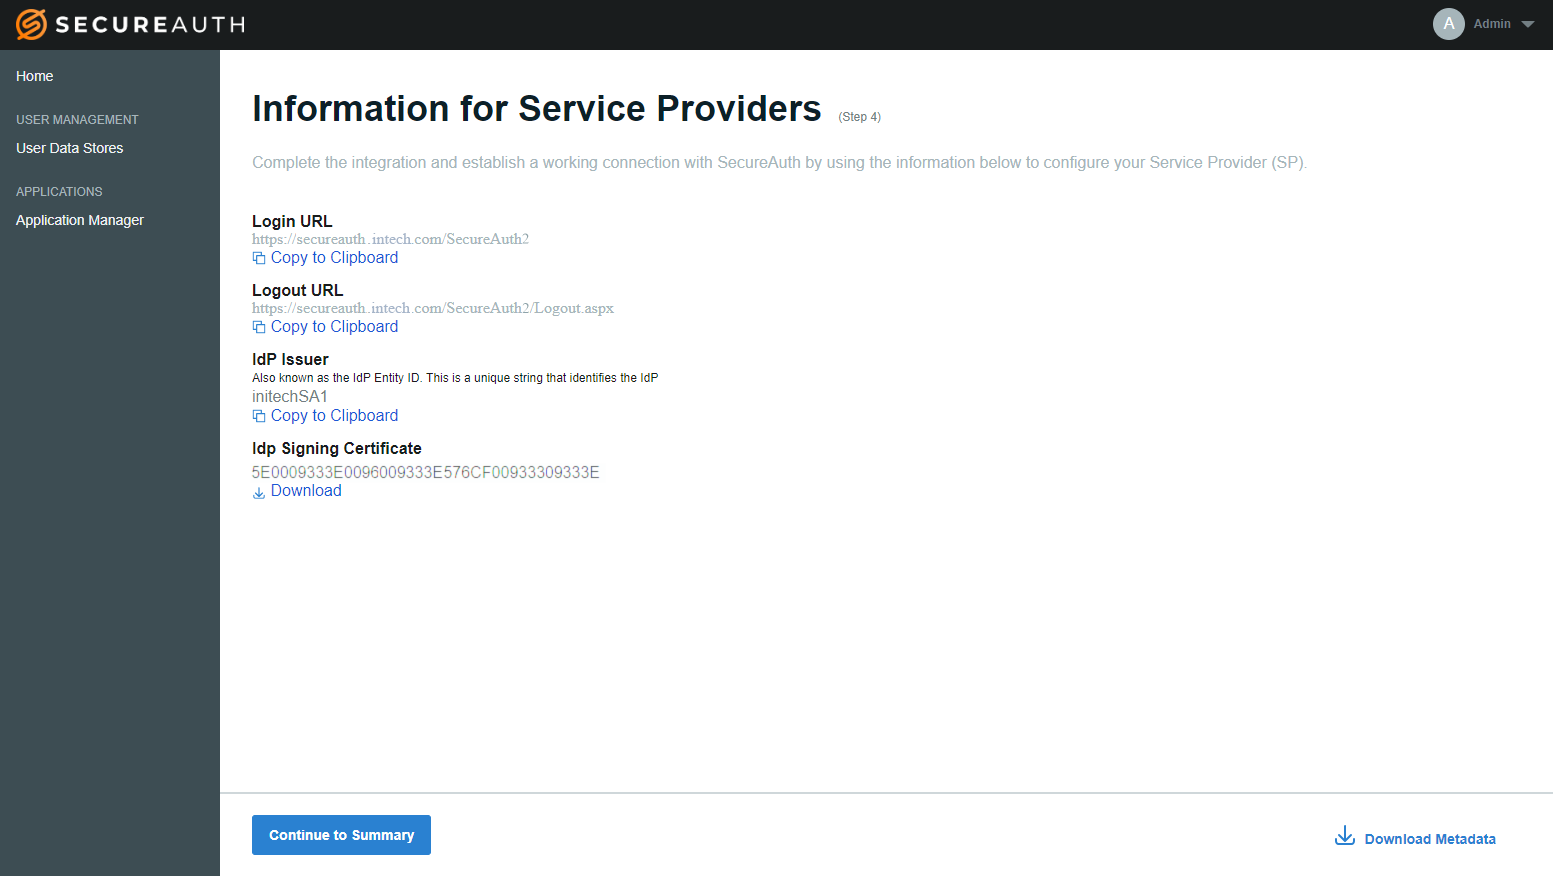
Information for Service Providers
You can copy and paste this information in the service provider user interface:
Login URL – Automatically created by SecureAuth IdP with the application realm number included.
Logout URL – Automatically created by SecureAuth IdP with the application realm number included.
IdP Issuer – Name you entered in the New Experience user interface.
If you specified an IdP Signing Certificate, you can click the link to Download it.
 |
Download Metadata File
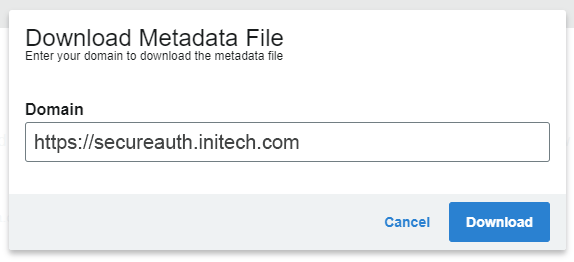
Click Download Metadata at the bottom right of the Information for Service Providers page.
Enter the Domain name in the popup window and click Download.
 |
Continue to Summary
Click Continue to Summary at the bottom left of the Information for Service Providers page.
You can make edits to your configuration by clicking the pencil icon to the far right in each section of the Summary page.
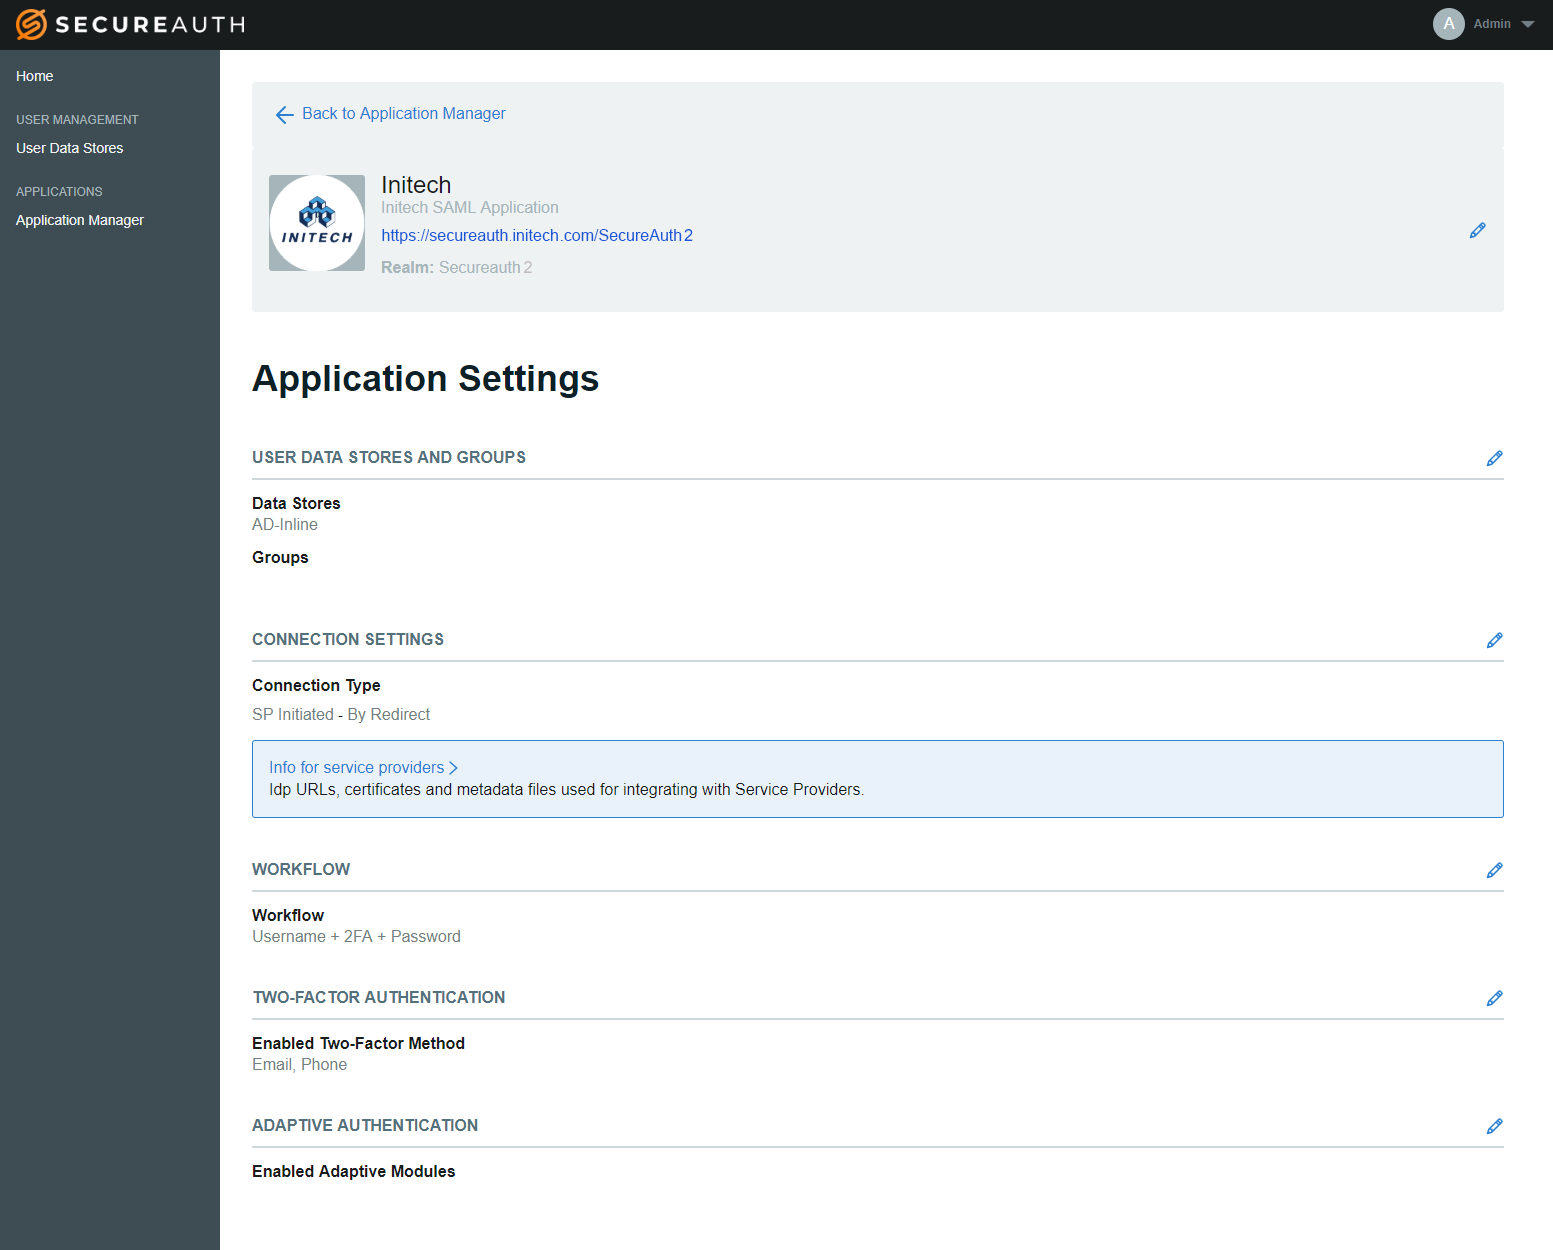 |
NOTE: The link to the login page you created for the application appears beneath the Application Description ("Initech SAML Application" in this example). This link includes the realm number for the application. Use this link to test the application.
Complete the application on the Classic Experience...
To modify the default Workflow, Two-Factor Authentication method, and Adaptive Authentication modules enabled for this application, go to the Classic Experience.