Cisco Secure ACS 5.4 Integration Guide (RADIUS)
Introduction
Use this guide to configure the integration of Cisco ACS 5.4 with SecureAuth IdP.
Prerequisites
1. Have a properly licensed and configured Access Gateway
Access Gateway Enterprise Edition or equivalent is required
2. Have the Public Address for VIP
NAT works as well
3. Have RADIUS Service configured on SecureAuth IdP with OATH realm to support OTP only
4. Have the SecureAuth IdP OTP app installed on mobile devices, and have mobile devices registered with SecureAuth IdP
Cisco ACS Configuration Steps
Configure Identity Store
 |
1. Log into Cisco Secure ACS through the web interface at https://<server-name>/acsadmin
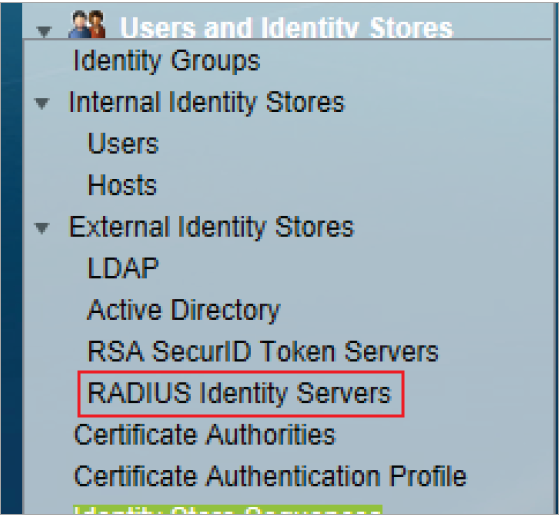
2. Select RADIUS Identity Servers from the External Identity Stores section, in the Users and Identity Stores menu
3. Select Create
General
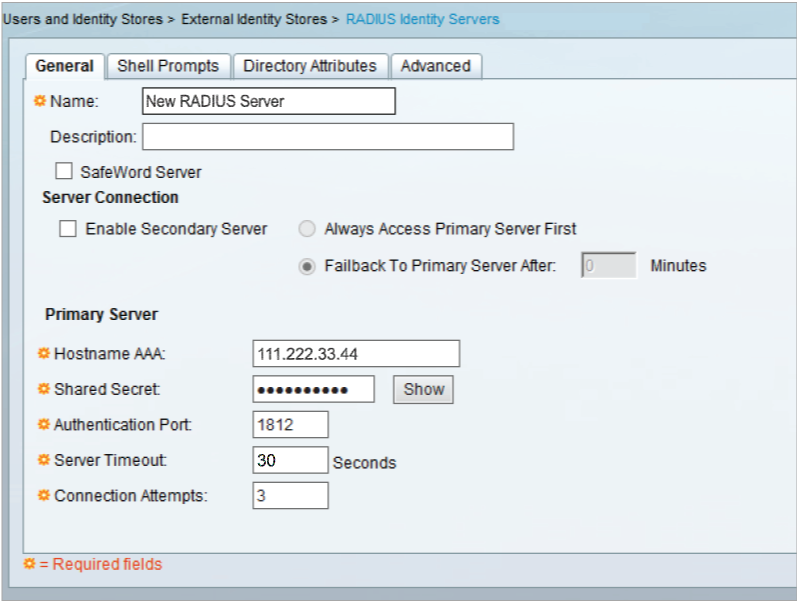 |
4. In the General section, provide a Name for the new RADIUS Identity Server
5. Set the Hostname AAA to the Hostname or the IP Address of the SecureAuth IdP appliance
6. Set the Shared Secret to the same Shared Secret set in the SecureAuth IdP Web Admin
7. Set the Authentication Port to the defaulted 1812 unless a different one is being used
8. Set the Server Timeout to 30 seconds to make up for slow connections
9. Set the Connection Attempts to the defaulted 3 unless another amount is preferred
10. Click Submit
Note
For multiple SecureAuth IdP appliances, repeat steps 2 - 10 for each one
Configure Access Service
Access Services
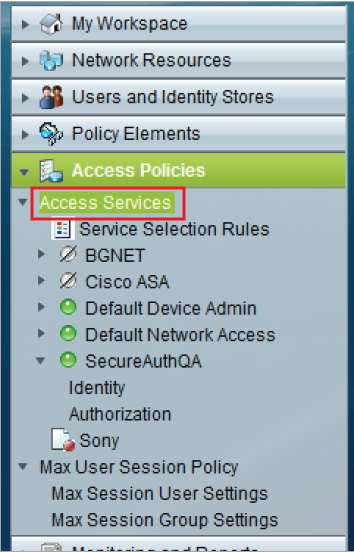 |
11. From the Cisco ACS admin console, select Access Services from the Access Policies menu
12. Select Create
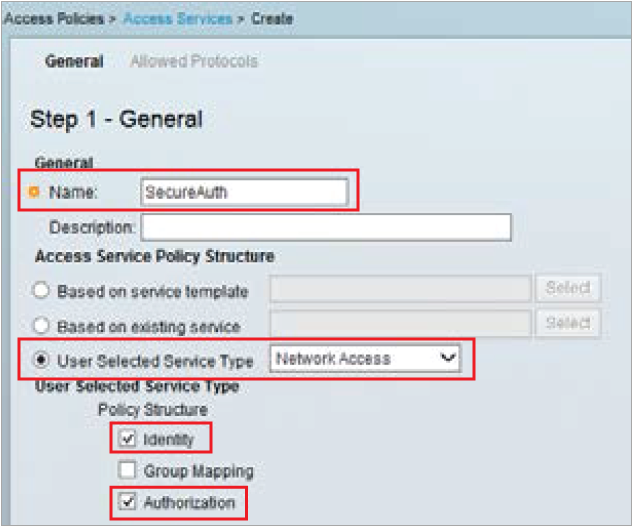 |
13. Set the Name for the new Access Service, e.g. SecureAuth
14. Select User Selected Service Type, and select Network Access from the dropdown
15. Check Identity and Authorization from the Policy Structure options
16. Click Next
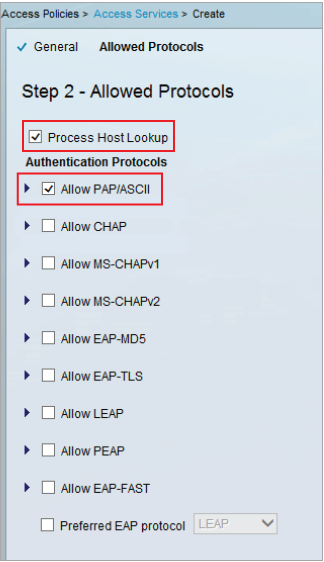 |
17. Check Process Host Lookup
18. Check Allow PAP / ASCII from the Authentication Protocols options
19. Click Finish
Service Selection Rules
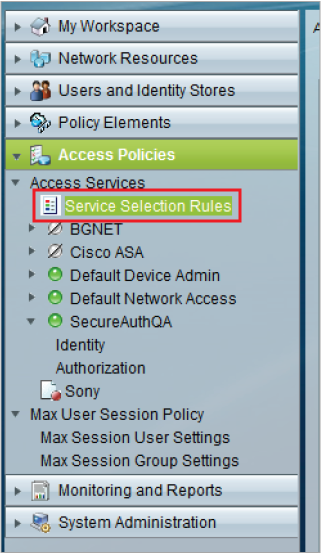 |
20. From the Cisco ACS admin console, select Service Selection Rules from the Access Services section in the Access Policies menu
 |
21. If no rules already exist, then select Rule based result selection
 |
22. If an existing policy is being modified, select that policy; otherwise, select Create to make a new one
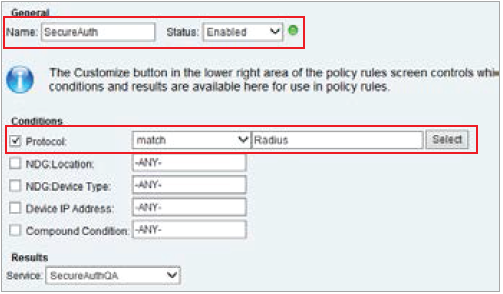
23. Set a Name for the rule, e.g. SecureAuth
24. Select Protocol, match from the dropdown, and then set it to RADIUS
A simple rule like this can be utilized, or a complex rule can be created based on device, group, IP Address, etc.
25. Click OK
Client Device Configuration
If client devices are already authenticates against the ACS Server, then no client changes are required
For a new installation, refer to the ACS Documentation