Windows Digital Certificate Management
Introduction
This article discusses basic management of digital certificates (a.k.a. public key certificates) for SecureAuth IdP appliances running on Microsoft Windows Server 2008 R2, 2012, and 2012 R2.
SecureAuth IdP uses digital certificates throughout the system to verify an end-user's identity and provide secure communications with other systems.
Certificates must be kept current in order to ensure secure and valid connections between devices.
Notice
See SecureAuth IdP Digital Certificate Overview for additional background information about how digital certificates used with SecureAuth IdP
Applies to
SecureAuth IdP Version | OS Version |
|---|---|
7.x+ |
|
Discussion
Certificate Stores
A Certificate Store can be regarded as a logical container in Windows that holds one or more certificates.
The table below provides a description of the most commonly used Certificate Stores in a SecureAuth IdP environment
Store | Description |
|---|---|
Personal | Certificates associated with private keys to which the user has access These certificates have been issued to the user or computer, or the service for which certificates are managed |
Trusted Root Certification Authorities | Implicitly trusted certification authorities (CAs) Includes all of the certificates in the Third-Party Root Certification Authorities store, plus root certificates from customer organizations and Microsoft |
Intermediate Certification Authorities | Certificates issued to subordinate CAs |
The most common way to view certificates in a certificate store is to use the Certificates Manager MMC snap-in
The Certificate Manager MMC snap-in can be used to view details about certificates, modify or delete certificates, or request new certificates
Access the Certificate Manager
To access the Certificate Manager
1. Click Start, type mmc.exe, and then press Enter
2. From the File menu, click Add/Remove Snap In
3. Under Available snap-ins, double-click Certificates
4. Select Computer Account, and then click Next
5. In the Select Computer dialog, click Finish
6. In the Add or Remove Snap-ins window, click OK
View Certificate Information
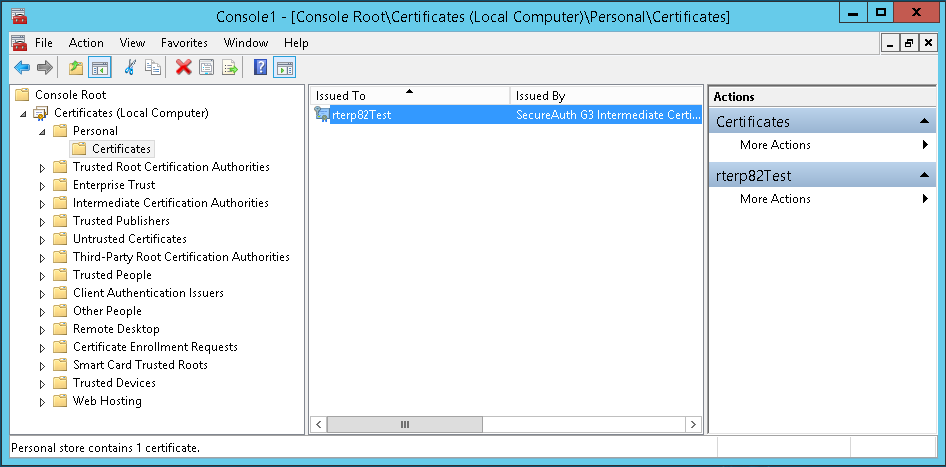 |
To view information about a certificate
1. Start the Certificate Manager
2. Select the Certificate Store from the left pane
3. In the middle pane, double-click the certificate
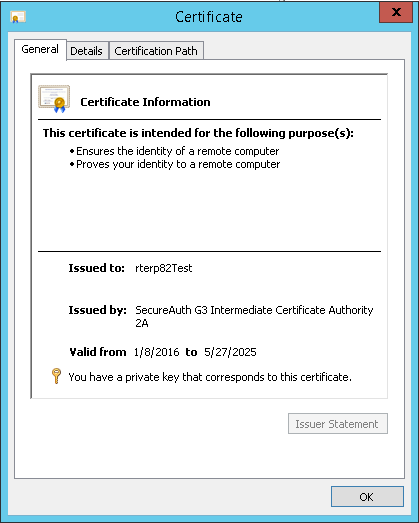 |
4. The Certificate window appears, showing various attributes of the certificate
View detailed descriptions of digital certificate attributes
Import or Export Certificates
When a computer receives a certificate, or transfers a certificate from one computer to another, the certificate and private key must be imported before they can be used
The import process places the certificate in the correct certificate folder
Warning
Do not import a certificate by double-clicking it from Windows Explorer – always use the Certificate Manager to perform an import as described below
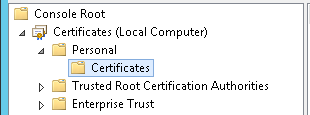
1. Start the Certificate Manager
2. Select the Certificate Store (folder) in which to import the certificate
 |
3. From the Action menu, point to All Tasks, and then click Import
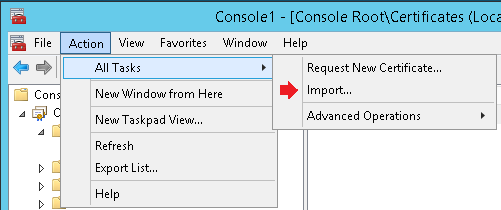 |
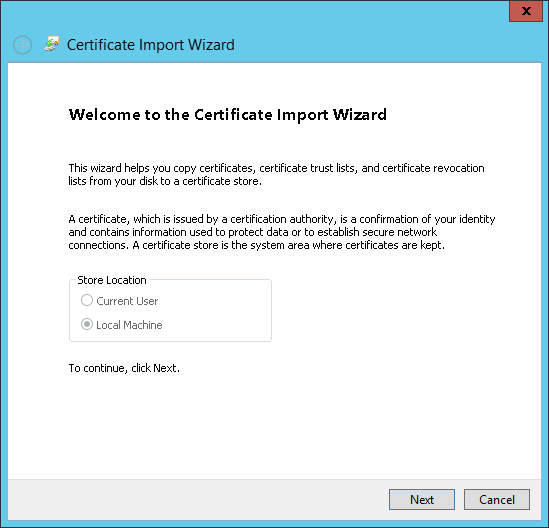
The Certificate Import Wizard appears
4. Click Next and follow the instructions provided
 |
1. To create a backup copy of the certificate or use the certificate on another computer, first export the certificate and private key
Exporting the certificate places it in a file that can be transferred to another computer or be placed in a safe place
Tip
When exporting a certificate with its private key, always protect the certificate and private key with a strong password
2. Start the Certificate Manager
3. Right-click the certificate to export, point to All Tasks, and then click Export
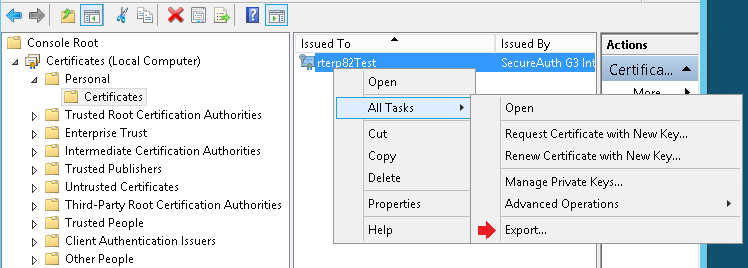 |
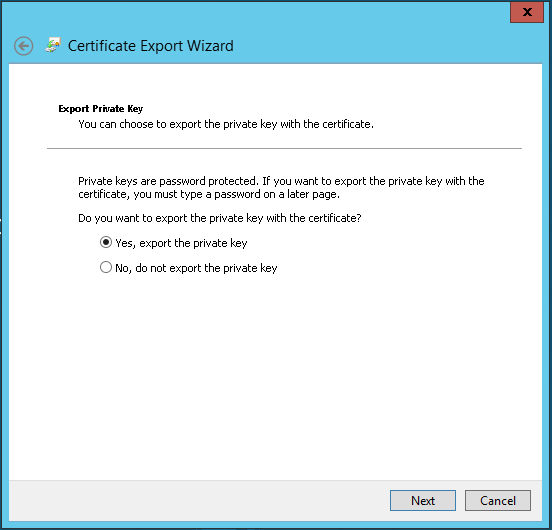
4. In the Certificate Export Wizard, click Next
5. If available, choose Yes, export the private key; otherwise, click No, do not export the private key, then click Next
The latter option appears only if the private key is marked as exportable and the user has access to it
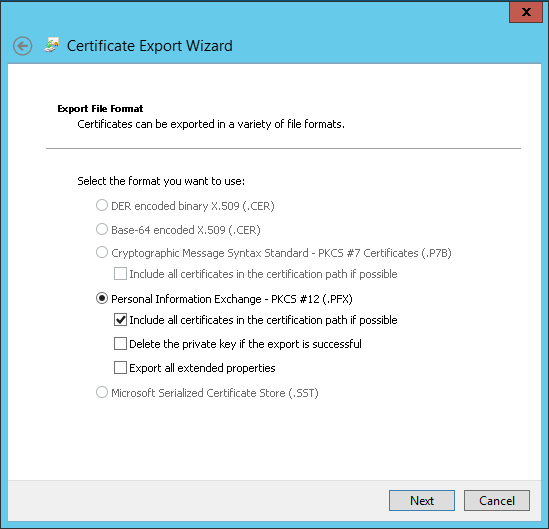
6. Select the format to use, and then click Next
 |
7. If the private key is being exported (step 4), type a strong password to use to encrypt the key, confirm the password, and then click Next
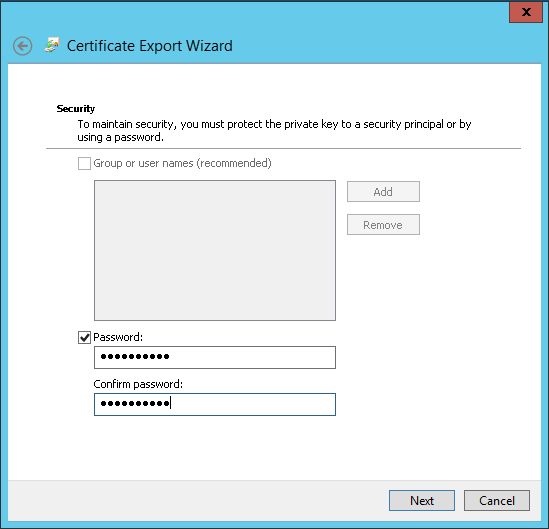 |
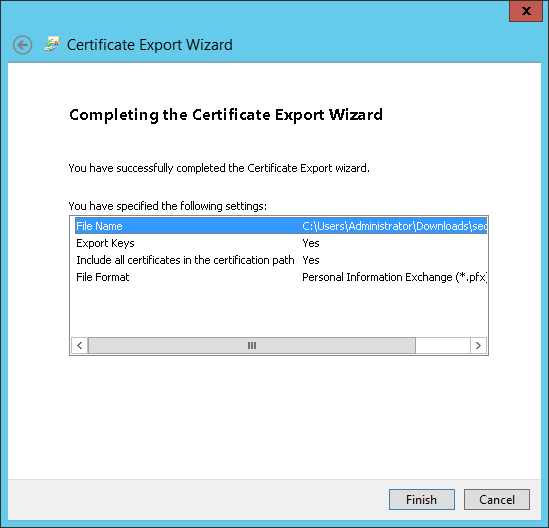
8. The export process creates a file in which to store the certificate
Enter a name for the file and the location (include the entire path), or click Browse, navigate to the location, and then enter the file name
 |
9. Click Finish
 |
Private Key Privileges
When a certificate is imported, its corresponding private key must be configured to allow access from SecureAuth IdP
Warning
If this step is not completed, the dependent functions in the product will fail
Reference the documents below to properly configure certificates
Certificate | Document |
|---|---|
SAML Signing Certificate | |
WS Federation Certificate | |
WSE 3.0 / WCF Client Certificate | |
License Info Certificate |