Work with SecureAuth IdP realms
Introduction
This guide provides information on the following topics when using the SecureAuth IdP version 9.3 Classic Experience:
How to create a realm
A new realm is created by either duplicating an existing realm's configuration and then modifying it, or by using a Wizard Template.
When using an existing realm, the realm's settings are copied to the new realm. The new realm can then be configured for its intended use. This option is ideal if you want to use the same directory integration, proxy settings, and other third-party product implementations as the existing realm, since you don't have to duplicate these entries manually, and it also saves time and prevents any data entry errors.
When using the Wizard Template, you specify an application for integration with SecureAuth IdP, then add the directory to be integrated, followed by protocol values (SAML, WS-Federation, etc.), and workflow options (Multi-Factor Authentication requirements and methods). This base realm configuration gets you started quickly. You can then enable other features of SecureAuth IdP and customize the realm.
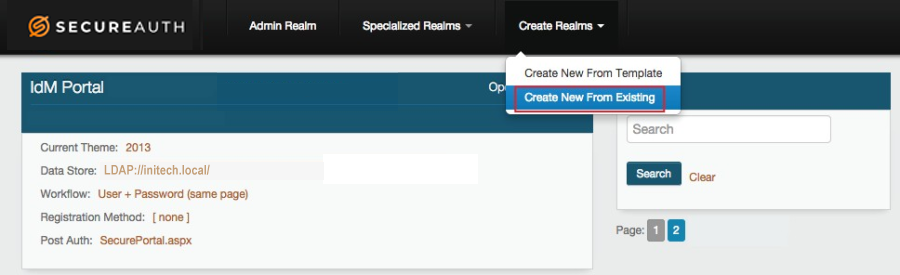
Option A: Create new realm from existing realm
1. Click Create Realms in the top menu, and Create New From Existing.
 |
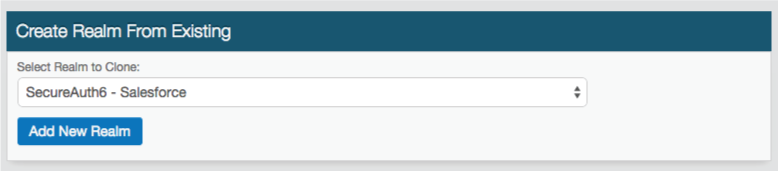
2. Make a selection from the Select Realm to Copy dropdown for the SecureAuth IdP realm that contains the configuration to be copied.
3. Click Add New Realm. A new realm is created.
4. Click the new realm on the Home Page to modify the realm.
 |
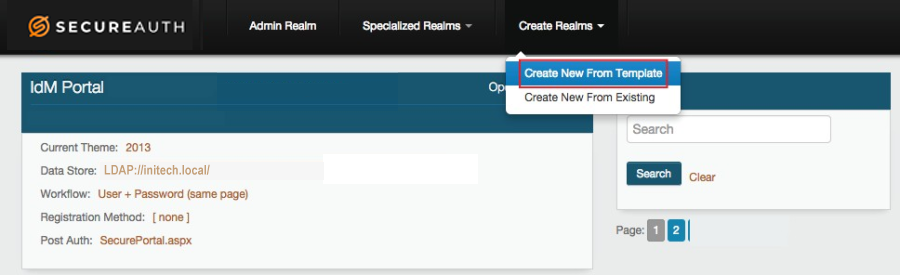
Option B: Create new realm from template
1. Click Create Realms in the top menu, and Create New From Template.
 |
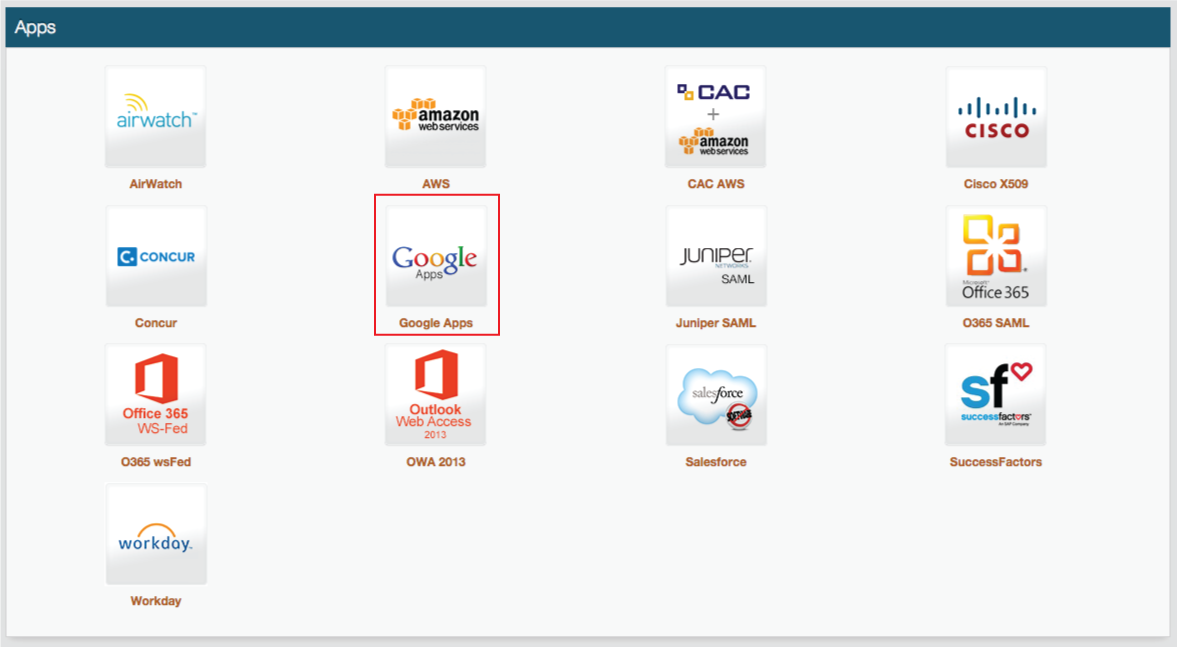
2. Select the application from the list to establish the target resource for the new realm – Google Apps is selected in this example.
 |
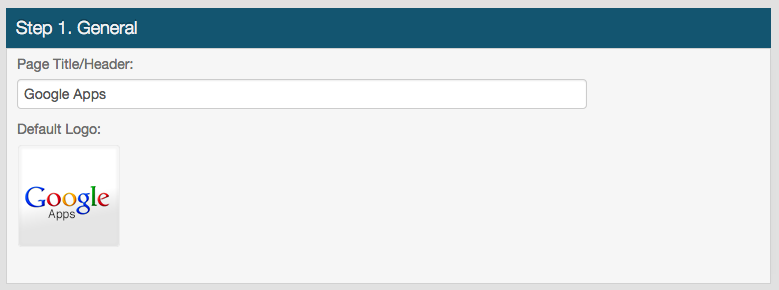
3. Specify the Page Title/Header to appear on the Web Admin and on end-user login pages – e.g. Google Apps.
 |
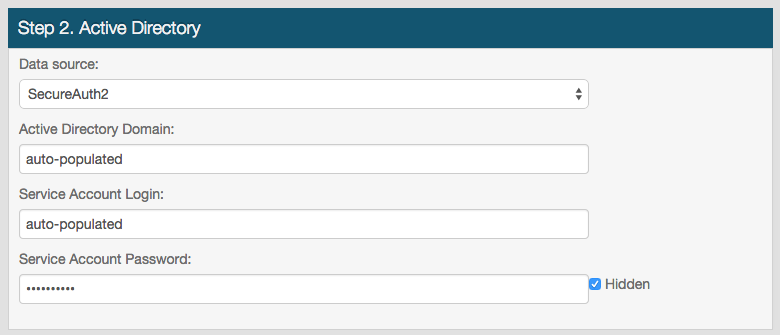
4. Use the Data source dropdown to select the type of Active Directory integration to be used with your realm (Google Apps).
If there is a realm containing the AD configuration you wish to use, then select that realm. The remaining fields auto-populate with appropriate values.
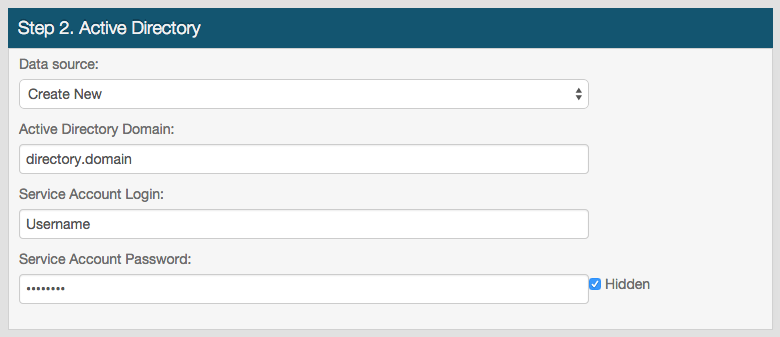 |
Otherwise. select Create New if there isn't an existing realm containing the AD configuration you wish to use. Provide information for:
a. Active Directory Domain.
b. Service Account Login which is the username for the SecureAuth IdP data store service account.
A service account with read access is required to extract information for authentication and assertion. Optionally write access is required to alter or add information to the data store from SecureAuth IdP (e.g. password update, provisioned devices, knowledge-based questions).
c. Service Account Password associated with the username.
 |
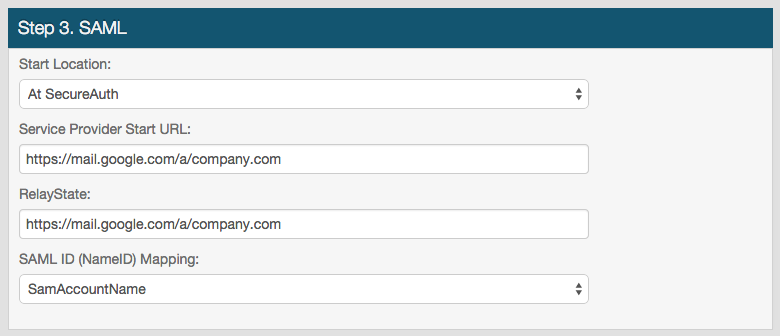
5. Use the Start Location dropdown to select the provider the end-user will use to initiate the login process.
The At Service Provider selection means the login process is initiated at Google Apps.
 |
The At SecureAuth selection means the login process is initiated at the SecureAuth IdP realm.
6. Provide information for:
a. The Service Provider Start URL, which would be a vanity URL such as https://mail.google.com/a/company.com.
b. The RelayState if At SecureAuth was selected at step 5. This is the same as the SAML Target URL in the Web Admin realm configuration.
7. Select the SAML ID (NameID) Mapping to specify how SecureAuth IdP maps to the directory user account.
 |
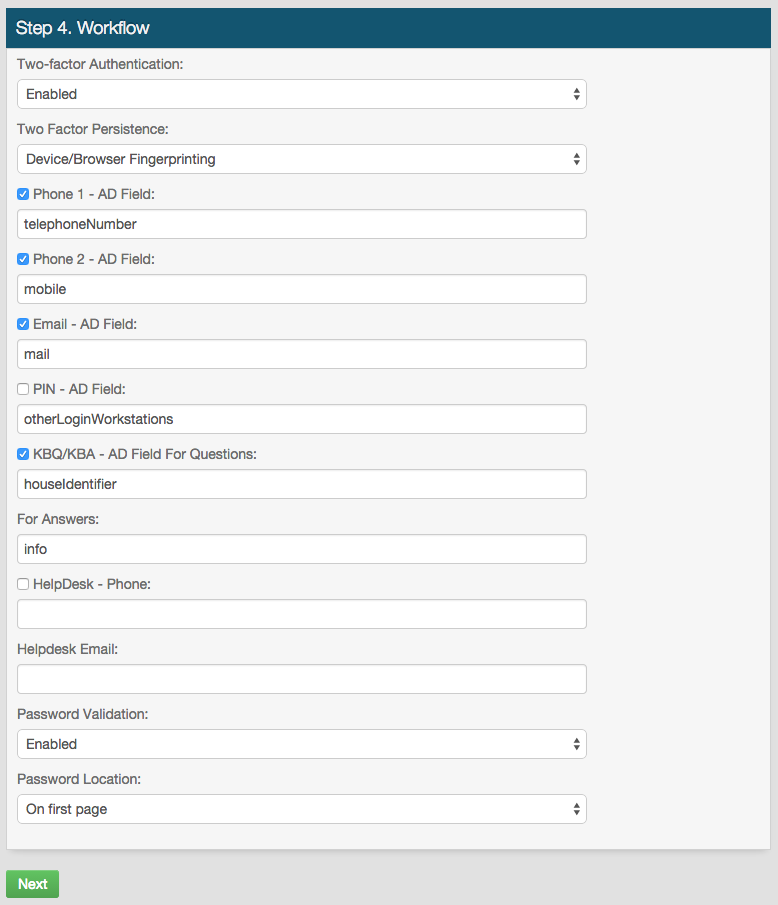
8. Select Enabled from the Two-factor Authentication dropdown to set this realm for a Multi-Factor Authentication workflow.
9. Select the type of Two Factor Persistence token to be accepted and / or generated by this realm.
10. Check the boxes to enable SecureAuth IdP Properties to which directory Fields are mapped on the Data tab for Multi-Factor Authentication.
For example, checking Phone 2 enables Voice, SMS / Text, or both OTP delivery to the phone number mapped to Phone 2.
11. Select Enabled from the Password Validation dropdown to require a password in addition to the username and second factor.
12. Select On Separate/Last Page from the Password Location dropdown to enable a Standard Authentication Mode workflow (username + second factor + password).
Select On first page to have the username and password prompts on the first page, and the Multi-Factor Authentication process on the next page(s).
13. Click Next to review the configuration, and then Submit these settings to finish creating the realm.
NOTE: Additional steps may be required to finish configuring the realm.
 |
How to access a realm
There are two ways to access a realm: From the Web Admin home page, or from another realm.
Access a realm from the Web Admin home page
Access a realm from the Web Admin home page by selecting the title of the realm (e.g. Forgot Username).
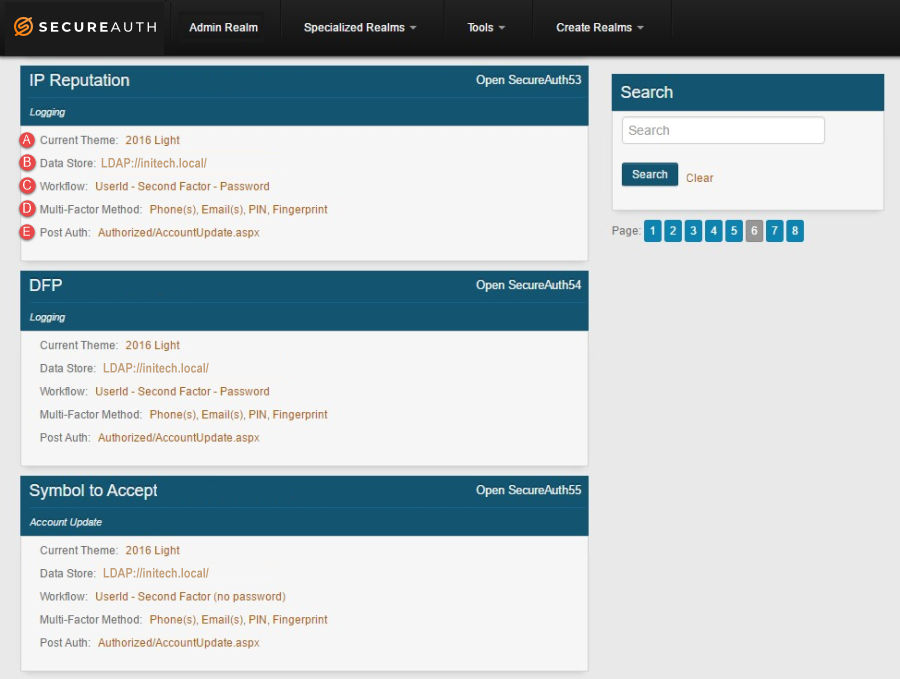
From the realm overview on the home page, select the appropriate link to access a specific tab on the realm:
Current Theme to access the Overview tab
Data Store to access the Data tab
Workflow to access the Workflow tab
Multi-Factor Method to access the Multi-Factor Methods tab
Post Auth to access the Post Authentication tab
Search through configured realms to find the specific realm to access.
Select Admin Realm at the top of the home page to access SecureAuth0.
 |
Access a realm from within another realm
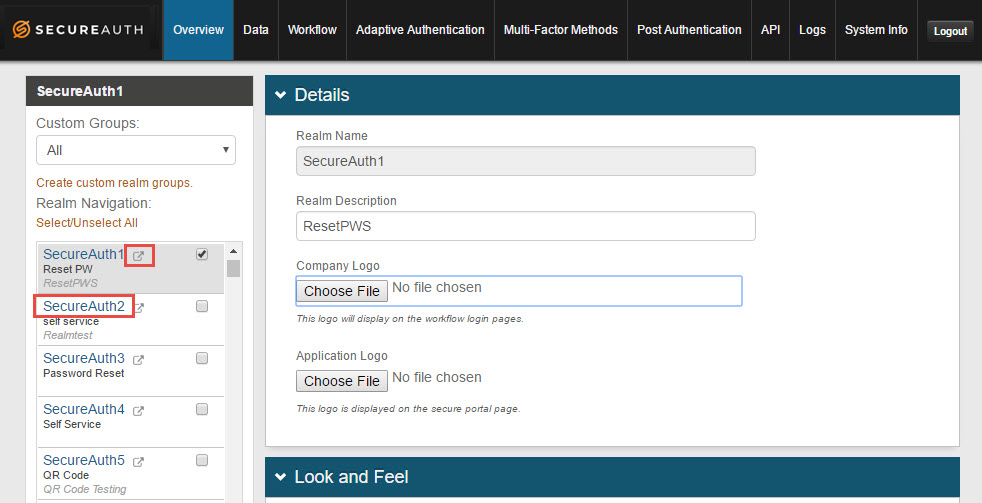
Access a realm from within another realm by selecting the realm name on the left-side menu (e.g. SecureAuth2).
Click the  pop-out icon to view the client-side page of the configured realm. This could be a page designed for users to input a username, select a Multi-Factor Authentication method, enter a password, or view post-authentication information.
 |
Customize a realm
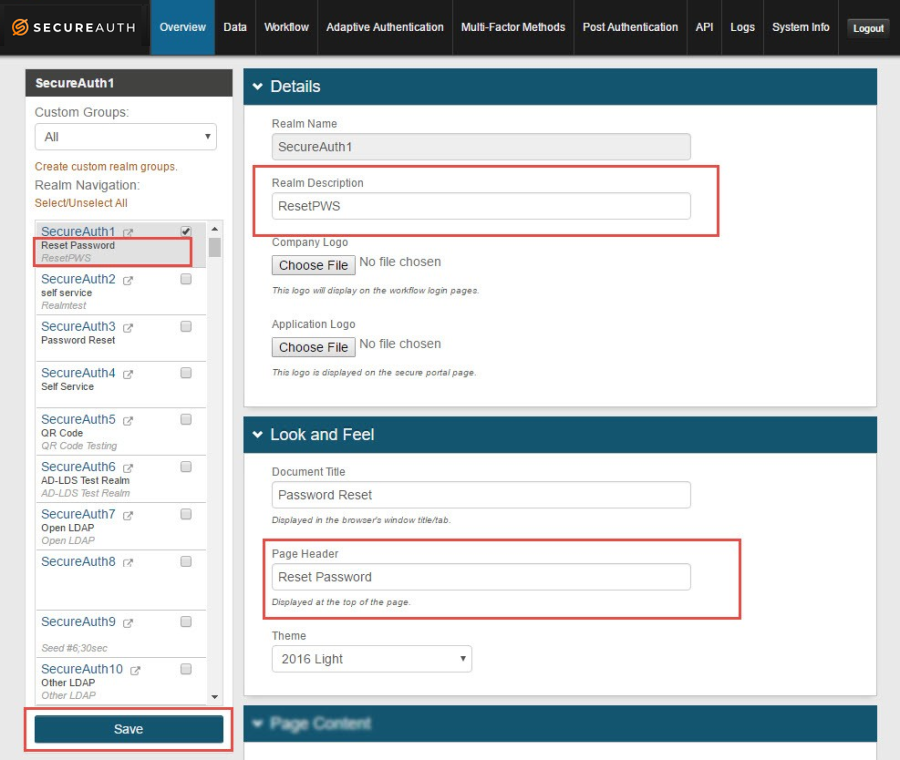
The Overview tab lets you customize the appearance of the page configured for the realm.
Realm Description describes the purpose of the realm, e.g. Secure Access to App X. This description appears on the Web Admin home page under the realm title, as well as on the left-side menu, and is not published on the user workflow page.
Document Title appears on the browser tab of the workflow page.
Page Header appears as the realm title on the Web Admin home page, as well as on the left-side menu. It also appears on the user's workflow page.
Click Save to preserve and implement changes made on the realm.
 |
Update Web Config
The web.config file contains the configuration made on a SecureAuth IdP realm. When upgrading to a newer version of SecureAuth IdP, the web.config file for all realms must be updated.
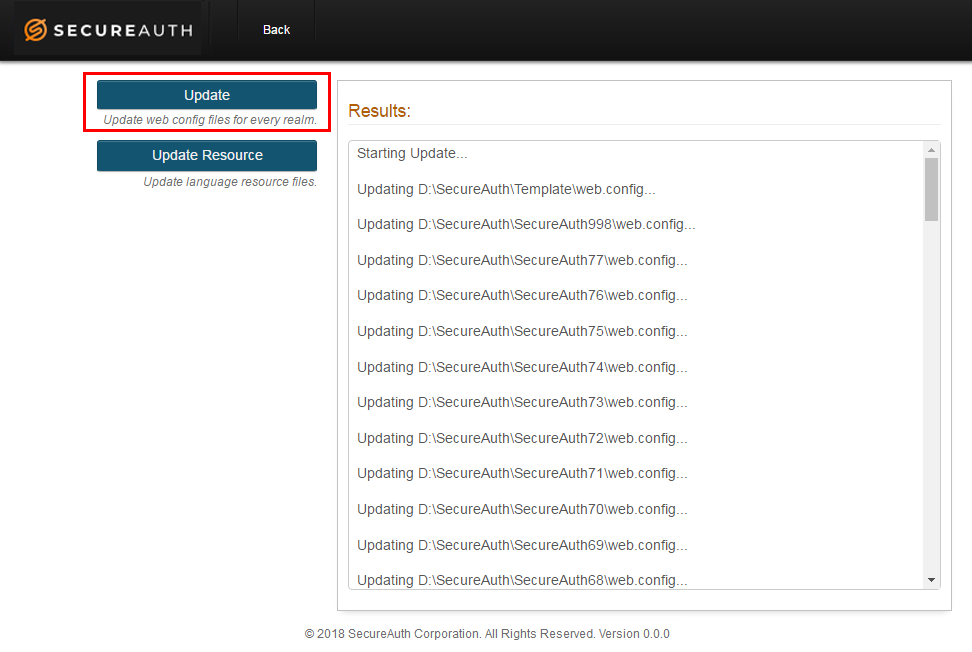
1. On the Web Admin home page, click Tools > Update Web Config to open the Web Config Update page.
2. Click Update to update all web.config files at once.
 |
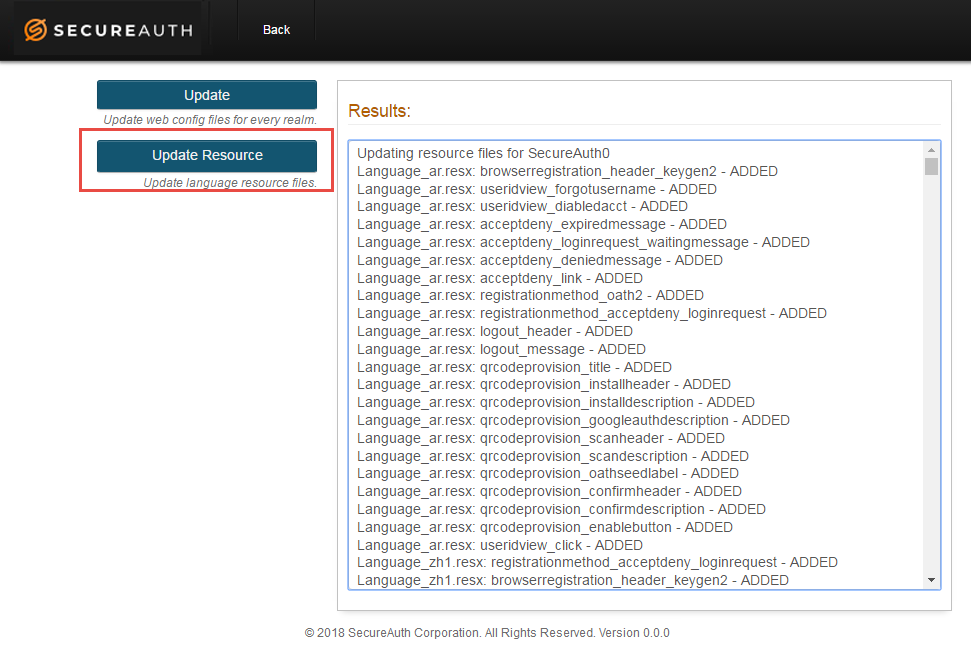
3. Click Update Resource to update the language resource DLL files of all realms.
 |
Decrypting / encrypting realms
Certain use cases such as troubleshooting or moving realms require decrypting realms.
You can decrypt a single realm in the Web Admin or decrypt multiple realms at one time.
NOTE: In SecureAuth IdP version 9.3+, any decrypted realm is encrypted after the browser session is closed.
Decrypt / encrypt a single realm
To decrypt a single realm, go to the System Info tab of the realm, and click Decrypt in the System Info section.
 |
Encrypt the realm when finished by clicking Save, or by selecting the decrypted realm and then clicking Encrypt (as described in the section below).
Decrypt / encrypt multiple realms
To decrypt multiple realms at a time, select Tools > Decrypt Web Config on the home page, or go to https://<Secure AuthIdP FQDN>/SecureAuth0/decryptwebconfig.aspx.
Select the realms to decrypt, or click Select / Unselect All, and then click Decrypt.
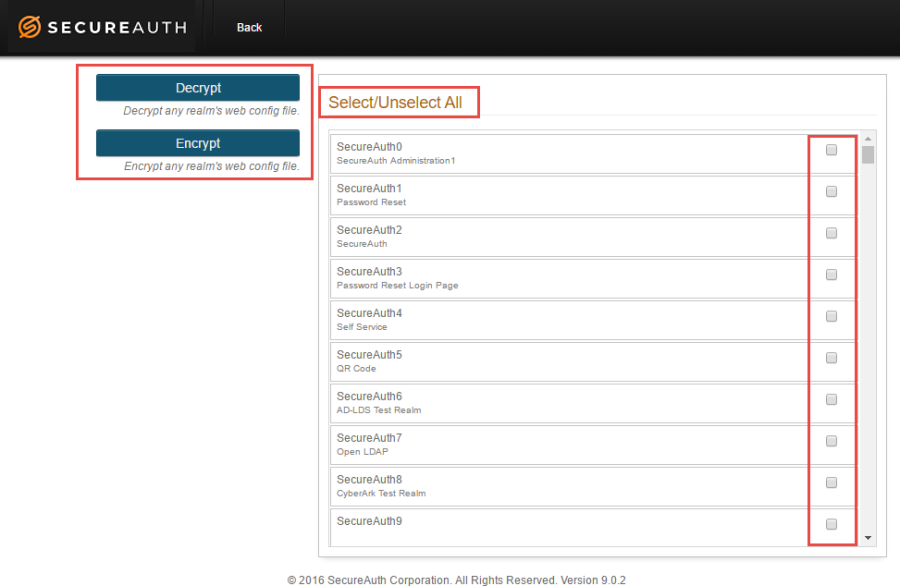 |
Encrypt the realms when finished by selecting the decrypted realms and then clicking Encrypt.
Realm tips and tricks
Copy realm information to another realm
You can make changes to a tab on a realm and then apply those changes to the same tab on other, selected realms.
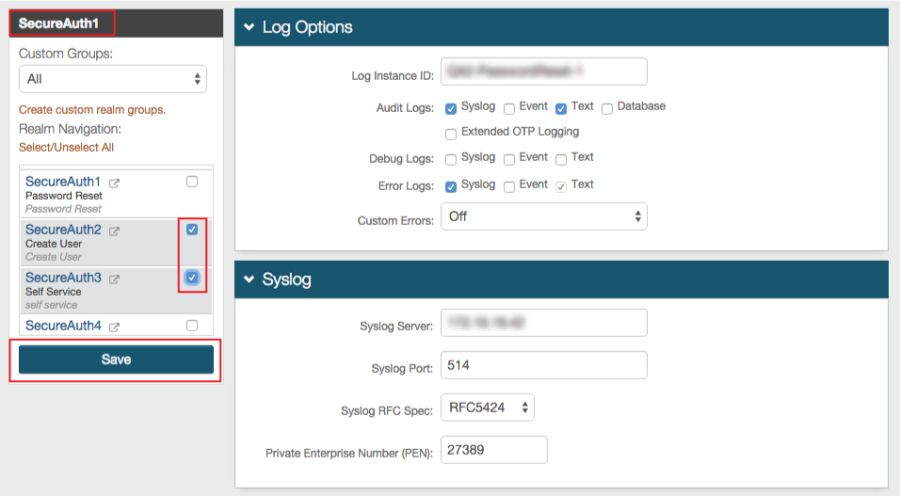
For example, if you updated the Logs configuration on one realm (e.g. SecureAuth1 in image example) and want to apply that to one or more realms, then select (check) the other realms to which the changes apply, and then click Save.
Or if making the changes for the first time on the initial realm, then select the initial realm and all other realms, and then click Save.
NOTE: This method saves / copies the information of the current, open tab (Overview, Data, Workflow, Post Authentication, etc.) and not the entire realm configuration.
 |
Use custom realm groups
You can easily manage and organize specific types of realms using custom realm groups.
For example, you might group SAML Integration realms, or realms with a specific directory integration, or IdM tool realms, to make them easier to find, manage, and update them with similar settings.
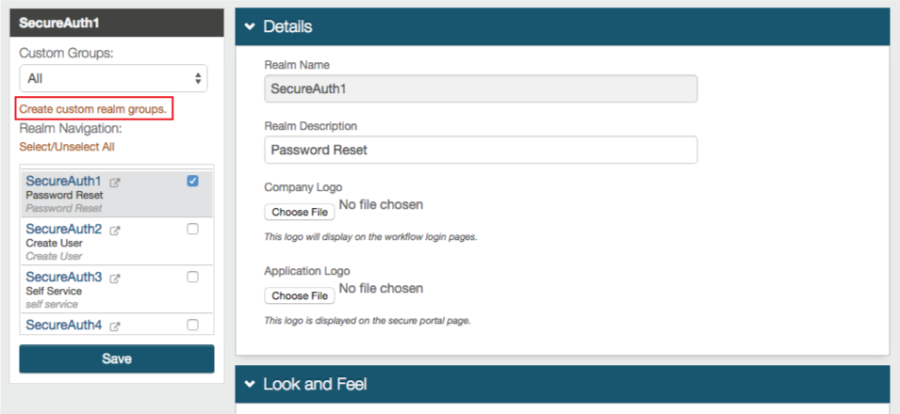
Once a custom realm group is created, select it from the Custom Groups dropdown to only show realms in that group on the left-side menu.
1. To create a custom realm group, click Create custom realm groups in the left-side menu.
 |
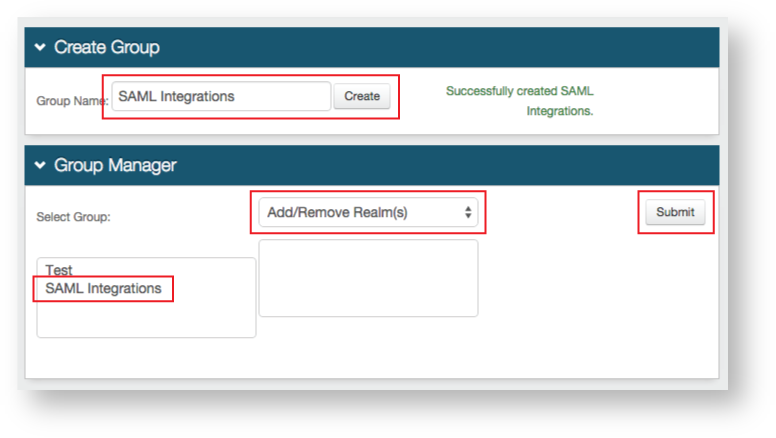
2. In the Create Group section, provide a Group Name and click Create.
3. In the Group Manager section, make the group name selection from Select Group, then choose Add / Remove Realm(s) from the dropdown, and then click Submit.
 |
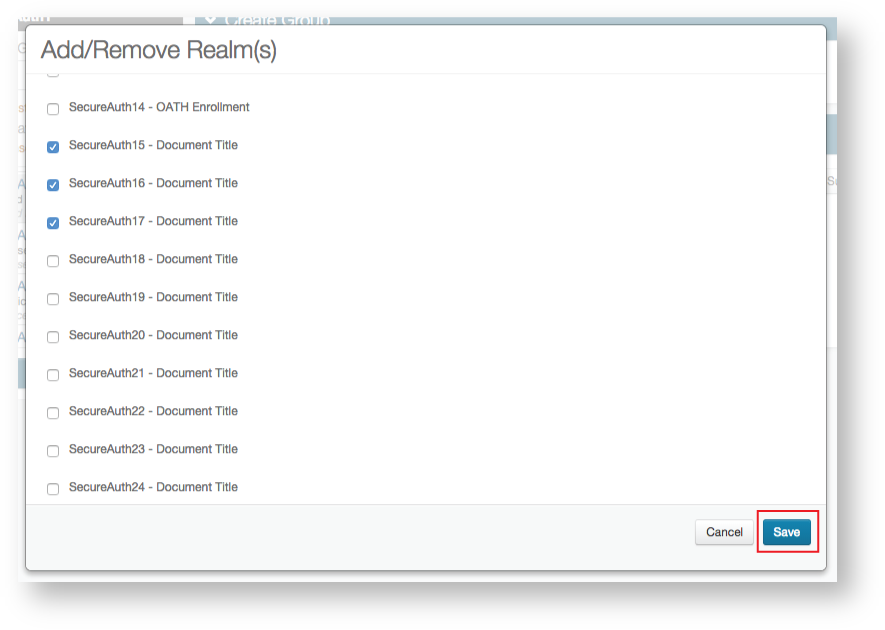
4. Select the realm(s) to be assigned to the group and click Save.
 |